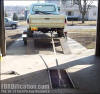
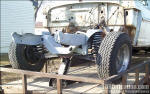
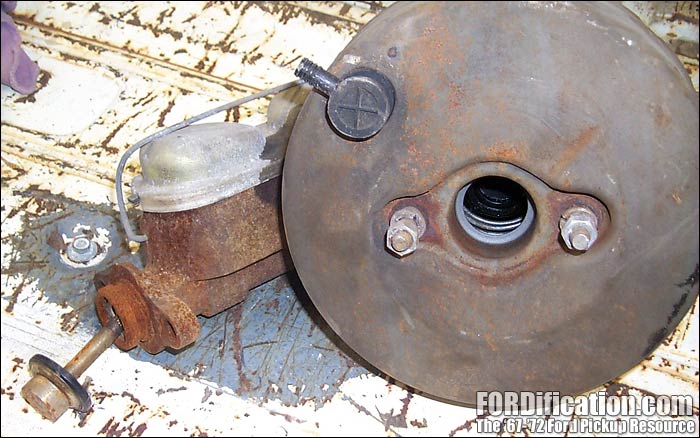
FORDification.com
   (powered by Google)


  HOME

  Technical Articles

  Factory Literature

  Discussion Forums

  Photo Galleries


  Service Bulletins (TSBs)

  Decoding Your VIN

  Diagrams & Schematics

  Links & Resources

  In the Movies

  Downloads
  Member Meet & Greets

  In the Media

  Site Index

 MISC / PERSONAL

  My Truck Projects

  My Heinz 57 '67

  I've Been Censored!

  Contact


You are here: Home My Truck Projects The '67 Page 39
Back to My '67 Project Index
Taking Pics and Taking Inventory - Part 1


Fig. 1


Fig. 2

02-26-05 - 
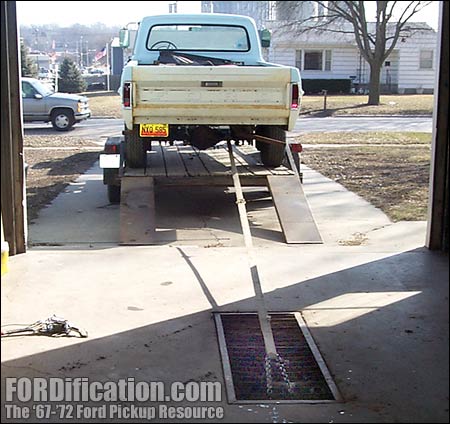
Well, the F250 came off the truck a LOT easier than it went 
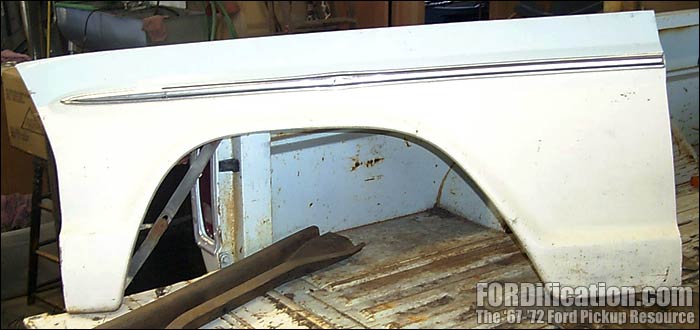
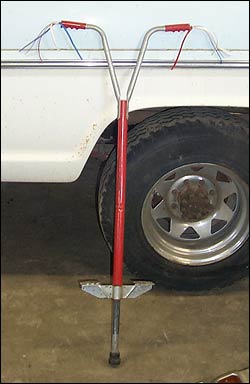
on...although we almost had a major catastrophe. In Fig. 1 you can see how I hooked the back of the truck up to the sewer drain 
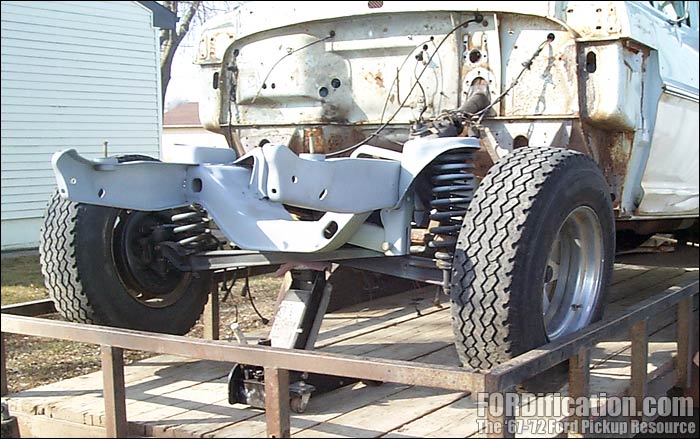
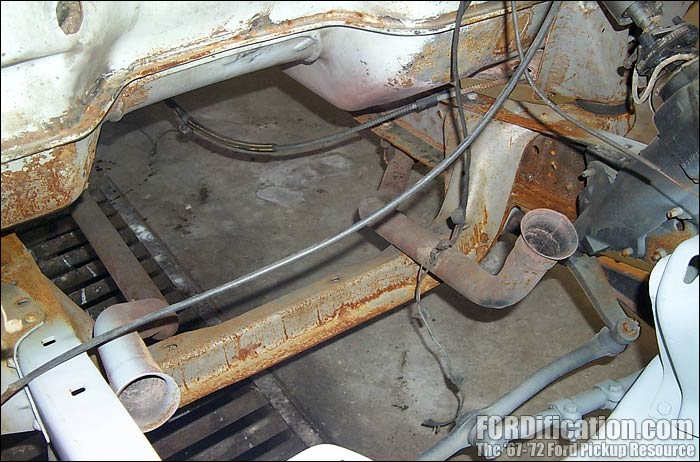
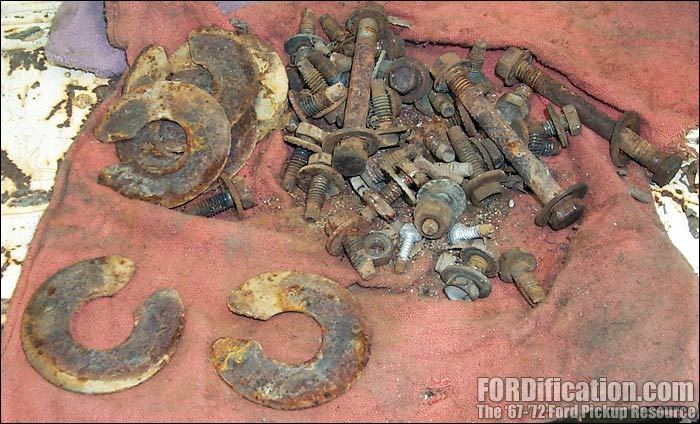
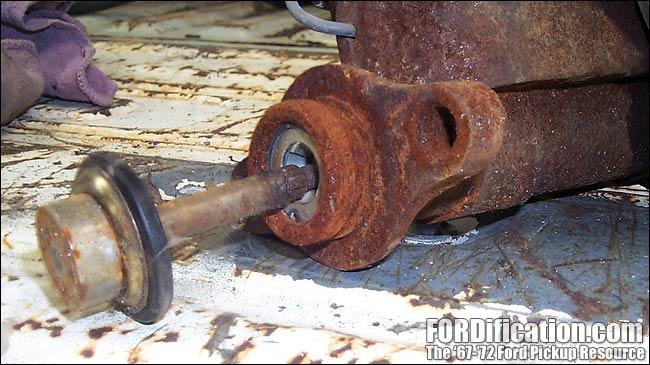
pipe in the shop pit. I also had a hydraulic jack lifting the front end up in the air, to get the rims up above the top of the trailer's side rails (Fig. 2). I had my wife slowly inch the truck and trailer forward while I stood in back to keep an eye on things. It was coming along pretty good...well, up until the back tires hit the ramps, that is!

The trailer I borrowed has a slight flaw. When you drop the hitch down onto the ball, it usually doesn't drop ALL the way. Jumping on the hitch won't drop it down...you actually have to drive in a circle and over a few bumps to get it to full seat itself onto the ball, and then you can lock it down. Well, this morning we hooked onto the trailer and then pulled it from the shop out onto the front driveway. However, I got sidetracked and forgot that it wasn't locked down onto the ball, so as we started unloading the truck and it reached the rear of the trailer, there was suddenly more weight BEHIND the axles than in front of them, and with nothing holding the tongue down, it suddenly shot up in the air about 3 feet!! I saw what was happening just as it started to rise and jumped on the front of the trailer, trying to stop it, but of course my 175 pounds had no effect other than to give the neighbors a good view of me hanging from the front of the trailer as it pointed upwards! If it weren't for the emergency chains that were hooked to the truck's receiver hitch, we'd have lost it completely. I hopped down and stood there for a minute, assessing the situation, then decided there was no turning back. Since the emergency chains were still connected, I told my wife to start inching forward again. That brought the trailer's tongue back to earth, and we were then able to continue pulling the trailer out from under the truck using only the chains. Once the trailer was completely out from under the truck, I was able to lift the tongue of the trailer back onto the receiver hitch (and get it locked down this time!) and then push the truck into the shop. I then spent the rest of the day going over (and under) this truck with a fine-tooth comb, taking pictures of everything I could while it was still assembled.

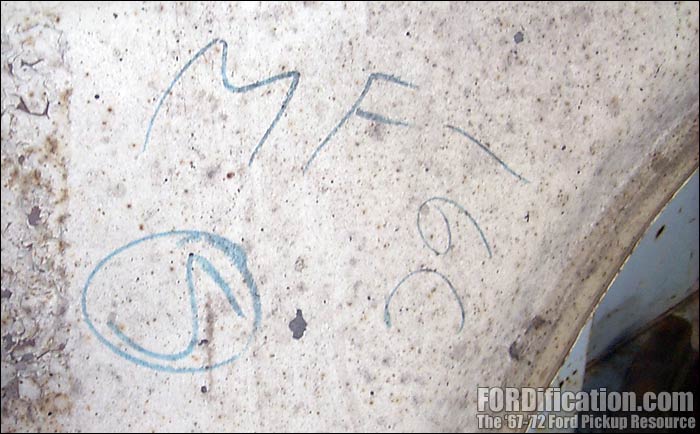
First of all...the most amazing this about this F250 is that IT HAS LESS THAN 27,000 ORIGINAL MILES! Between the odometer and some paperwork found in the glovebox....plus the almost pristine condition of many of the truck's components, I'm confident that this is true. I've parted out quite of few pickups of this vintage, and I can say I've never seen one in this good a shape before. I see-sawed back and forth all afternoon while taking pictures, between saving all the good parts for my F100 SWB, and keeping the F250 as a future project. I think I've finally decided to go ahead and part it out though. I've come too far with my F-100 project to turn back now, and I just can't justify two truck projects. I'm leaning towards just selling the F250's immaculate box to finance the F100 project...but I haven't completely made up my mind on that yet. I mean, I know I'll never find another one in this shape, and it really wouldn't take up that much room setting up on end against the back wall of the shop...at least until I make up my mind.
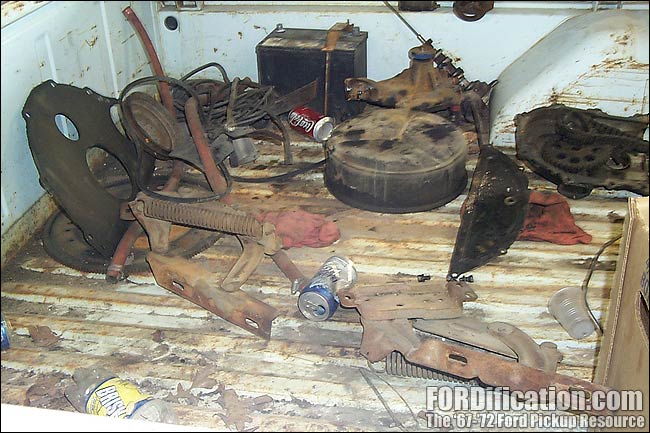
So anyway....I've decided to post a lot of the pictures I took, as a way of documenting various details I've discovered. Hopefully 
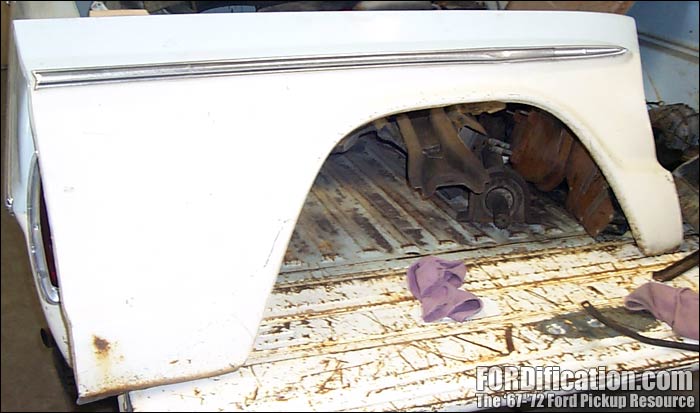
there's something here that someone can use. This page is simply documenting the parts found in the bed of the truck. The next page will show other details of the truck itself.
 

1967 F250 Camper Special - Parts Documentation

Fig. 3

Fig. 4

Fig. 5

Both front fenders are in pretty good shape. The R/S fender does have a penny-sized rust hole behind the wheel opening and a small dent into the chrome strip immediately above the wheelwell. However, the dent is actually only in the chrome strip...it doesn't extend into the fender. The L/S fender has no rust but does have a dent in the exact same spot, however this one does extend back into the fender a tiny bit. Both fenders have factory assembly-line notations of 'MF' which corresponds to the paint code on the VIN data tag. The markings on the L/S fender (Fig. 4) also include '16C'.


Fig. 6

Fig. 7

Fig. 8

Since this truck originally came from the factory with an in-frame auxiliary fuel tank setup, there was no room to run dual exhaust down the left side of the truck inside the frame, as is customary. A previous owner decided to run the left-side pipe outside the frame, which was the reason for the offset wheels...it was required for tire clearance (visible in Fig. 8).


Fig. 9 - I reported back on Page 38 that the headlight doors were missing. I found those when sorting through the parts, plus the end caps for the valance panel.

Fig. 10 - The L/S headlight door has a pair of tiny dings, other than that (and the holes drilled into the front support bars) the grille assembly is very nice.

Fig. 11 - Cool! A pogo stick! (Yes, I tried it out....and yes, I'm too fat and uncoordinated!)

Fig. 12 - When the previous owner was removing the front clip, he simply wrapped all the hardware in shop rags and set them in the bed. This is the first time I've seen radiator support shims on these trucks that were notched.

Fig. 13 - The heater box was in the back of the box, but it's in great shape. Some minor cleaning and touchup and this will look almost NOS.

Fig. 14 - Here's everything a guy could want when spending a day tinkering on a truck. None of it is very healthy, of course...but it makes for a nice relaxing day in the shop.

Fig. 15 - The 352 in this truck had an add-on A/C system that was removed by the time I got my hands on the truck. However, the three-groove pulley setup was still here. The outer two pulleys bolt onto the primary pulley. The two inner grooves were for the dual-groove alternator and the outer groove for the A/C compressor.

Fig. 16 - The previously-mentioned dual-groove alternator and pulley.

Fig. 17 - The previous owner disassembled the engine and stored many pieces in the bed, including the original oil-bath air filter assembly. Cool!

Fig. 18

Well, at least we know know WHY the engine was torn down! You can see remnants of a connecting rod poking through the oil pan. I'm not sure what the piece of metal in the bottom of the pan is, but it was thrown down with enough force to also puncture the pan. Ouch!


Fig. 19

Fig. 20 - This is interesting...this truck's hood hinge springs aren't round coils like others I've seen. They've got four distinct flat sides.

Fig. 21 - This L/S inner fender is in fantastic shape, except for a broken-off hood hinge bolt that will need to be drilled out.

Fig. 22 - The R/S inner fender is also in great shape, though there IS a tiny bit of corrosion getting started around the drain hole under the battery tray.

Fig. 23

The power brake booster is a new remanufactured unit that hadn't been installed yet. I've never seen this style of master cylinder pushrod to the booster before. Interesting!


Fig. 24

Fig. 25 - On the right are the power brake booster brackets. I have no idea what the springs are the left are for. Anyone care to take a guess?

Fig. 26 - The radiator support is in super shape...no rust-through anywhere. The previous owner started sandblasting it but didn't finish the job. This is definitely a keeper.

Fig. 27 - These pieces were for the water-cooled FMX transmission that was originally installed in this truck. Though it was missing, there would have been a heat exchanger mounted onto the side of the transmission.
Go on to Page 40 for many more detail shots of various aspects of the truck itself.
 

first  previous

next   last


Home  |  Back to My '67 Project Index  |

You are here: Home My Truck Projects The '67 Page 39


Want to link to this site? Please save this banner to your hard drive to place on your webpage.
The correct link to use is http://www.fordification.com


Copyright library© 1999-2019 FORDification.com unless otherwise noted. All rights reserved.
All brand names and product names used on this website are trade names, service marks or registered trademarks of their respective holders.  
No portion or content of this site may be reproduced or otherwise used without explicit permission.
To report problems or provide comments or suggestions, please click here.