|

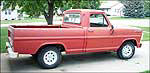
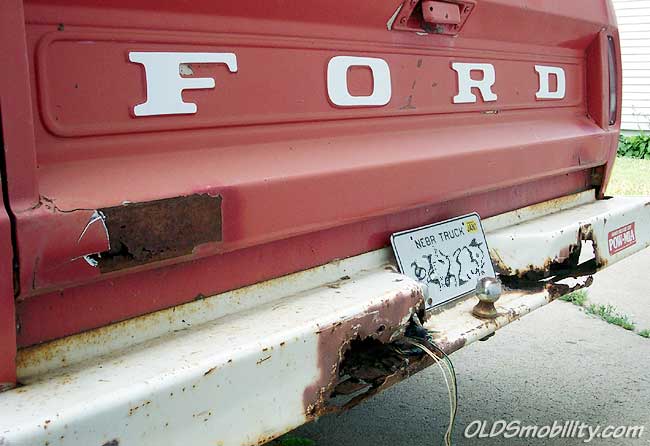
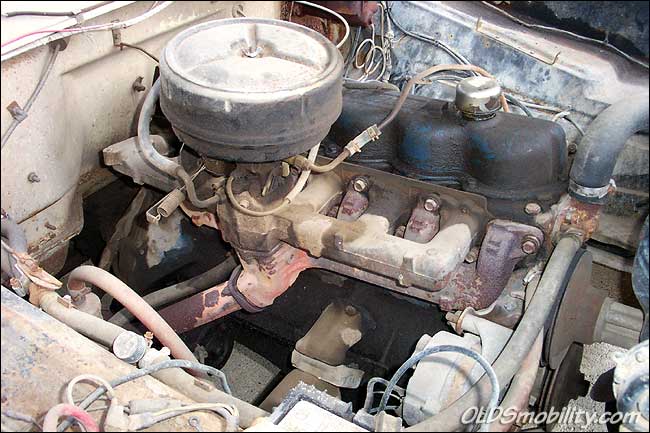
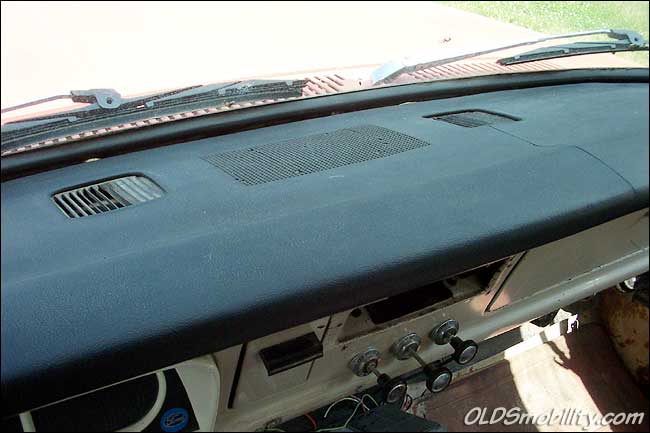
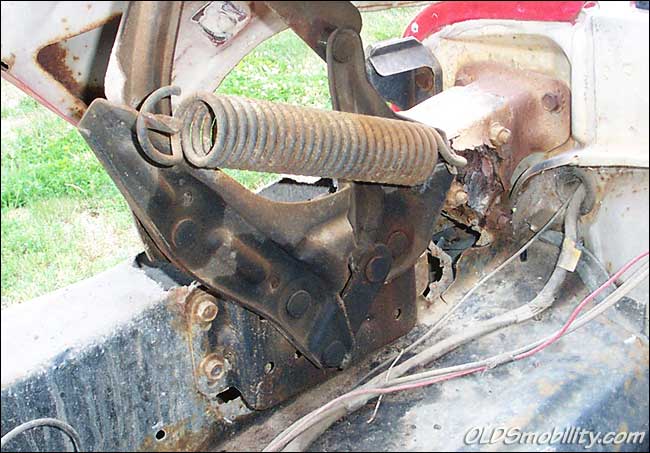
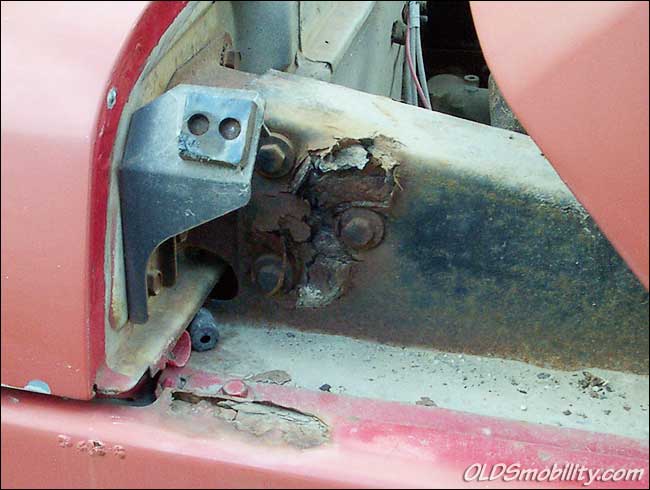
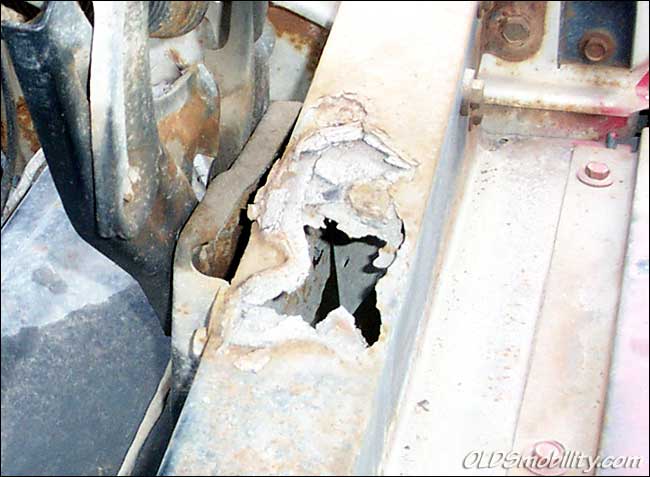
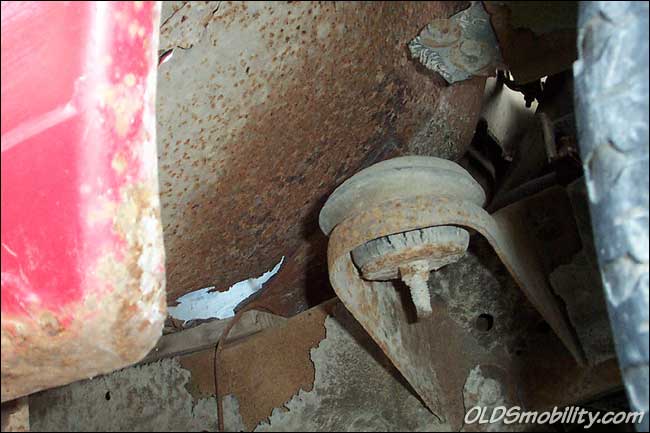
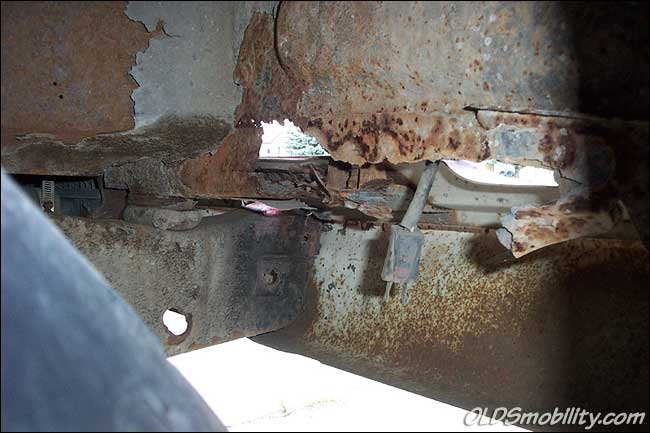
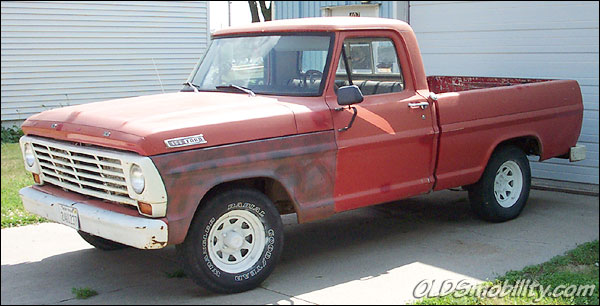
Fig. 1 - Passenger side
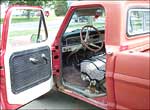
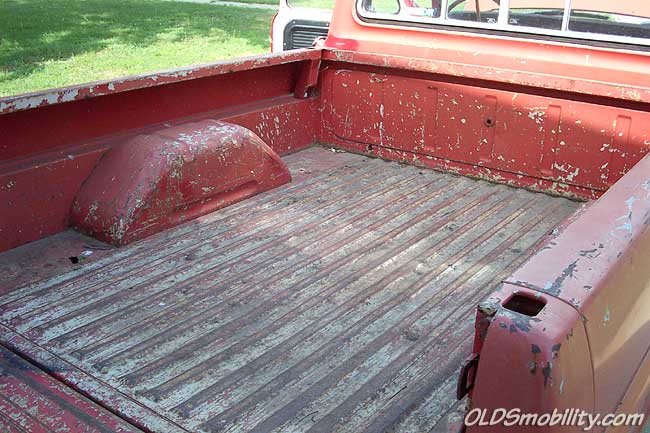
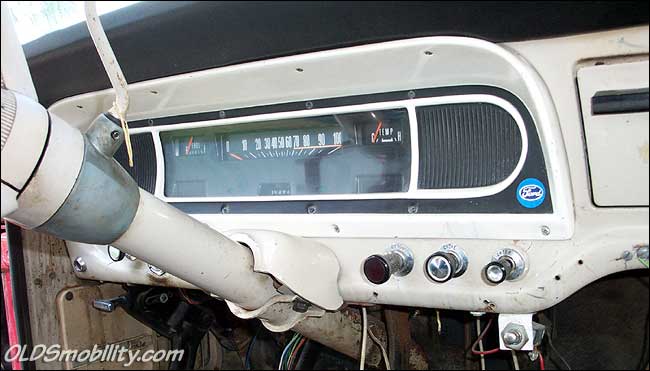
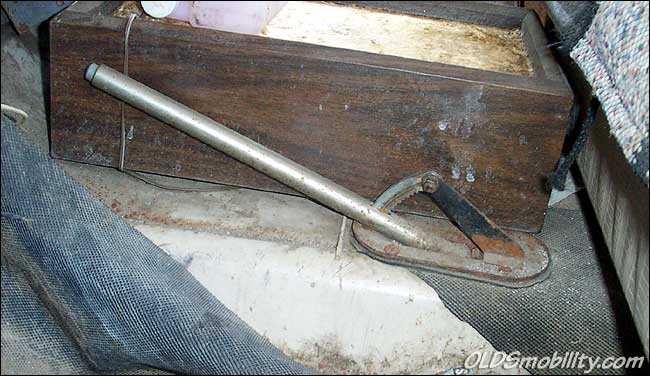
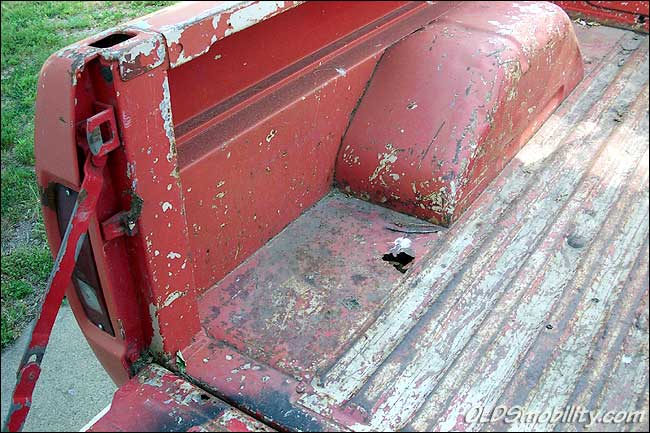
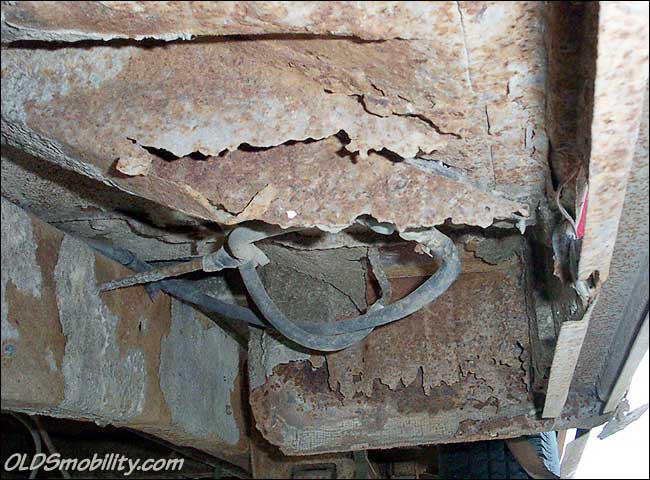
Fig. 2 - Interior

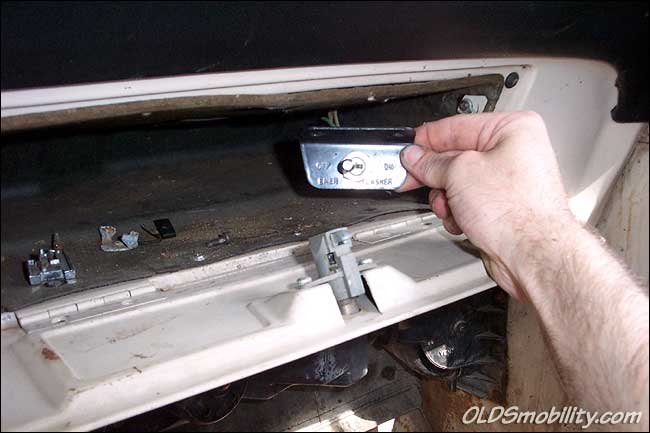
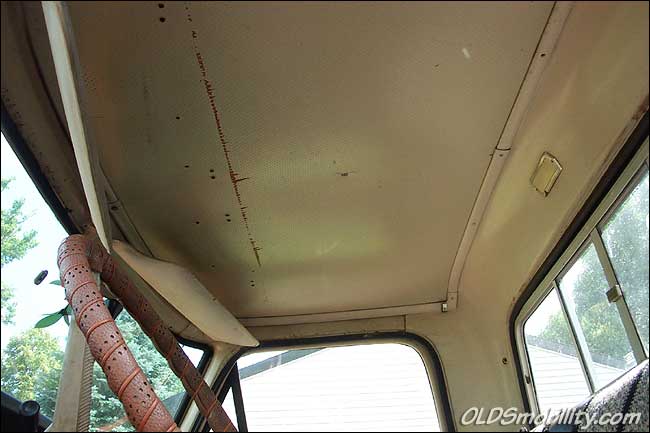
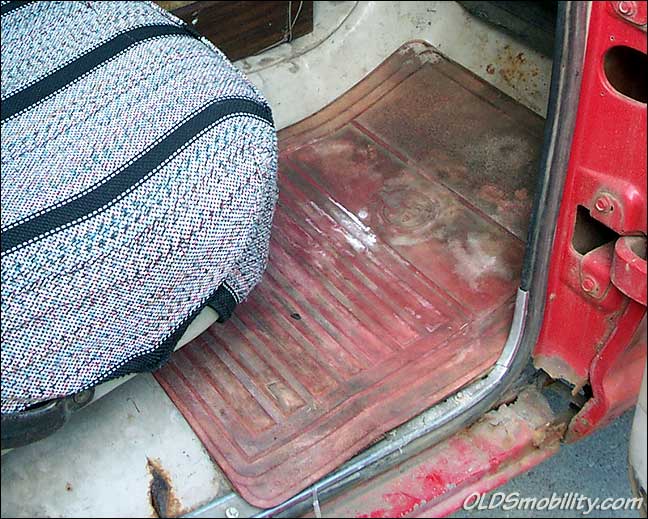
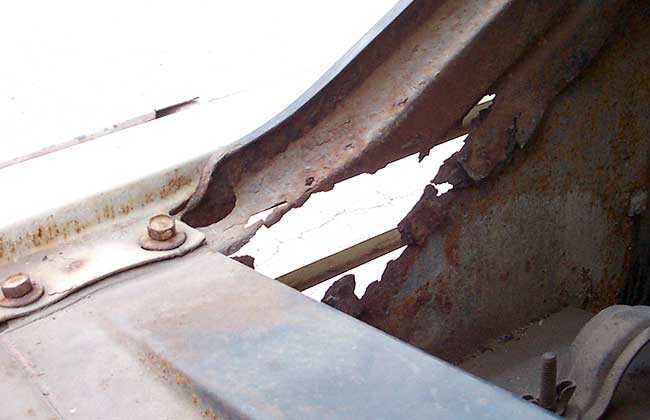
Fig. 3 - Interior
Much of
this interior will be salvaged and installed into a replacement cab
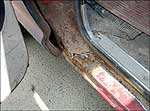
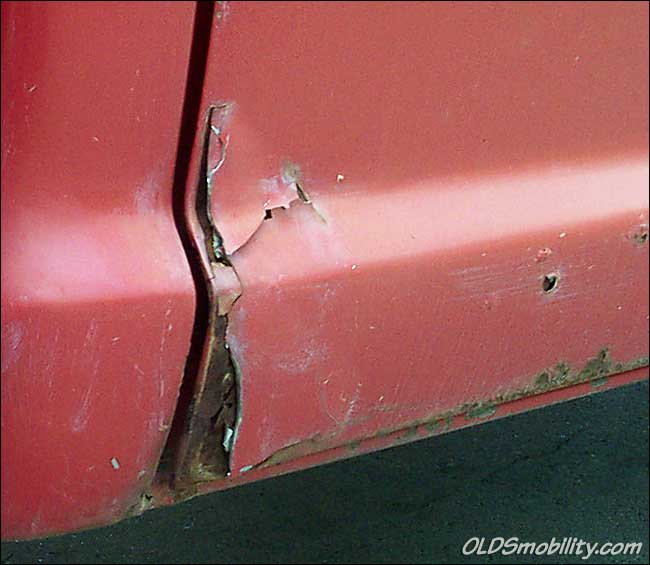
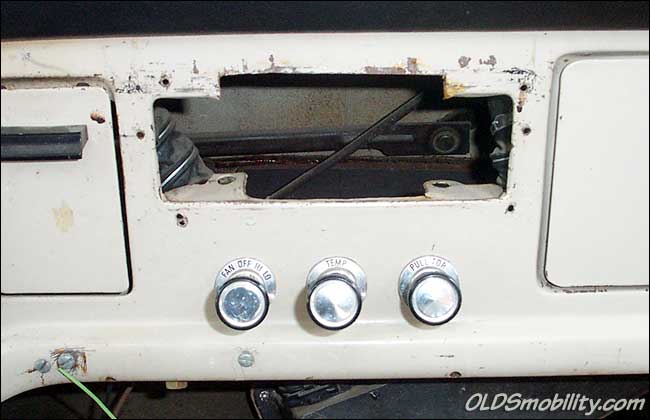
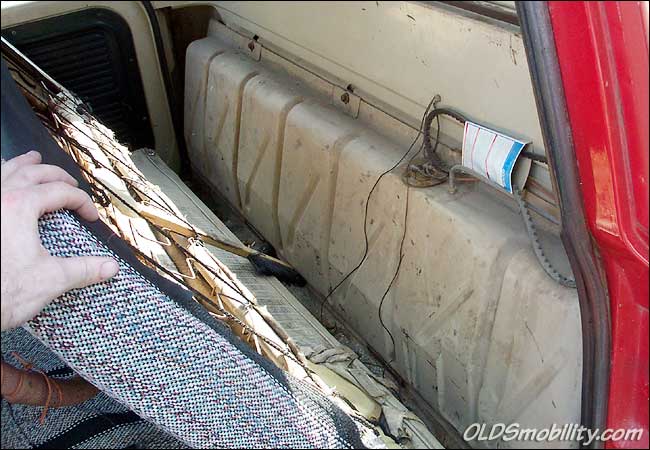
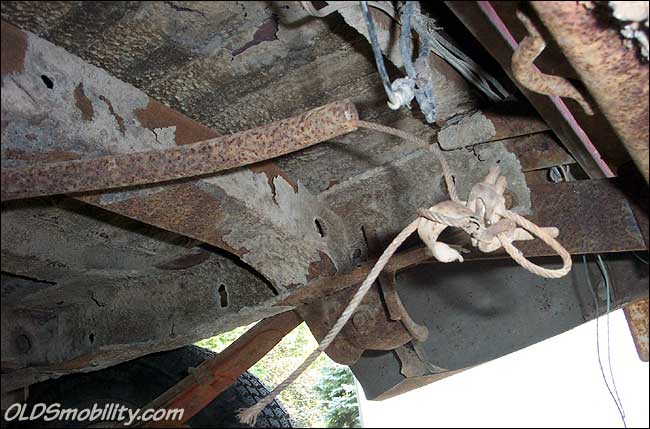
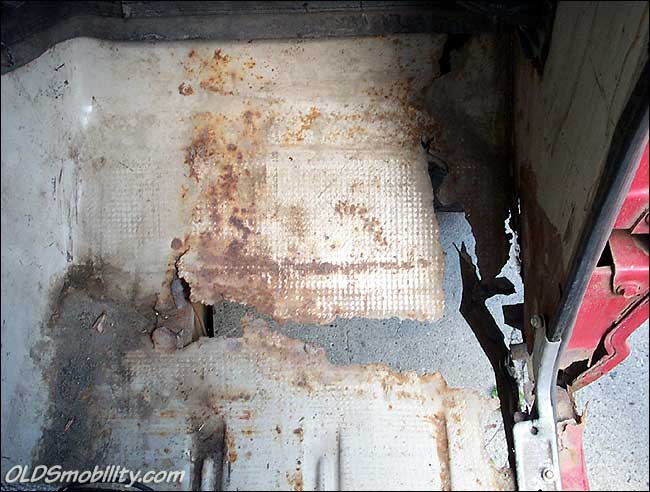
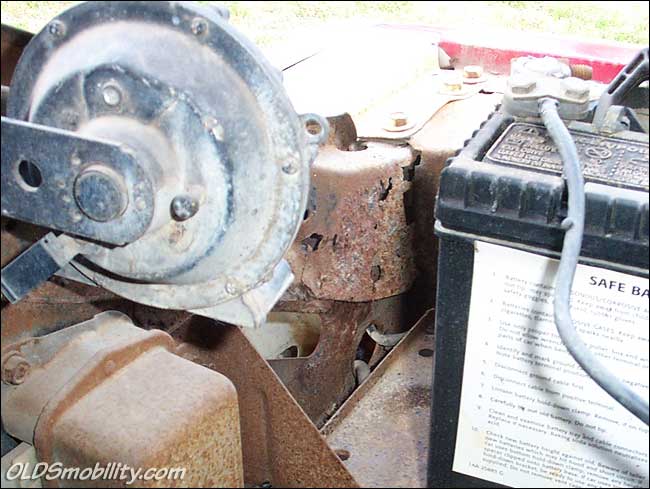
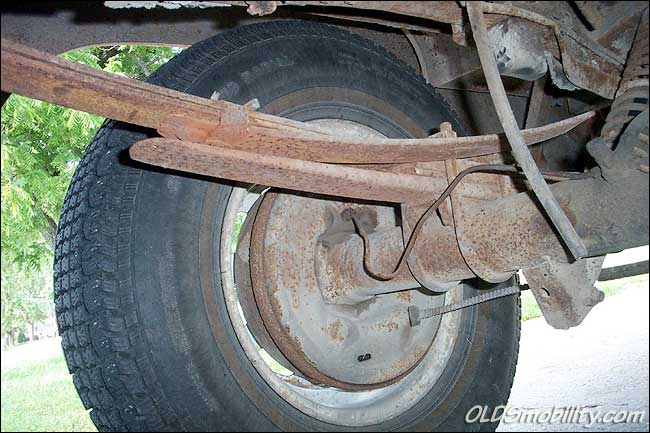
Fig 4 - Left-side rocker
|
June
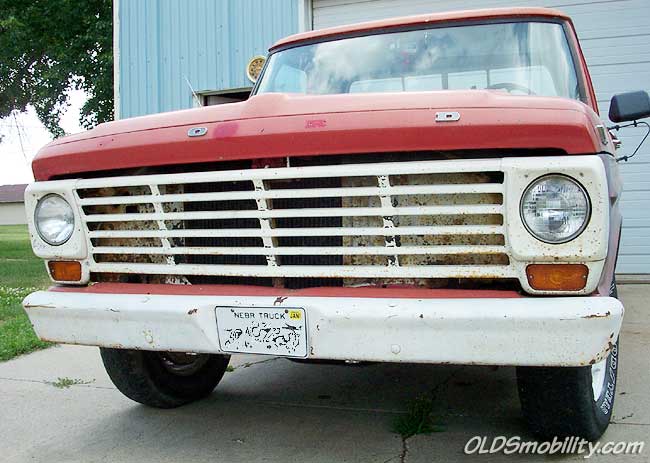
24, 2003 - I've been keeping my eyes open for an older Ford pickup
to use as a daily driver and yesterday saw this one in a local front
yard with a For Sale sign in it. The seller was asking $800 for it, I
offered $600...we settled on $700. I drove it to the shop (about 6
blocks away) a few minutes later.
This truck
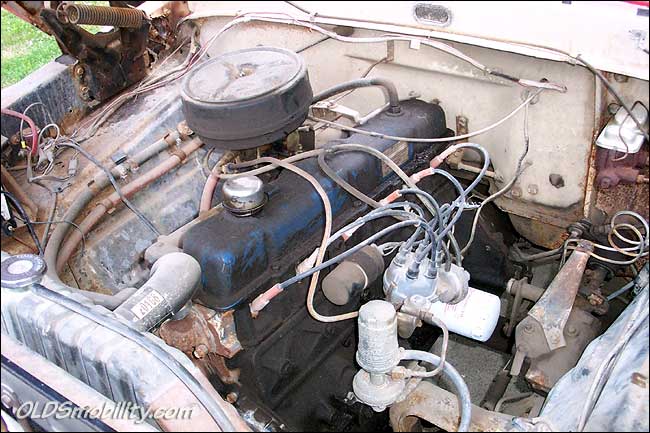
is equipped with a 240cid inline 6-cylinder, with a column-shift
manual 3-speed. This is about as basic as a pickup can get, with
manual steering and manual drum brakes. While at first glance it
appears to be pretty solid, let me assure you that it's gonna take a
little work. While the box is in pretty good shape, the cab is
probably going to need to be replaced. The floorpans are virtually
non-existent, the cab corners are toast and have been gooped up with
fiberglass patches by a previous owner, the cab supports are rusted
away at both sides, and the right front cab mounting point is
completely gone! There's a piece of 1x4 lumber between the frame and
cab on the passenger side holding it up. The white spoke wheels are
(were) rusted and pitted, and the previous owner shot them with a
white rattle-can paint job...you can see the overspray on the tires.
The 6-banger runs great, however...although the clutch definitely
needs some adjustment, as the vibration you get when you put it into
gear and let out on the clutch will rattle the teeth out of your head!
Basically,
I thought it was worth the money paid. I believe I can get a good cab
from somebody who owes me a favor, so it's just going to take a couple
weekends worth of work to replace it and a few other things here and
there, like the rusted-away rear bumper. (The front bumper is in great
shape!) |