|
Sunday, Sept. 26,
2004
- Well, I spent the whole day at the shop today working on brake
lines. Even though there are certain aftermarket companies like Inline
Tube who have pre-bent lines in both steel and stainless steel, I
decided I wanted to try my hand at doing my own. Though the aftermarket
vendor's prices weren't necessarily a deterrent, it did help seal the
deal. Pre-bent steel lines are about $155, whereas I was able to get all
the steel lines, unions and connectors for under $30 at the local auto
supply store. And while the final result isn't concourse-worthy, I felt
it was pretty darned good for a driver, especially since it was my first
time.
All steel lines were to
be replaced, with the exception of the the lines between the master
cylinder and proportioning valve, since they were still in great shape.
However, I did end up using another chunk of used line, because it was
still in great shape...and this is the piece exiting the proportioning
valve and heading back to the rear brakes. When I removed the
proportioning valve from the parts donor truck, I reached back from
inside the engine compartment and snipped the brake line back as far as
I could reach, mainly intending to just use it as a template for bending
a replacement. However, since it was in such great shape and already
bent perfectly, I decided to use it and to just flare the end of it and
attach it to the rear brake circuits with a line union.
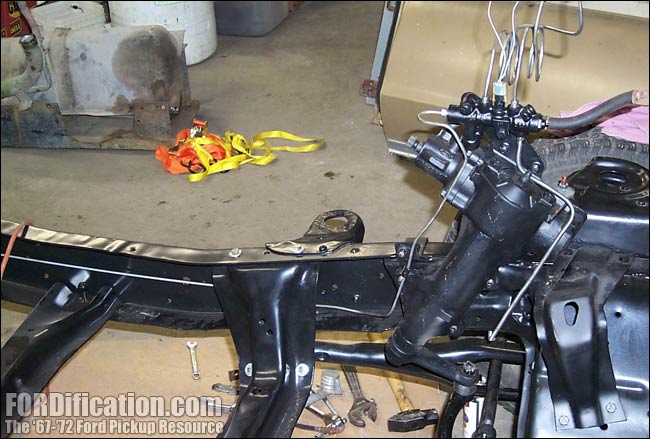
So anyway...I started
off bending the lines which run across the differential, then ran the
line up the left frame rail to the proportioning valve. The prop valve
wasn't cleaned up yet, but I went ahead and mounted it to the top of the
steering box so I could use it for bending the lines. However, I noticed
that I also hadn't gotten around to sandblasting or mounting the front
brake-line brackets, as well as a few other small brake-related items,
so I decided I just needed to fire up the sandblaster to get these all
done. Once sandblasted and painted, the brackets got mounted onto the
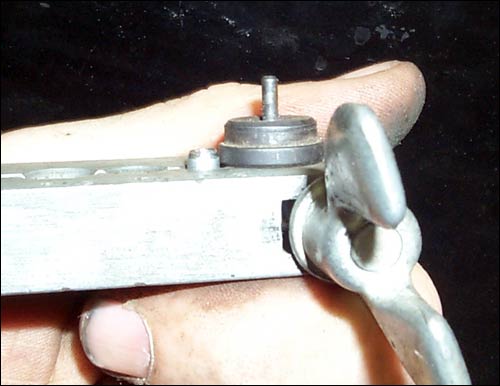
frame on each side with new holes drilled into the frame. After drilling
the holes on the driver's side, I was able to access the inside of the
frame (behind the steering box) through a hole (Fig. 4) using an offset
distributor wrench. I hope I never have to remove these brackets again,
as the nuts behind the steering box are extremely hard to get to!
The only portion
remaining is the section from the propportioning valve to the right-front corner.
I ran out of steel line before doing this corner, so it'll have to wait
until next weekend.
|
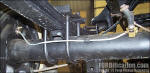
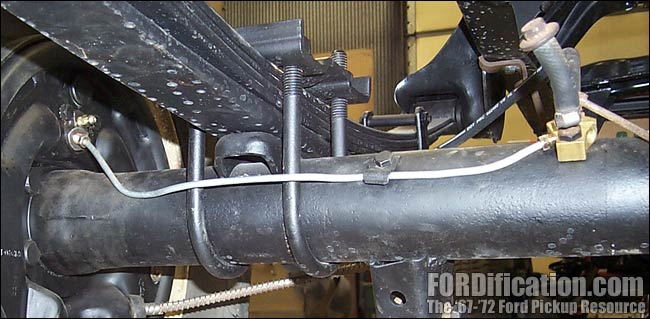
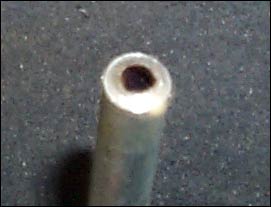
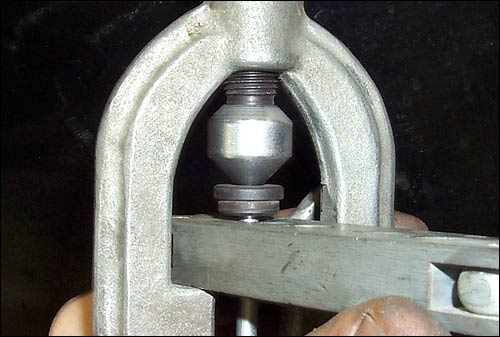
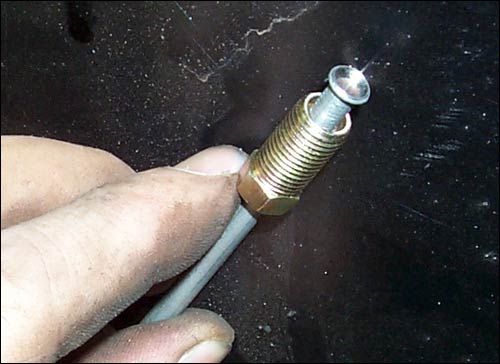
Fig. 1 - My first
custom brake line...not too bad.
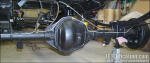
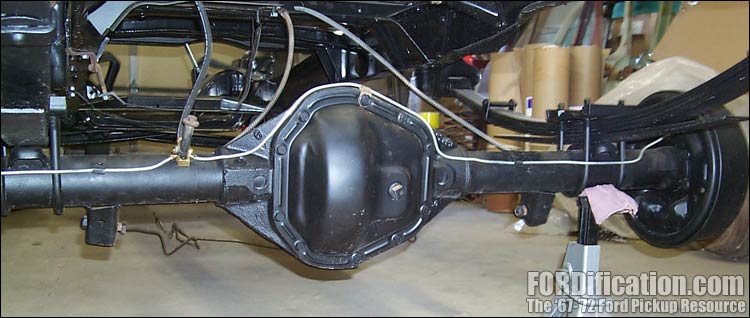
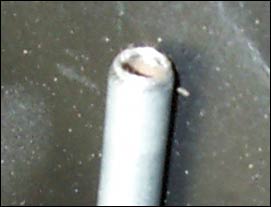
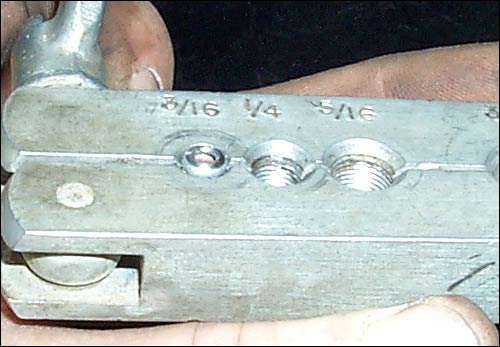
Fig. 2 - Again, it's not bad. Not perfect, but it'll get the job
done. I might redo this section later on, just for appearance sake, but
I might not. We'll see.
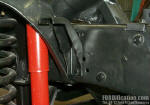
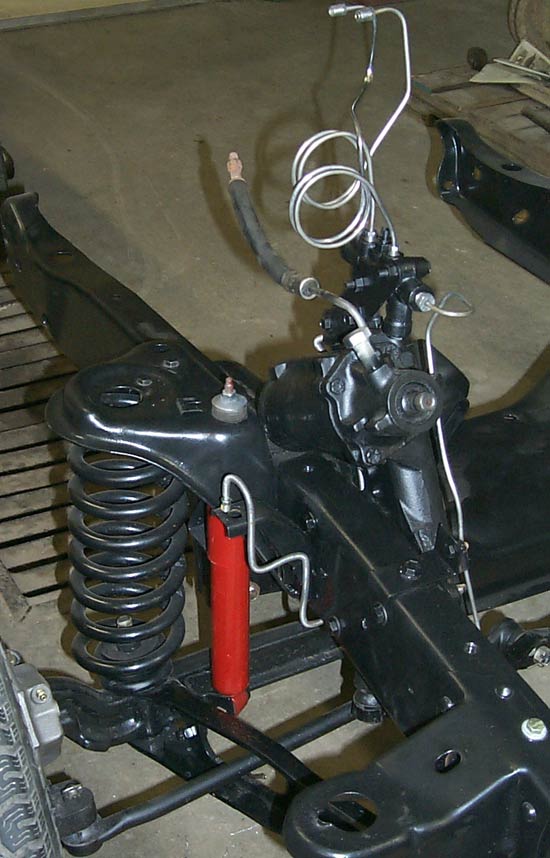
Fig. 3 - Here's the newly-mounted disc brake line brackets. You can
also see the bracket in the upper right-hand corner on the top of the
frame, which is used to help secure the rear brake line as it exits the
proportioning valve.

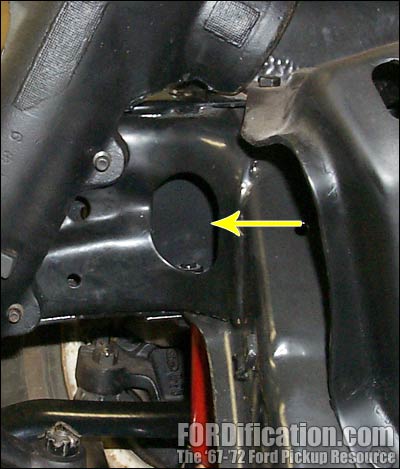
Fig. 4 - I was able to tighten the bracket bolts with a distributor
wrench through this hole.
|