 |
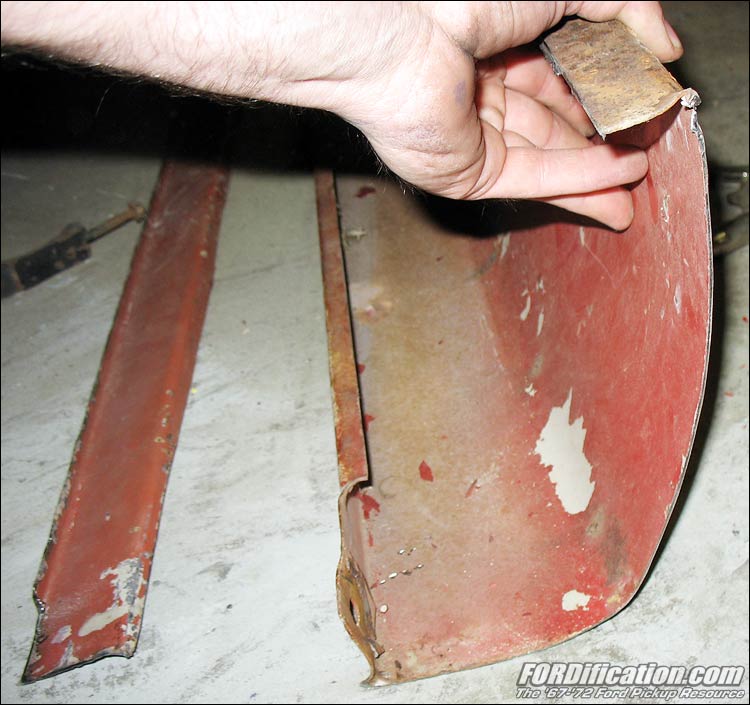
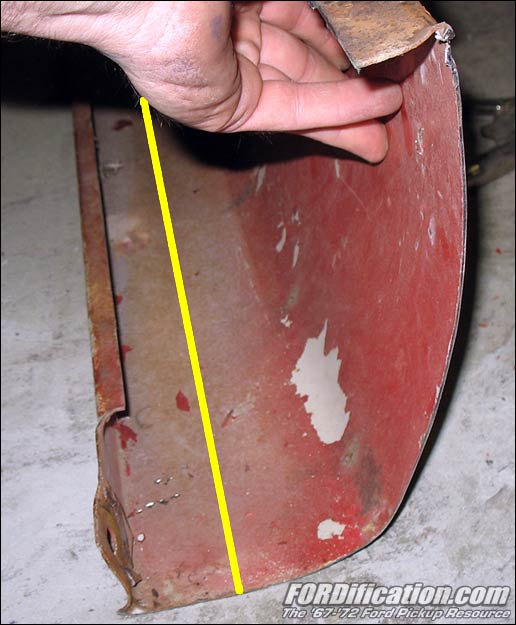
Fig. 03 -
Here's another view after it was flipped over. The rusty area by my
hand is where the upper and lower besides were spot-welded together. |
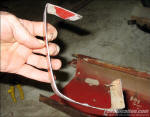 |
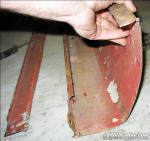
Fig. 04 -
I cut out a small section of leftover bedside to mold into a
template. The only modification I made was to bend a wide lip across
the top, where it will attach to the flat panel at the back of the
bed, under the tailgate. |
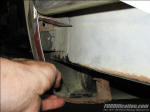 |
Fig. 05 -
I'm holding the template up against the L/S endcap, to illustrate
the similarities of the two. However, I did modify this template a
little bit to allow the upper mounting lip to be more horizontal.
You can also see where the rollpan will interfere with the tailgate
hinges' lower bolts, so the flat panel under the tailgate will be
slightly notched to allow easier access to the bolt. |
 |
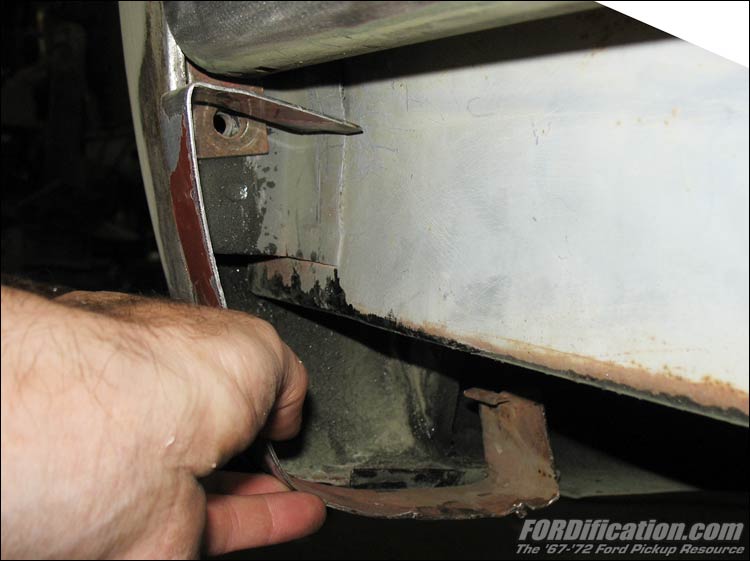
Fig. 06 -
Here's an altered version of Fig. 03. This shows where the upper
section was trimmed off. It turned out to be perfect to use for the
rollpan's top mounting bracket, attaching the top lip of the rollpan
to the flat panel under the tailgate. |
 |
Fig. 07 -
Here's the new mounting bracket trimmed off and attached under the
tailgate. I initially just attached it with three sheetmetal screws,
which gave me the flexibility to adjust it's position. The top edge
of the rollpan will lay down on top of this and get welded on. |
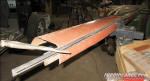 |
Fig. 08 -
Now I needed to bend the upper lip of the rollpan. Since I didn't
figure anyone in town had a 68" bending brake, I was on my own. I
ended up clamping some heavy 1/4" steel on one side of the rollpan
to use as the bending die, and a piece of angle iron to the other
side for support, and then clamped them all down in the bench vice.
Since the sheetmetal was so thick, I could only bend a little at a
time, going back and forth, until I finally had my 90-degree bend. I
almost ripped the bench vise out doing this, and had to reinforce
the workbench top a little. |
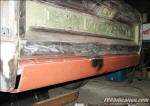 |
Fig. 09 -
Once I got my top mounting lip bent, I did a quick mockup. As you
can see, the lip will need trimmed down to allow it to mount flush. |
 |
Fig. 10 -
Since the front edge of this upper lip will be up against the flat
panel under the tailgate, it needed to be a straight cut. And since
I was using a 4-1/2" angle grinder with a cut-off wheel to do the
cut, I needed a straight-edge to keep the cutoff wheel from
wandering around. So the steel that was used as the bending die in
Fig. 08 became the straight-edge. |
 |
Fig. 11 -
Just a quick view of the cut using the steel straight-edge, which
worked out perfectly. |
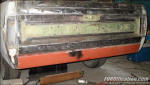 |
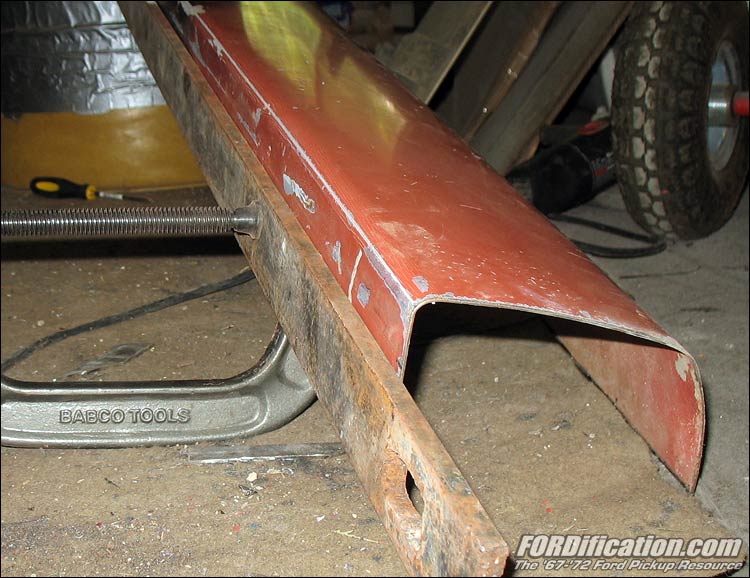
Fig. 12 -
After trimming down the upper mounting lip, I had to grind each end
of the rollpan for a snug fit side-to-side, and then I mocked it
into place. In this shot it's just sitting there...wedged between
the bed endcaps on each end, with the top lip of the rollpan resting
on the mounting bracket shown above in Fig. 07. |
 |
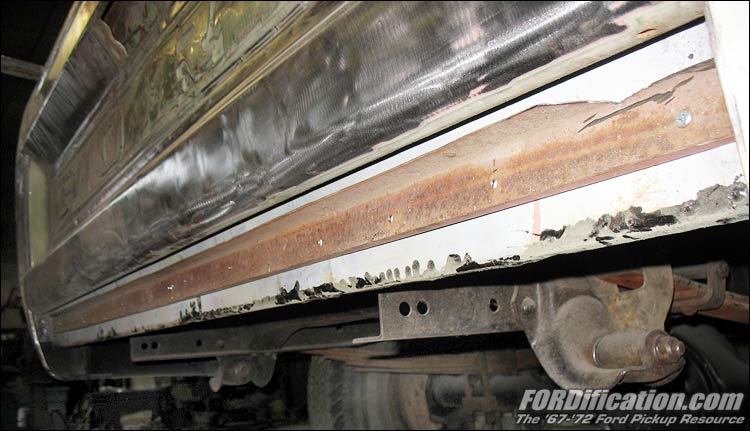
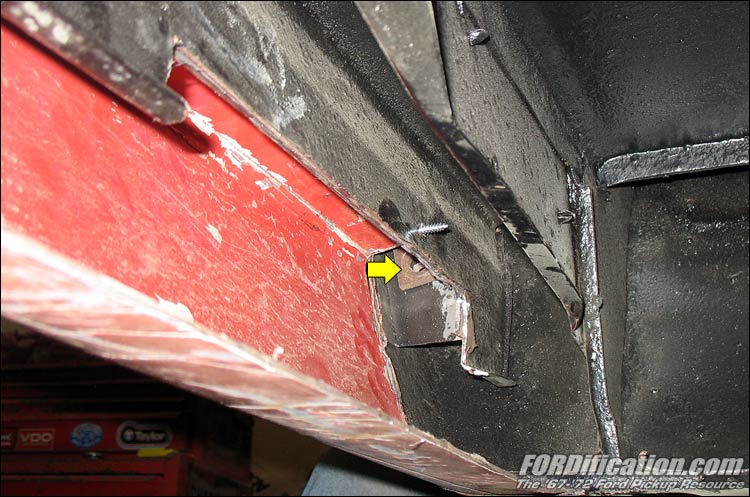
Fig. 13 -
A view of the backside of the rollpan shows how I had to notch the
flat panel below the tailgate, to allow me access to the lower
tailgate hinge bolt (yellow arrow). It's still a tight fit, but
access to that bolt would have been virtually impossible without the
notch. You can also see the shiny sheetmetal screw (which holds the
mounting bracket) poking through that flat panel. |
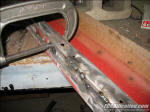 |
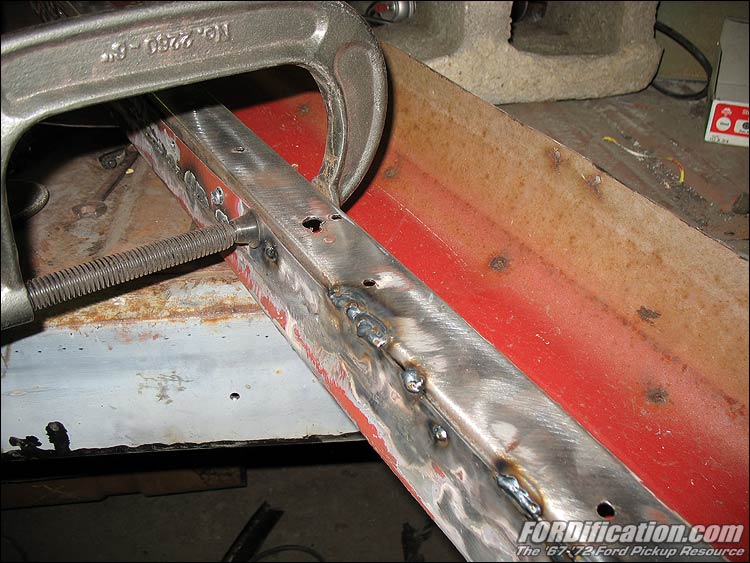
Fig. 14 -
Once I verified that the rollpan wouldn't interfere with normal
tailgate functions, I removed the tailgate and then drilled four
holes down through the rollpan's mounting lip and the mounting
bracket, and attached it via sheetmetal screws. Then I removed
everything from the truck, so that I could weld the bracket to the
rollpan. I drilled 15-20 evenly-spaced holes across the lip down to
(but not through) the mounting bracket, and spotwelded the two
together through those holes, as well as running a bead across the
back where they meet. This shot was taken about halfway through this
process. |
 |
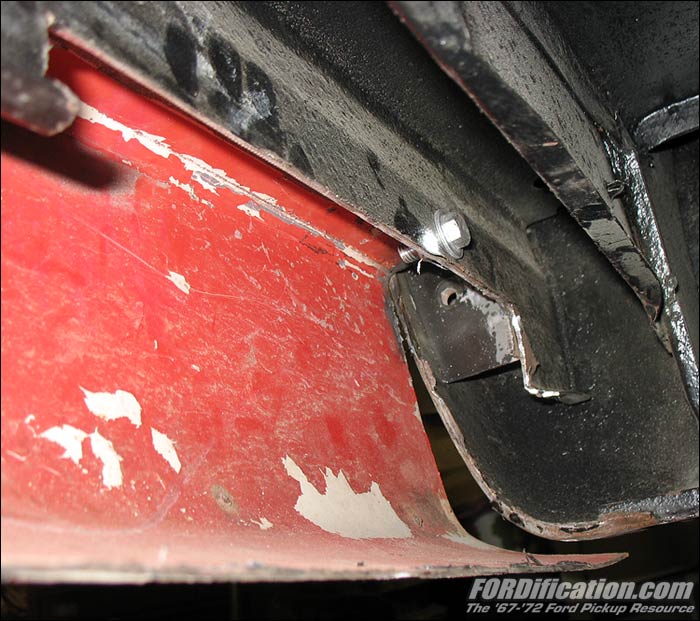
Fig. 15 -
Once the mounting bracket was solidly welded to the rollpan and the
welds ground down smooth, it was time for final assembly. The holes
for the sheetmetal screws holding the mounting bracket to the flat
panel below the tailgate were drilled out larger, and the top
portion of the rollpan was tightened down with bolts and nuts. |
 |
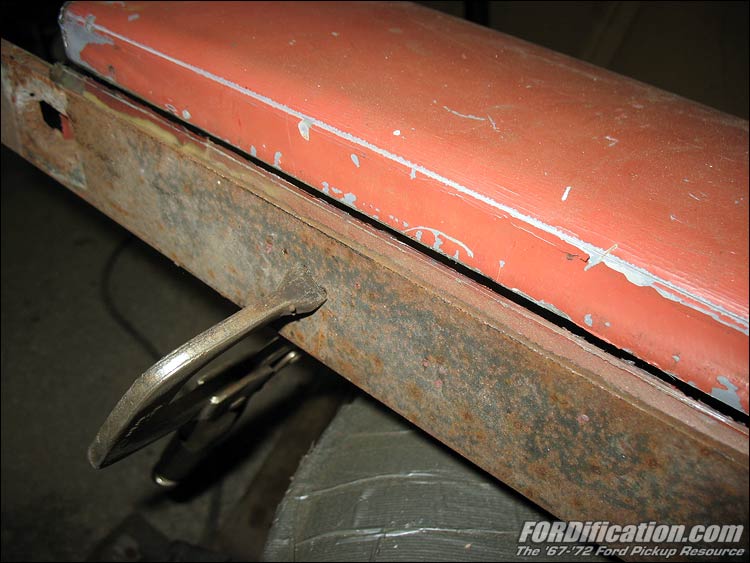
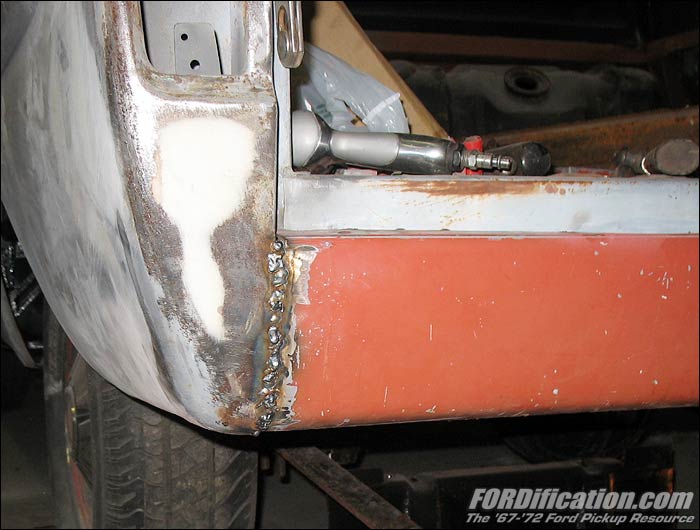
Fig. 16 -
Each end of the rollpan was then welded onto the bed endcaps.
And no smart comments about my ugly
welds are necessary....trust me, I know! It's just very
difficult...at least for me...to weld sheetmetal with a 175-amp MIG
without burning through, especially if there's any kind of gap
between the two pieces. Oh well, these will be ground down smooth
anyway. |
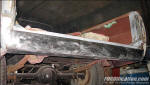 |
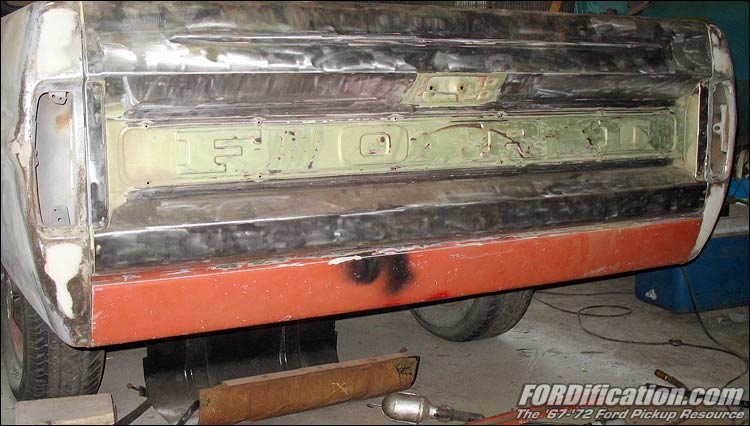
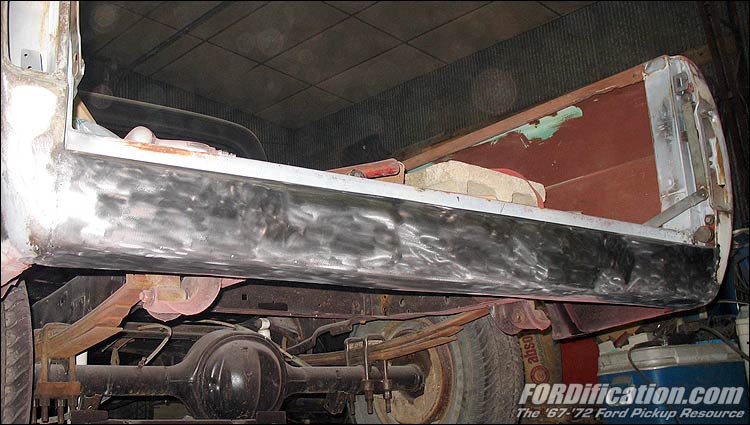
Fig. 17 -
The welds were ground down smooth on each side, and then I stripped
the rollpan to bare metal in preparation for paint. |
 |
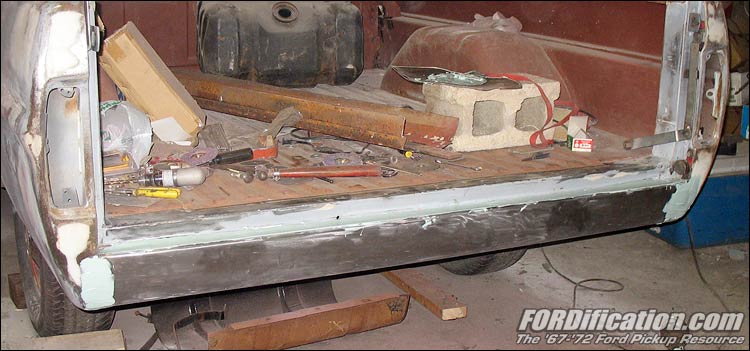
Fig. 18 -
This is as far as I got this evening. The filler is applied to each
side where the welds were ground down, as well as a thin filler
layer across the top. When I return for another shop day, I'll sand
these areas down, and the rest of the truck will be ready to paint! |