|


|

Page 12
Mounting and Repairing the Box |
|
 |
|
Friday, June 01, 2007 - I finished up at
work about 3:30 this afternoon, and decided to head to the shop
to get a head start on the coming weekend's activities, which
will hopefully mean getting the box mounted, sanded down and
painted. I figured I'd have a couple hours to work this
afternoon, but ended up working till about 9PM.
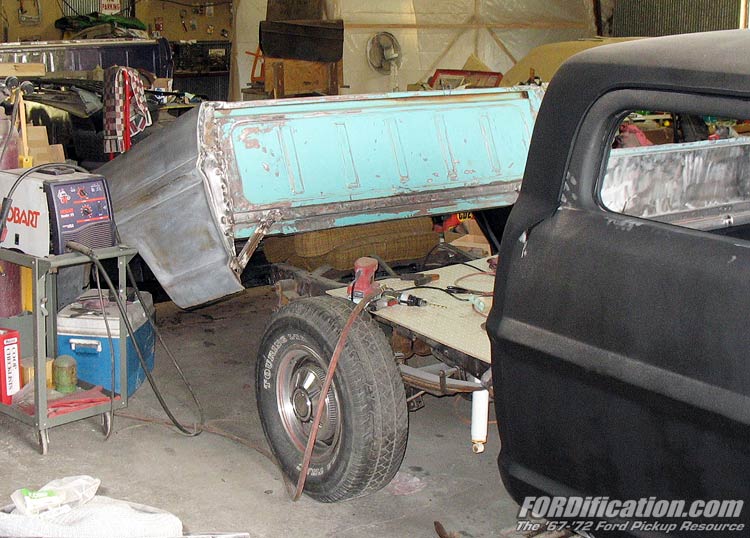
Anyway, before
mounting the box I had some welding to do. The right-side
bedside was completely broken free at the front panel, so it
needed to be reattached, so I welded up the areas where the
bedside and the front panel overlapped. Fig. 01 shows the top
section after welding and cleaning it up a little with the
grinder. I wasn't overly concerned with making it really pretty,
since a tonneau cover will eventually cover this section anyway.
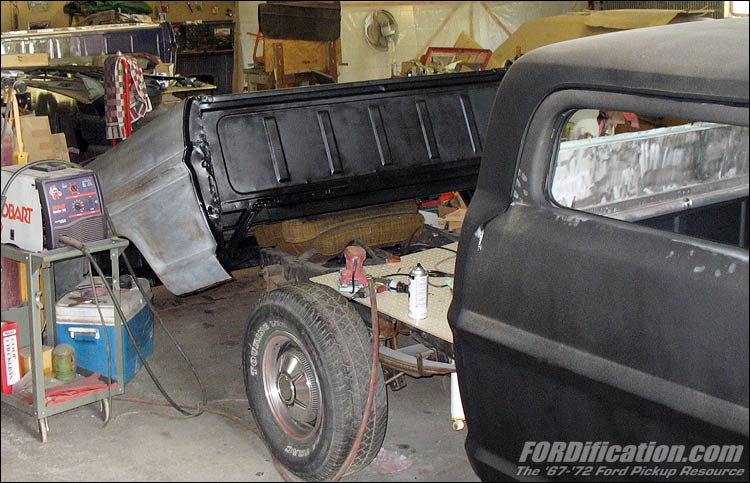
Then I got
started on the front of the box, just sanding it down and
getting it roughed up so the POR-15 will have a rough surface to
adhere to (Fig. 02). Then I got that front panel covered with
the POR-15, let that set up a bit and then hit it with several
coats of Krylon Flat Black (Fig. 03).
After the paint
had set up for a short while, I decided to just go ahead and
slide the box all the way up onto the frame, so I could start
evaluating the rest of the bed...to see what bodywork would be
needed.
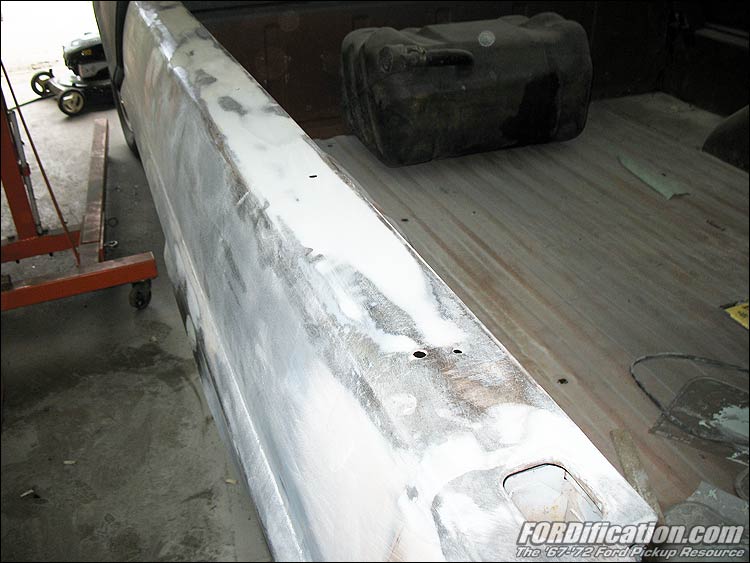
The previous
owner had filled the bed seams, and although I never really
checked it out closely, I pretty much figured he'd filled them
with body filler rather than welding them up, which I discovered
to be true. I'm not going to redo them however, since I sealed
up the back side of the body seam with POR-15, so I shouldn't
have any problem with moisture getting in behind the filler. The
bedsides aren't too bad, but they're definitely going to require
a little work before painting. I spent some time sanding on the
box to smooth out the gray primer a bit, and making it easier to
find any imperfections that would need to be dealt with....and I
found plenty. The bedsides themselves aren't too bad, but the
top of the bed rails are pretty wavy. At first I wasn't even
going to mess with them, but decided to at least get them a
little smoother. I'm probably going to be installing some
bedrail covers in the future, so they won't have to be perfectly
smooth.
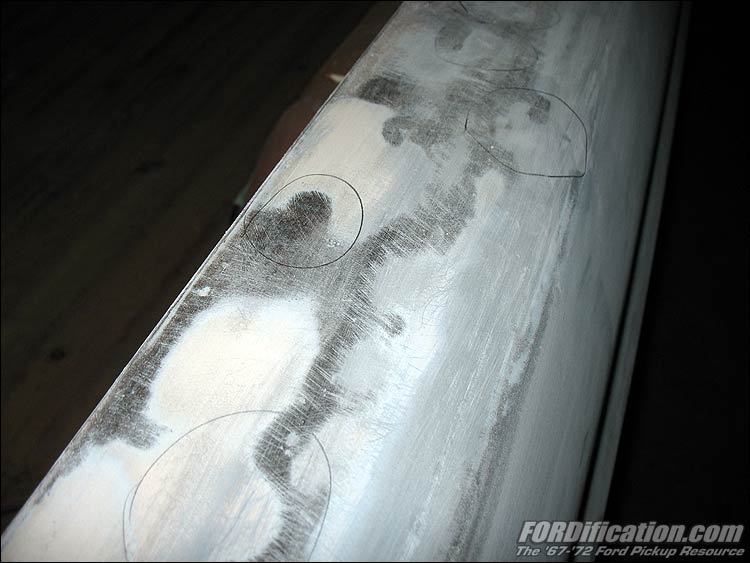
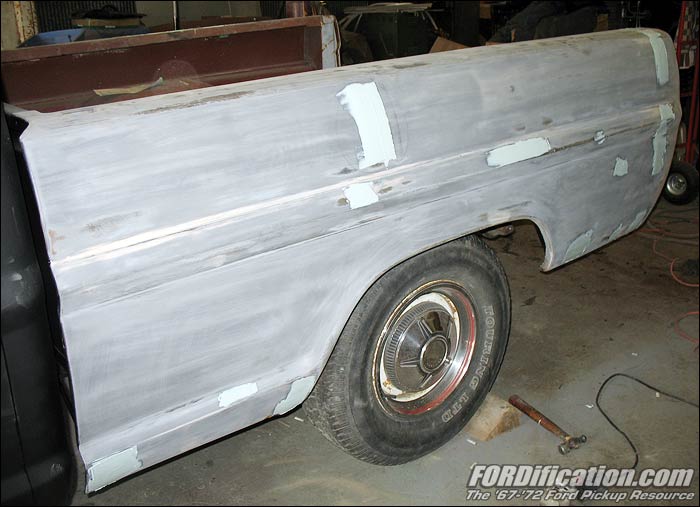
After sanding
the sides down, I spent some time tapping down the high areas
and then marking the low areas with a pencil (Fig. 05). These
are what I'll be getting started on when I return tomorrow
morning. Check this page tomorrow for the day's updates...since
I'll just post tomorrow's pics to this same page. Stay tuned! |
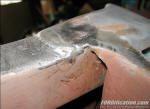
Fig. 01 - Here's where the bedside and front panel meet
up.

Fig. 02 - Here's a shot of the bed's front panel, sanded and
ready to paint.

Fig. 03 - The bed's front panel is now painted

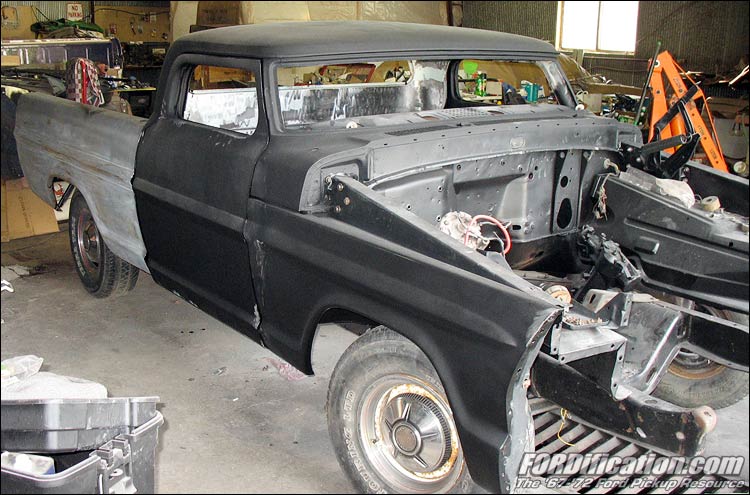
Fig. 04 - The bed is just setting there...it still needs
bolted up...but it's ON!
Fig. 05 - Marking the low areas of the bed which would require
some filler |

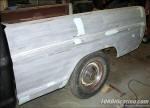
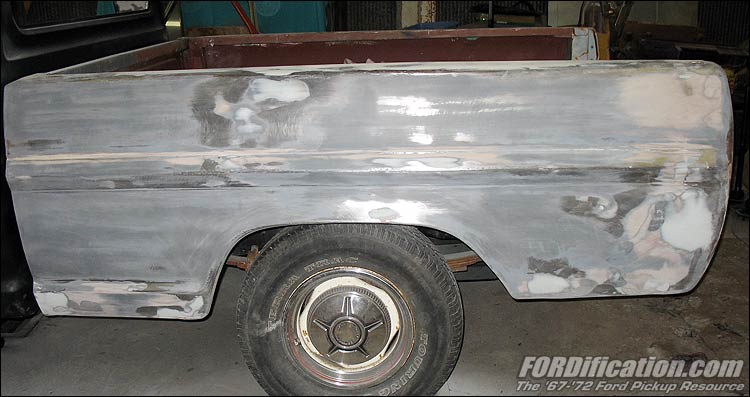
Fig. 06 - A 'before shot' at the beginning of the day, after
the first of three body filler applications
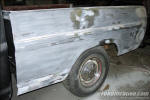
Fig. 07 - The finished bed, ready to paint |
Saturday, June 02, 2007 - I spent the day
today alternating between bodywork on the box and getting the
390 cleaned up some more. Both turned out pretty well, I think.
Fig. 06 shows the left side of the box after the first
application of body filler at the beginning of the day and Fig.
07 shows the same side at the end of the day. I ended up making
three passes with filler today, since after I sanded each
application down I either found that I hadn't applied enough
filler the first time, or found another low spot. The left side
required the most work...the right side wasn't really too bad.
The top of the bed-sides were seriously dented up, and at first
I wasn't even going to mess with them, and then just install
some bed rail covers to hide the dents. But I decided to go
ahead and give it a shot and they turned out much better than
I'd hoped, so now I might just not worry about the rail covers.
There were some holes drilled along the top for bed rail
tiedowns but I decided not to mess with those, since they should
be covered by the tonneau cover that will be installed in the
future. |
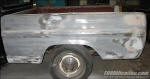
Fig. 08 - Another view of the finished left
side. I didn't get this completely show-car smooth,
but once it's painted you'll have to look hard to
find the imperfections. |
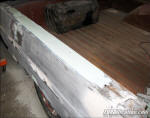
Fig. 09 - Here's the left-side bed rail top
after it's initial filler application... |
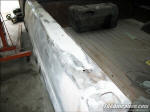
Fig. 10 - ...and here's the finished product.
Not 100% perfect, but 100% better than it was, and
good enough for this project. |
|
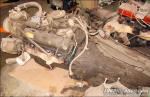
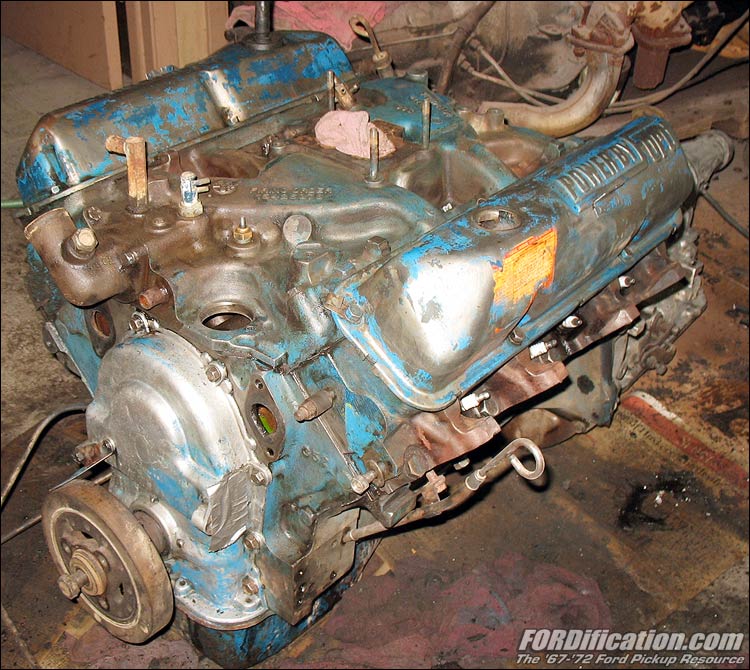
Fig. 11 - Here's a shot of the engine/tranny before getting
started on the cleaning

Fig. 12 - ...and here's what it looks like now, after
several hours invested in degreasing it
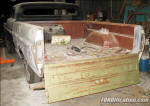
Fig. 13 - Here's a shot mocking up the tailgate and attaching
hardware, so that it could be painted with the box. |
Each time I applied some filler, I'd have to let it set up
before working it, so in the meantime I'd work some more on
getting the 390 cleaned up. I was really dreading doing this,
since I don't have access to a power washer, so I was going to
have to do this completely by hand, but it actually wasn't too
bad. I started off scraping the grease with a putty knife and
then sucking it up with the ShopVac, then hitting things with a
wire wheel attachment in the drill, sucking it up with the
vacuum again, and then finally simply spending time with
cleaning solvent and rags. In fact, after getting it as clean as
it now is, I've decided I really like the look of the engine as
it sits, so I won't be painting this engine...I'm just going to
leave it as it is, which I think will help add a little more
'authenticity' to the budget-build/rat-rod look.
I've also decided to temporarily forego the installation of the
4-bbl intake manifold, mainly due to time constraints. I'm just
going to continue getting this cleaned up and then install it
as-is, and decided that I can install the 4-bbl setup at a later
date, once it's a driving vehicle. So now I simply need to get
the engine peripherals cleaned up and re-installed, as well as
drilling out three broken-off exhaust manifold studs from the
cylinder heads.
After I was finally satisfied with the bodywork to the bed, I
went ahead and got it bolted down to the frame. I ended up
having to use two standard bolts, since the square cut-outs in
the bed floor had rounded off enough that I was unable to
tighten the the factory carriage bolts without them spinning
around. (I wasn't worried about appearance since they'll be
under the tonneau cover.) I then got started on trial-fitting
the tailgate and attaching hardware. This tailgate has the
full-size rear trim cover on it, which is dented up and will be
removed. I haven't decided yet what to do with the cover's
mounting holes in the tailgate yet, but I'll probably go ahead
and just weld them up.
|
So this is where things sit at the moment. I need to finish
getting the tailgate mounted to that I can get it painted with
the bed. I'm going to hold off on painting the bed until I can
get the engine/transmission installed and get the hood on the
truck, so the bed, tailgate and hood can be painted together in
one day. Therefore, next on the agenda is to get the broken
exhaust manifold bolts drilled out and to get the rusty junkyard
headers sandblasted and painted, so that the engine can be
installed. Stay tuned! |
|
|
 |

Want to link to
this site? Please save this banner to your hard drive to place on your
webpage.
The correct link to use is
http://www.fordification.com
|