|
Fig. 3 - A shot taken after removing the main front case.
That metal backing will be stripped and repainted. The
evaporator appears to be in great shape, with no visible
internal corrosion, so I'll attempt to clean this one up and
reuse. |
Fig. 4 - After removing the metal back and blower motor,
I found a field-mouse condo...fortunately completely deserted.
The blower motor was tested and works great, so I'll just need
to clean it up and lubricate the bushings before reusing it. |

Fig. 5 - I then removed the evaporator mounting plate and
flapper door, to expose the heater core. These metal parts will
also be cleaned and repainted. In the background you can see my
'bolt board'...a piece of cardboard with an outline of the A/C
unit drawn on it with a magic marker, where I can situate all
the bolts/screws as they're removed as to their proper
orientation. |

Fig. 6 - Here's a close-up shot of the front trim clips.
These are virtually impossible to remove. I gave up trying and
just broke the studs off the trim. I will be drilling the trim
out and using small black-oxide Allen-head cap screws to hold
this trim on, which will give the unit an 'industrial' look. |
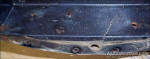
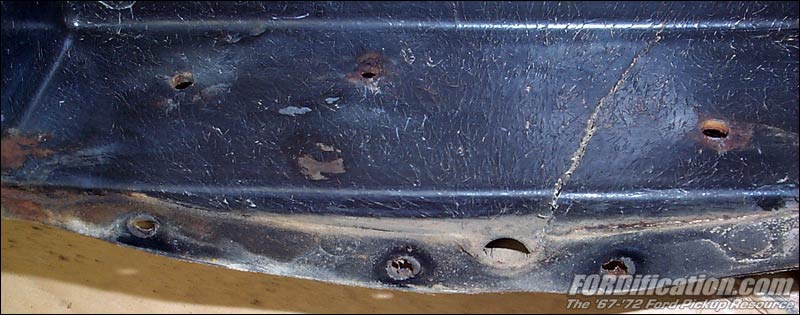
Fig. 7 - This shot shows a crack that will need repaired.
This one is located on the bottom of the main cover, right next
to the drain hose connection. When the evaporator 'sweats'
during use, the moisture will condense and run down to the
bottom of the case here and out the tube. Fixing this crack will
prevent the condensate from leaking through this crack and into
the cab. |

Fig. 8 - Here's a back view of the main front cover. You can
see the foam-covered flapper doors on the right, which are
located just behind the front vents. |
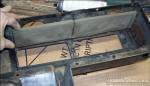
Fig. 9 - You can see the foam on this flapper door in in
great shape. I'll only need to gently rinse it out in the sink
to reuse. Once the flapper door is lifted, the front registers
were removed. The middle attachment point (the plastic arm
between the two vent windows) is broken.... |
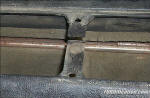
Fig. 10 - ...as shown in this front view. This repair will
be done with a 2-part epoxy. The front trim will completely
cover the repairs to this area. |
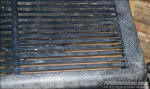
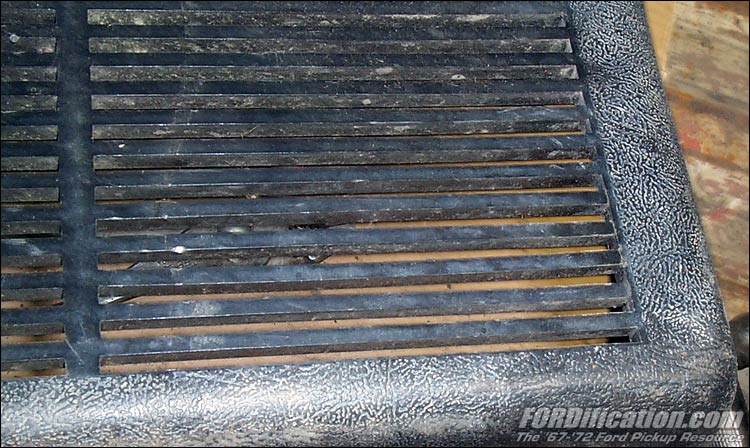
Fig. 11 - This is the third of 4 necessary repairs. Though
you can't see it in this shot, the lower three grille tines are
disconnected from the main case along the right side. They're
just pushed into place here, and you can see that it'll be a
quick and easy fix by using epoxy on the back side. |

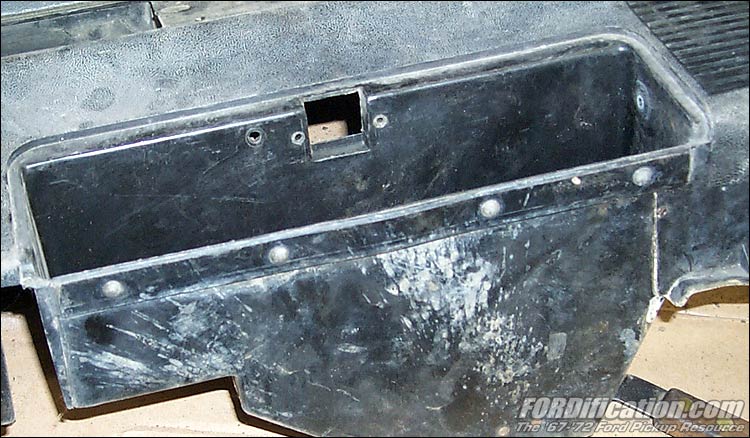
Fig. 12 - This will be the final of four necessary repairs.
These four rivets are what hold the glovebox door hinge. The
plastic hinge has broken, so I'll need to drill out the rivets
to replace the door. |
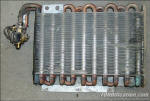
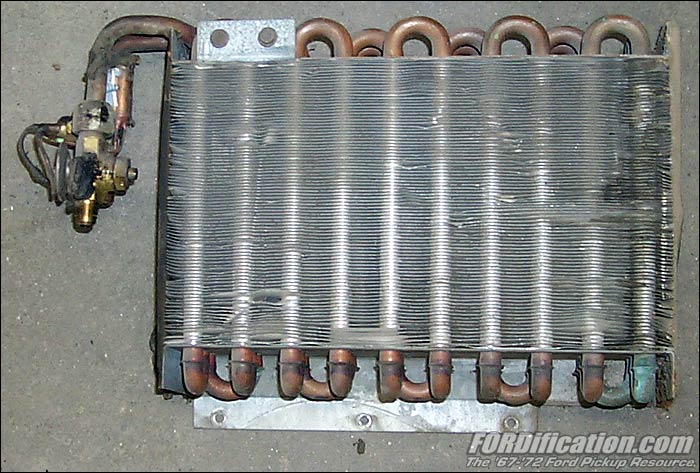
Fig. 13 - This is the condenser and expansion valve. The
condenser will be cleaned and reused, but the expansion valve
will need to be replaced as a cautionary measure. |
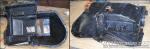
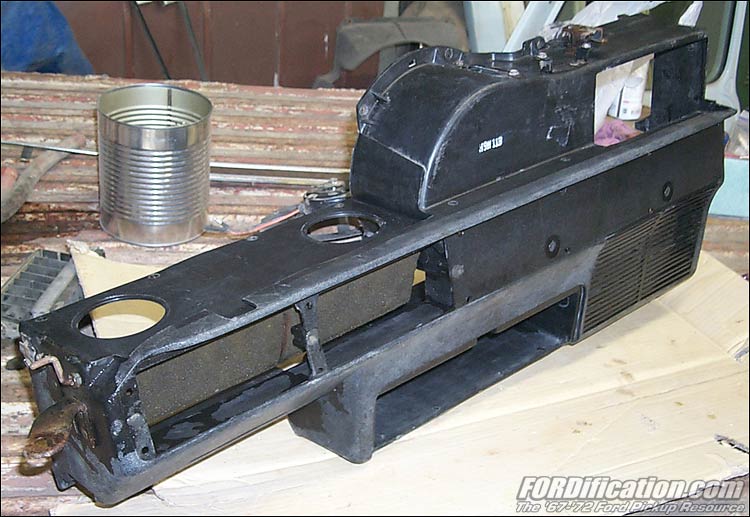
Fig. 14 - This is the back cover which holds the heater
core. It's been given a good thorough cleaning, and now just
needs a little paint touchup on the metal parts to be completed.
I considered painting the plastic case, but decided I'd prefer
to keep the factory finish. |

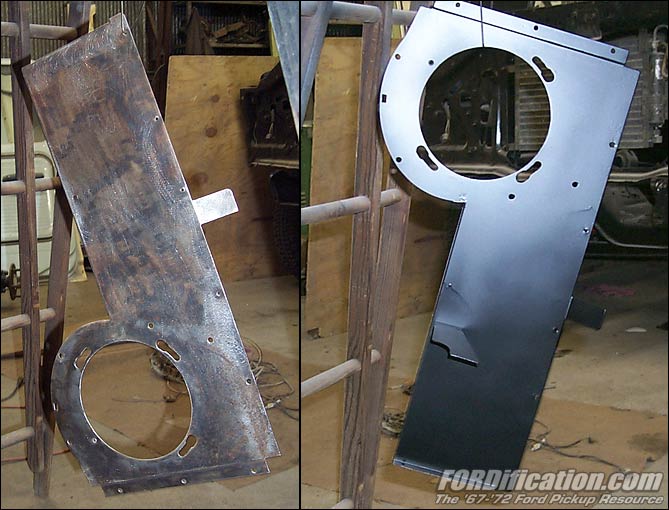
Fig. 15 - This is a 'before' and 'after' shot of the
cleaned-up and painted metal back support. |

Fig. 16 - ...and here's a view of the main case after a good
scrubbing. |
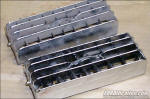
Fig. 17 - One front register was halfway cleaned up here.
There are some very small pits in the plating on these, I'm
hoping chrome polish will clean up. |