|
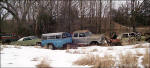
Fig. 3
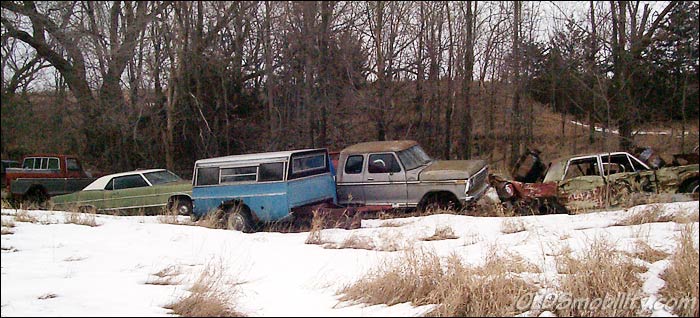
- Here's where the '79 called home for many years before I came along.
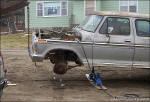
Fig. 4
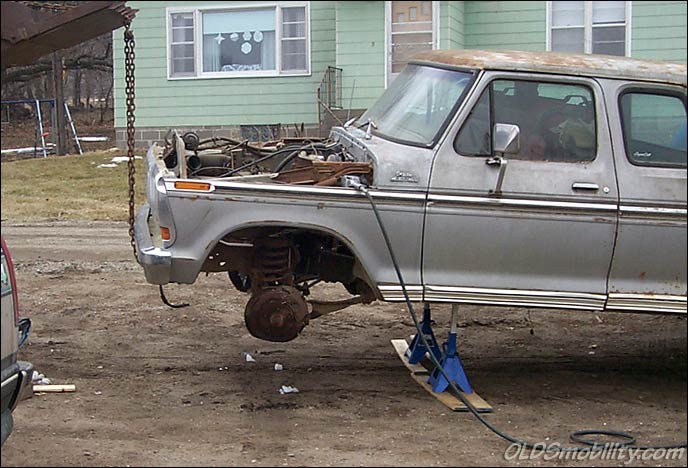
- A quick before shot. The truck is setting on jackstands, but the front
end loader is also supporting the truck, just as a backup.
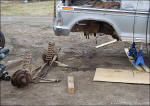
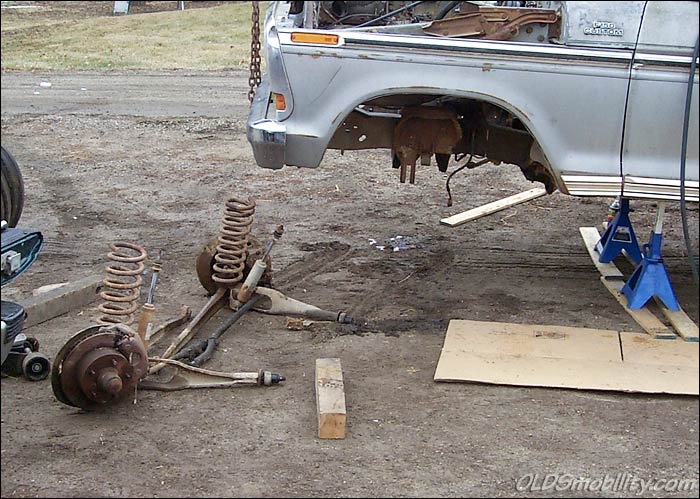
Fig. 5
- 30 minutes later... and voila'! One complete Twin I-beam suspension
with disc brakes.
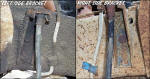
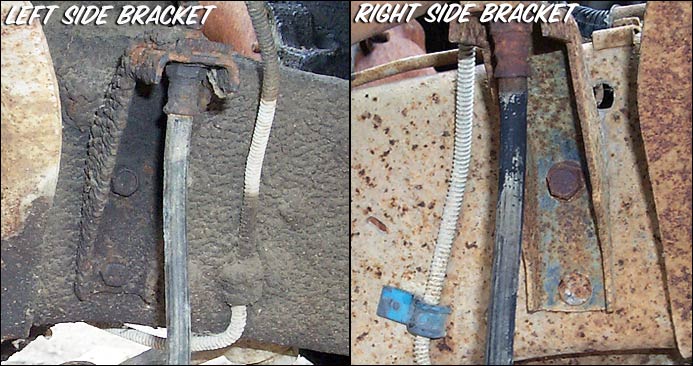
Fig. 6
- It turns out that the brake hose brackets are attached differently,
though the brackets themselves are identical. The left side is held on
with two bolts, while the right side bracket is attached with a bolt and
a rivet! |
Today I got
started on getting the disc brake setup from the '79. It was parked up
on the side of a hill with no wheels or tires. Since it would have been
dangerous jacking it up on the hillside, my buddy Ray offered to tow it
down to his shop where I'd be out of the snow and muck, and have access
to the air compressor for running the air tools. I put some rolling
stock on the back, and then he used his front-end loader to lift the
front end to bring it down to his shop. After almost completely tearing
up the side of the hill with the tractor tires (it was a sloppy mess!)
we got it out.
It turns out
Ray's air compressor quick-disconnects were different than my air tools,
so I ended up completely dropping this front end with hand tools. (Well,
he gave me his impact wrench, but there wasn't anyplace it would fit.)
But since I'd already had some practice on my '67 a couple weekends ago,
I knew what to do, and had the entire front end on the ground in about
30 minutes. It took another hour to get the related accessories, like
the power booster, master cylinder, proportioning valve, brake lines and
brackets, etc.
Why did I
drop the entire assembly as opposed to just taking the disc brake
components? Well, all I really need is the disc brake spindle and all
hardware outboard of that. However, the spindle is held on via the
kingpin, which is notoriously difficult to remove in the field. It's
much faster and a lot less of a headache to remove the entire assembly,
then disassemble in the shop. To remove as an assembly, remove in this
order:
1) Remove
two bolts holding the coil spring retaining strap at the top.
2) Loosen the upper shock absorber nut about 90%, but don't remove it
completely.
3) Disconnect the tie rod from the steering box's Pitman arm and
separate the drag link from the center link.
4) Disconnect the brake lines at the caliper.
5) Remove the large nuts holding the rear of the radius arms to the
frame brackets.
6) Remove the I-beam pivot bolts and pry the I-beams out of the frame
brackets.
At this
point the suspension assembly should be hanging by the shock absorbers.
Put a hydraulic jack under one side's brake assembly to relieve the
tension, then lay on your back and give that side a couple hard kicks to
slide the radius arm out of the frame bracket. Then remove the shock
absorber nut and lower to the ground. Repeat for the other side.
The
left-side brakeline bracket is held on with two bolts, while the
right-side bracket is held on with a bolt and a RIVET! Since the
brackets are identical, I'll just unbolt another bracket from a
different truck so I won't have to mess with trying to remove a factory
rivet. |