FORDification.com
   (powered by Google)


  HOME

  Technical Articles

  Factory Literature

  Discussion Forums

  Photo Galleries


  Service Bulletins (TSBs)

  Decoding Your VIN

  Diagrams & Schematics

  Links & Resources

  In the Movies

  Downloads
  Member Meet & Greets

  In the Media

  Site Index

 MISC / PERSONAL

  My Truck Projects

  My Heinz 57 '67

  I've Been Censored!

  Contact


You are here: Home My Truck Projects The '67 Page 18
Back to My '67 Project Index
Page 18: Getting Started on the Rusty Roof

Sunday, January 18, 2004  -  Well, I got a late start today...didn't make it to the shop till mid-morning, but I was ready to hit the ground running. I was ready to tear into the rust in the cab roof...and the cut-off tool definitely got a workout today!

I started by removing the drip rails (Fig. 1, 2 and 3). I cut from the top down, making the cut right up flush against the cab. This was slow going, since the drip rail is fairly thick and I had to occasionally pause to let the air compressor catch up and cool down. Once all the drip rails were removed I made a mark all the way around the roof along the cab ridge, which is about 3 inches up from the drip rails. I used this as my reference point for removing the rusty strip.


Fig. 1


Fig. 2


Fig. 3

Fig. 4


Fig. 5


Fig. 6


Fig. 7

I started making my cut about 1/4"-1/2" below the ridge line. I'm figuring that any touchup later will be easiest to hide if I make my two pieces join right on the ridge, but I wanted to give myself enough metal to play with. I'd rather have too much and have to trim a bit more, than to cut too much off the first time. Because I made the cut to remove the drip rail right up against the cab, and because of the rust in this section, the rusty piece came right out without having to cut the bottom side. In the pics you can see there's an extensive amount of rust along the front roof panel...but with it being open like this, I'll be able to hit it with the sandblaster and then treat it before welding the patch panel in. Figs. 6 and 7 show the rusty panel completely removed.

The drip rails are basically an 'L' shape. The short leg of the 'L' sticks out as the drip rail, the long leg is pinch-welded between the roof panel and the lower cab. Since I'd cut the short leg off earlier, the long leg was still there and needed to be removed, so I dug out the air chisel and popped the welds holding it onto the lower cab (Fig. 8) and then hit them with the grinder to smooth it out.


Fig. 8


Fig. 9


Fig. 10


Fig. 11

Those of you 
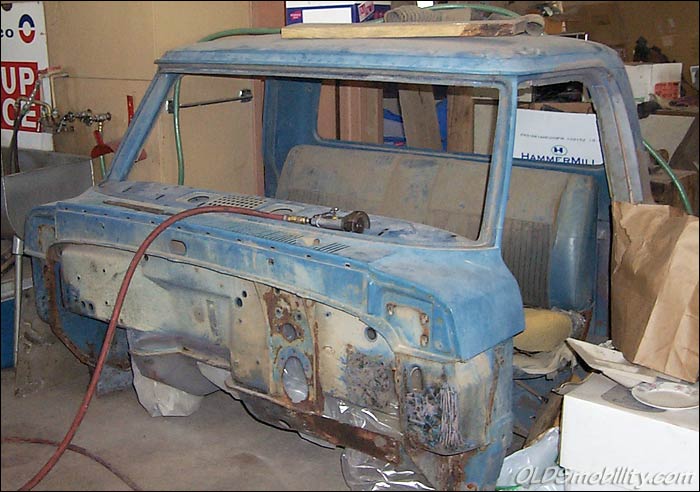
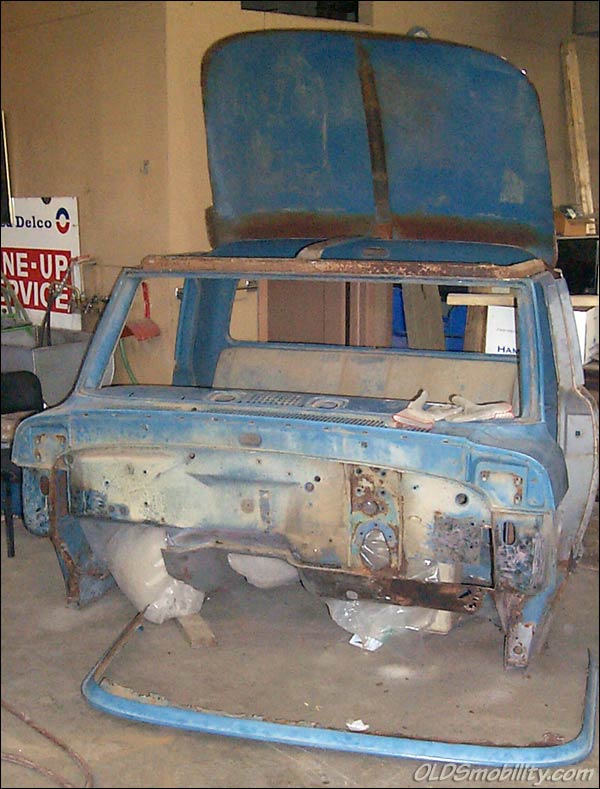
who have been following this project will recognize the blue cab in Fig. 9 which is going to donate a good roof patch panel. It's the '68 cab I was intending to use a while back before stumbling across my present cab. I saved it specifically for the purpose of this patch panel.
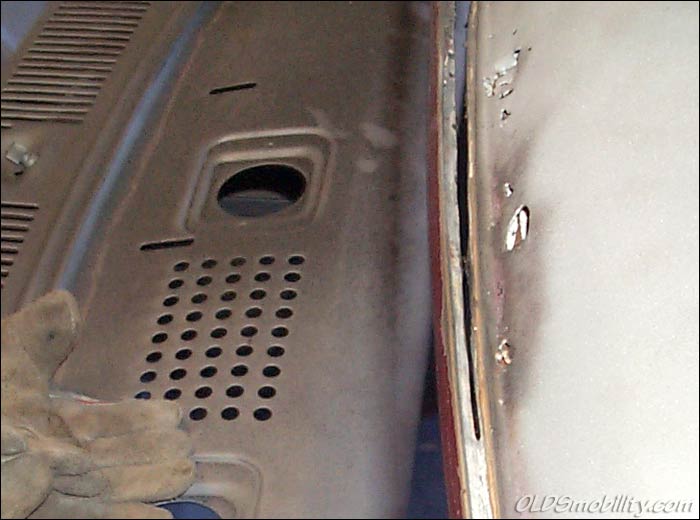
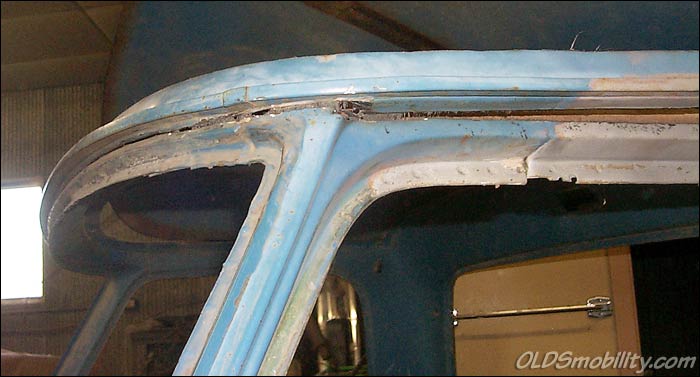
I started cutting this one BELOW the drip rail and into the lower cab (Fig. 10), with the intent of saving the entire 'L'-shaped drip rail. The patch panel and the drip rail are spot-welded together, so I needed 
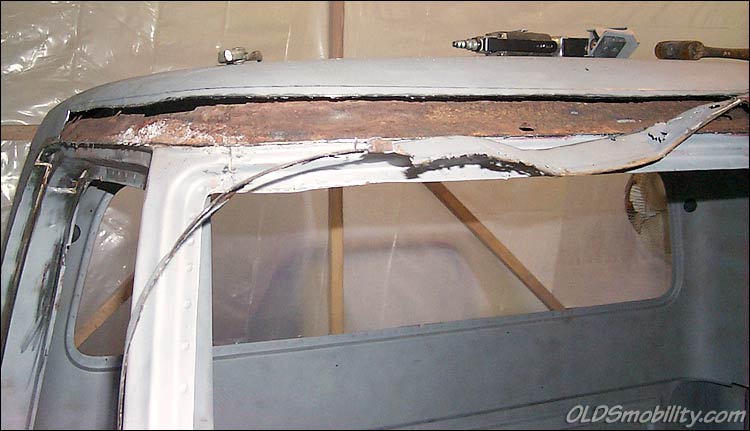
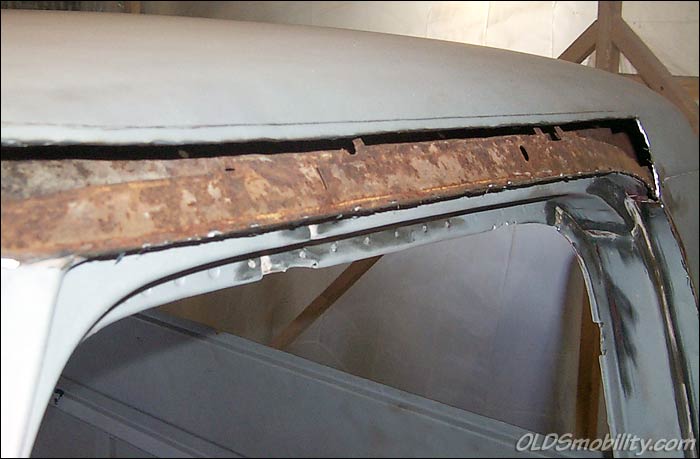
to save the two as an assembly. For the upper cut I followed the ridge 
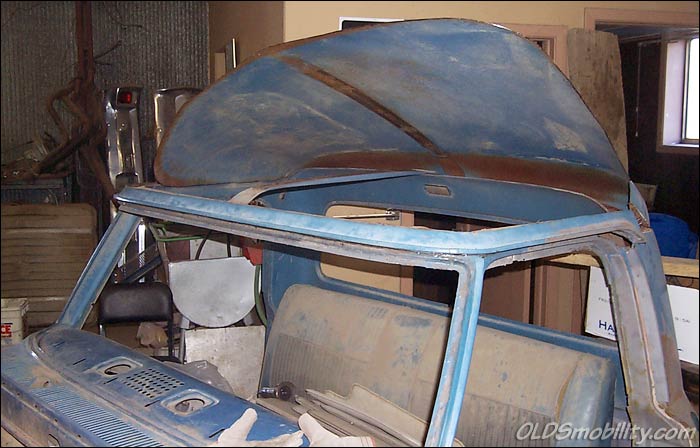
above the drip rail all the way around. I then peeled back the roof (Fig. 11) to allow me access to cut the spot welds holding the drip rail 
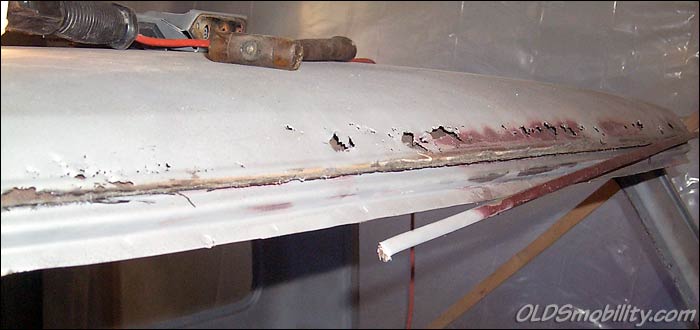
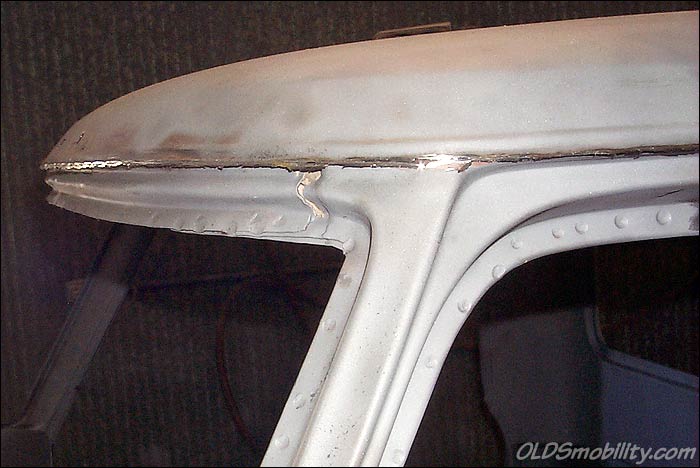
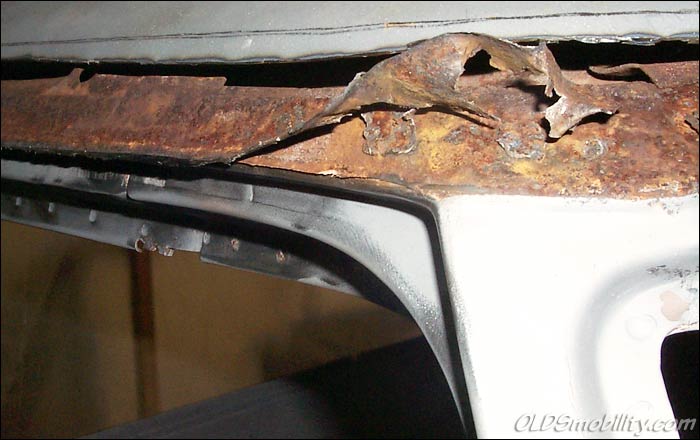
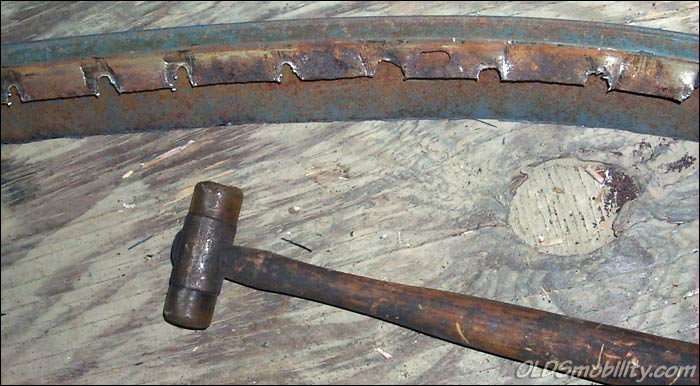
to the lower cab. Figs. 12 and 13 shows the removed patch panel. When I removed the patch panel, I also had to remove part of the lower cab with it, so once it was out on the floor, I was able to use the air chisel again to pop the spot welds loose to discard that unneeded piece.
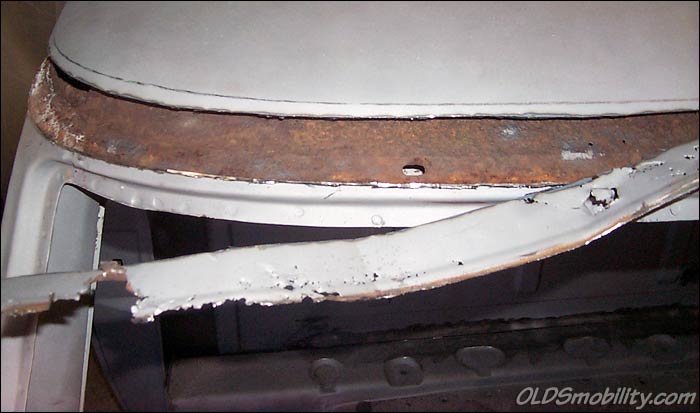
I now have the drip rail and roof patch panel as a single welded assembly, which simply needs to be trimmed to fit along the sides. The roof panel on the other cab will be trimmed around the top to allow me to make the 
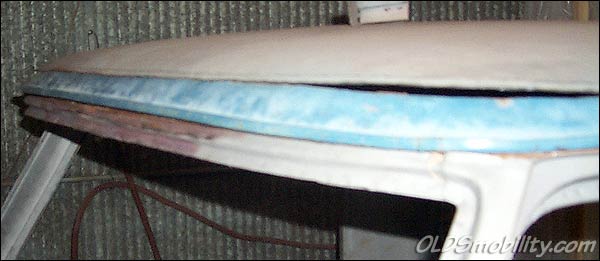
joint right along the ridge. Fig. 14 shows the bottom side of the patch panel. This flange will sit down flush on the lower cab portion. Since I won't be able to spotweld it like the factory did, I'll be welding it along the bottom all the way around, where it will be mostly hidden underneath the drip rail. Fig. 15 shows the patch panel being trial-fitted into place. It's looking like it's going to fit very well, after a little trimming here and there.

This is as far as I got today, after about 9 hours at the shop. Just removing the patch panel took about 2-1/2 hours. Next on the agenda is sandblasting the patch panel and the roof area behind where the patch panel will go, and then welding them on.

Stay tuned for more updates!


Fig. 12


Fig. 13


Fig. 14


Fig. 15


first  previous

next   last


Home  |  Back to My '67 Project Index  |

You are here: Home My Truck Projects The '67 Page 18


Want to link to this site? Please save this banner to your hard drive to place on your webpage.
The correct link to use is http://www.fordification.com


Copyright library© 1999-2019 FORDification.com unless otherwise noted. All rights reserved.
All brand names and product names used on this website are trade names, service marks or registered trademarks of their respective holders.  
No portion or content of this site may be reproduced or otherwise used without explicit permission.
To report problems or provide comments or suggestions, please click here.