How to do up Rods for "The
Poor Man's 427" Part 1
December 23, 2004 at 1:07 AM
http://www.network54.com/Forum/message?forumid=74182&messageid=1103792863
Welcome to another issue of "The
Poor Mans 427"! We are doing up the rods in this issue. Part 1
of 2. So don't leave your chair...this is some good stuff here.
Grab a few beers and chips...and enjoy! |
|
These are the rods that I gave up for this little project! The
rods where cleaned and magged, the caps where cut and the big end
was even resized. But the center to centers were off a bit.
This is a big thing if you're going to blueprint an engine
like we are. You need every little bit of HP that you can get.
So don't cheat on your rods! I feel this is very important as
the rest of it! Here we go. |
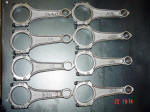 |
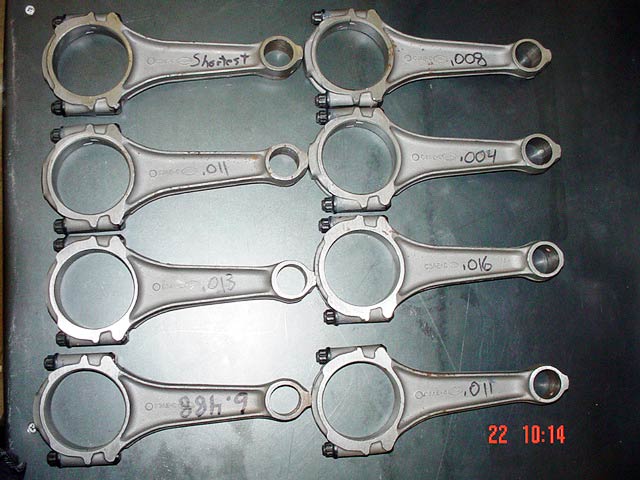
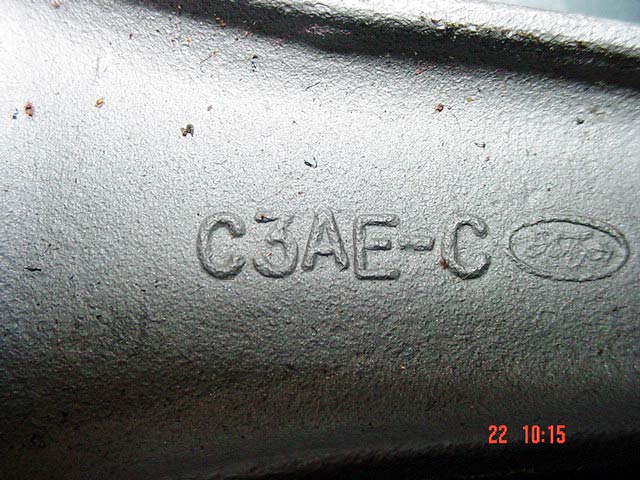
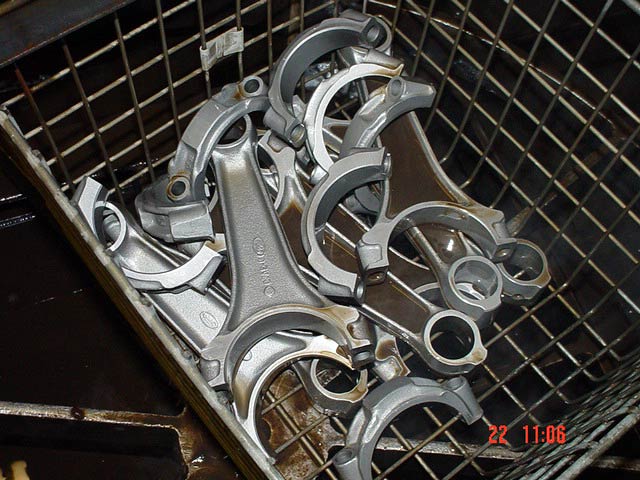
| Here are all 8 rods for the Poor Mans 427 project,
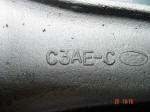
part number C3AE-C. These are a good
rod to run and darn tuff I think. You can see the numbers that are
on the rods. The center to centers are a ways off! |
 |
|
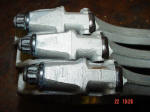
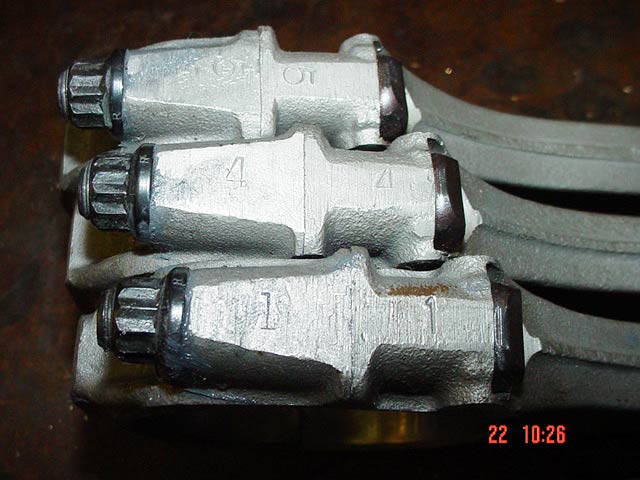
We're going to take them apart here,
so make sure all your rods are numbered as shown in the pics. You should've done this when you
took the engine apart!
|
 |
|
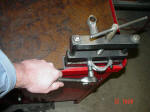
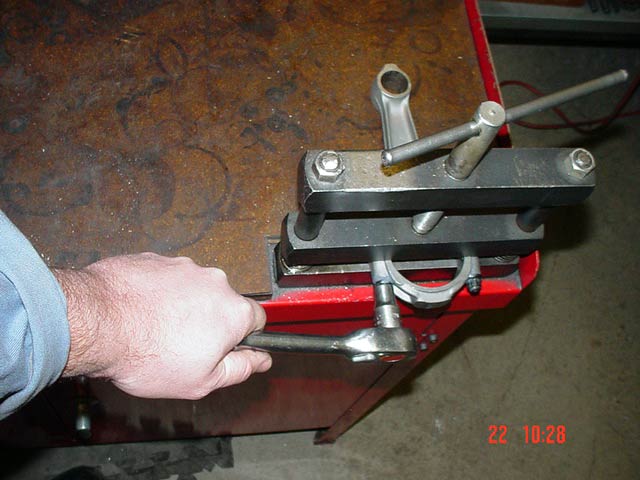
Here we're removing the nuts from the rods. When
you put a rod in a rod vise, make sure you grab it near the parting
lines (where the cap and rod meet).
|
 |
|
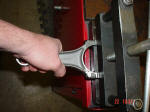
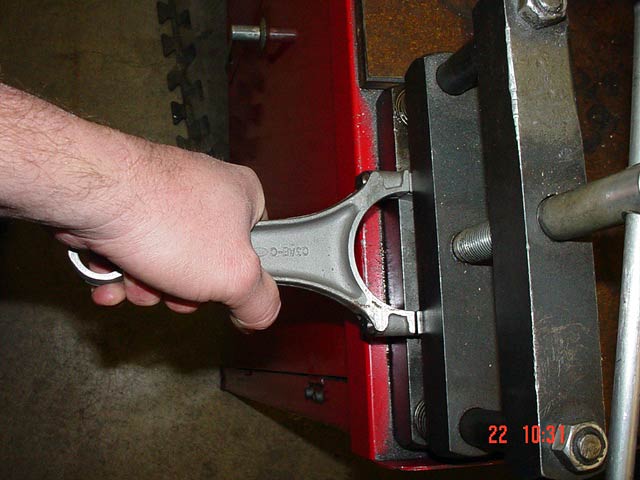
If they're too tight to pull apart by hand, then use the rod vise
to your advantage. By placing the cap end in the vise, you can
move it side-to-side and pull at the same time! Good idea. |
 |
|
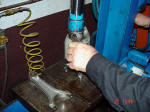
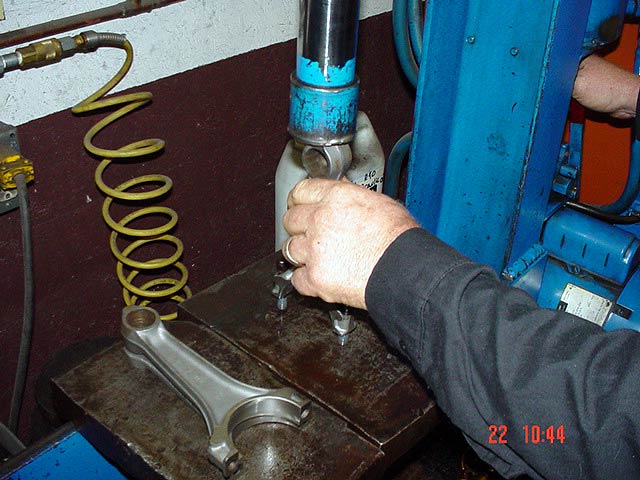
We went ahead and pressed out the bolts, as you can see. |
 |
|
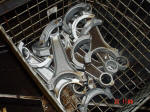
After all that they got glass-beaded and washed in the hot tank.
I just pulled them out. We rinsed them with water & then blew
them off with the shop air!
|
 |
|
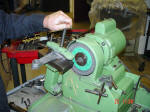
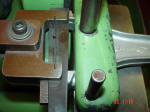
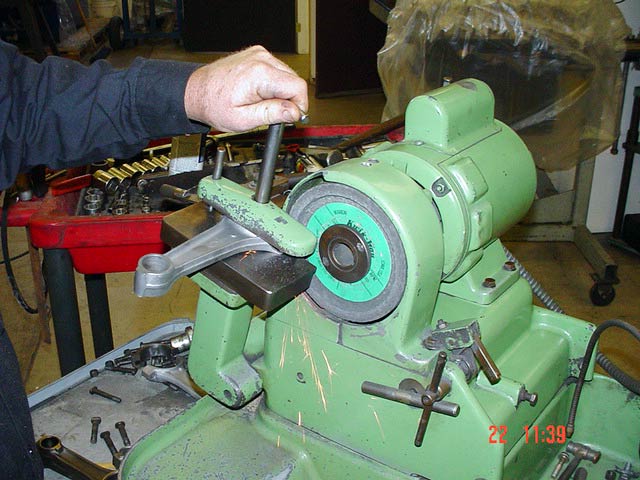
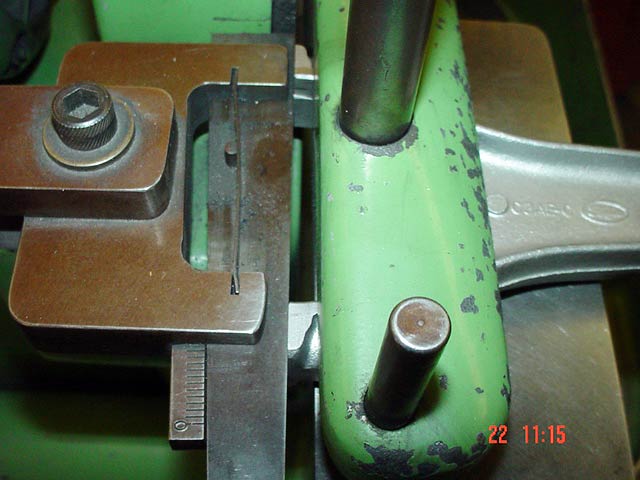
Next, the rods see the rod/cap cutting machine. Here they get
trued up so we have a good mating surface. You can see how the
rod is butted up to the stop.
|
 |
 |
|
|
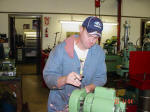
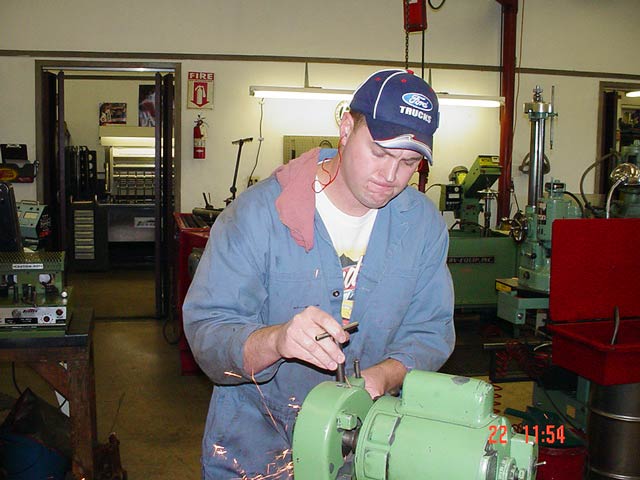
Here's me doing all the rods for the engine...just to let you
know that I have help out in this project now. |
 |
|
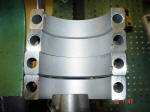
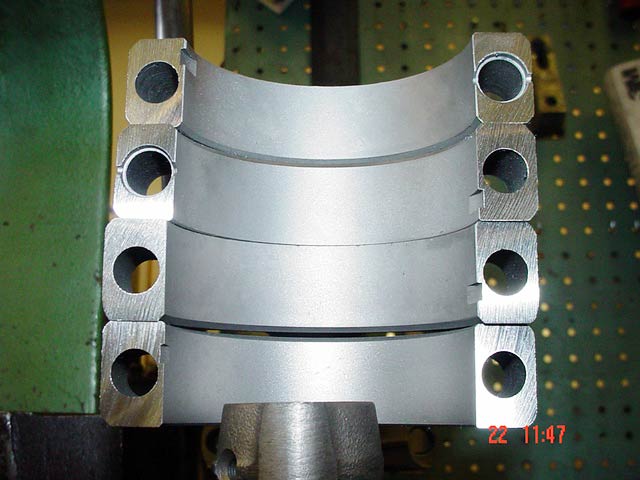
We have 2 rods on the bottom and 2 caps at the top. I just
wanted to show you guys what the finish looks like when they are
done. |
 |
|
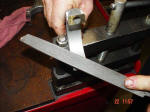
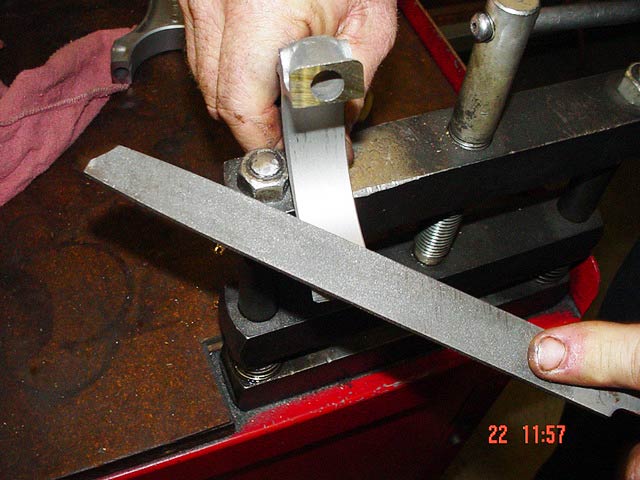
Next we take the edge off all the
rods & caps, so we wont have a problem with installing the
bearings or the mating surface. |
 |
|
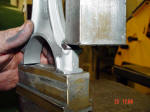
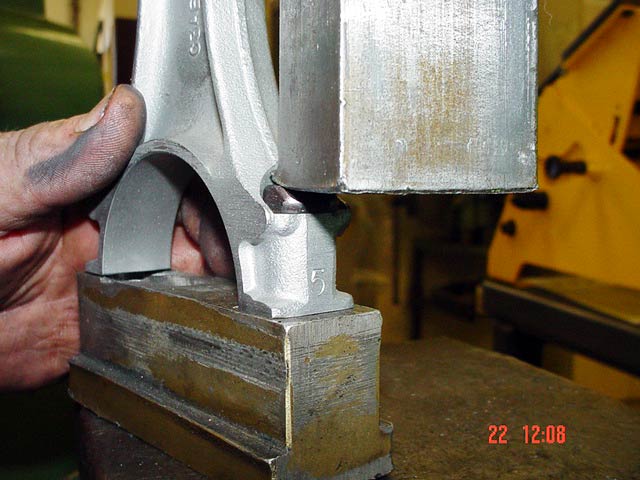
We are pressing in our new ARP 428 C/J bolts in the rods. |
 |
|
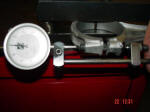
We put our caps on with the nuts by hand here. Then we set our
gage to zero. |
 |
|
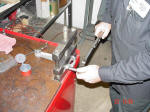
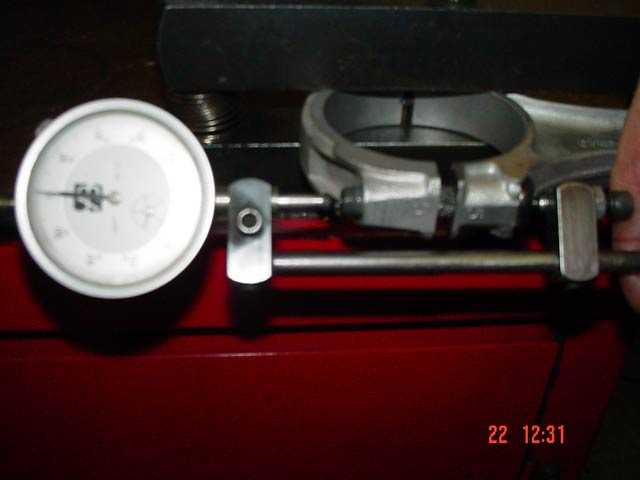
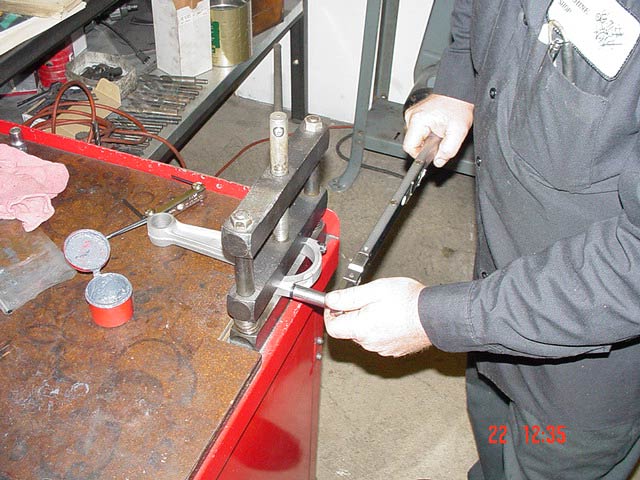
Make sure that you follow the proper procedures that ARP wants
you to do. We did that and I'm cutting to the chase here! We are
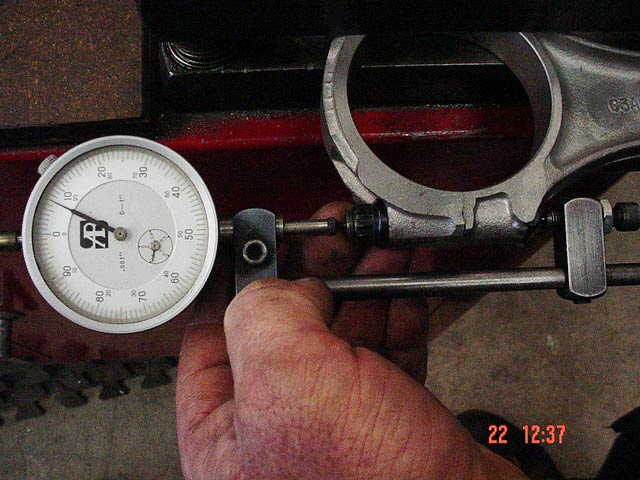
torquing the nuts to 50 foot-pounds. We use our stretch gage to see
how much more we have to stretch them. ARP wants .006-.007
stretch on these bolts. |
 |
|
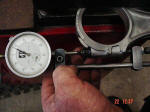
This is what it should look like.
|
 |
|
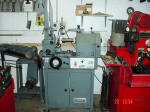
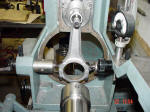
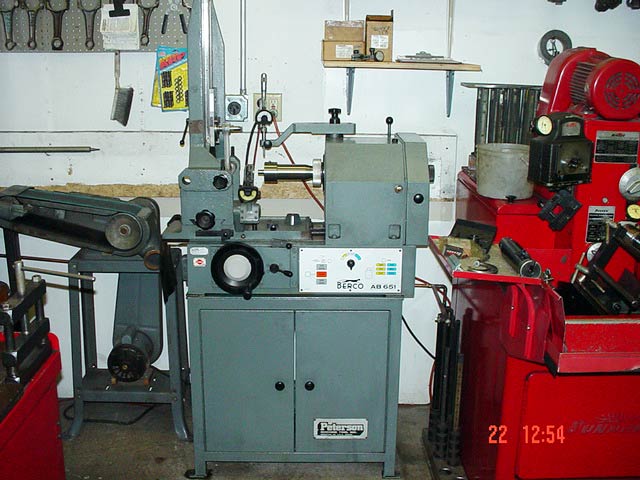
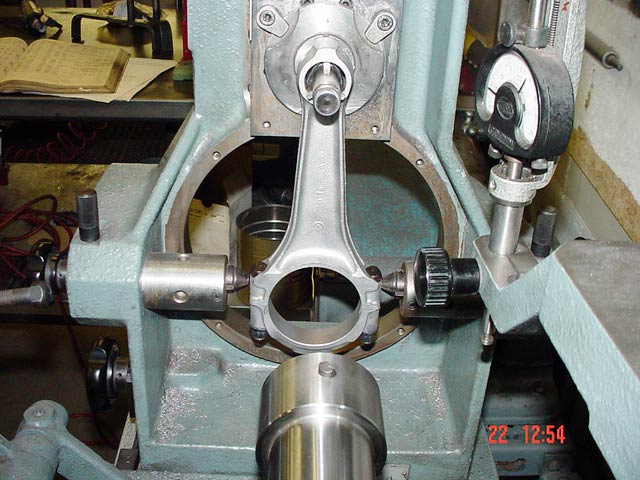
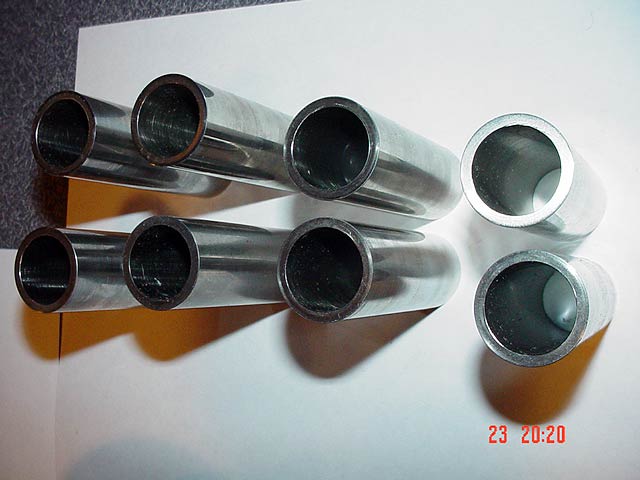
Part 2 of the rods...we are going to install bushings in them and
cut the centers to centers with the Berco Machine that you see
here! We are going to make the rods stock length. The cool thing
here is you can make them shorter or longer if you like. WOW...now
that's bitchin' if you ask me!
|
 |
 |
|









 last




