Finally back around to my 72 F100
Moderator: FORDification
-
DuckRyder

- Moderator

- Posts: 4893
- Joined: Mon Jul 19, 2004 3:04 pm
- Location: Scruffy City
- Contact:
Re: Finally back around to my 72 F100
Looking good! 
Robert
1972 F100 Ranger XLT (445/C6/9” 3.50 Truetrac)
"An unarmed man can only flee from evil, and evil is not overcome by fleeing from it." -- Jeff Cooper
1972 F100 Ranger XLT (445/C6/9” 3.50 Truetrac)
"An unarmed man can only flee from evil, and evil is not overcome by fleeing from it." -- Jeff Cooper
-
MAK

- Blue Oval Fan

- Posts: 515
- Joined: Tue Dec 21, 2004 9:35 am
- Location: Georgia, Blairsville - Florida, Flagler Beach
- Contact:
-
MAK
- Blue Oval Fan
- Posts: 515
- Joined: Tue Dec 21, 2004 9:35 am
- Location: Georgia, Blairsville - Florida, Flagler Beach
- Contact:
-
MAK
- Blue Oval Fan
- Posts: 515
- Joined: Tue Dec 21, 2004 9:35 am
- Location: Georgia, Blairsville - Florida, Flagler Beach
- Contact:
Re: Finally back around to my 72 F100
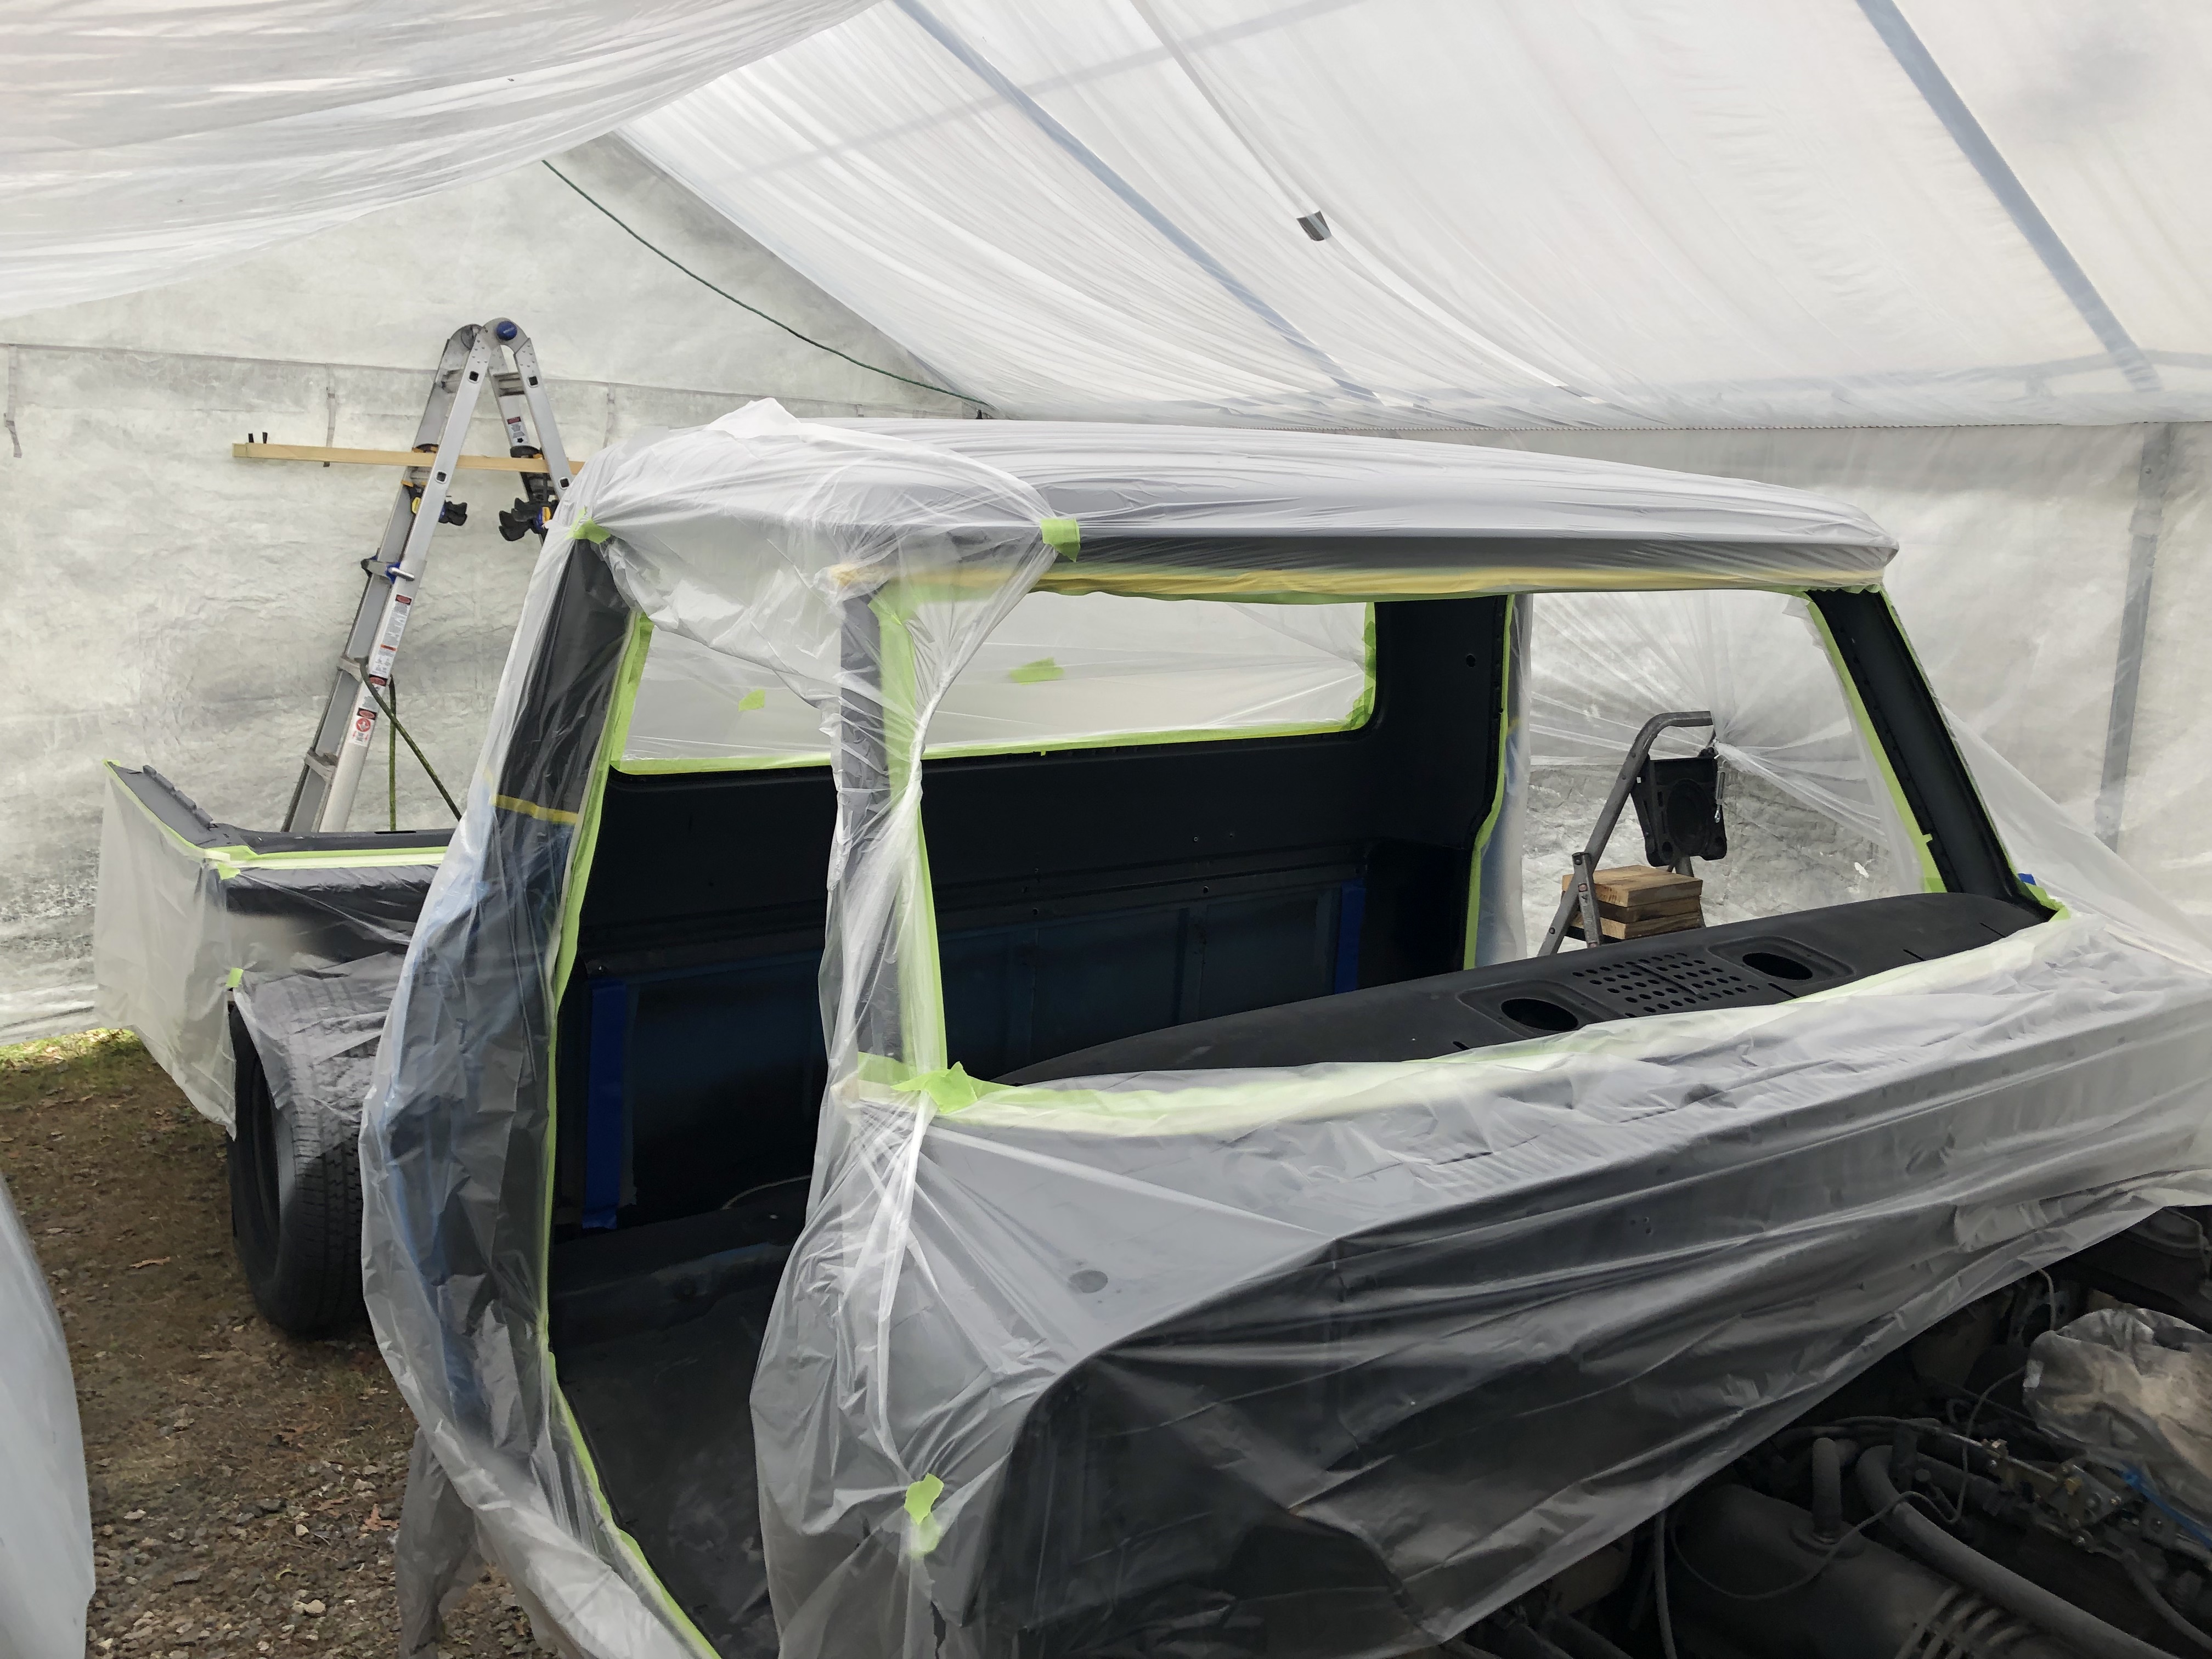
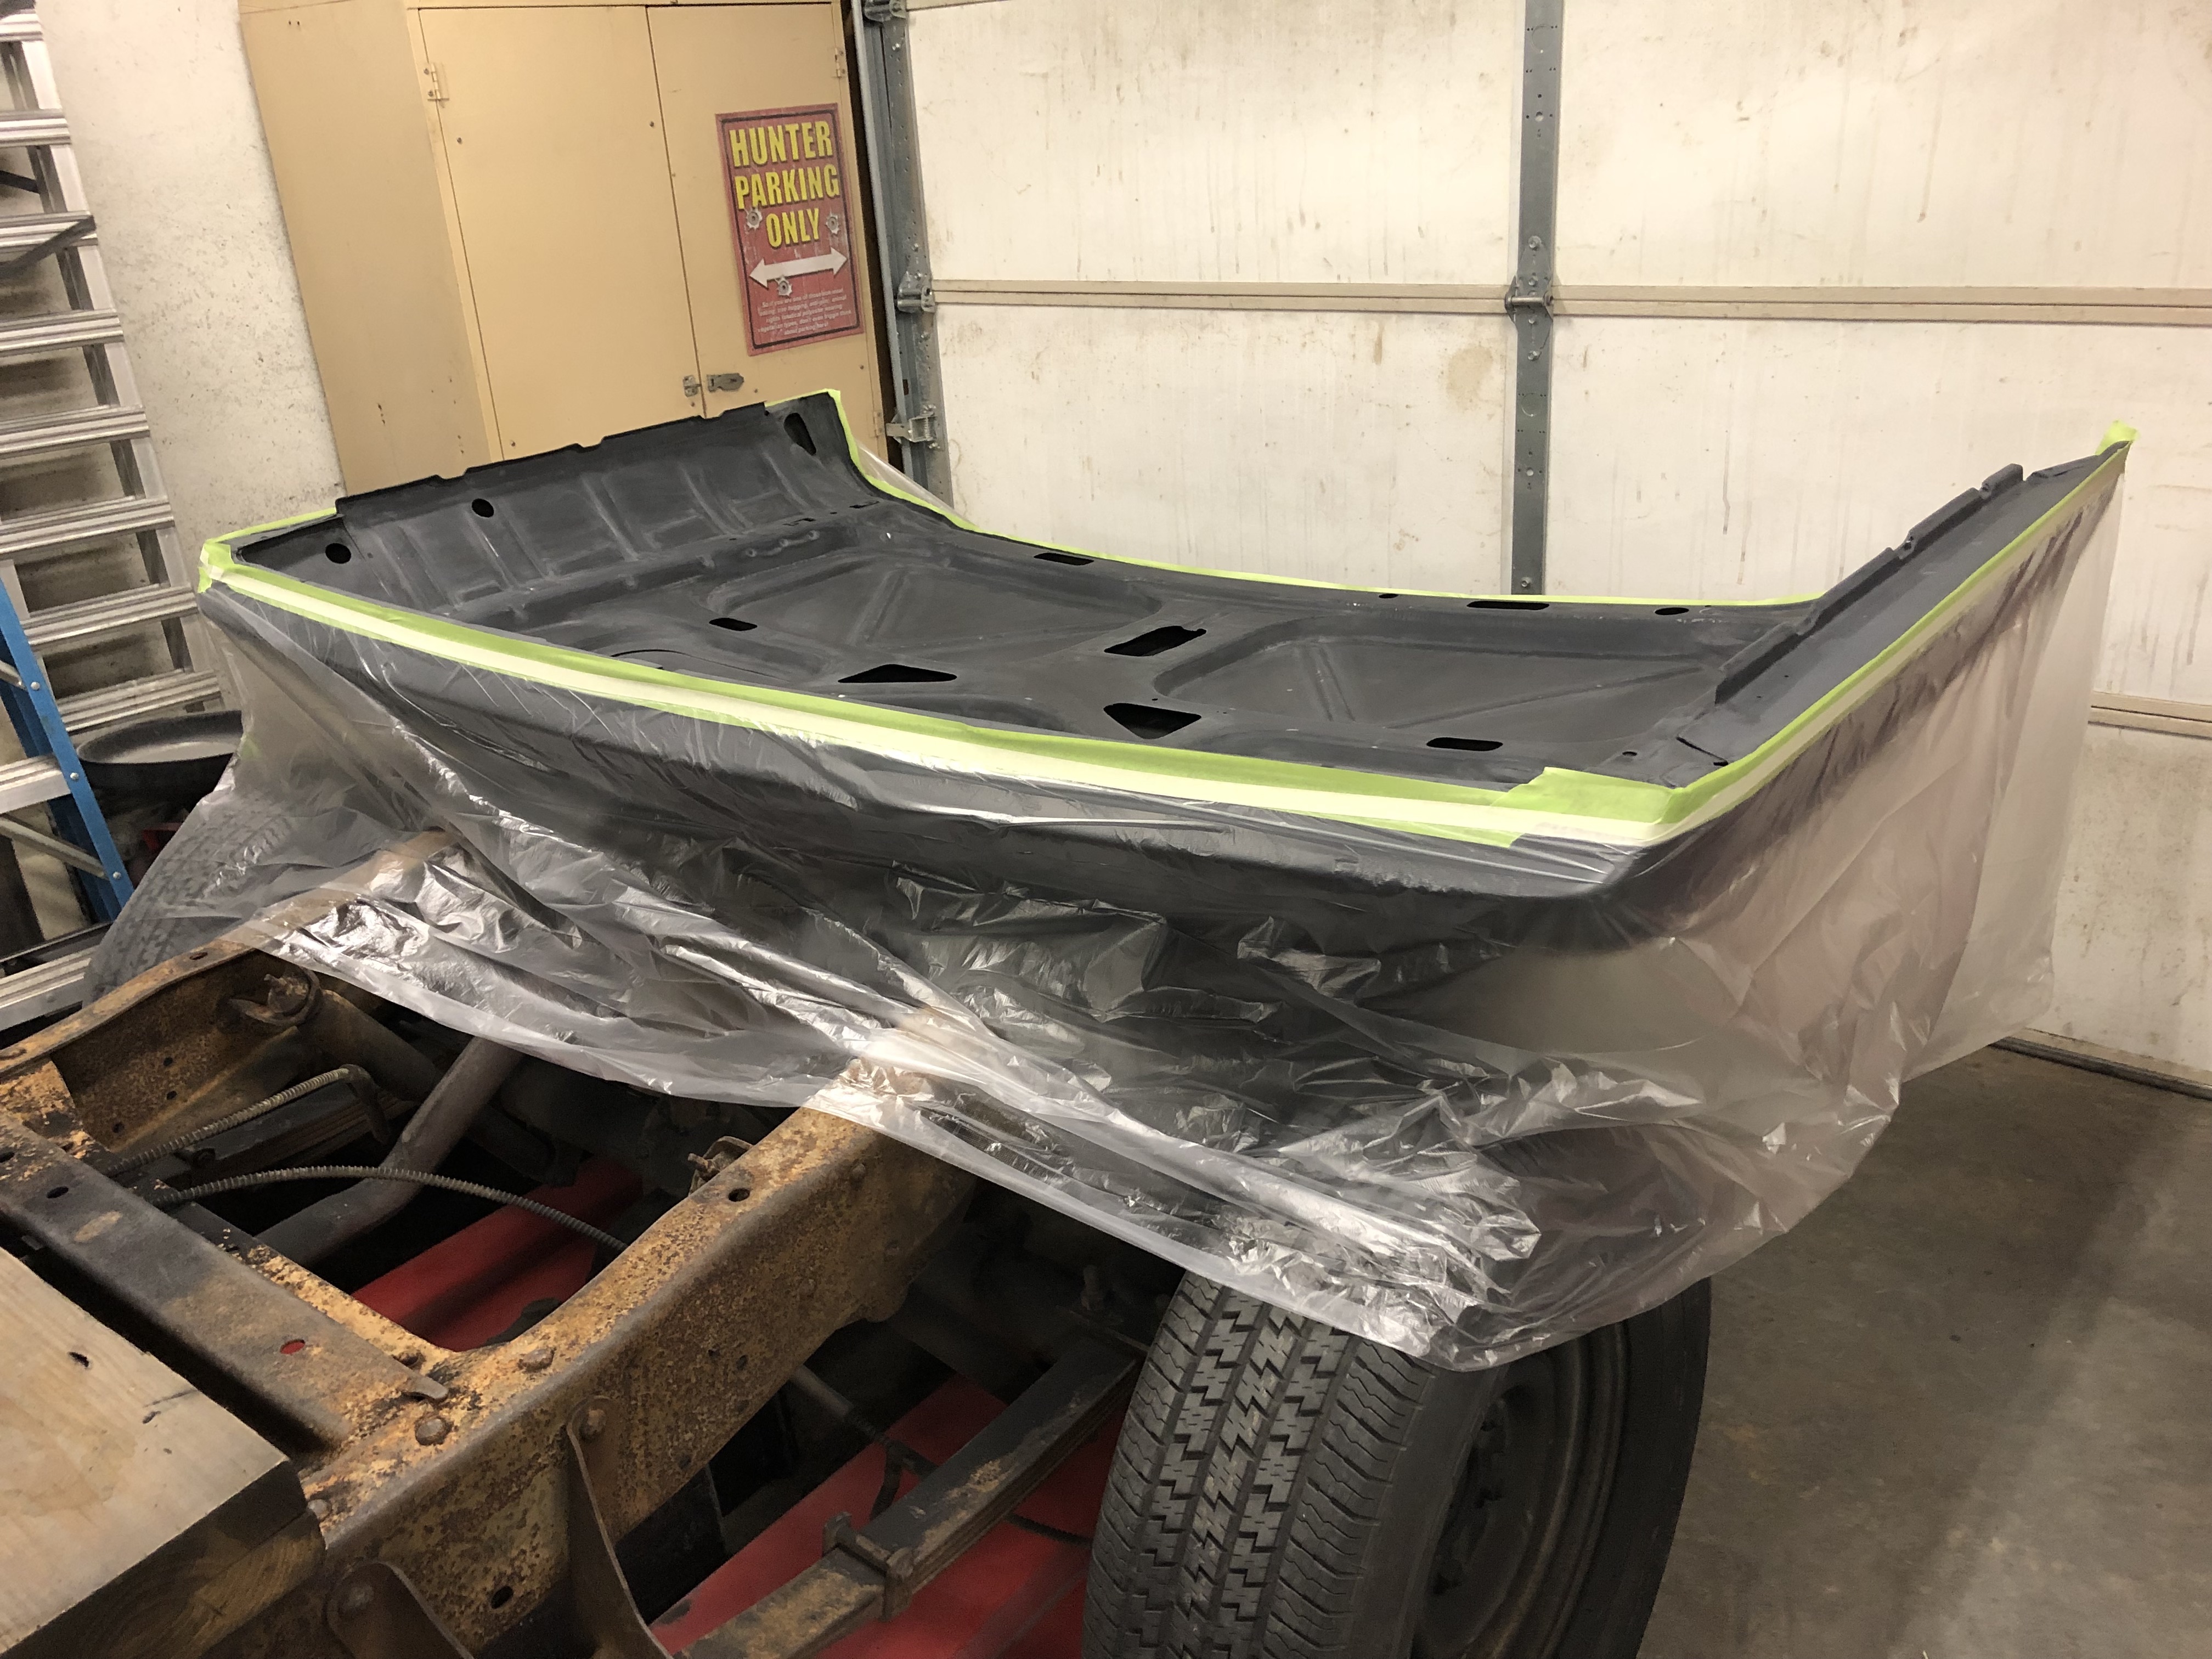
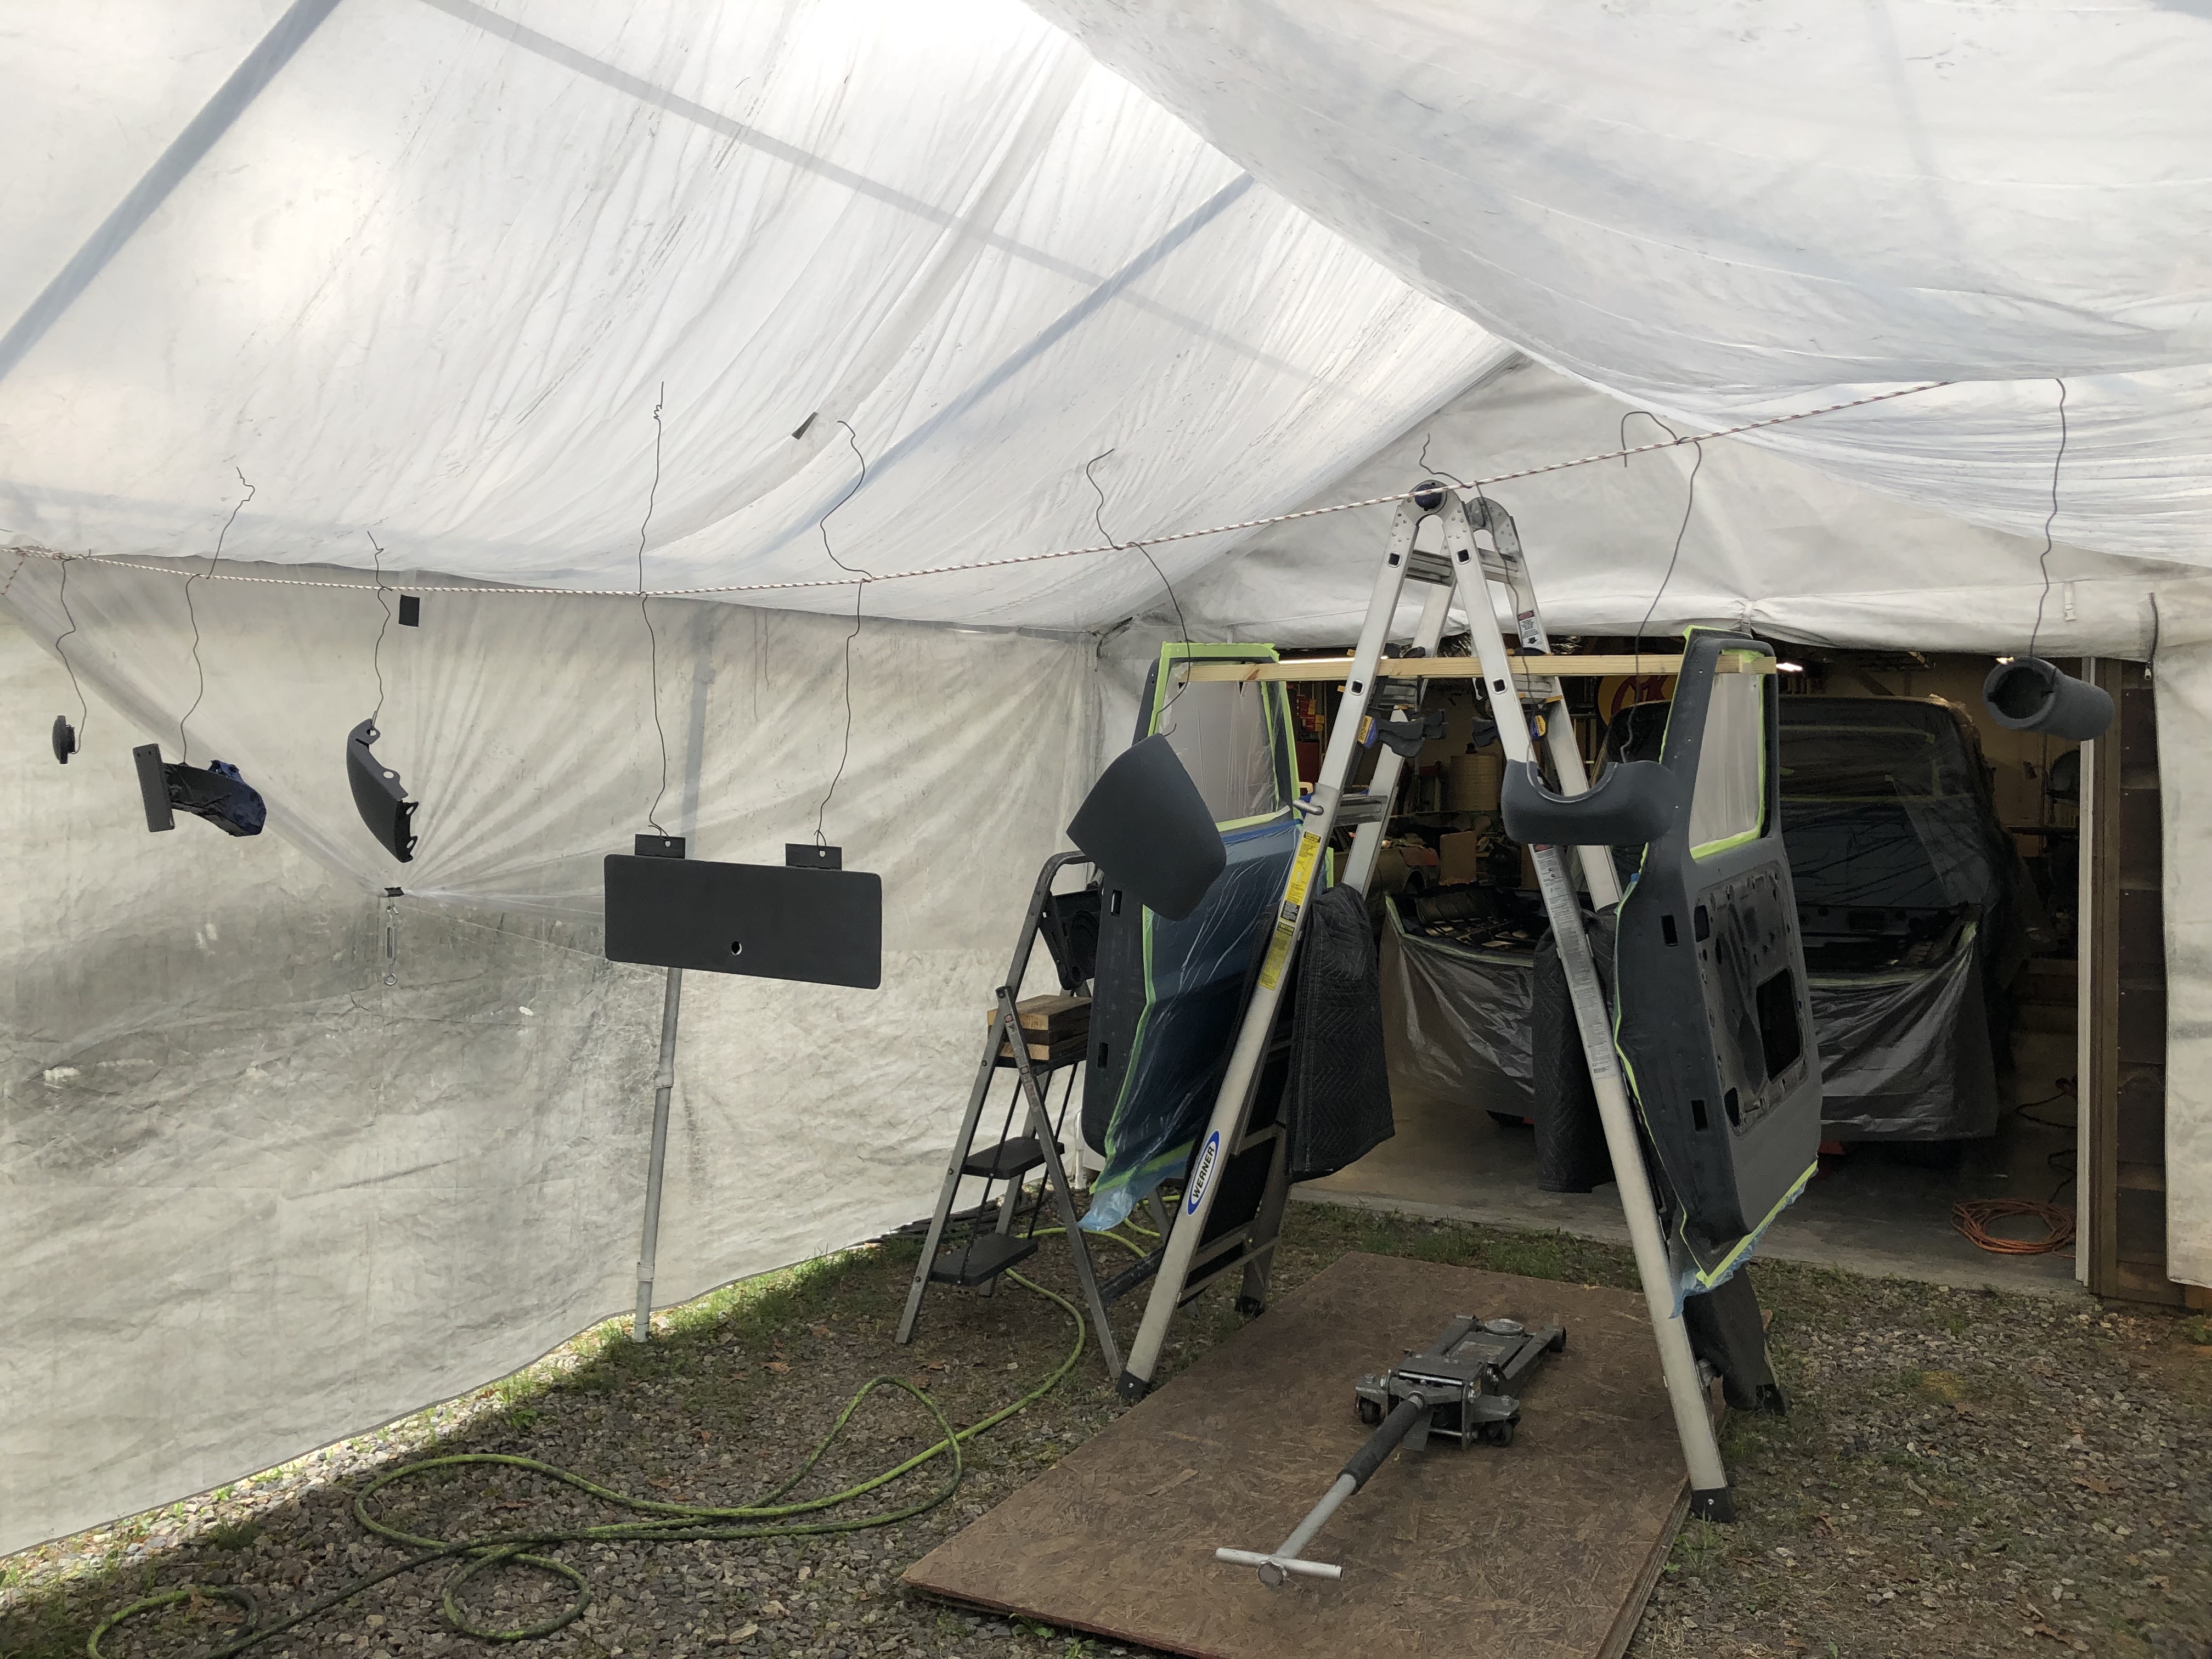
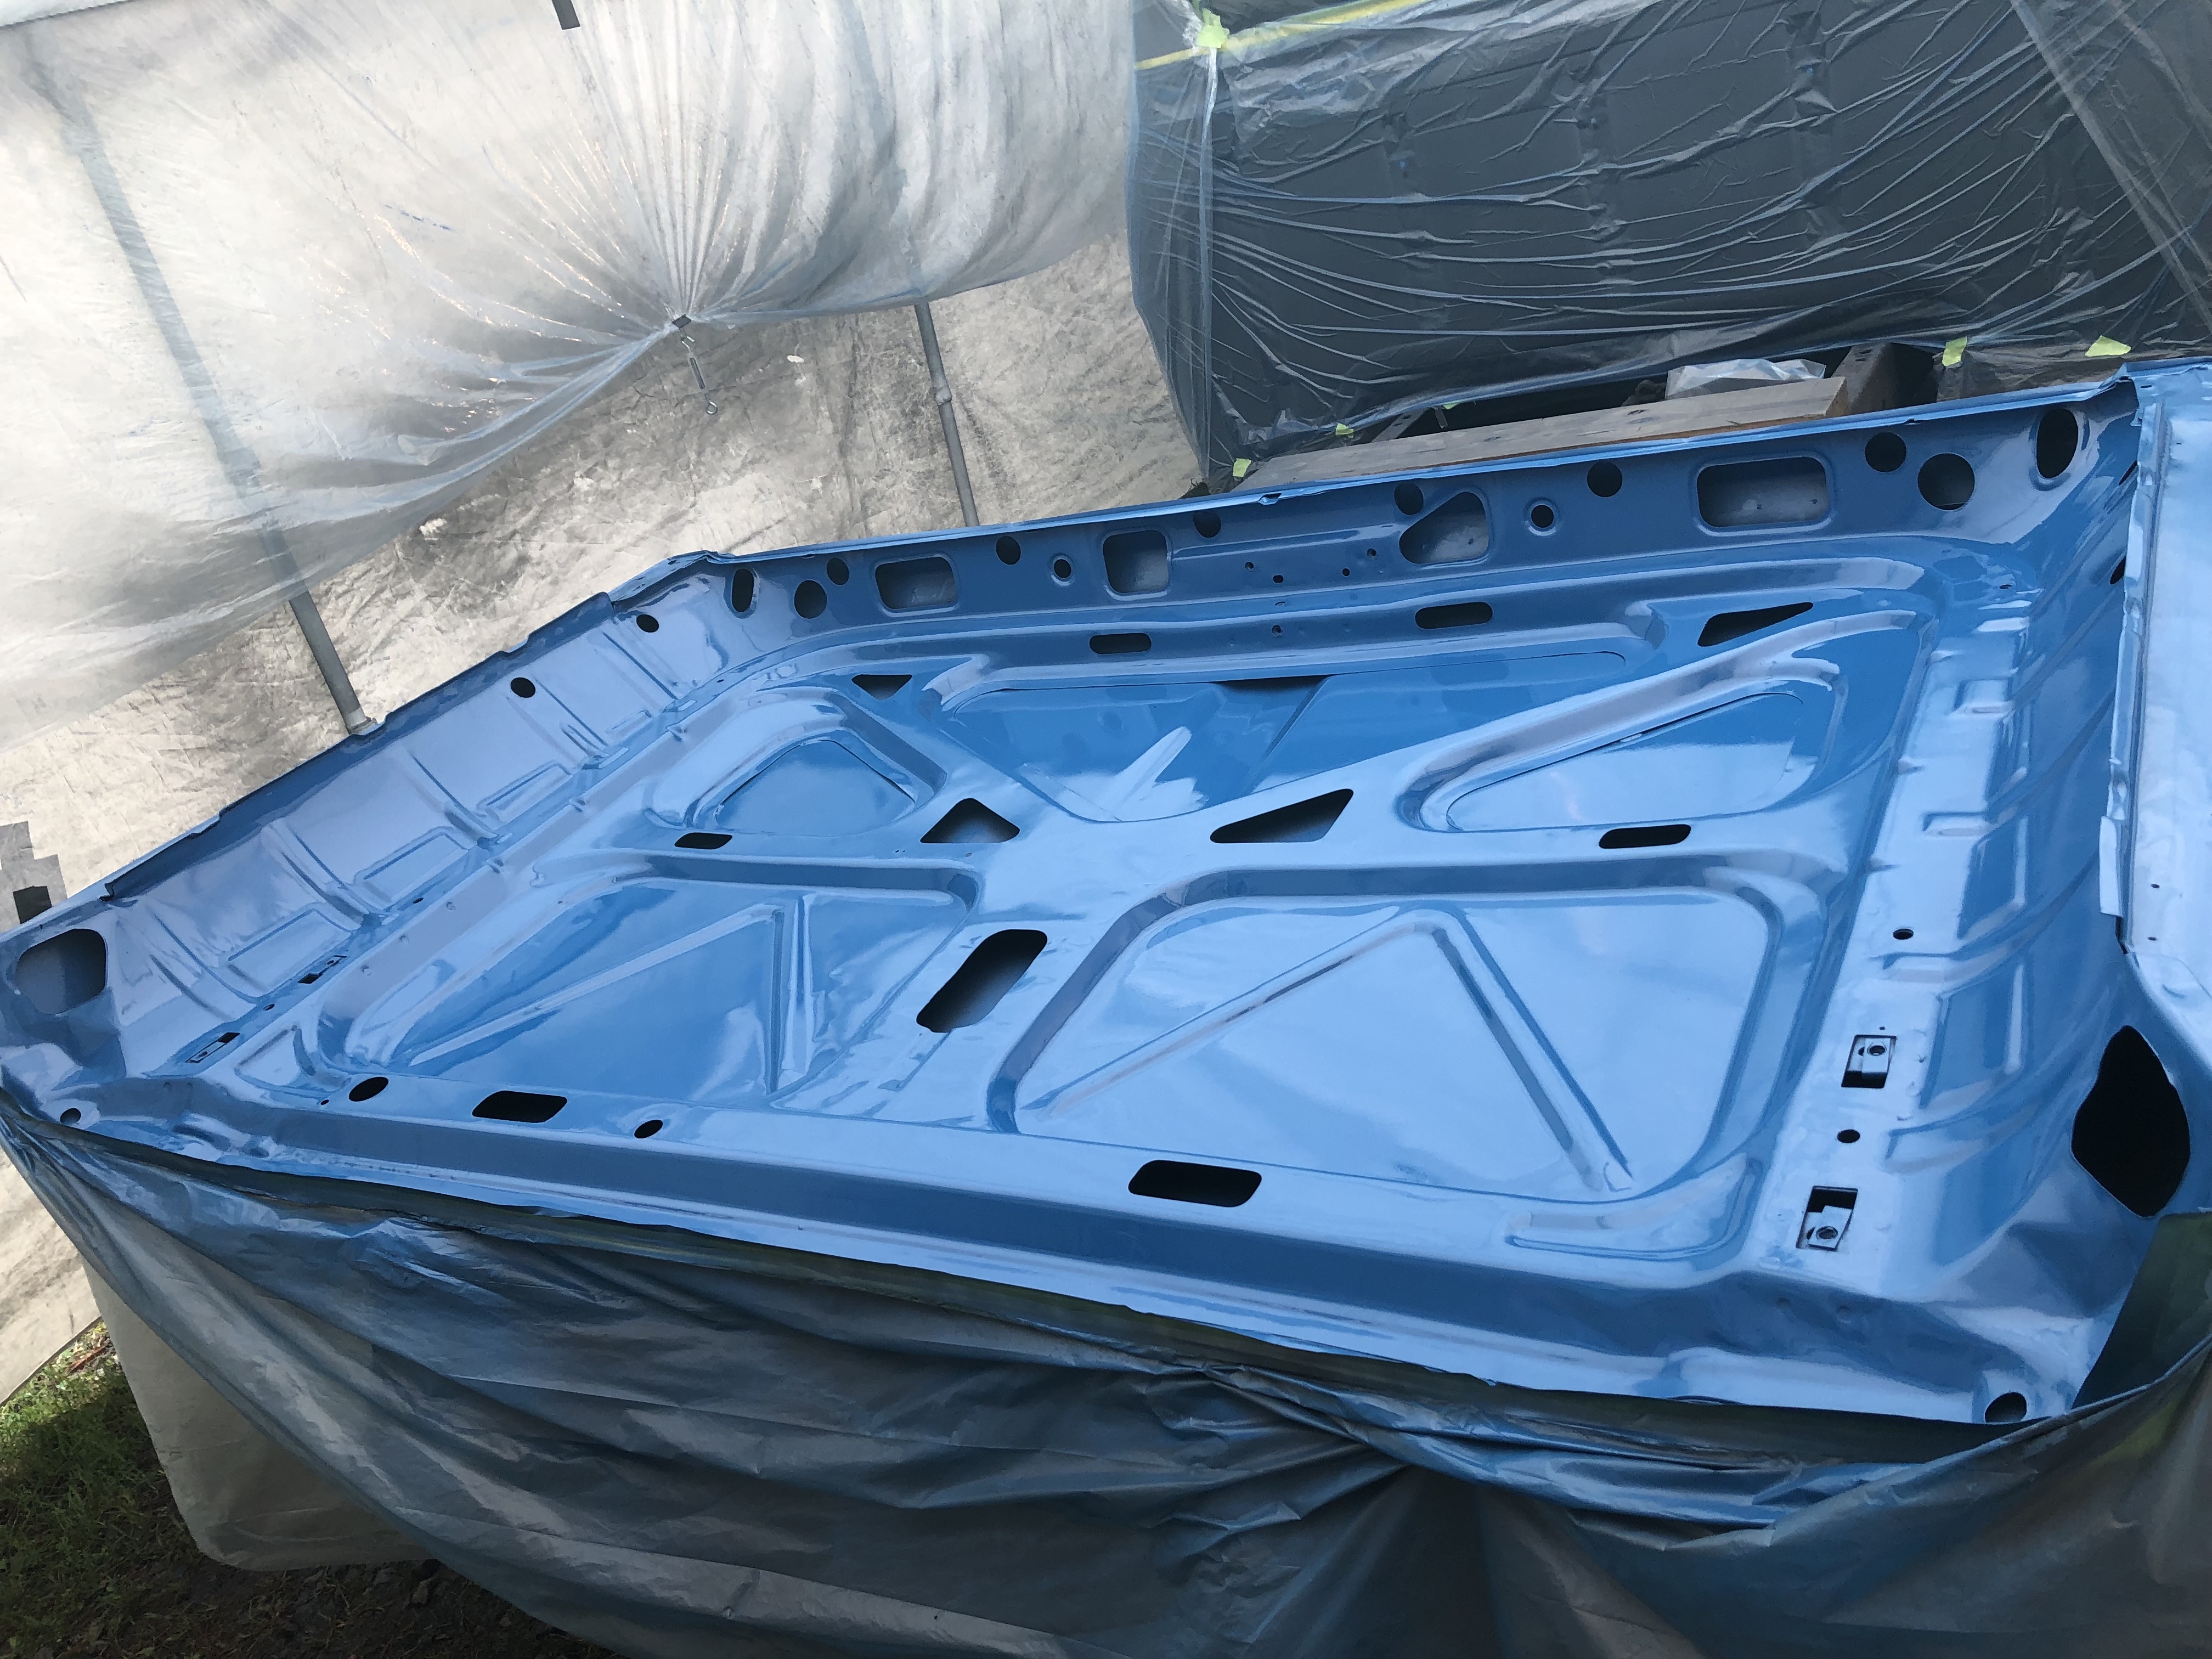
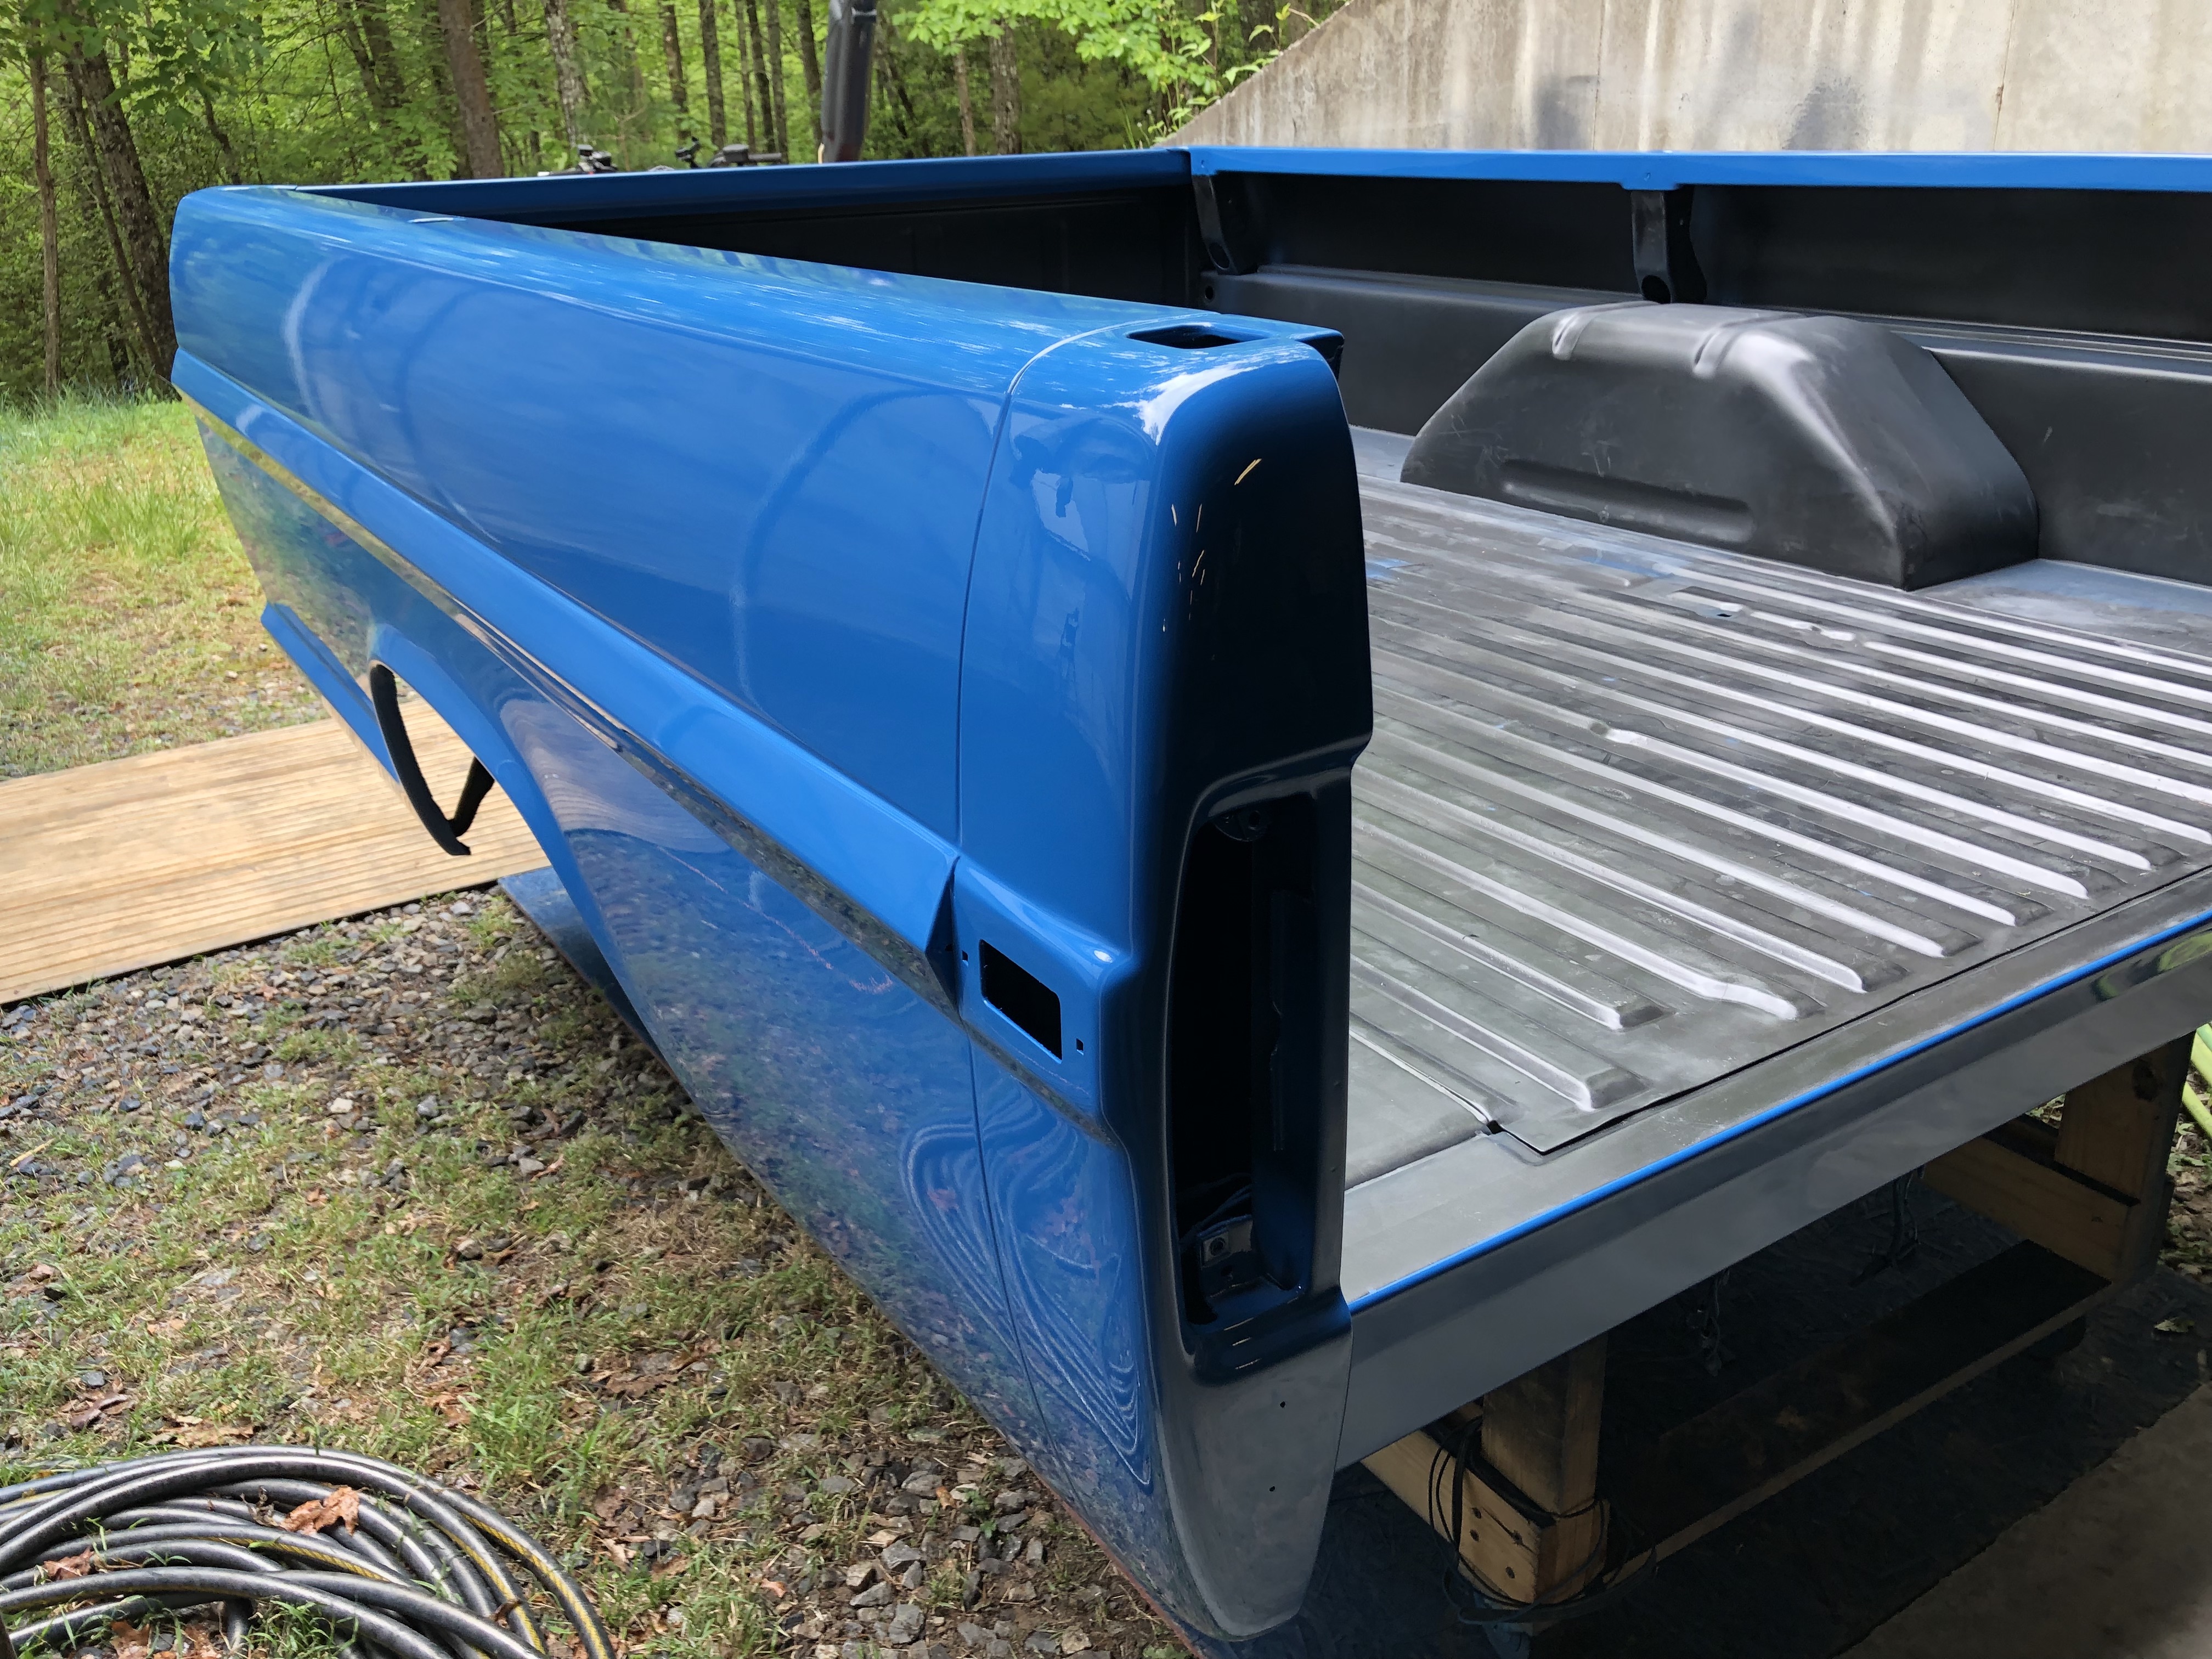
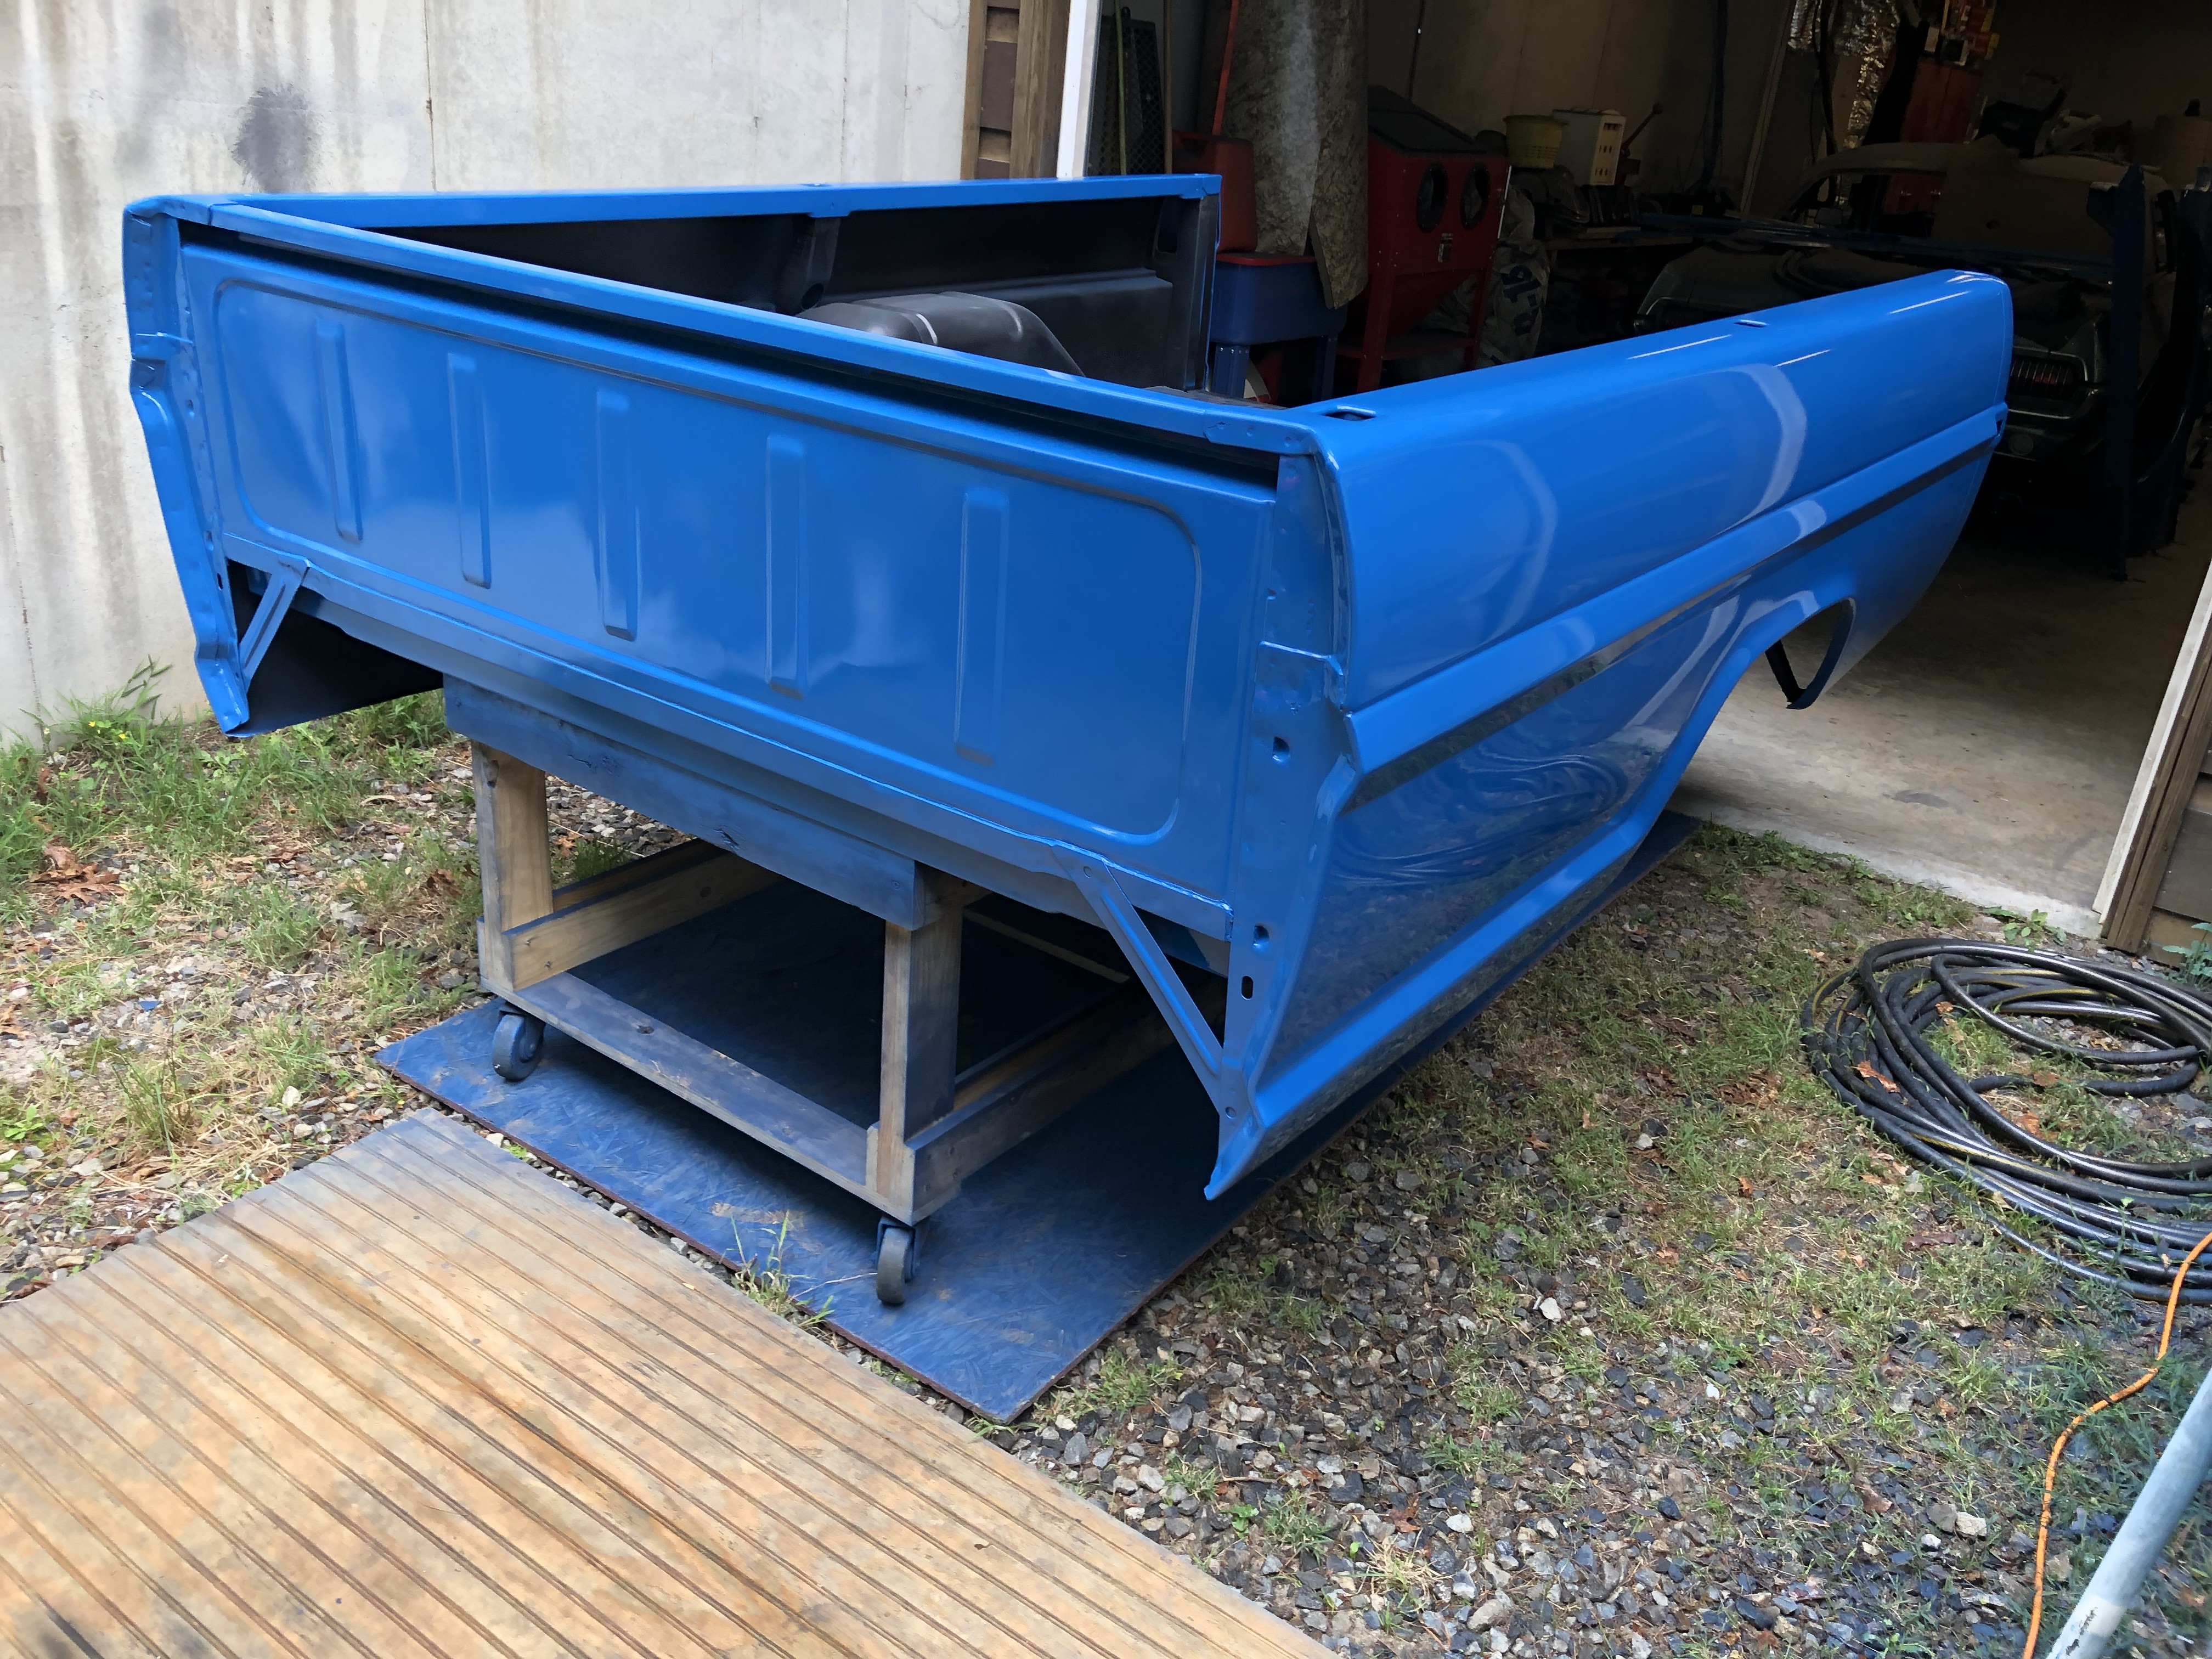
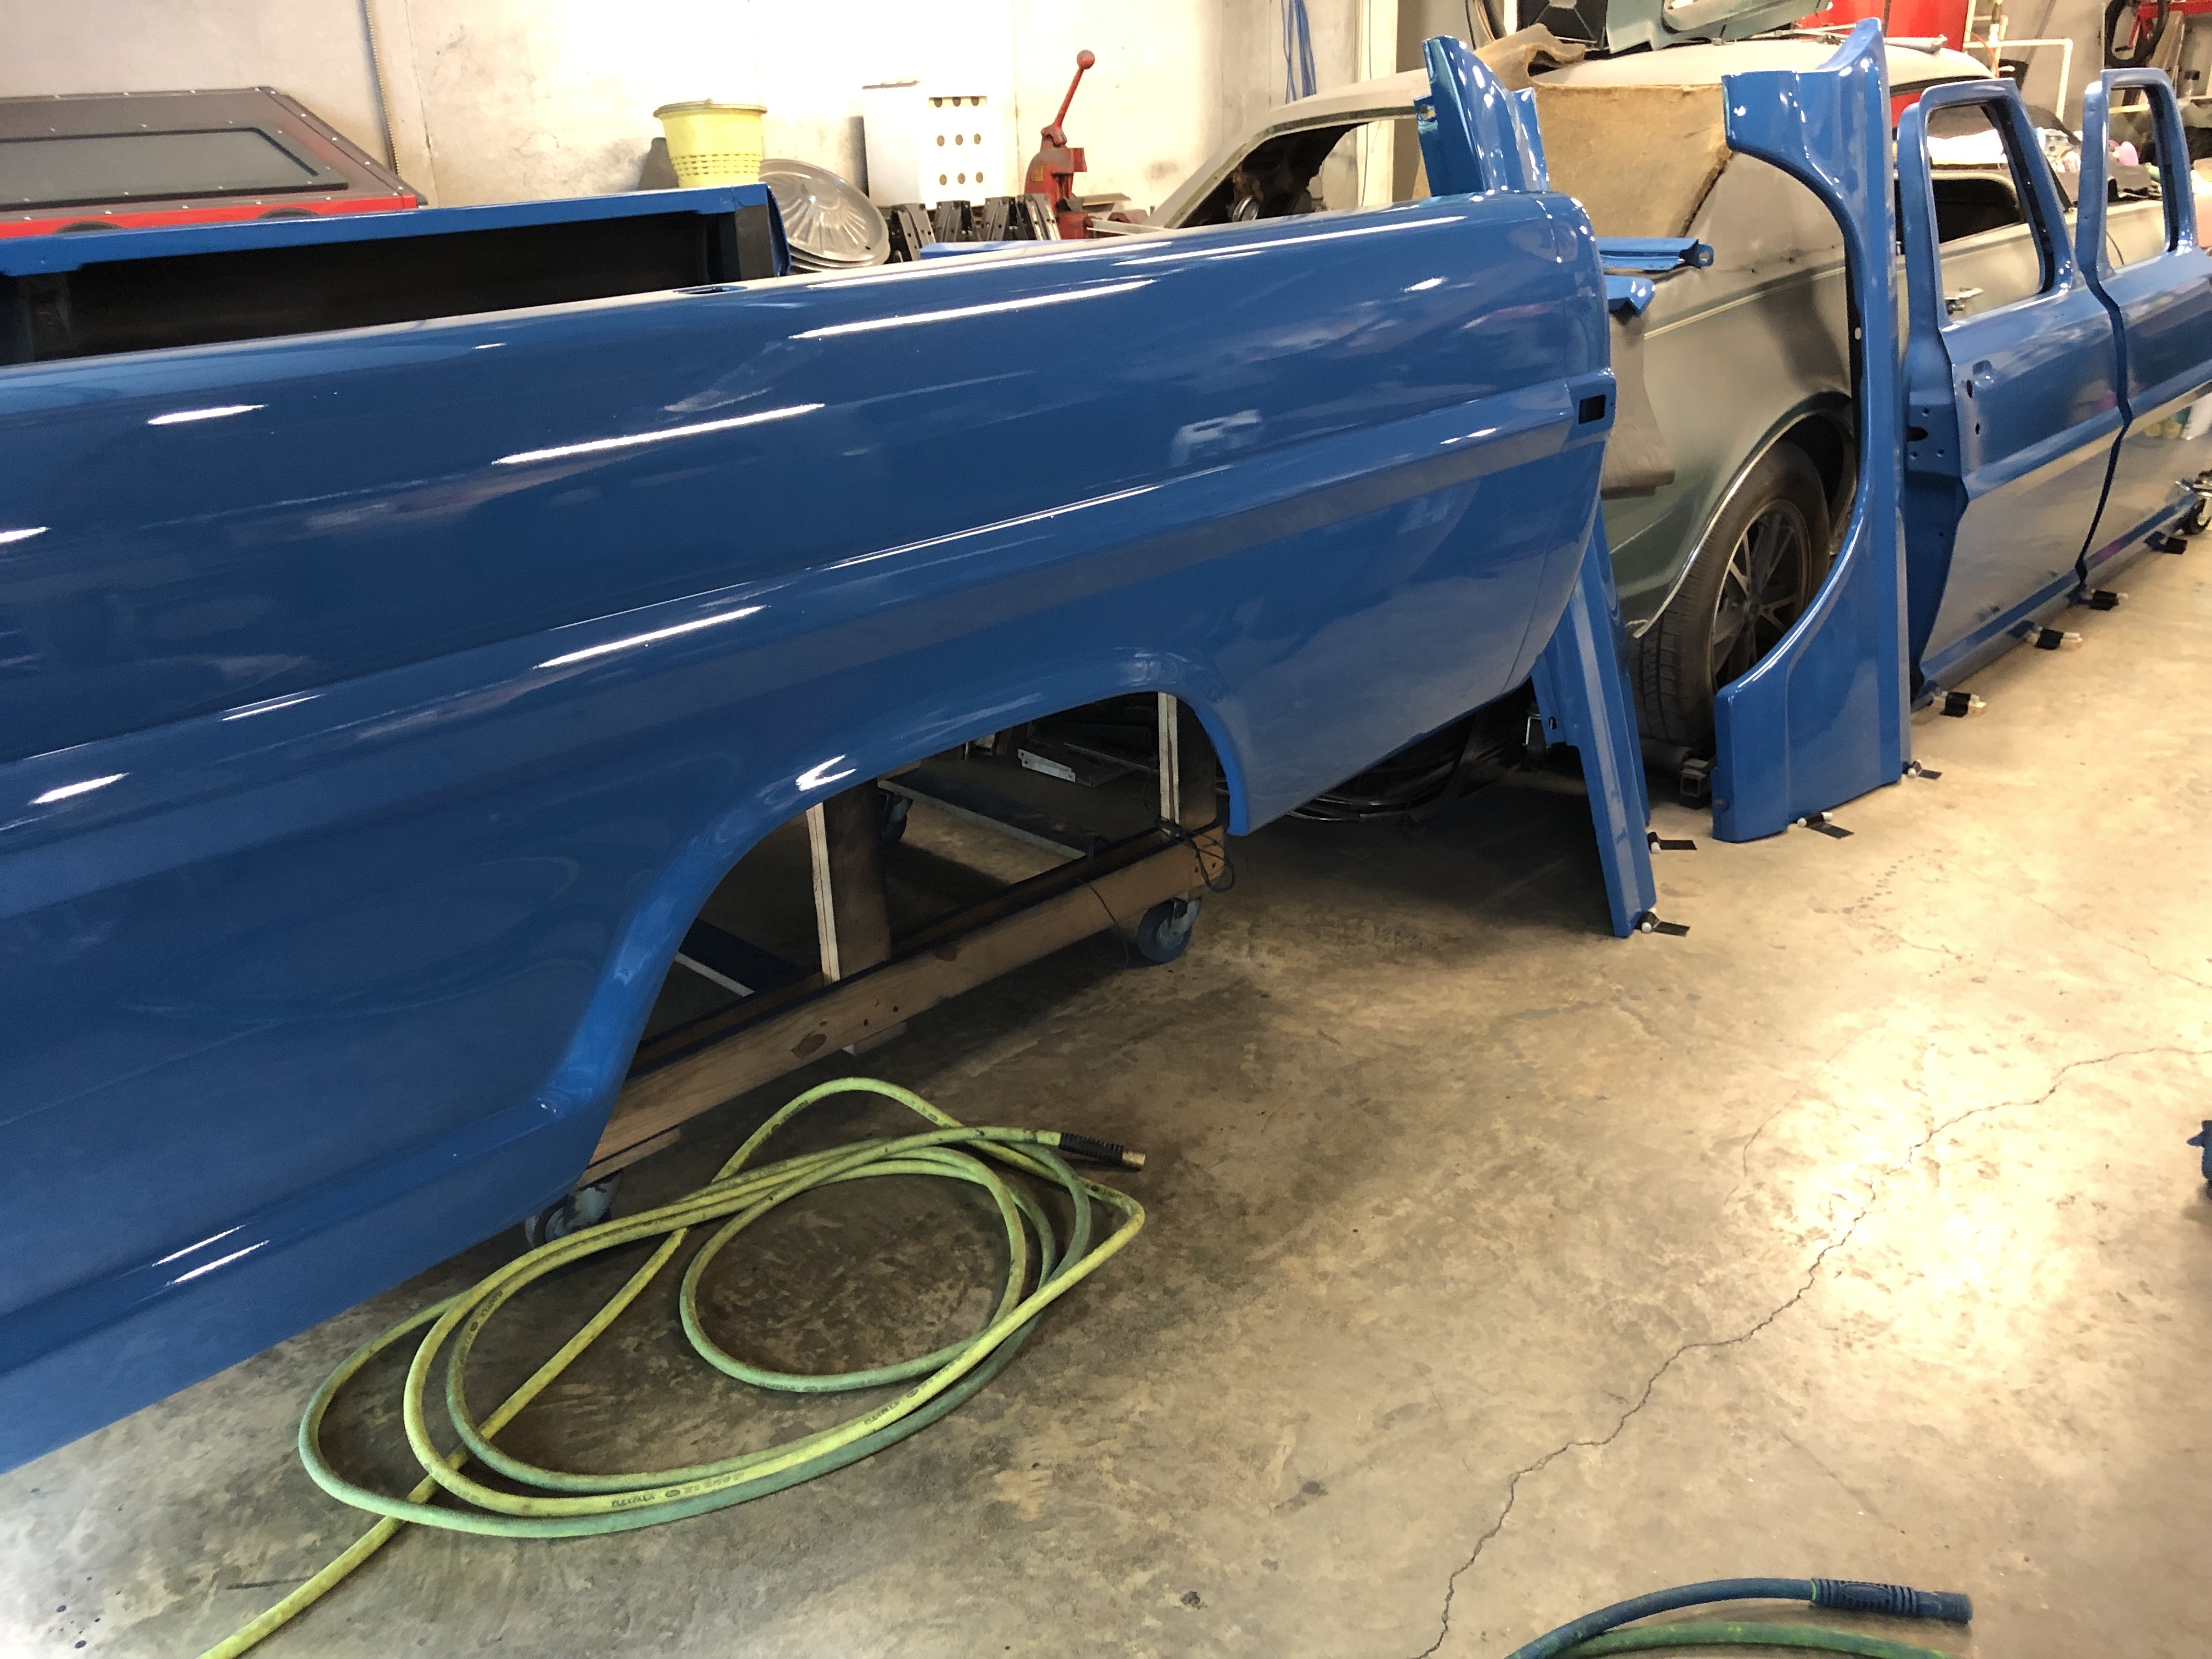
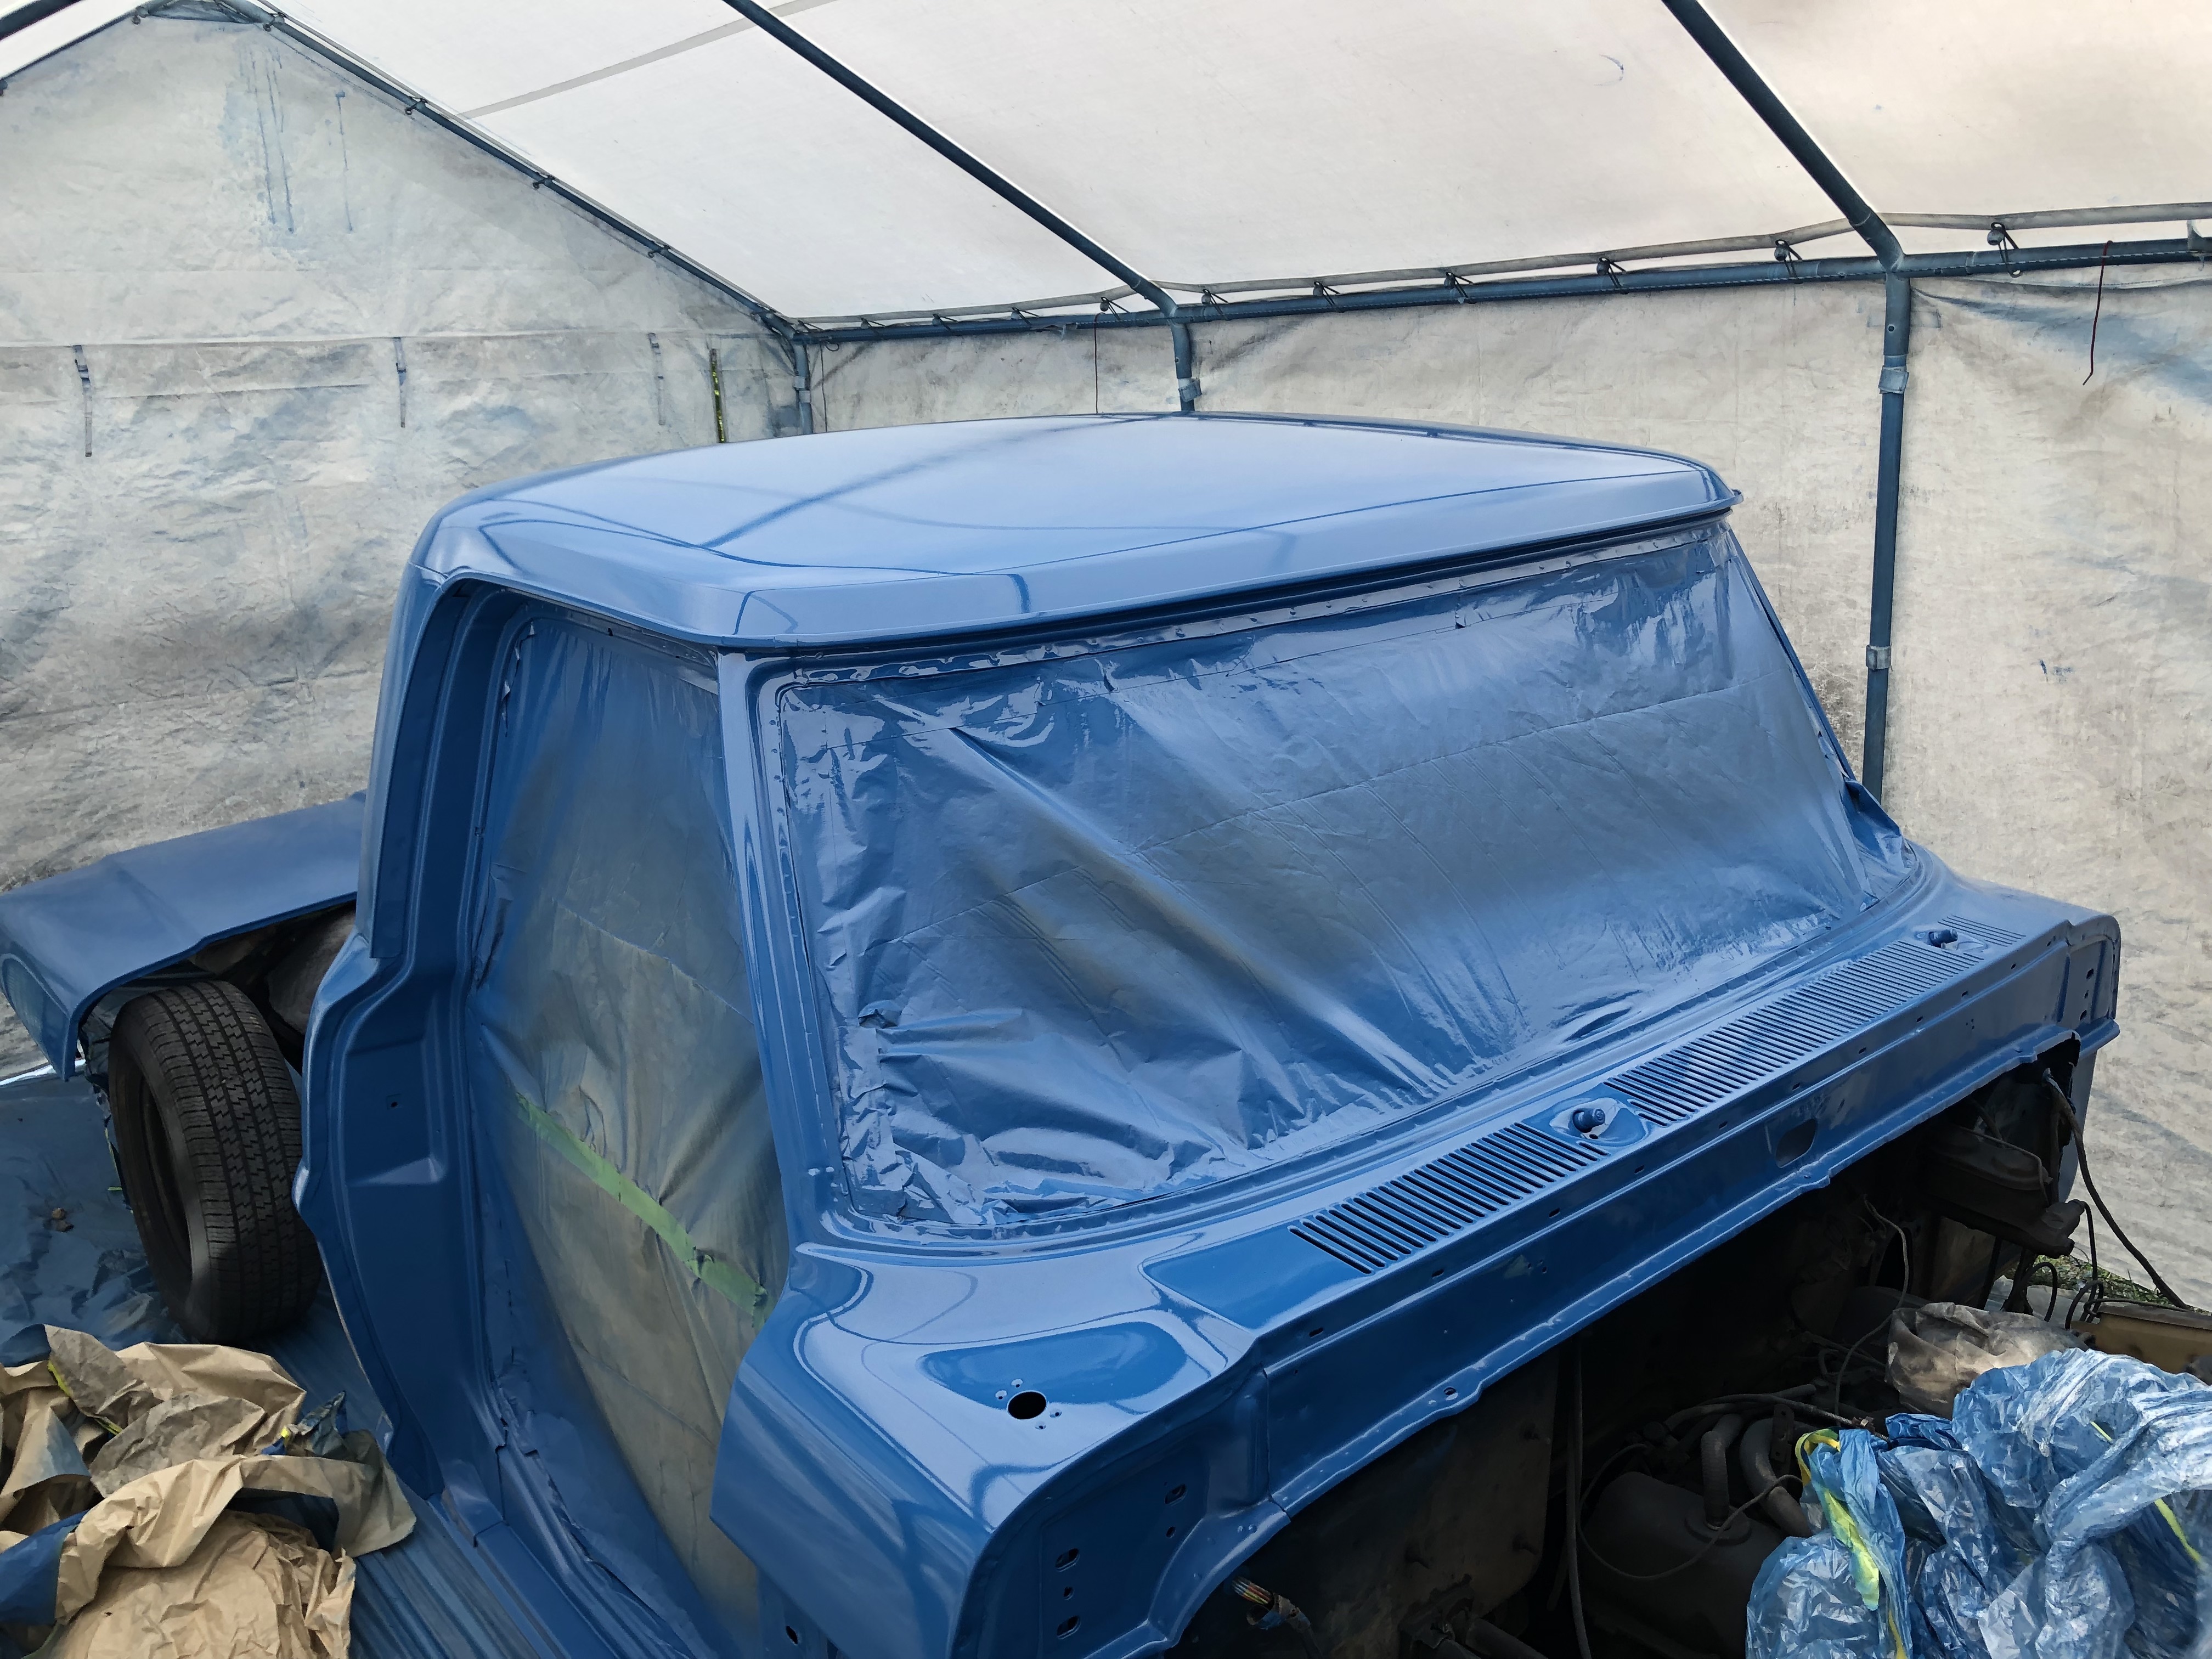
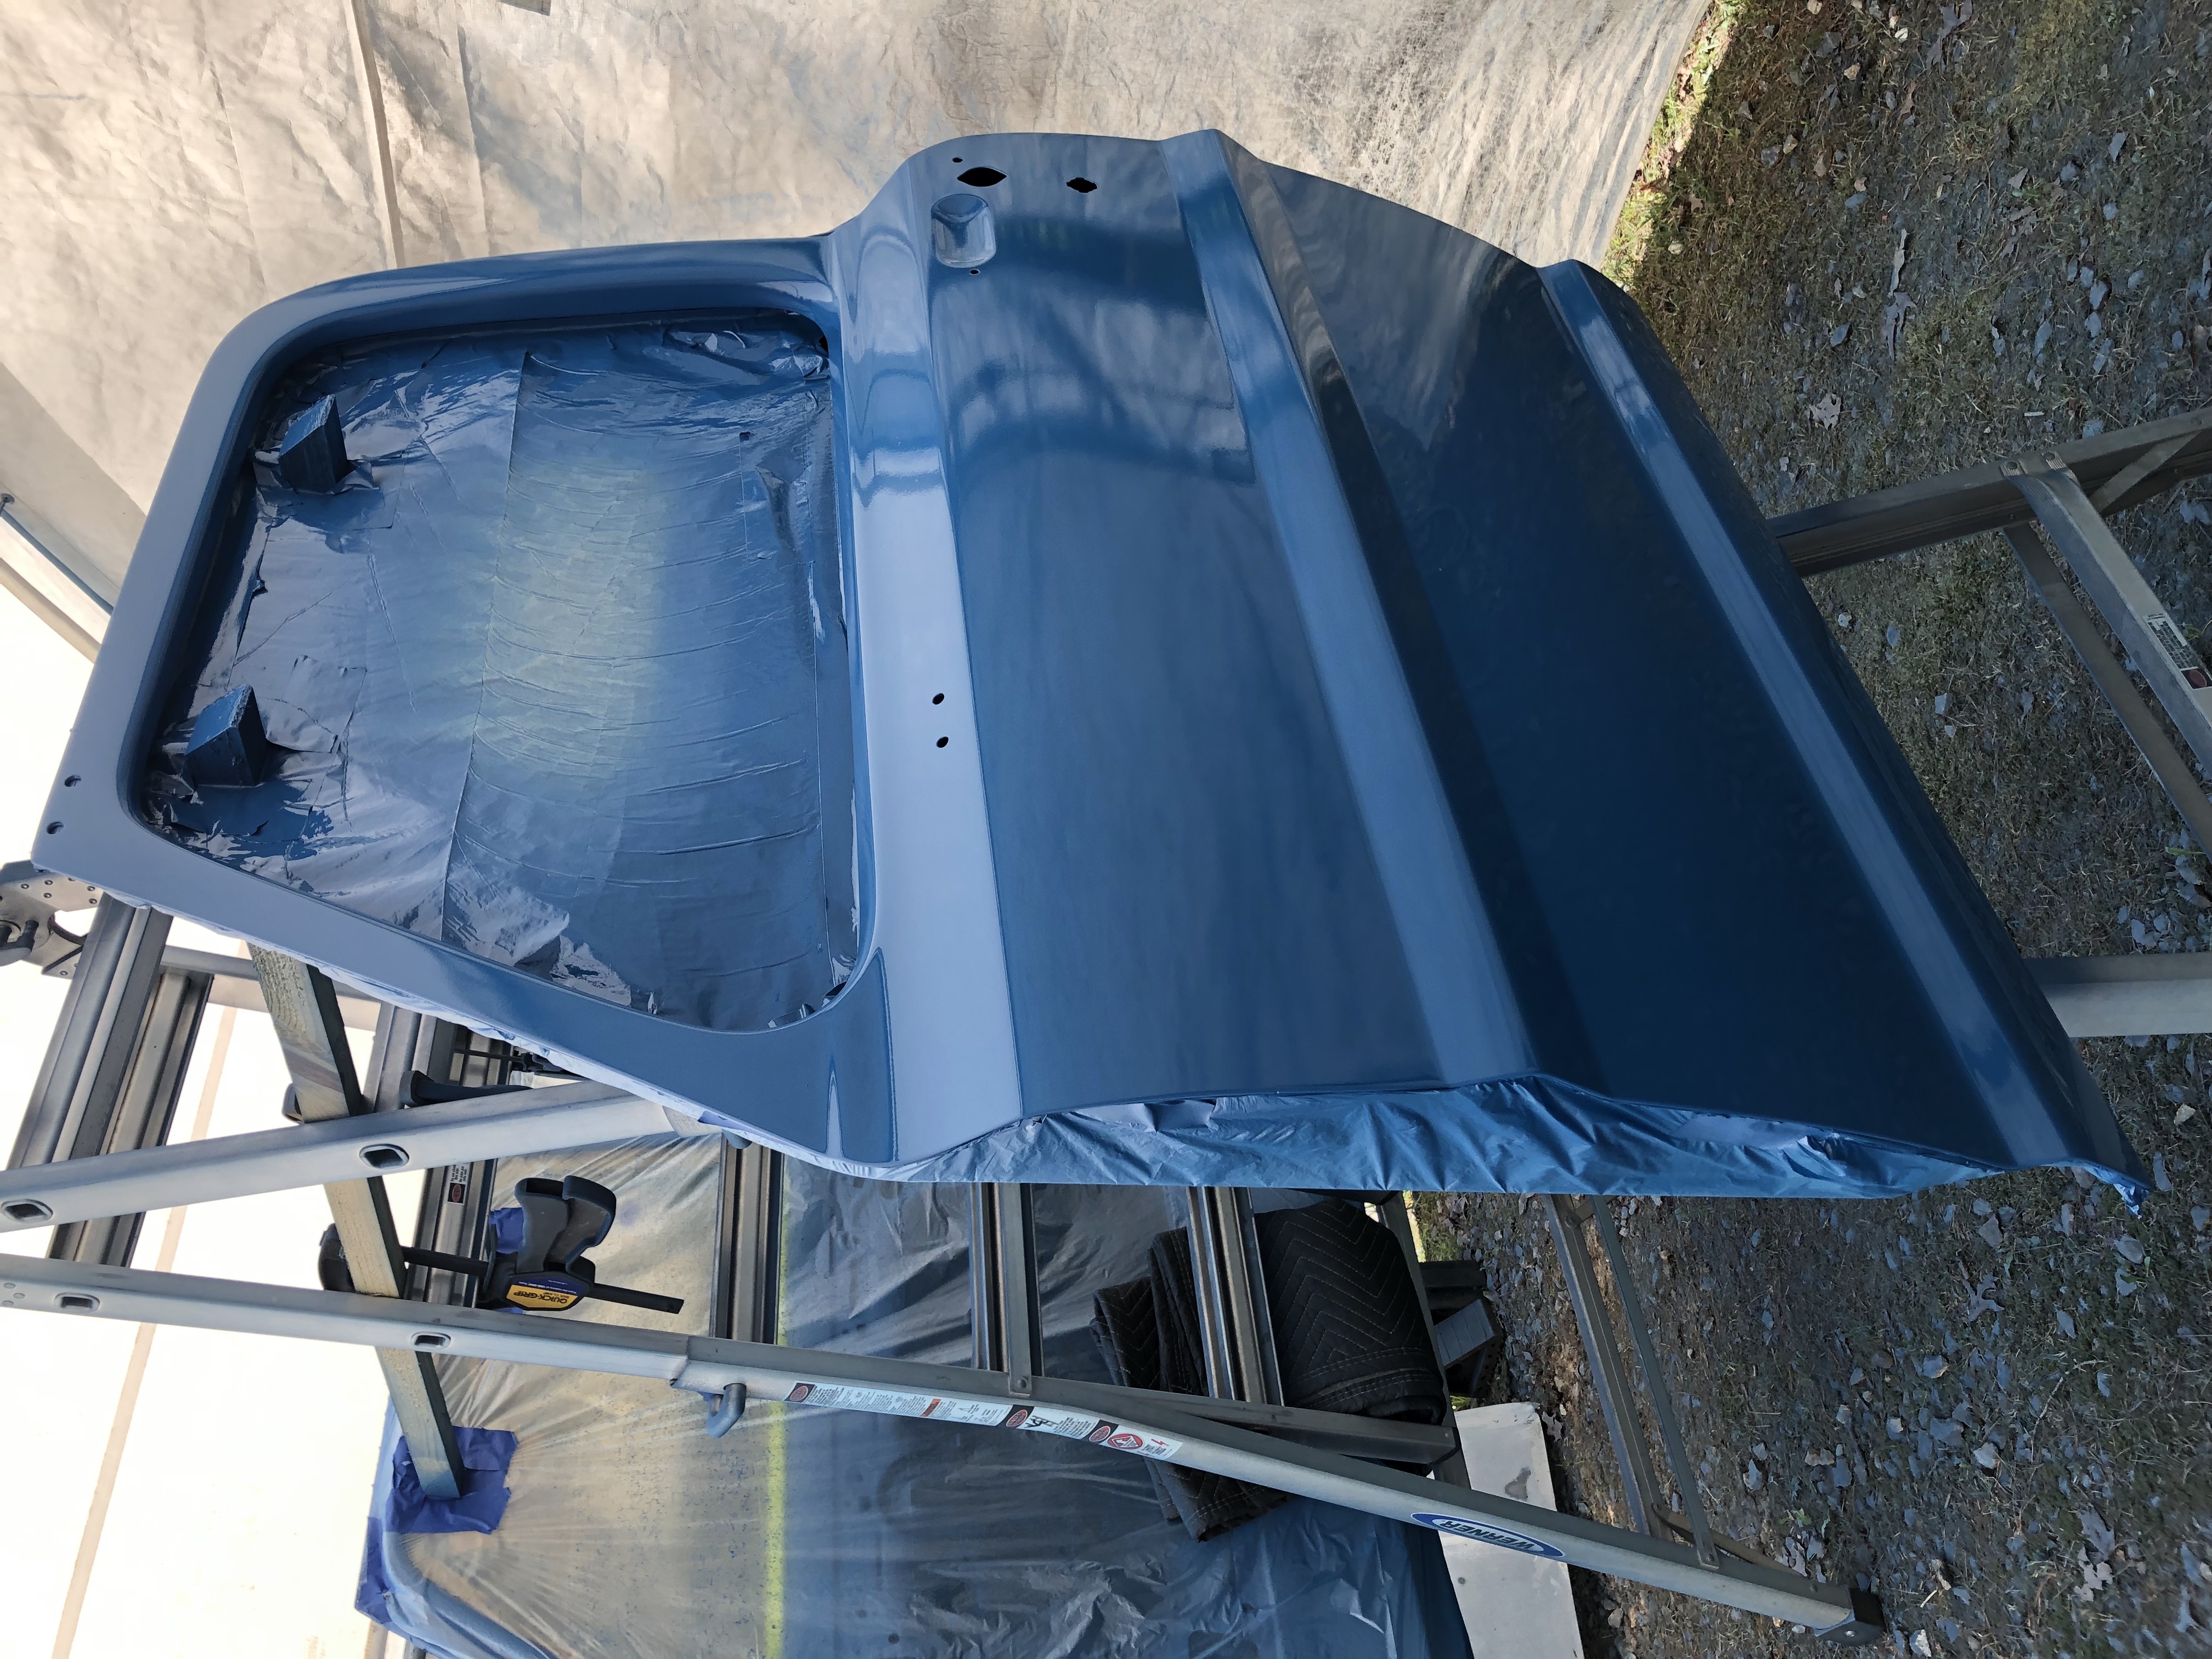
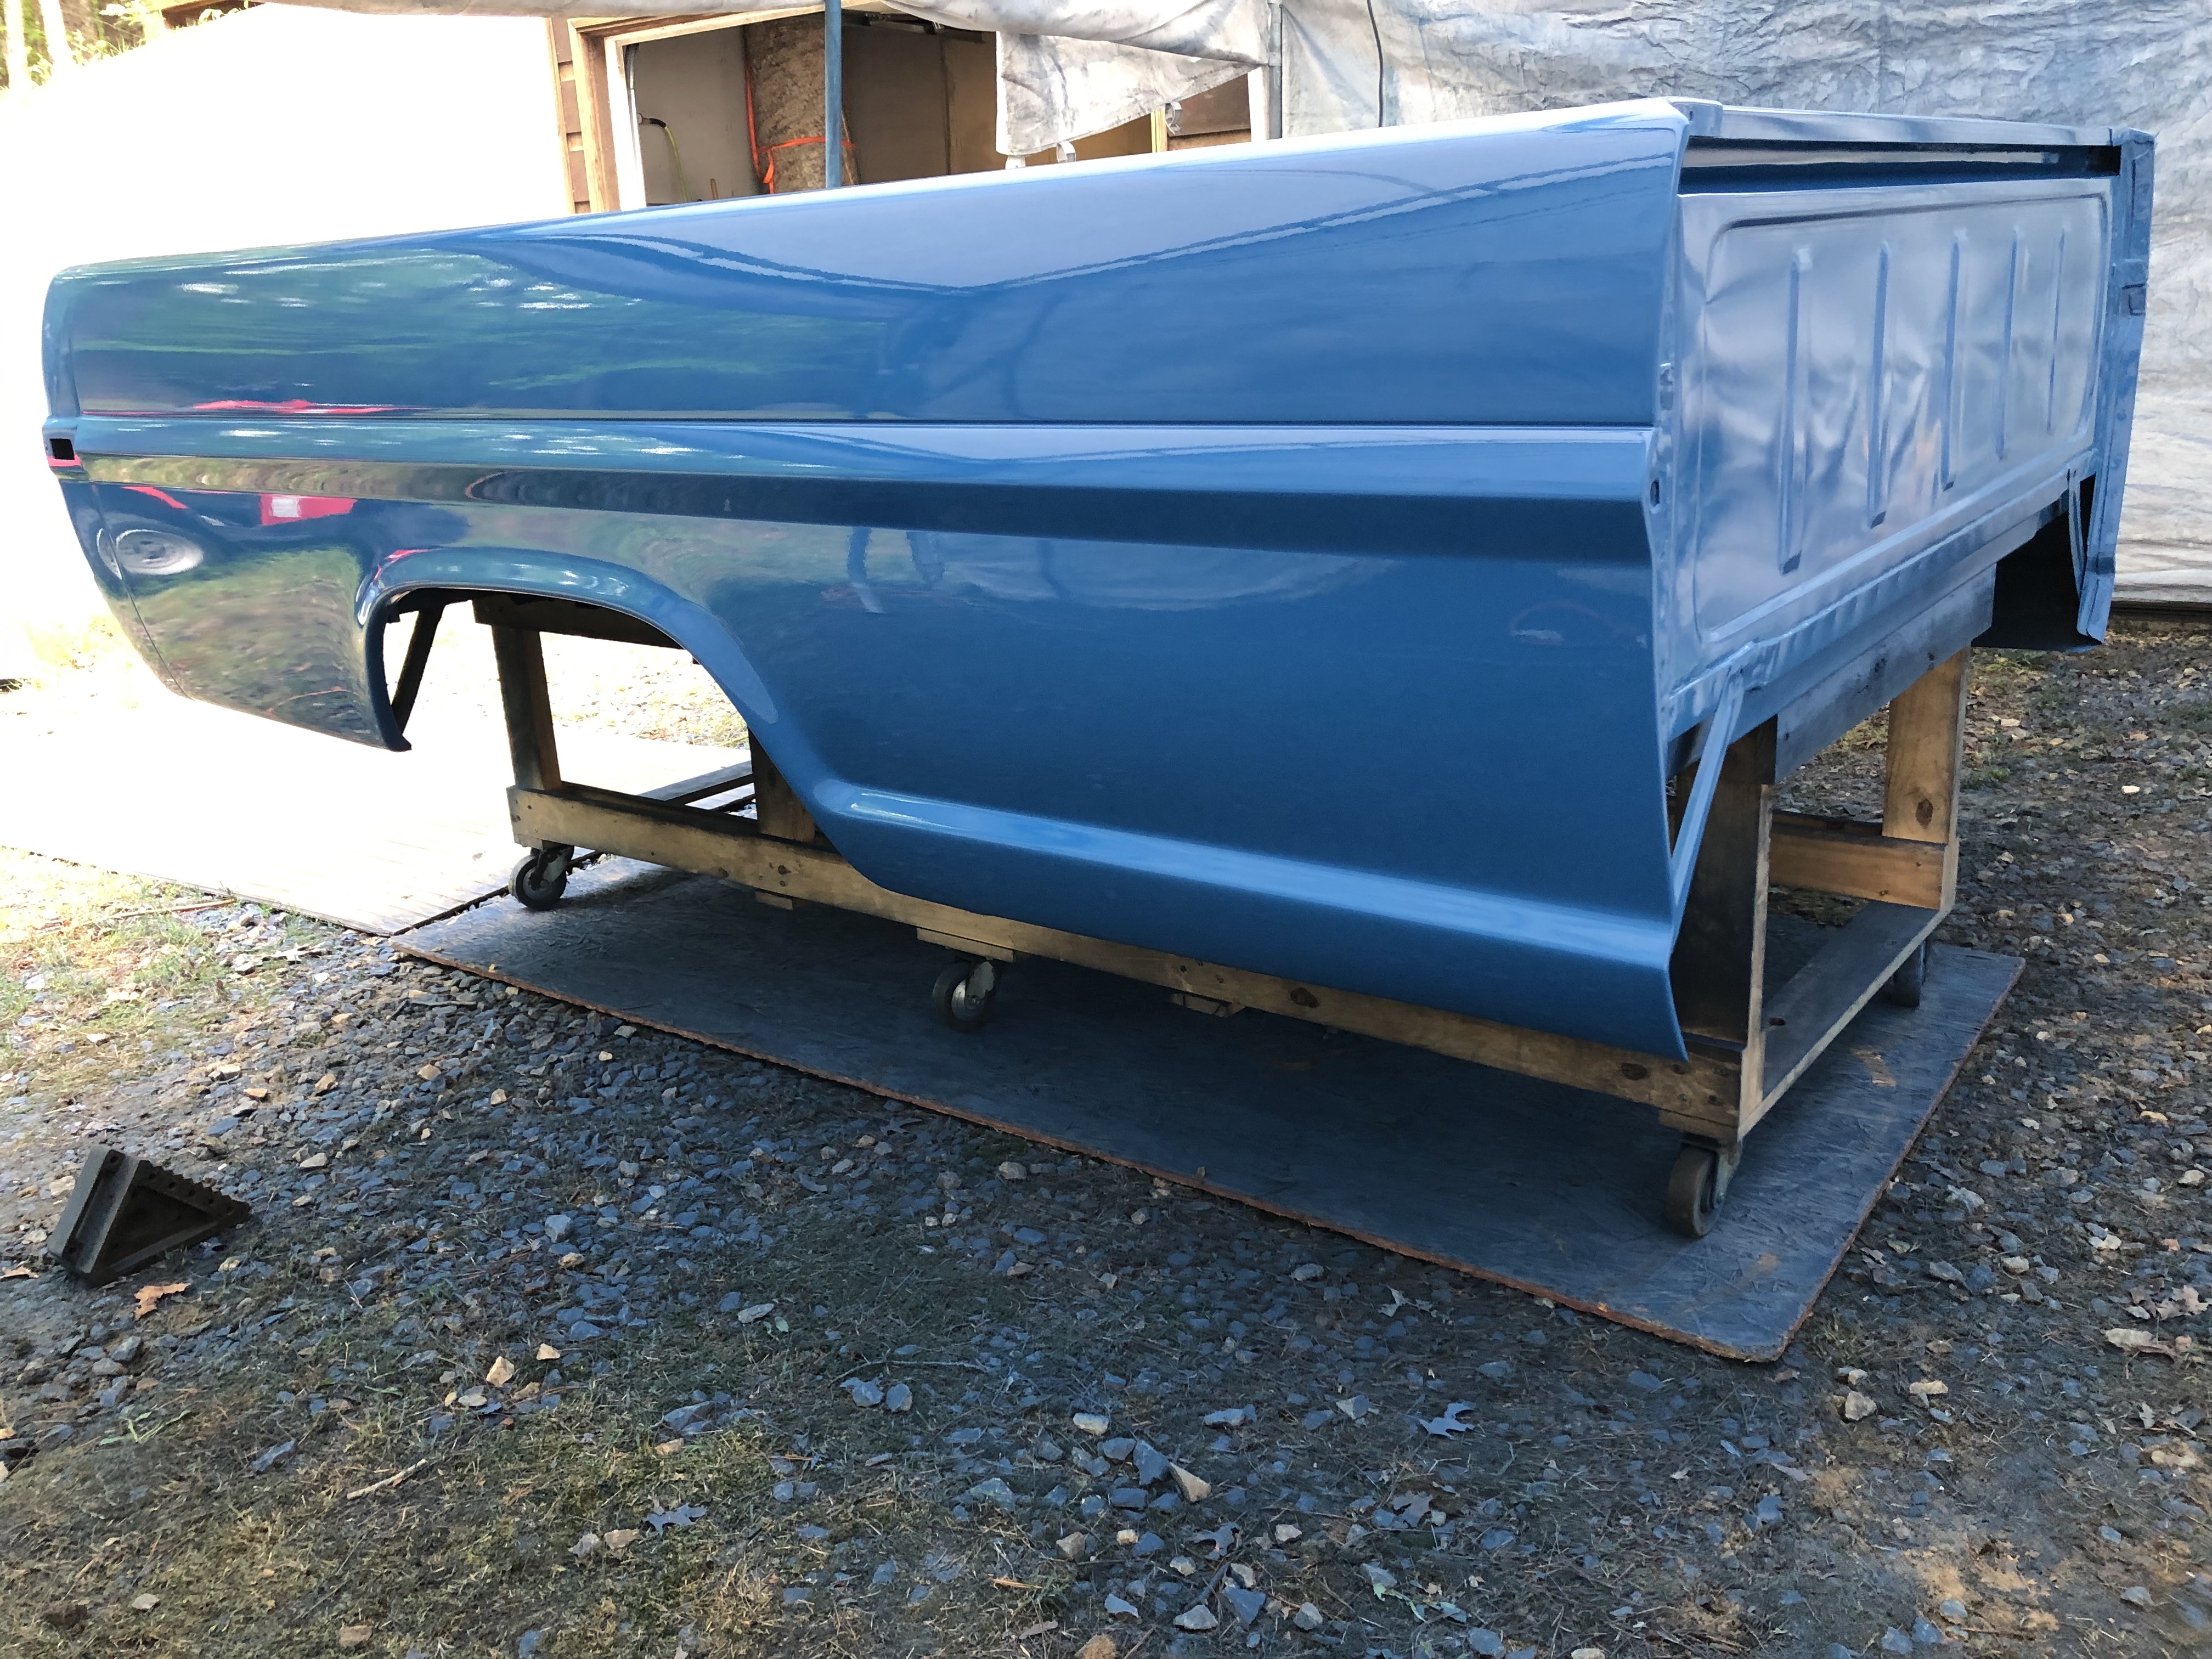
Well, it’s been nearly a year. Only getting back to my shop every other month at best, and only making time or having weather cooperate a small percentage of that time has made it slow going. This time I spent a month working. The damn seem sealer that I had applied last year really kicked my butt. I spent days sanding, shaping and trying to refine the contours to look right and have an even transition. Every time I would think I had it perfect I would spray fresh primer and all the new imperfections or problems would stick out under the shiny surface…. If I were to do it again I would probably leave out the seam sealer and just allow the epoxy primer to protect the surface. The problem was that those pinch welds were so inconsistent. The panel would be higher on one side and then a few inches down the seam it would be higher on the other, then level for a short section. Then the actual radius of the bend going into the seem was inconsistent. Some areas nearly 90 degrees, some with almost a 1/4” radius, and everything in between. Those inconsistencies that I didn’t really notice with no sealer just stuck out like a sore thumb once filled. Because of the inconsistencies I wasn’t able to just cut a plastic filler applicator to a specific shape to drag down the seam. I honestly think I could have cut out and welded-up the seams more quickly…. The long horizontal bed seams were the exception and they came out looking nice very easily. The hood went pretty smoothly too. The cab seam was the biggest pita and the vertical rear bed seams were difficult.
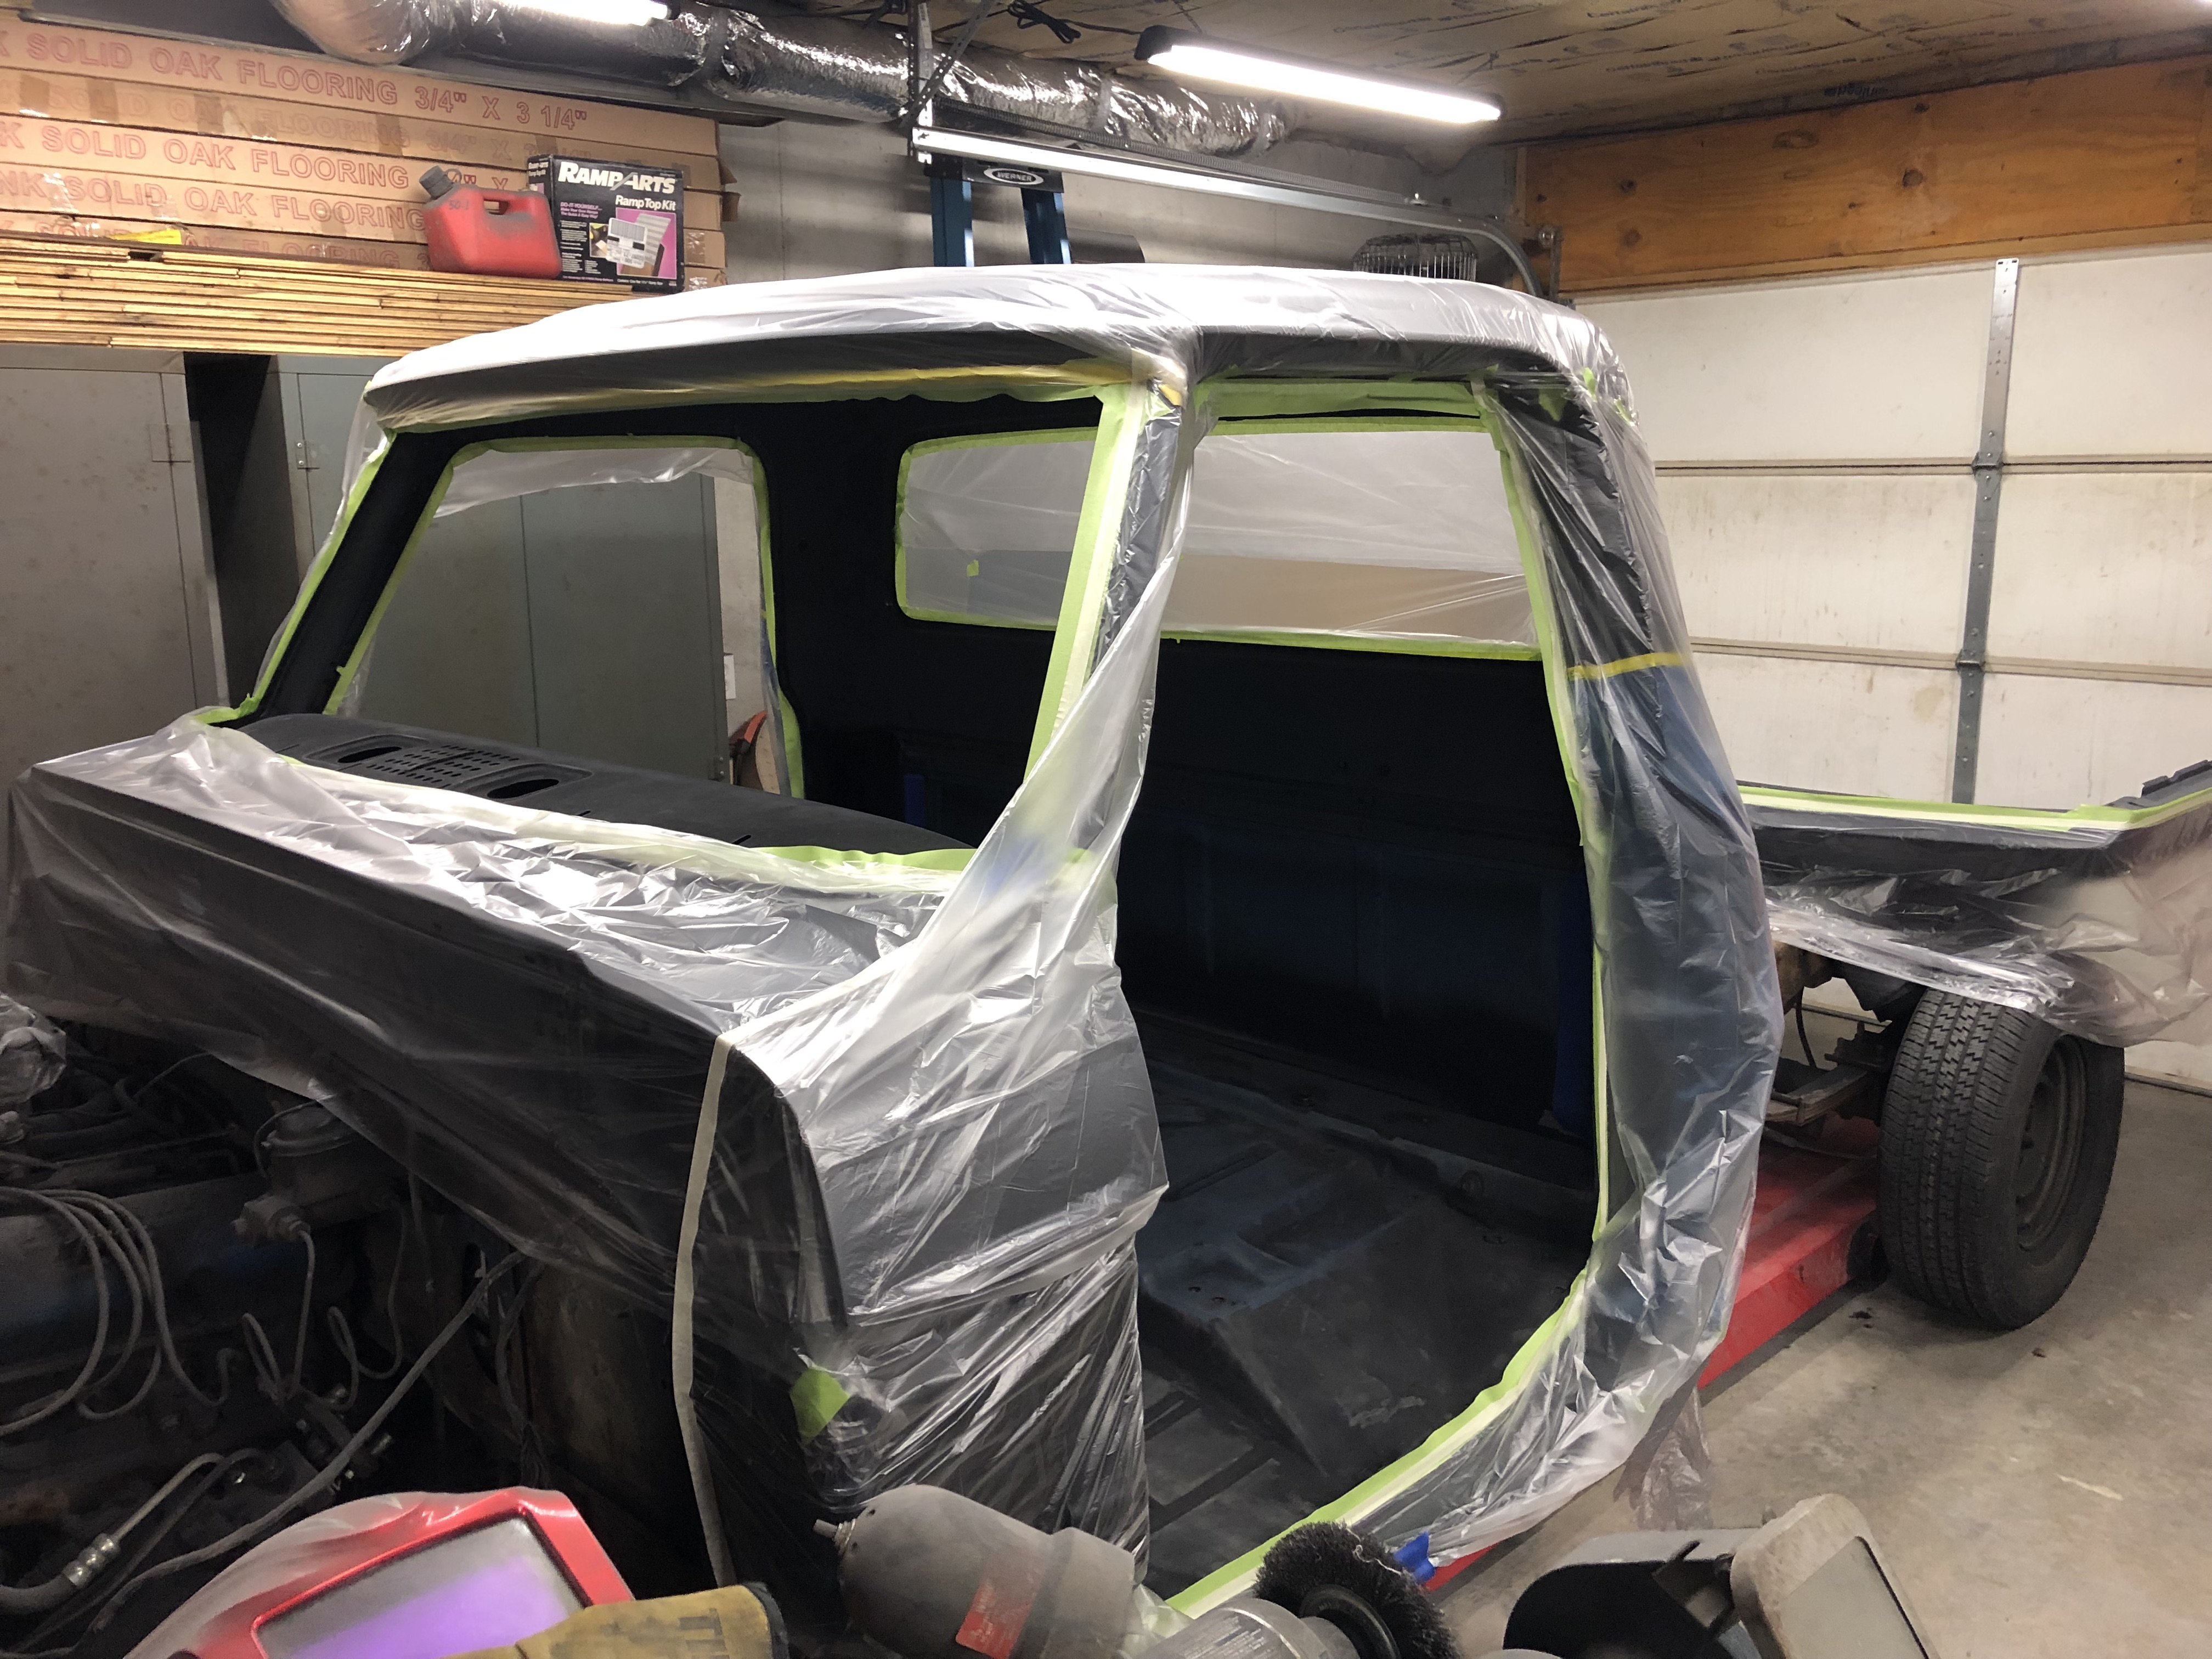
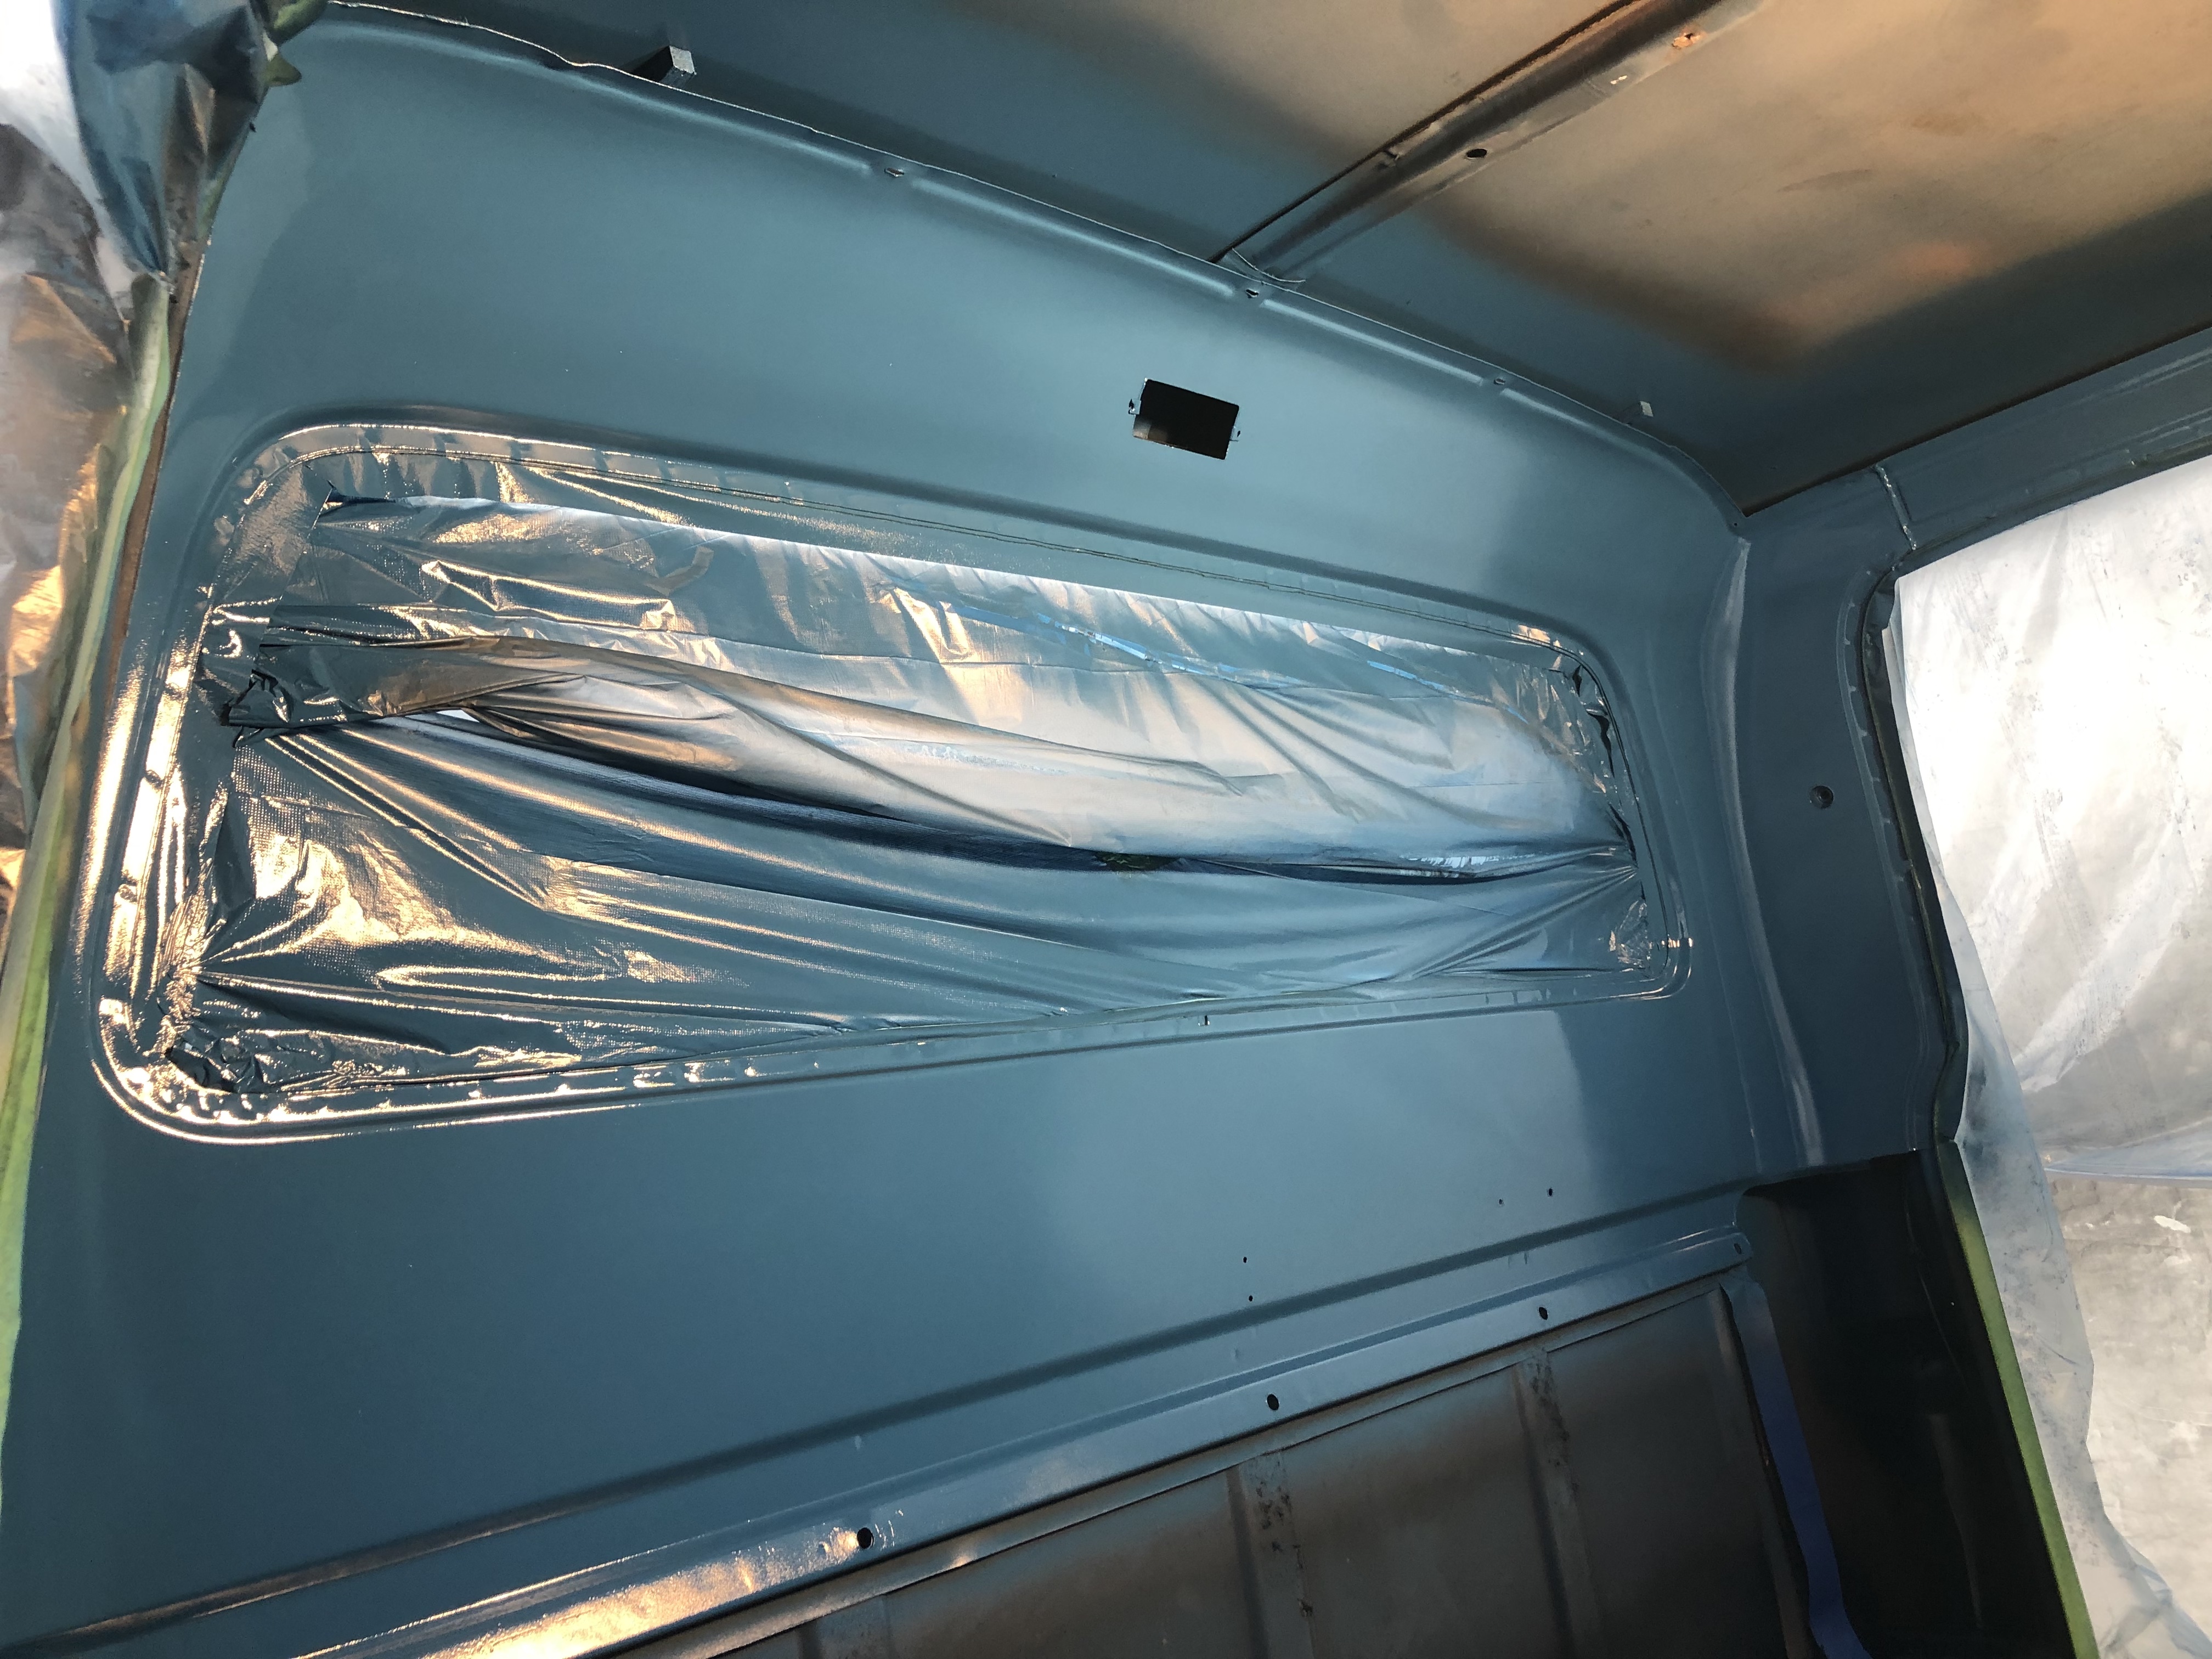
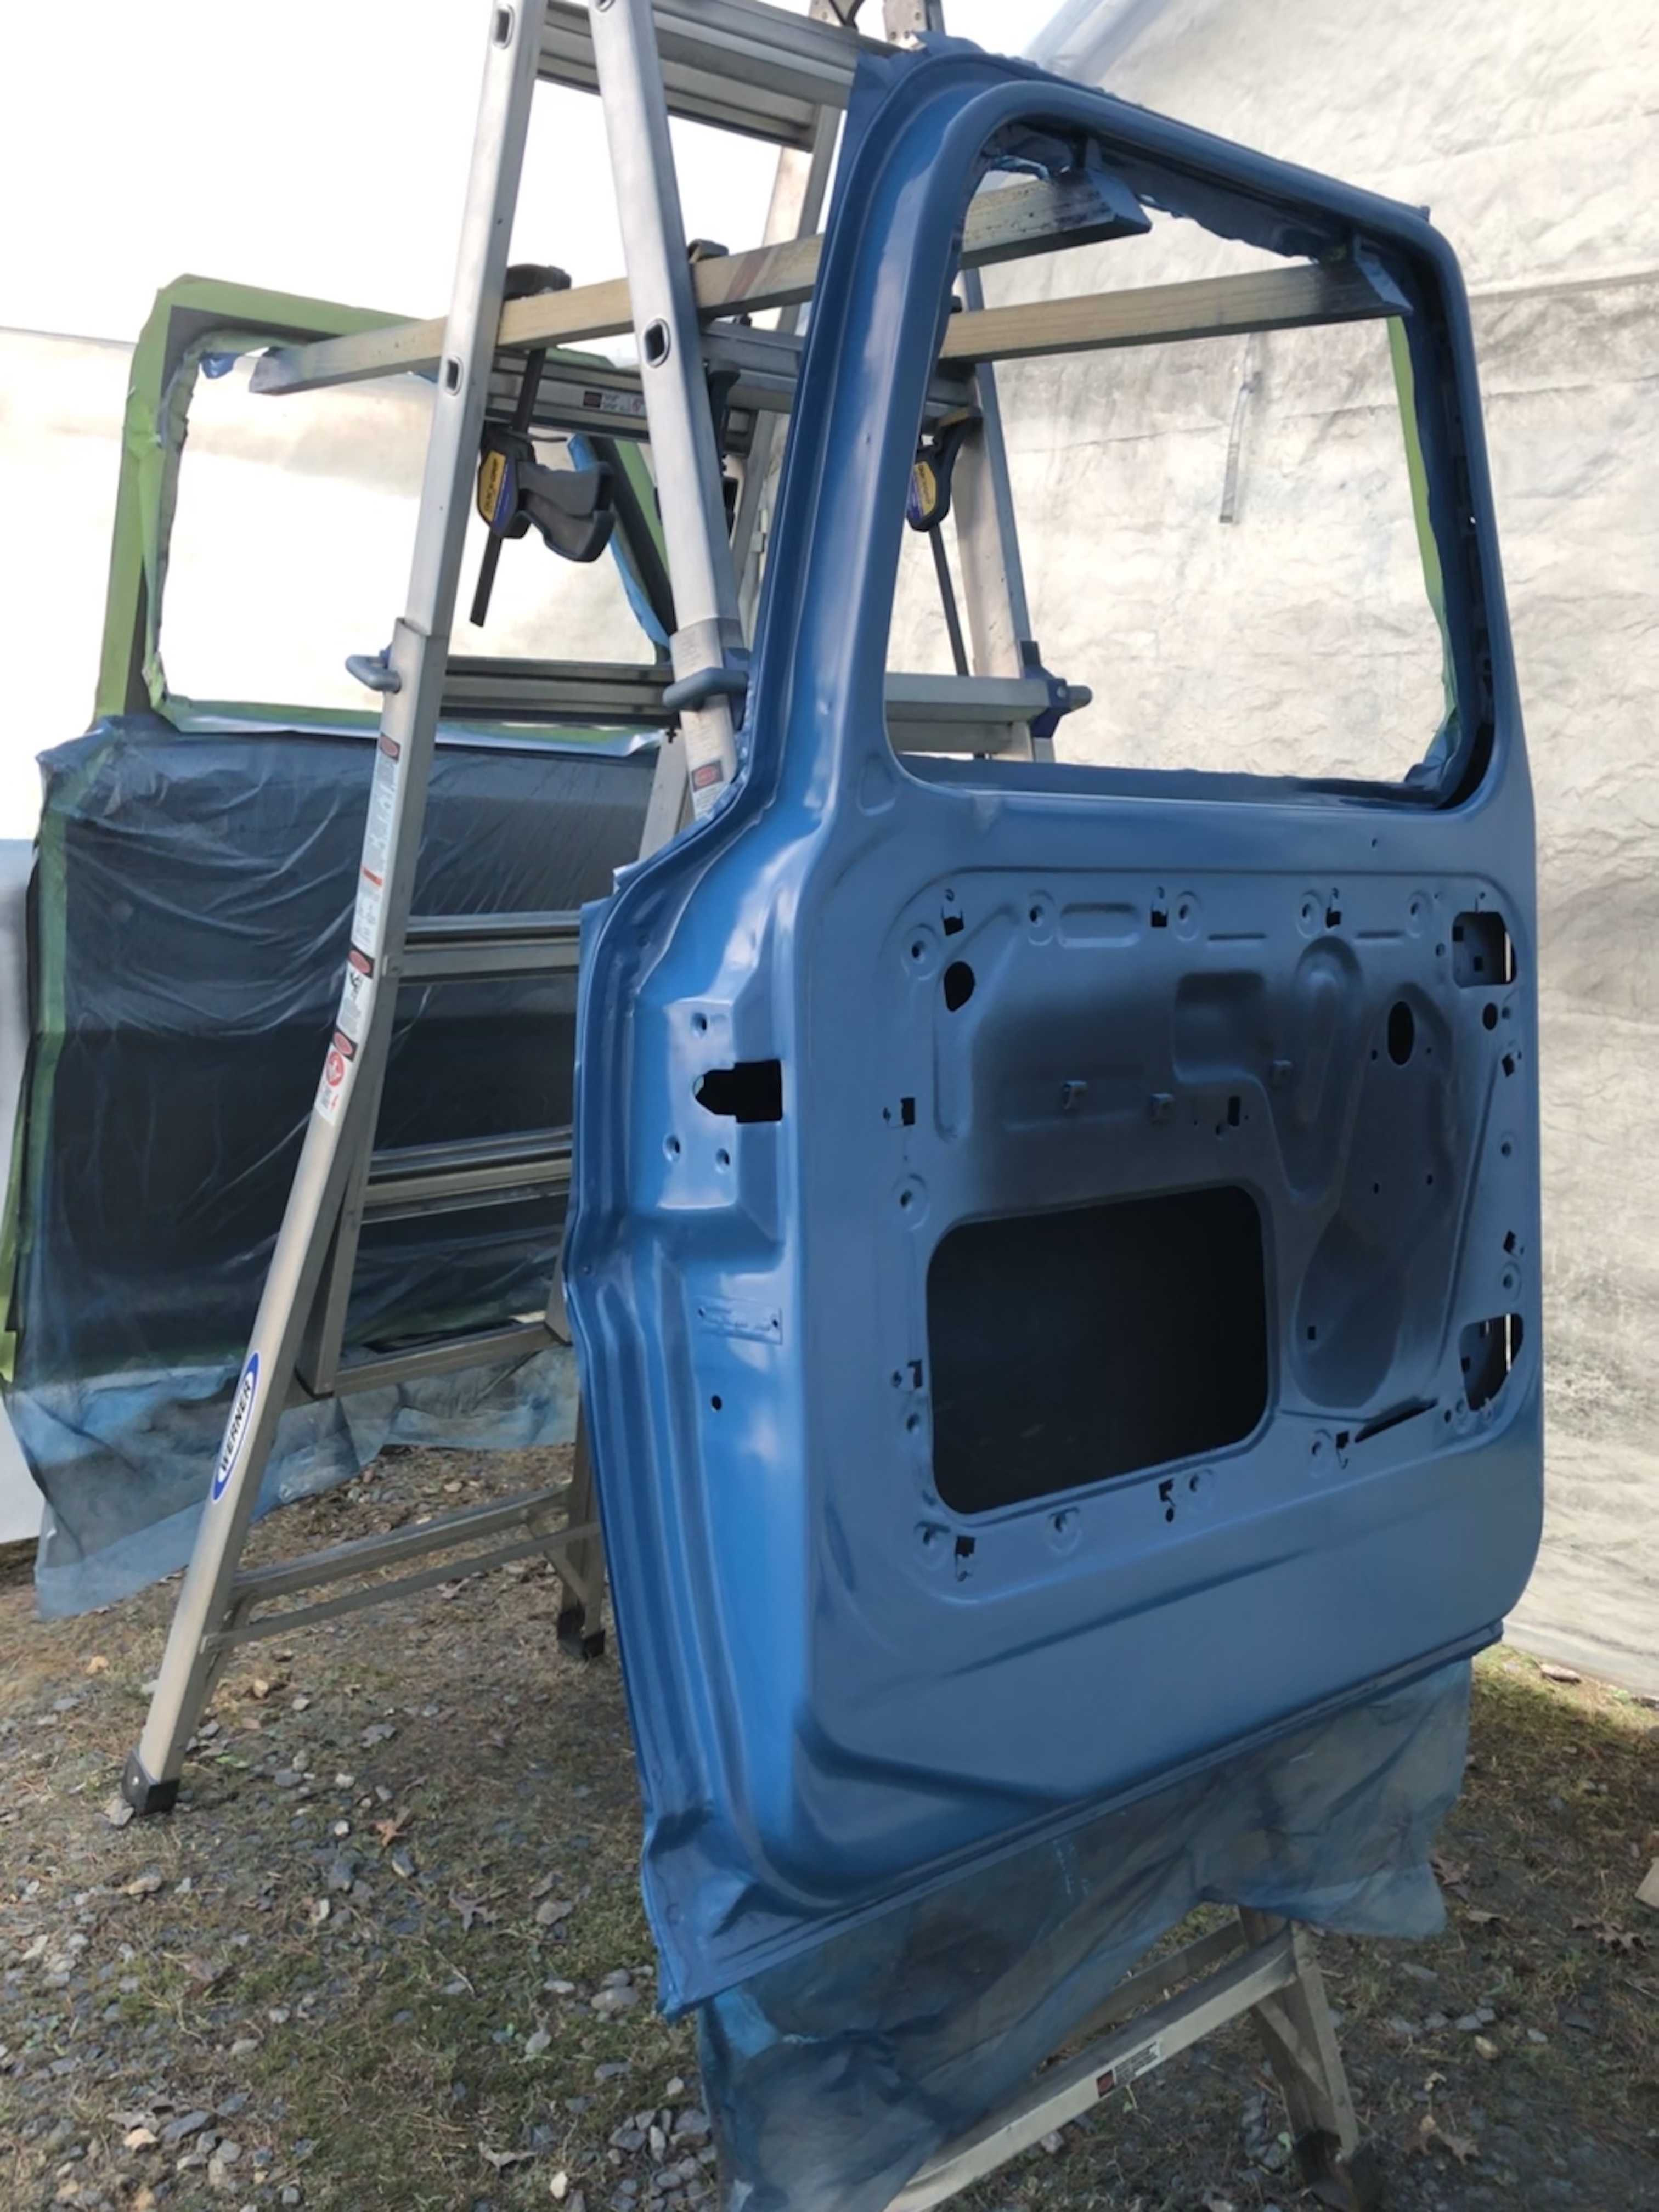
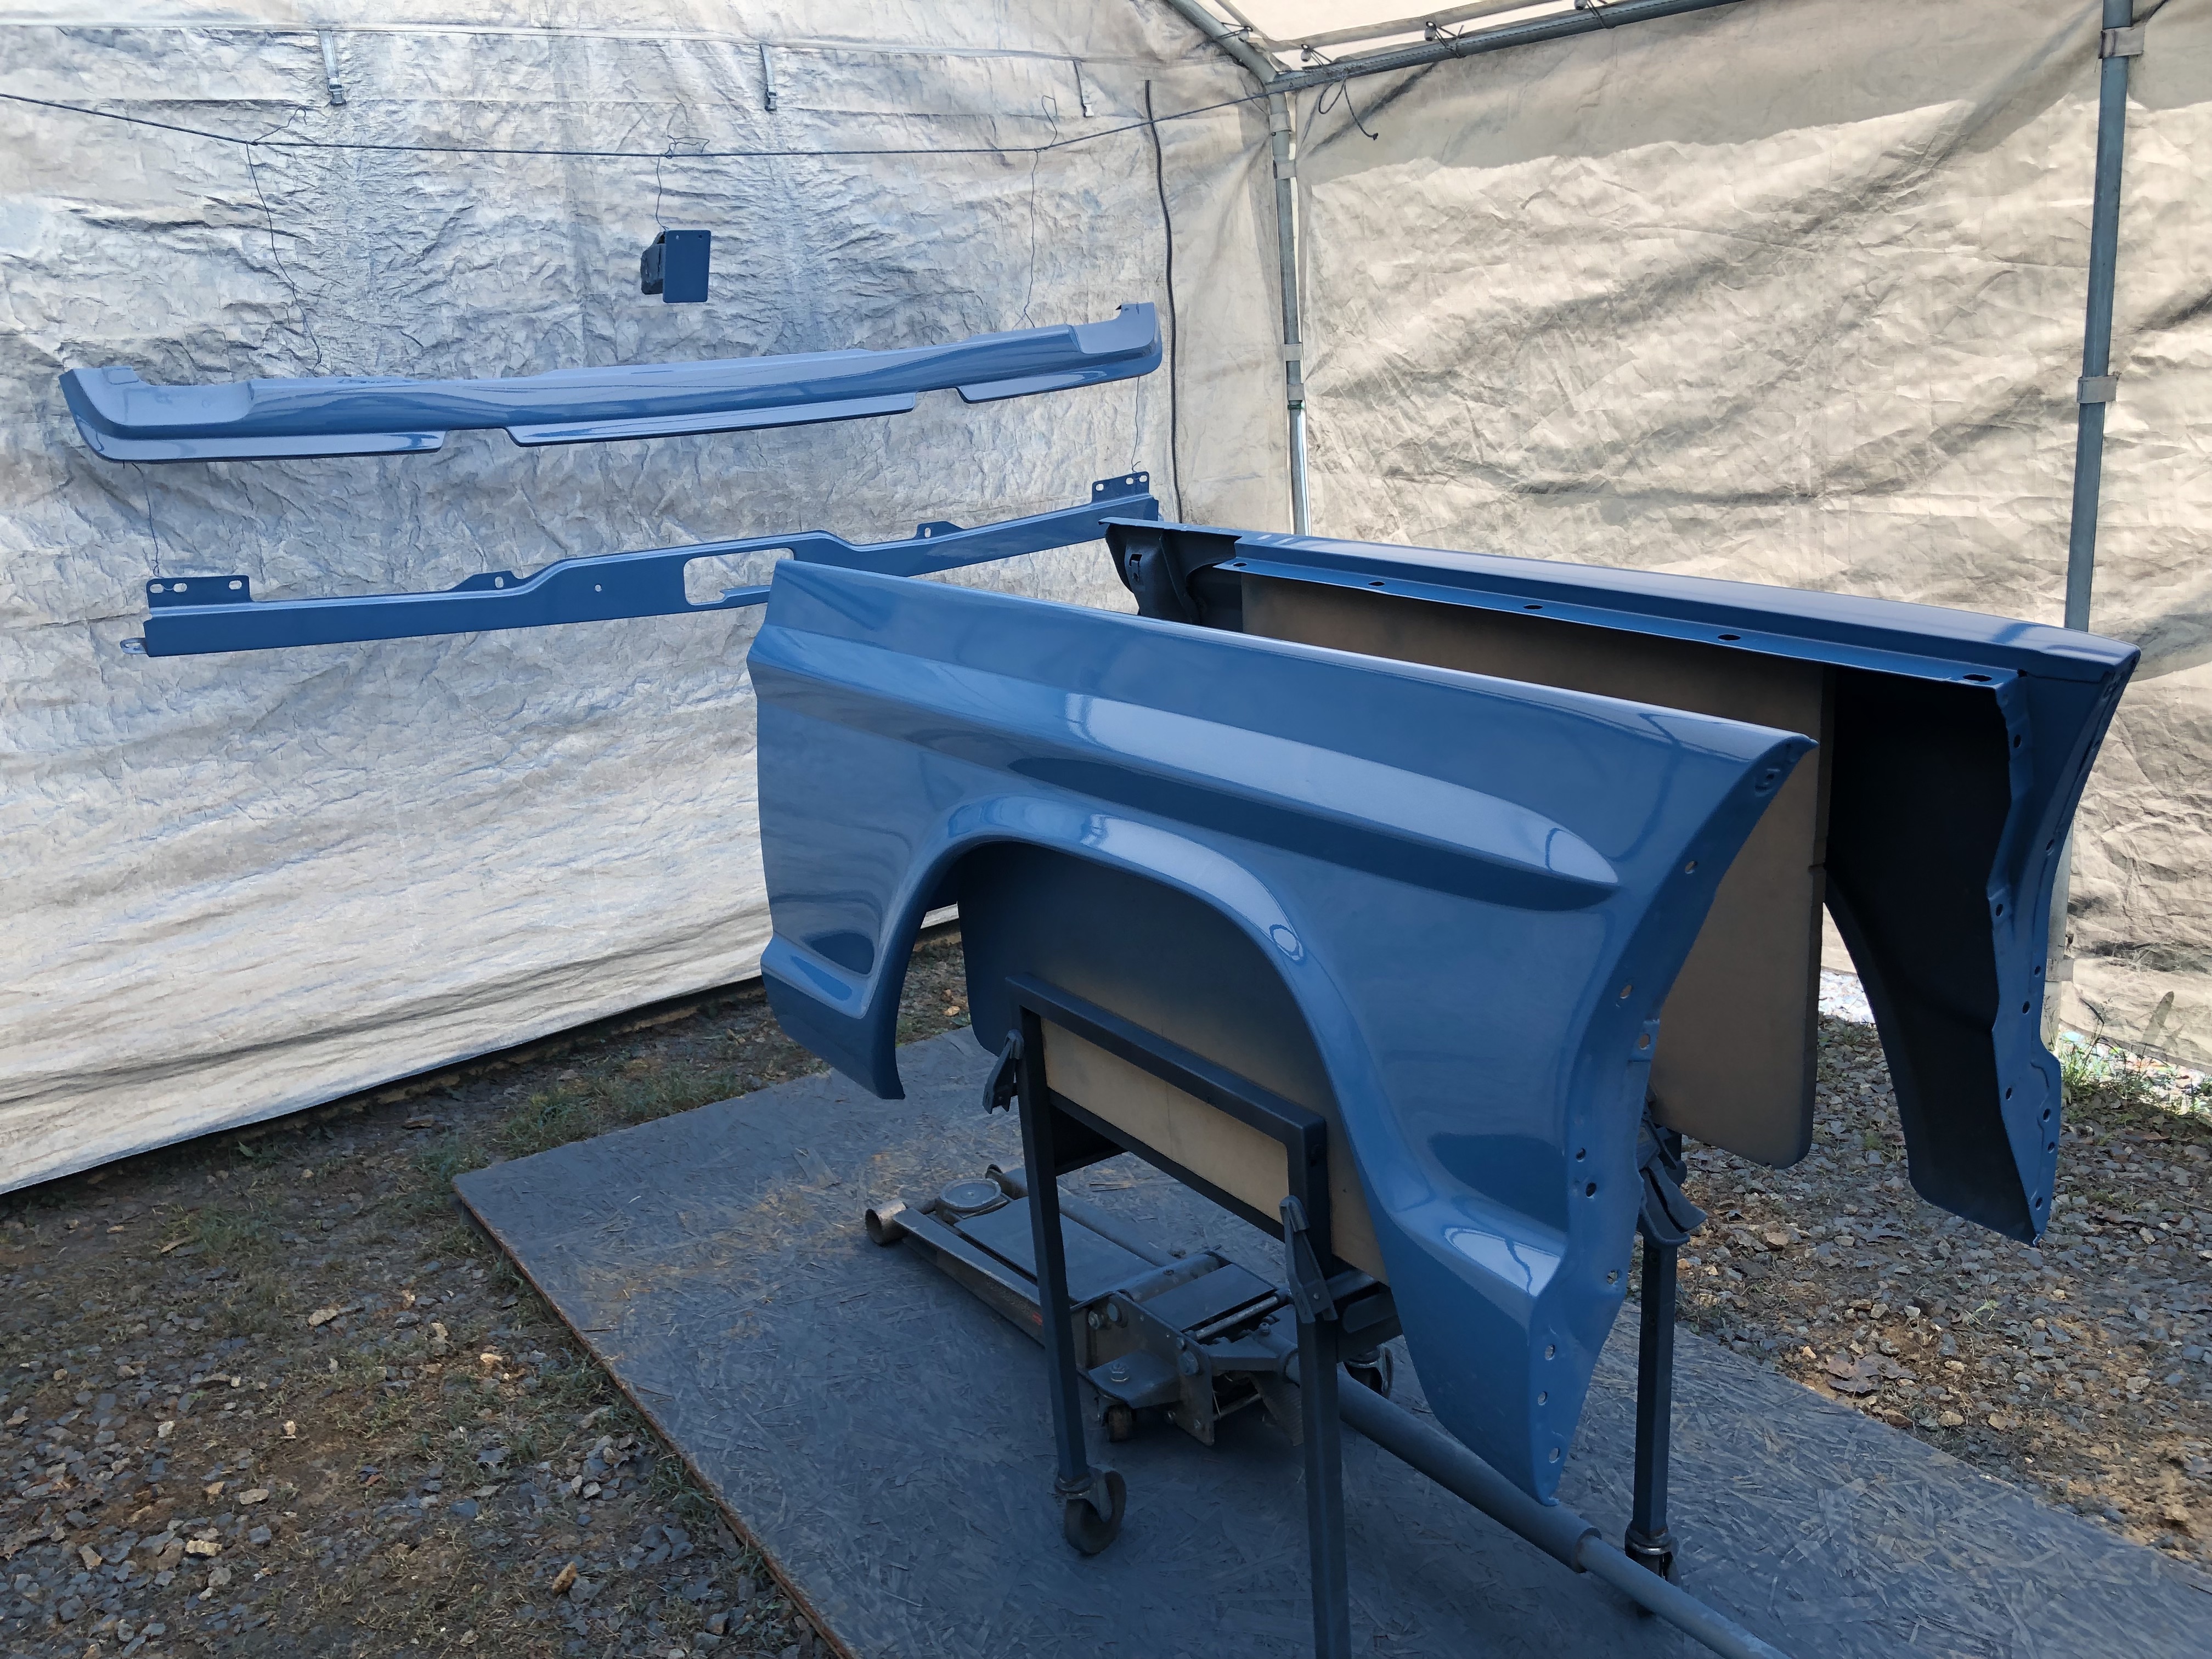
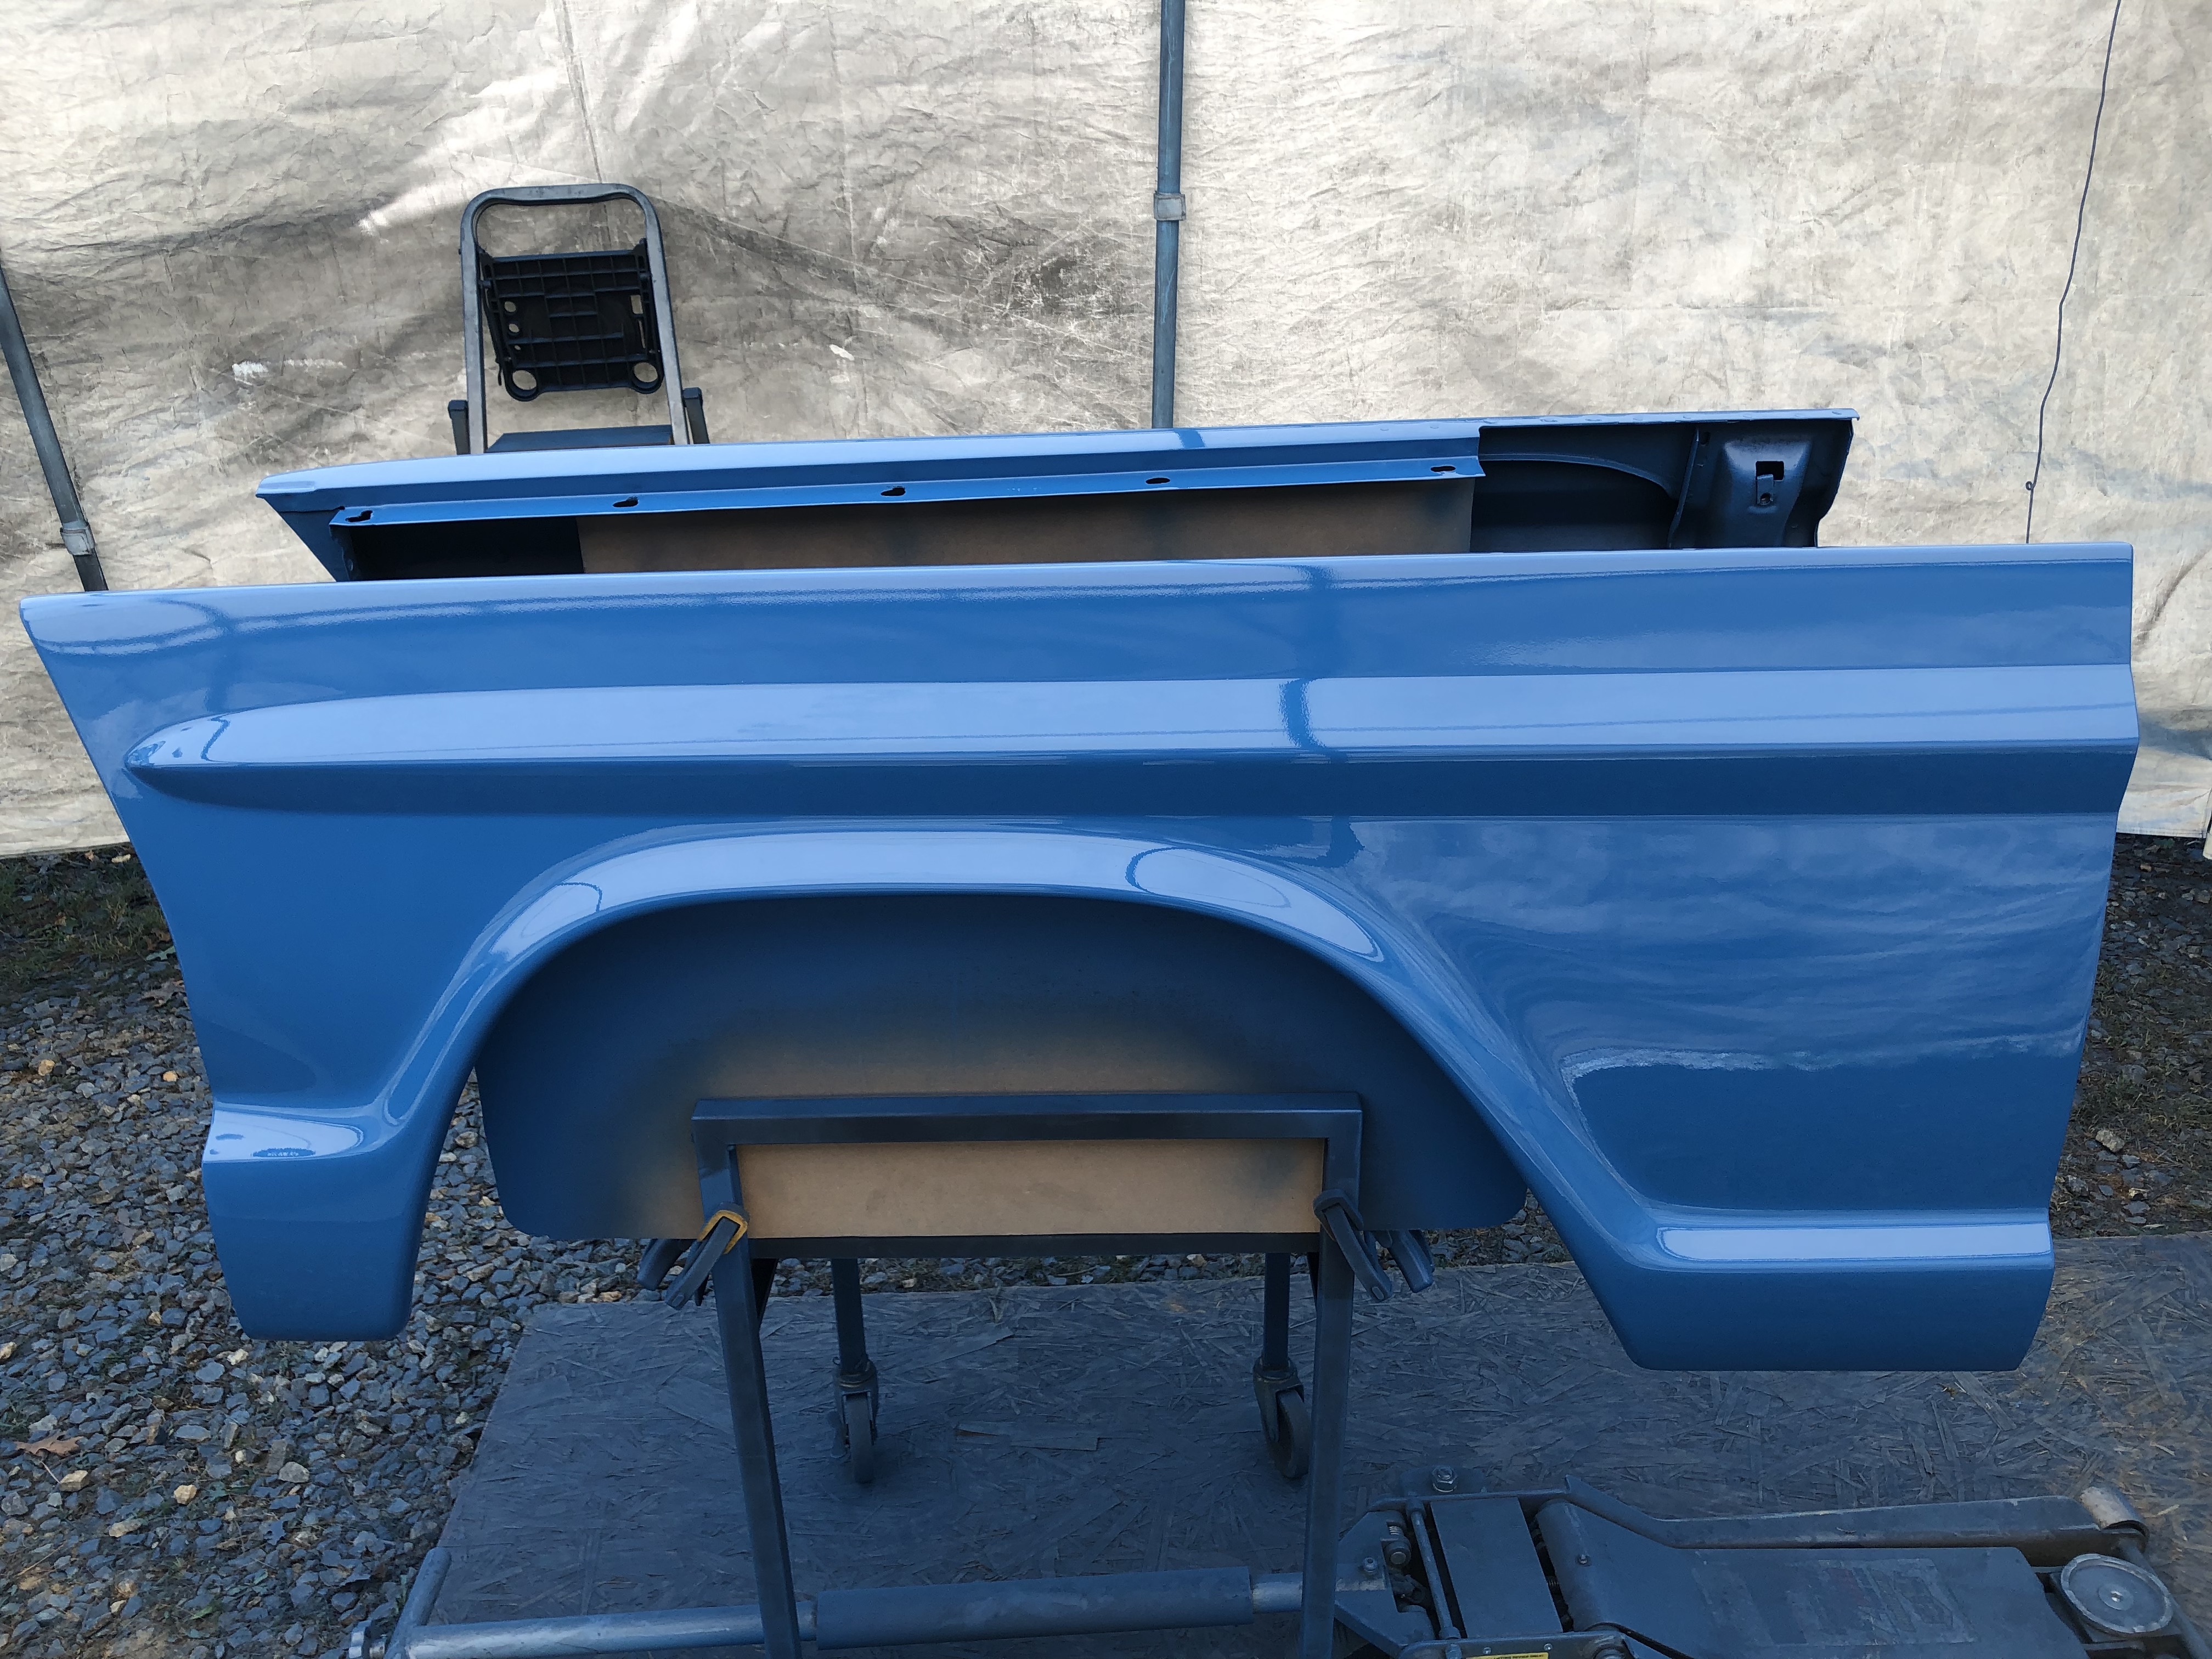
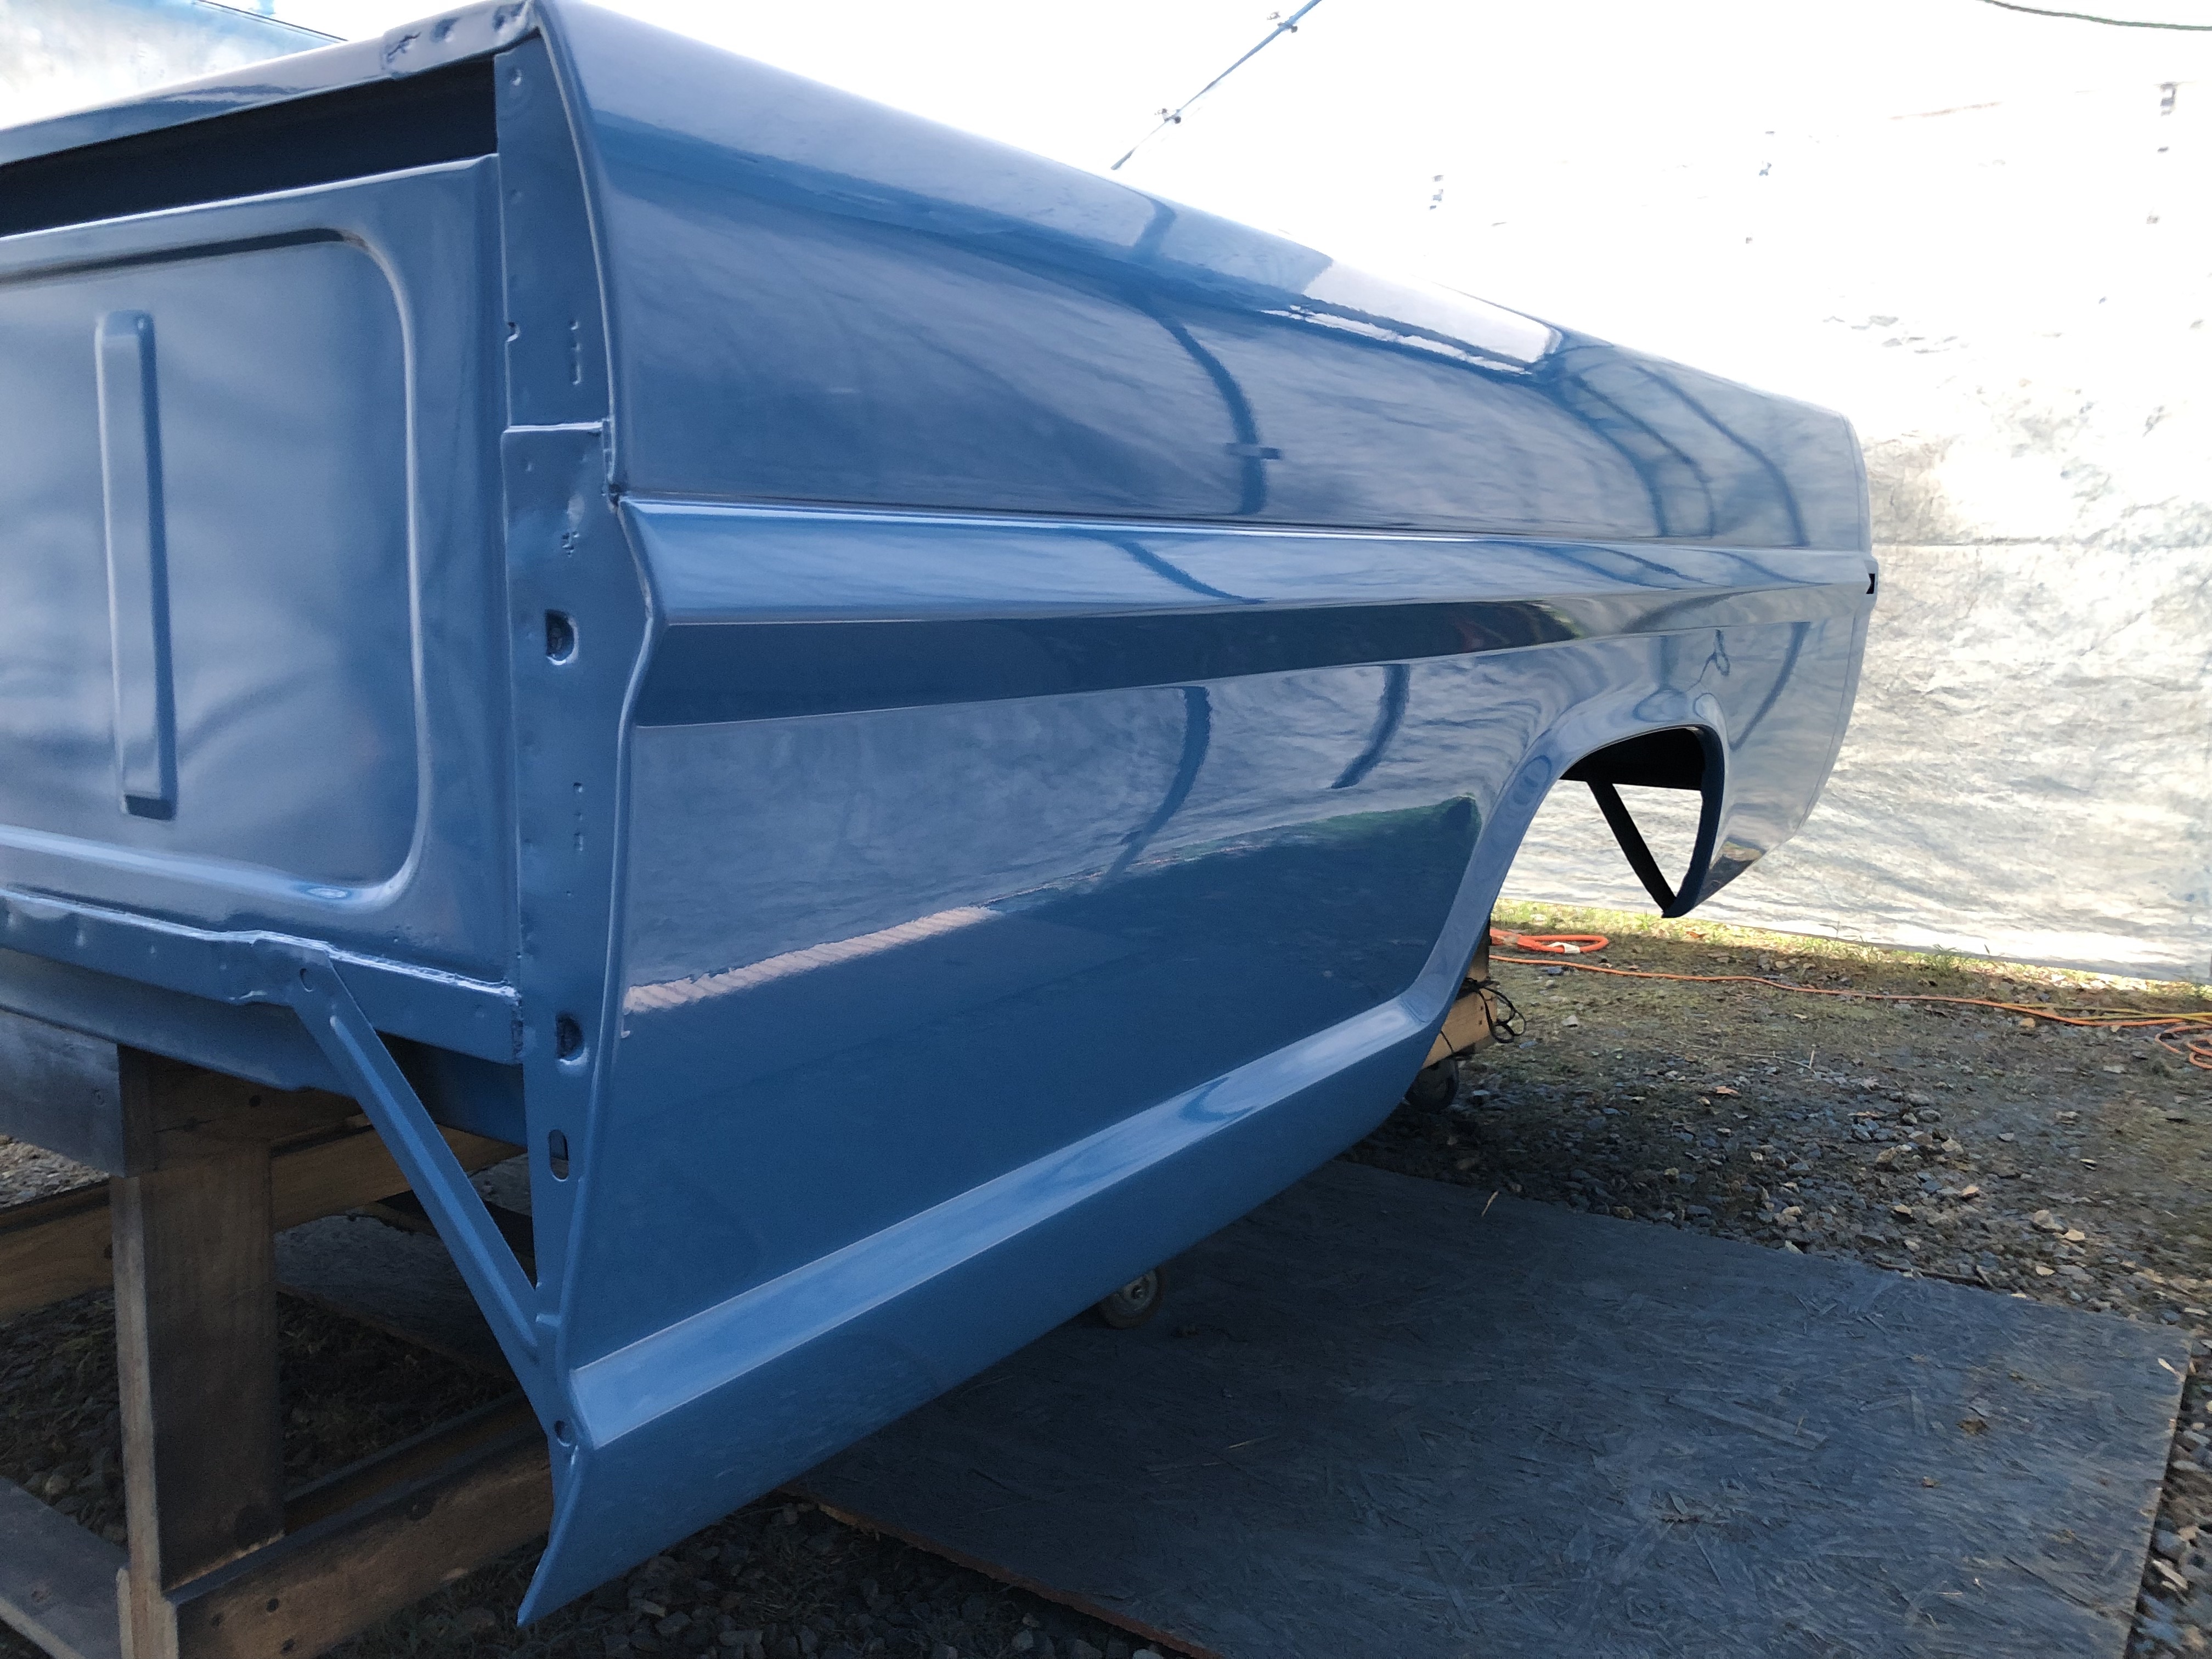
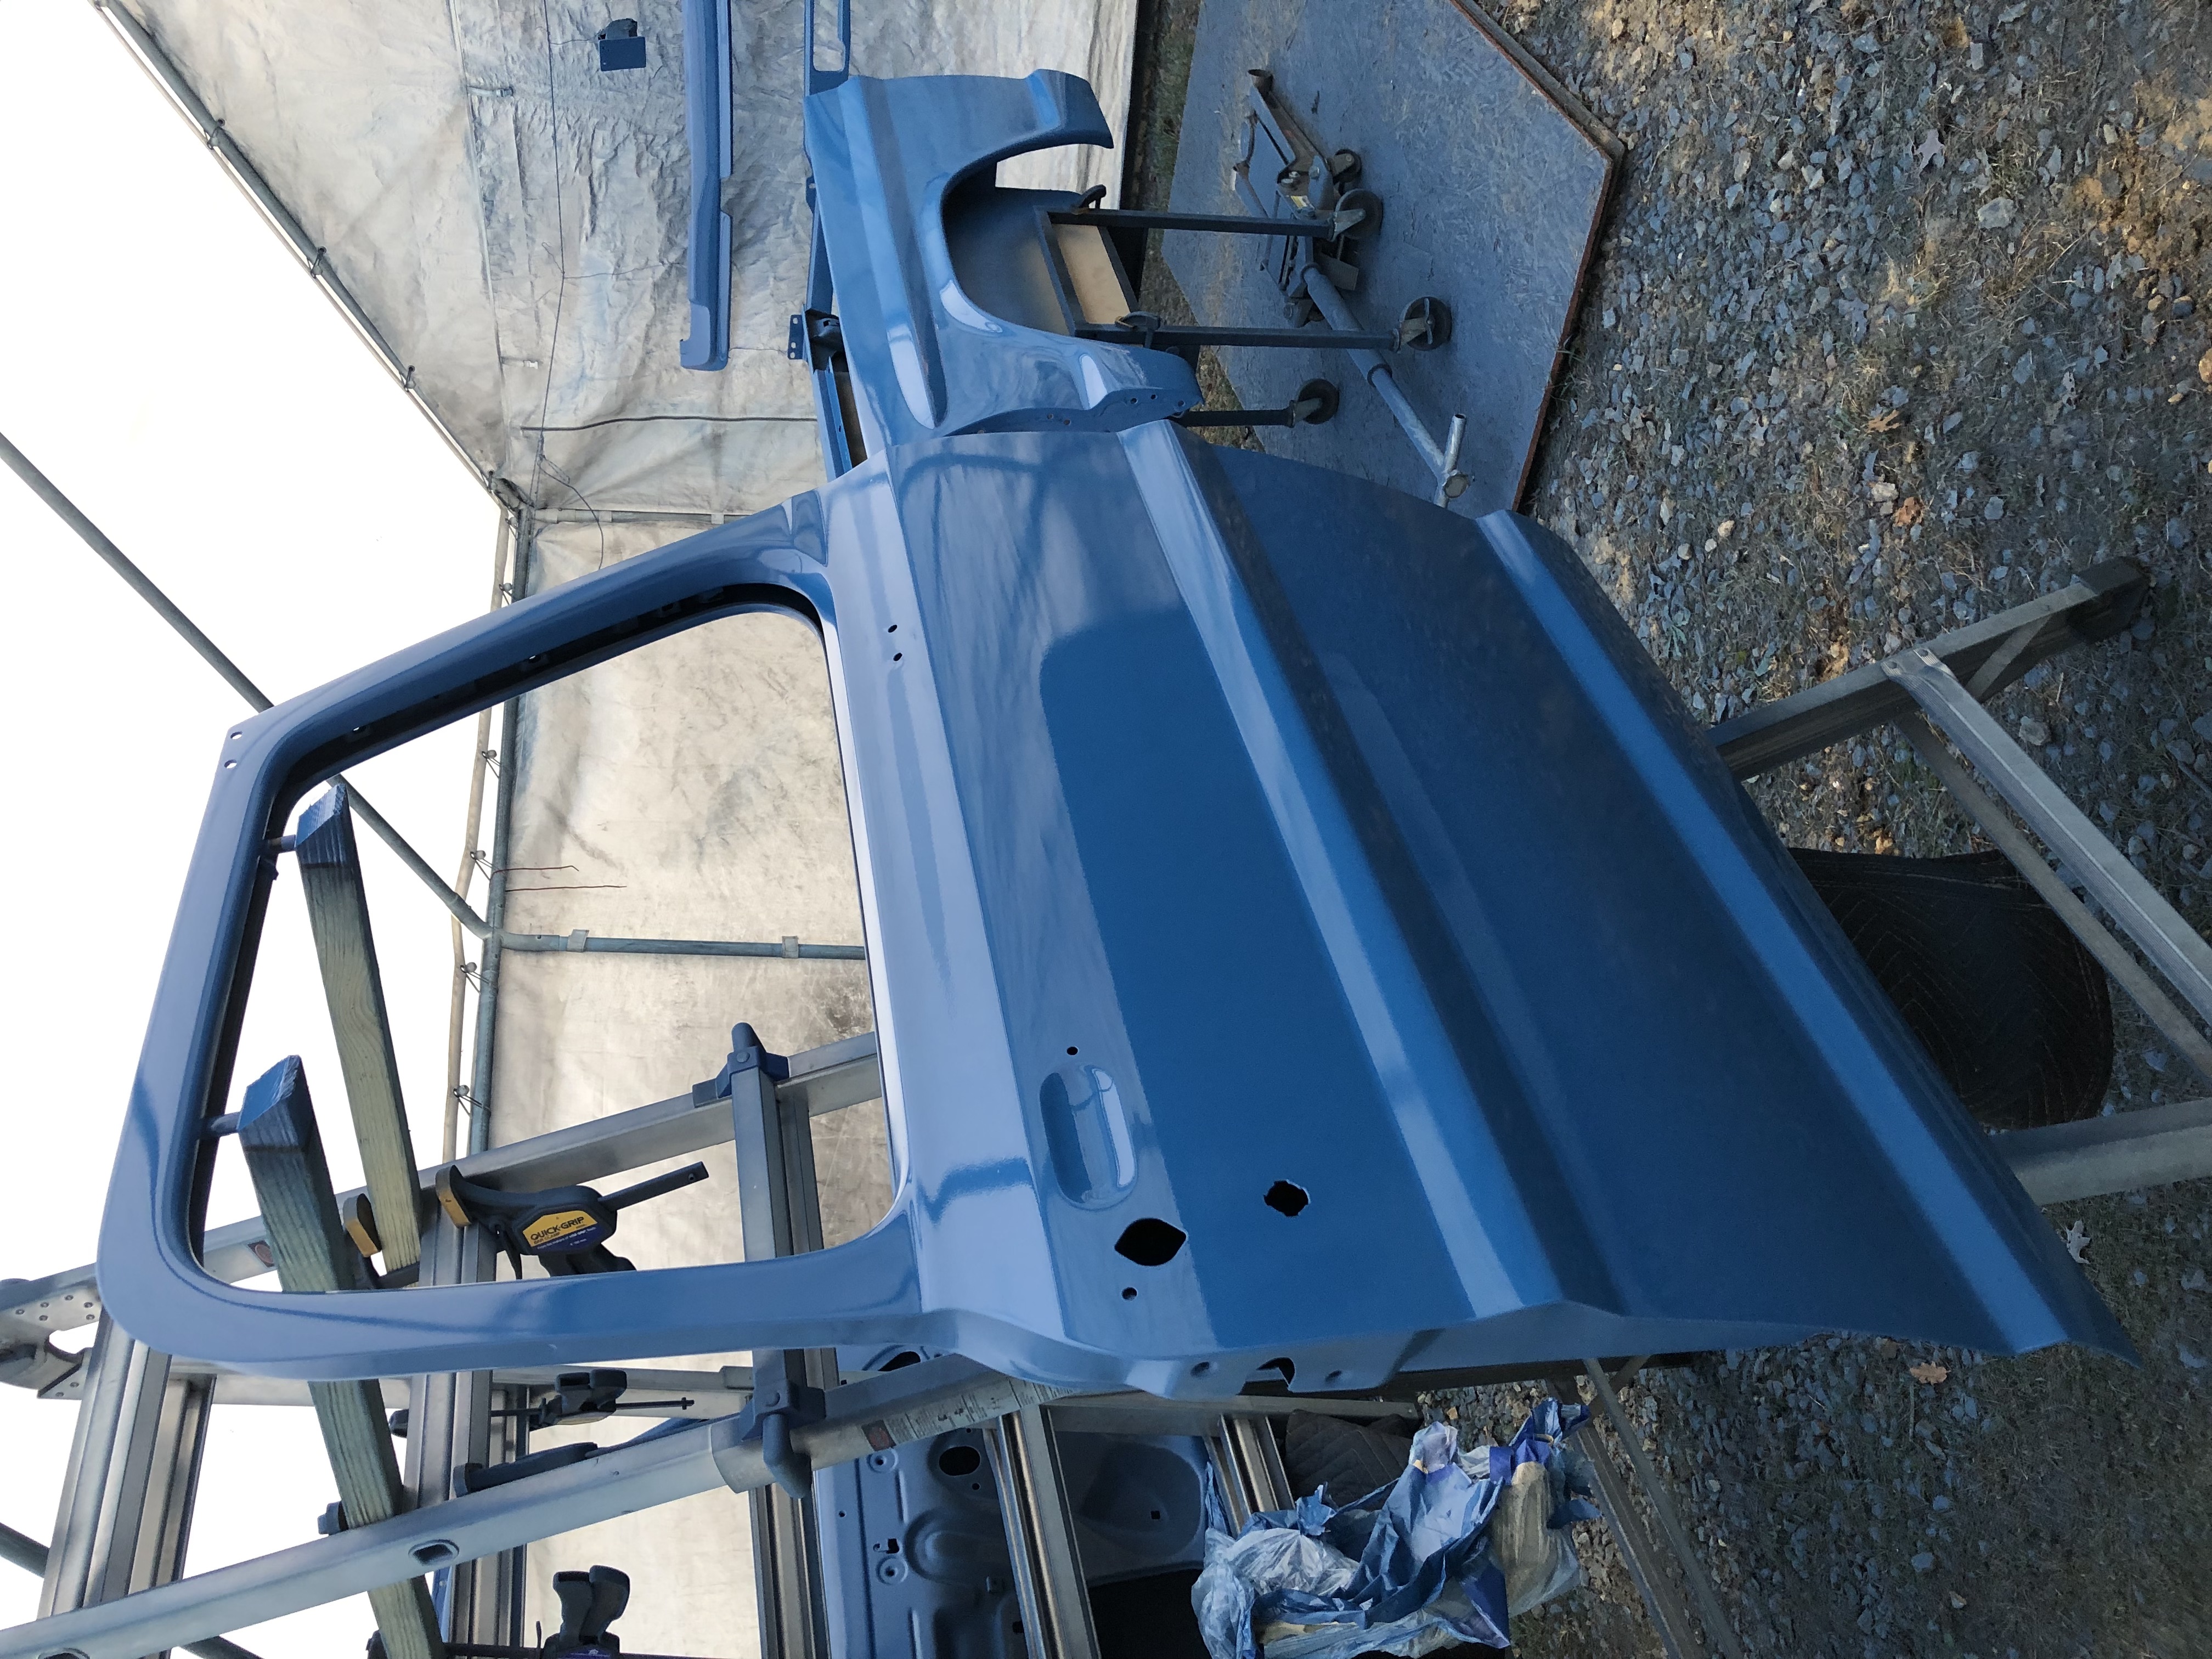
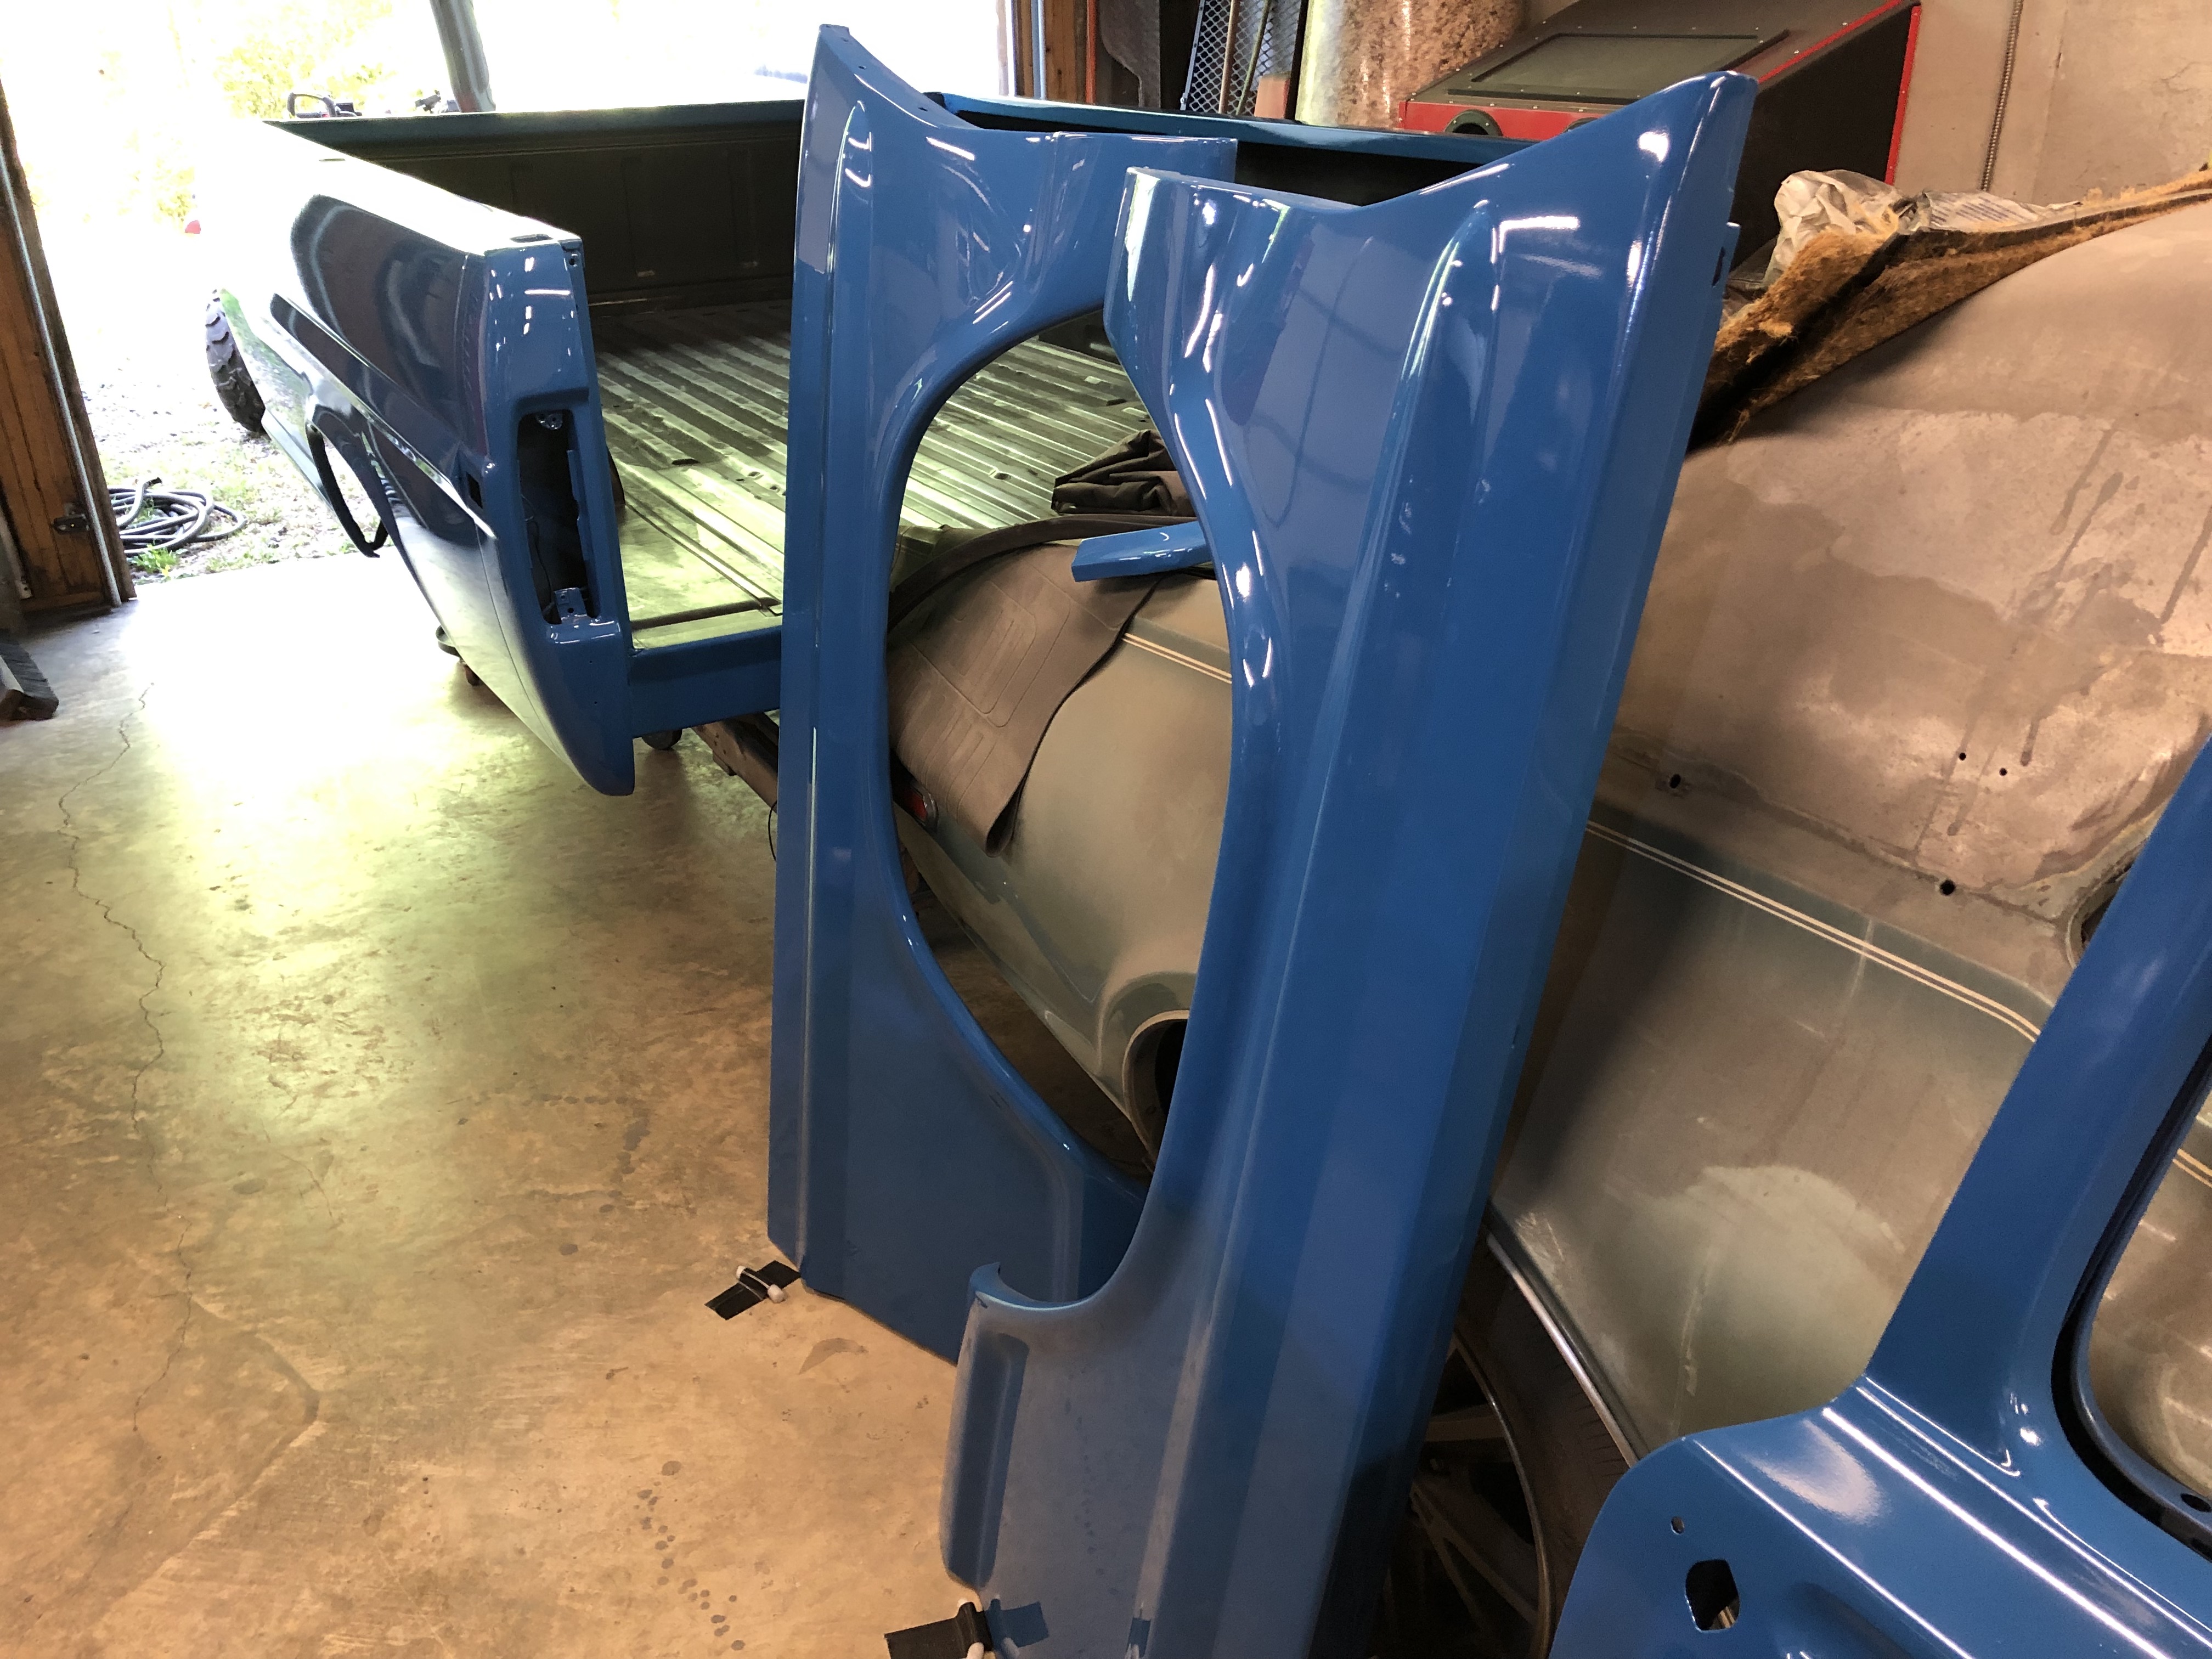
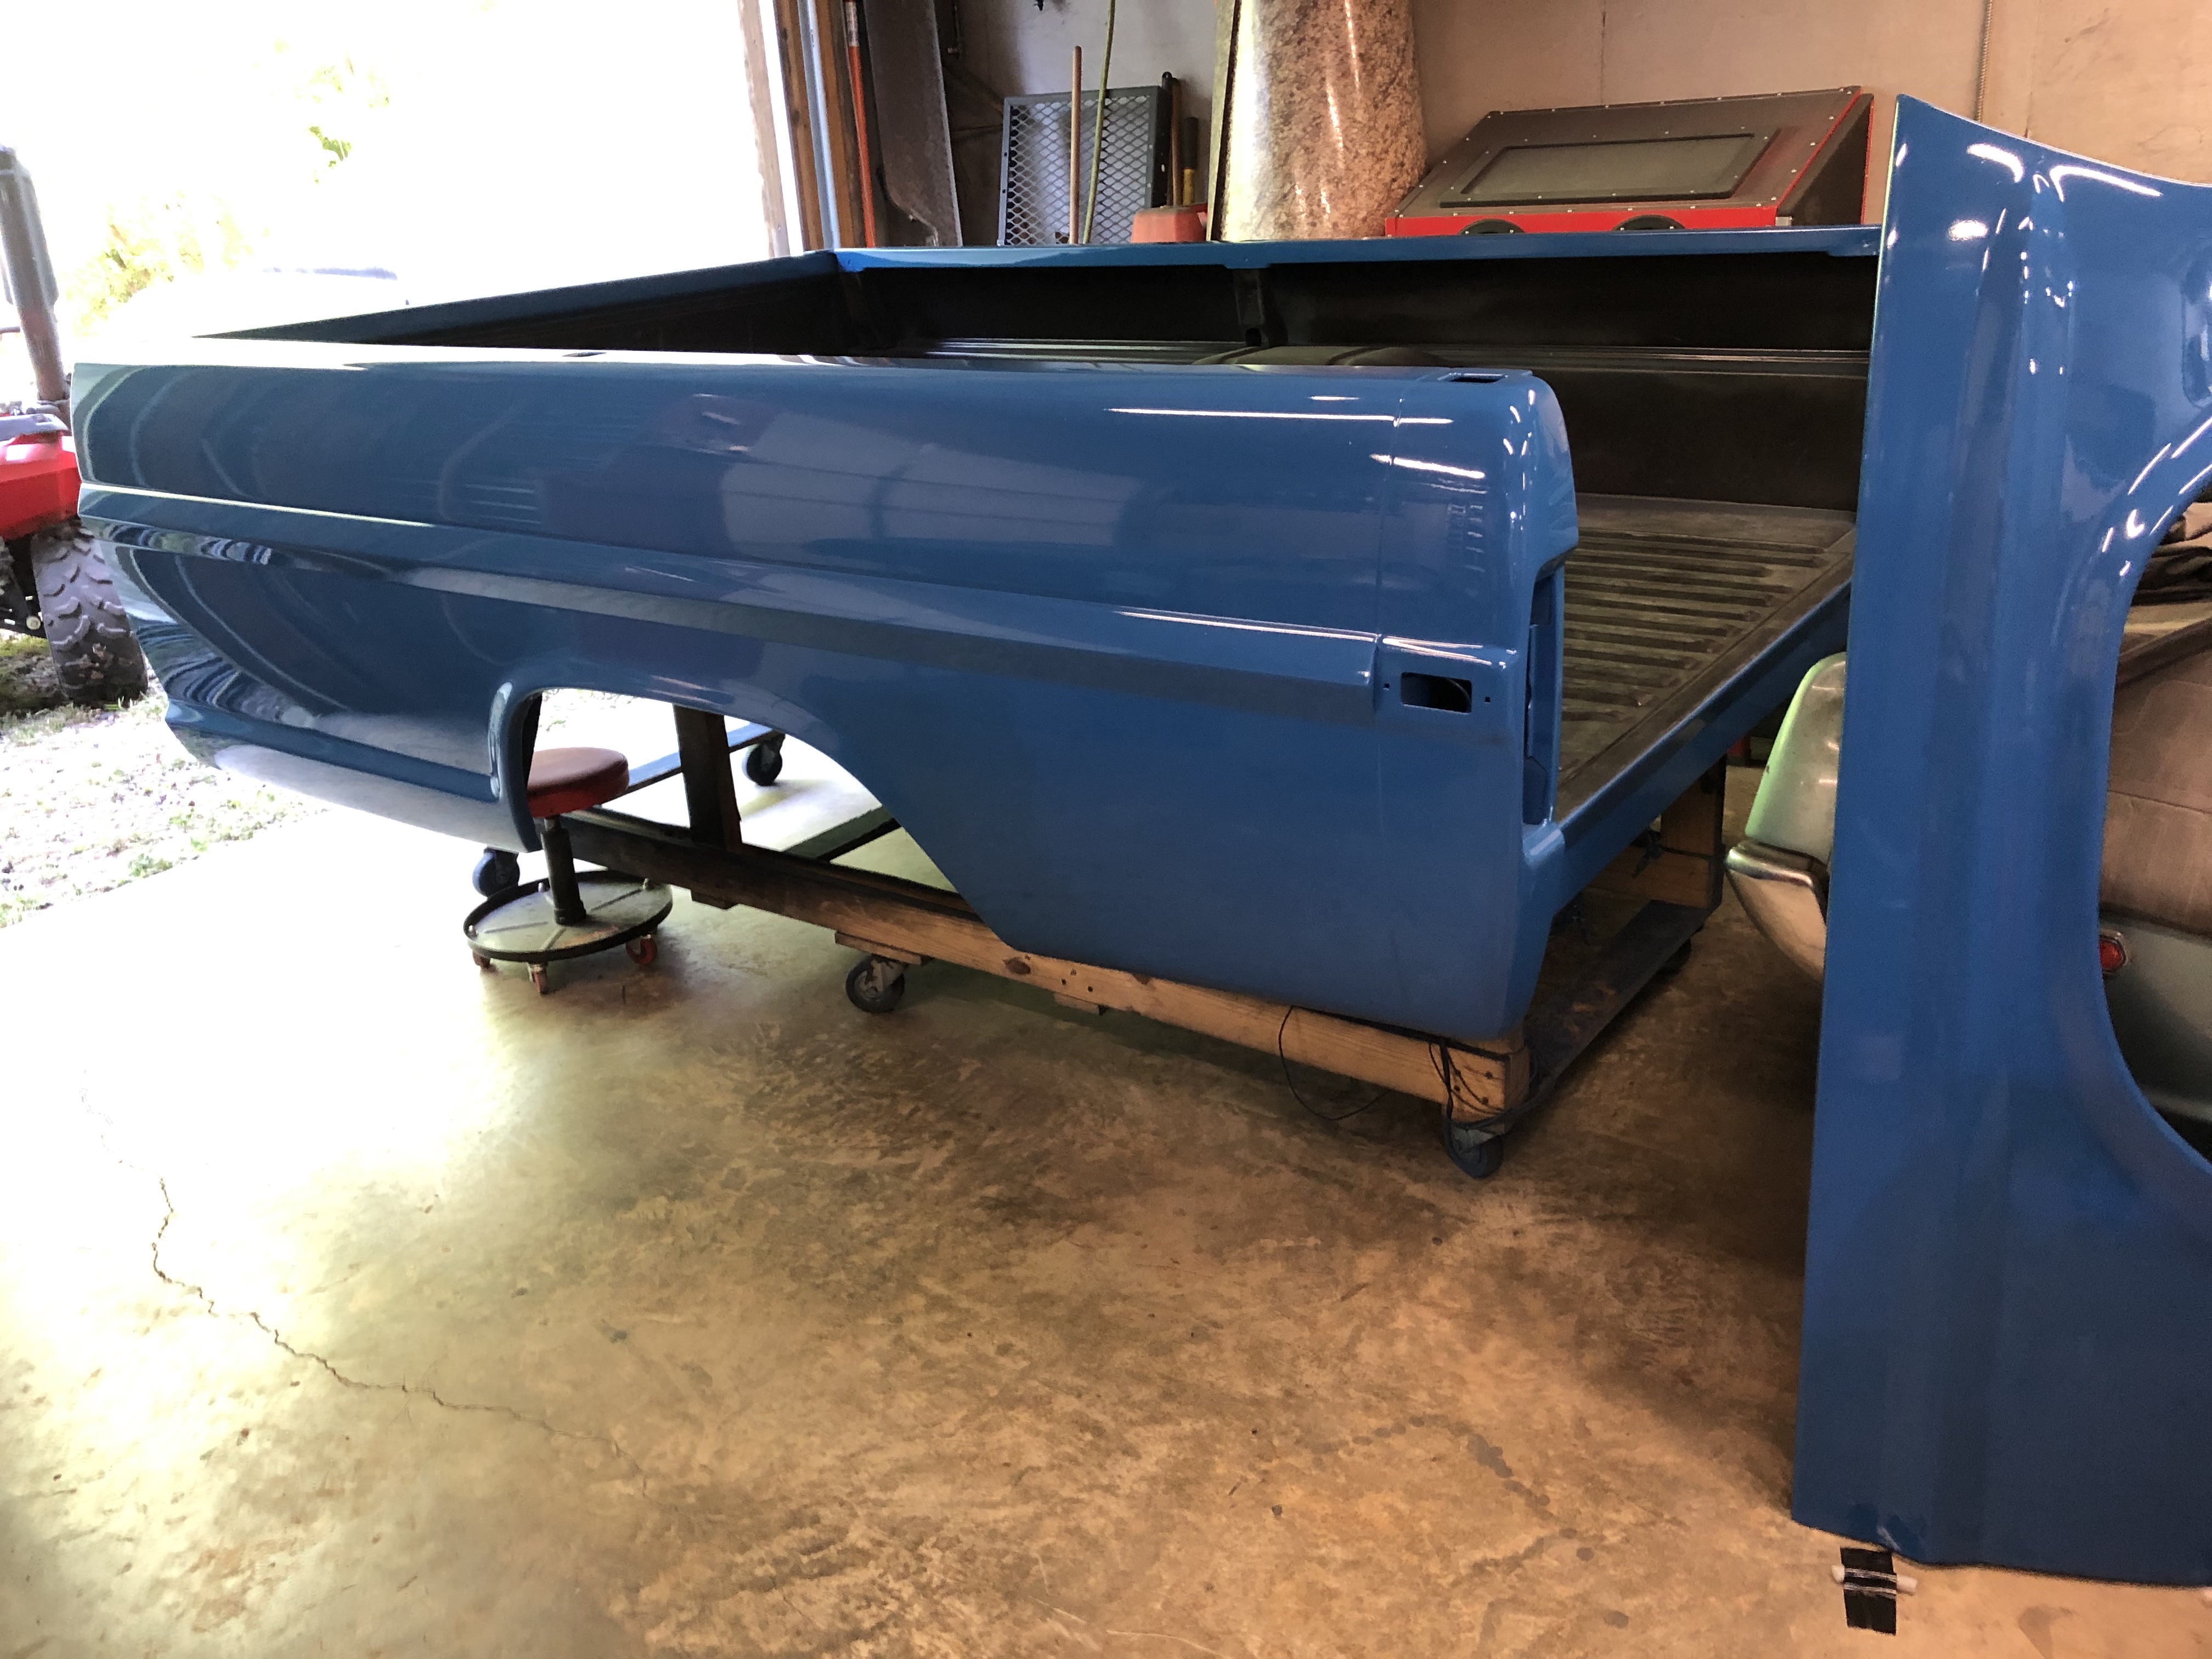
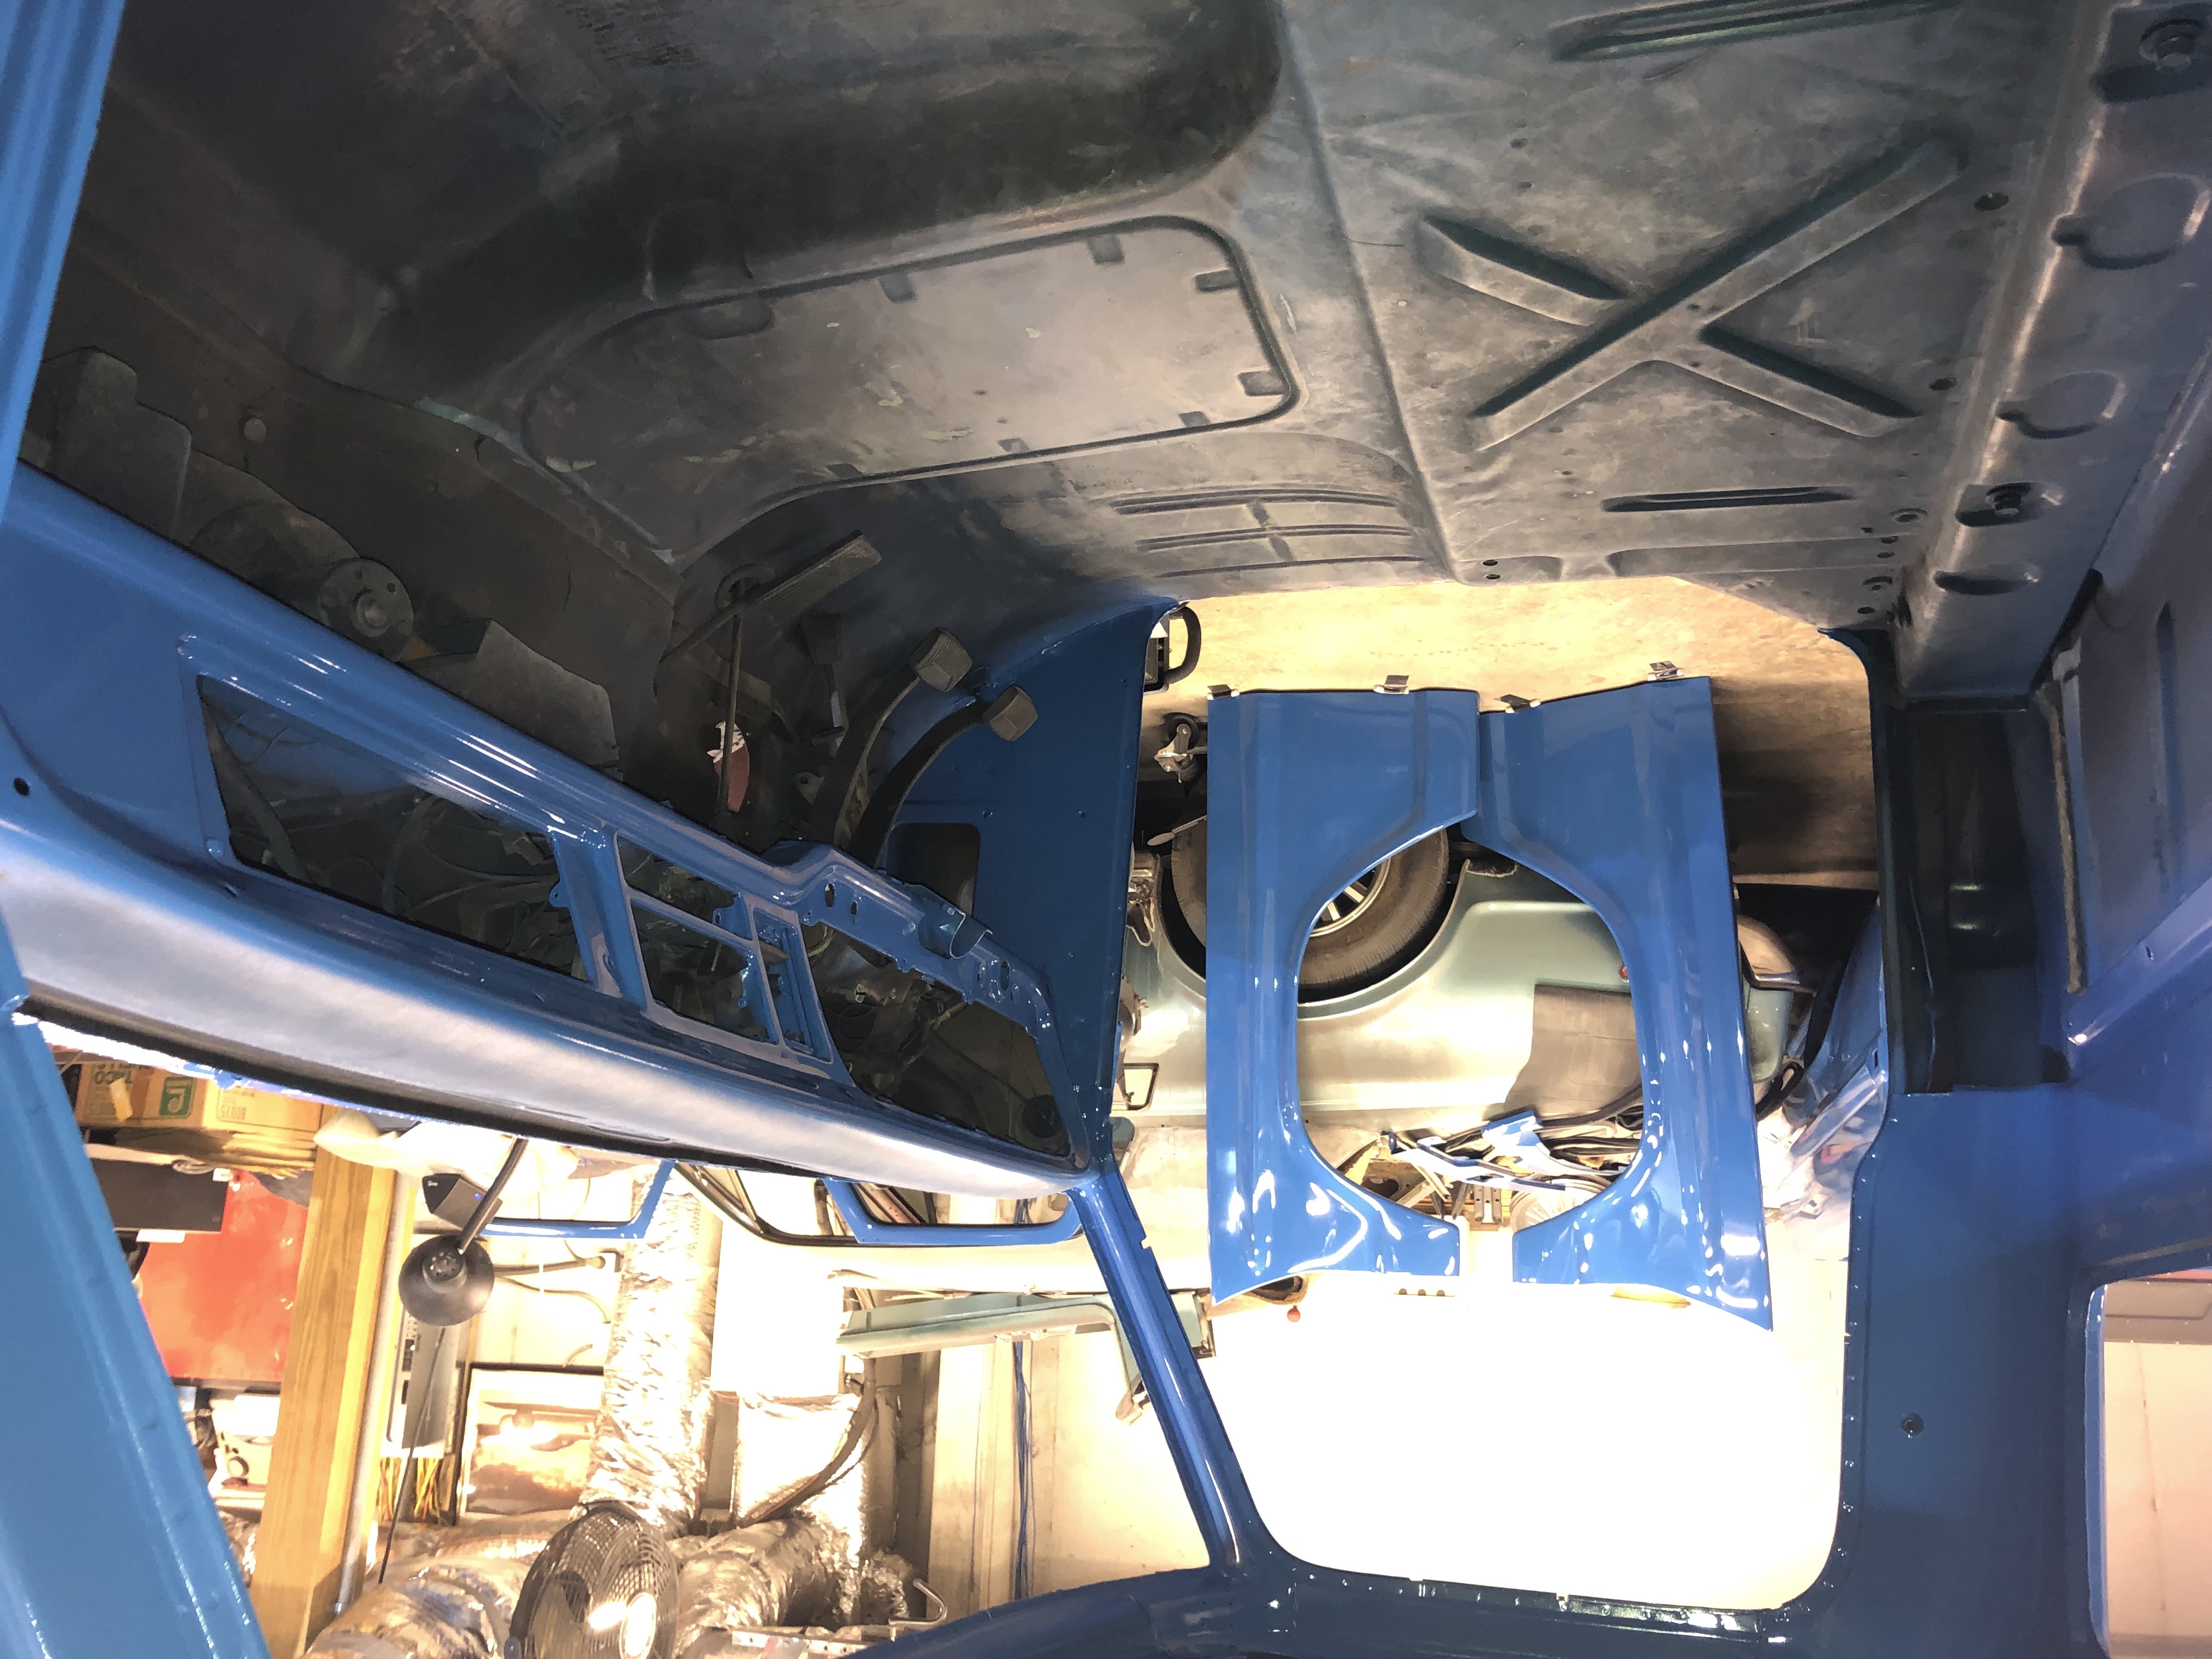
The first week I got here I spent a little more time tweaking the panel fit and getting everything aligned. Then I drilled index holes through all the hinges and mounts so I can get it back lined-up and gapped where it should be once painted. Then pulled it back apart, sprayed a little more epoxy and complete some final block sanding. Had to address a spot on the lower edge of the hood and one of the bedside bumps that didn’t show up earlier. Then it was on to the epoxy sealer and first round of color. I don’t have a proper clean and ventilated spray booth so I did the spraying over 8 days. Sealer going on certain parts one day, followed by the single stage color coats the following. Sealer was 25% reduced epoxy. I was impressed and surprised with how glassy smooth and basically perfect it laid down. Unfortunately the single-stage color didn’t come off as nice. There is not only orange peel to flatten, the dust nibs increased exponentially between the three coats…. Only had a few minor runs and sags on the last day doing the cab. Trying to make my way around all that real estate and maintain a wet edge, I overlapped a couple edges and corners more than I should have. I was also trying to go a little slower and lay down a little more paint to reduce the peel… not a good idea for a rookie.
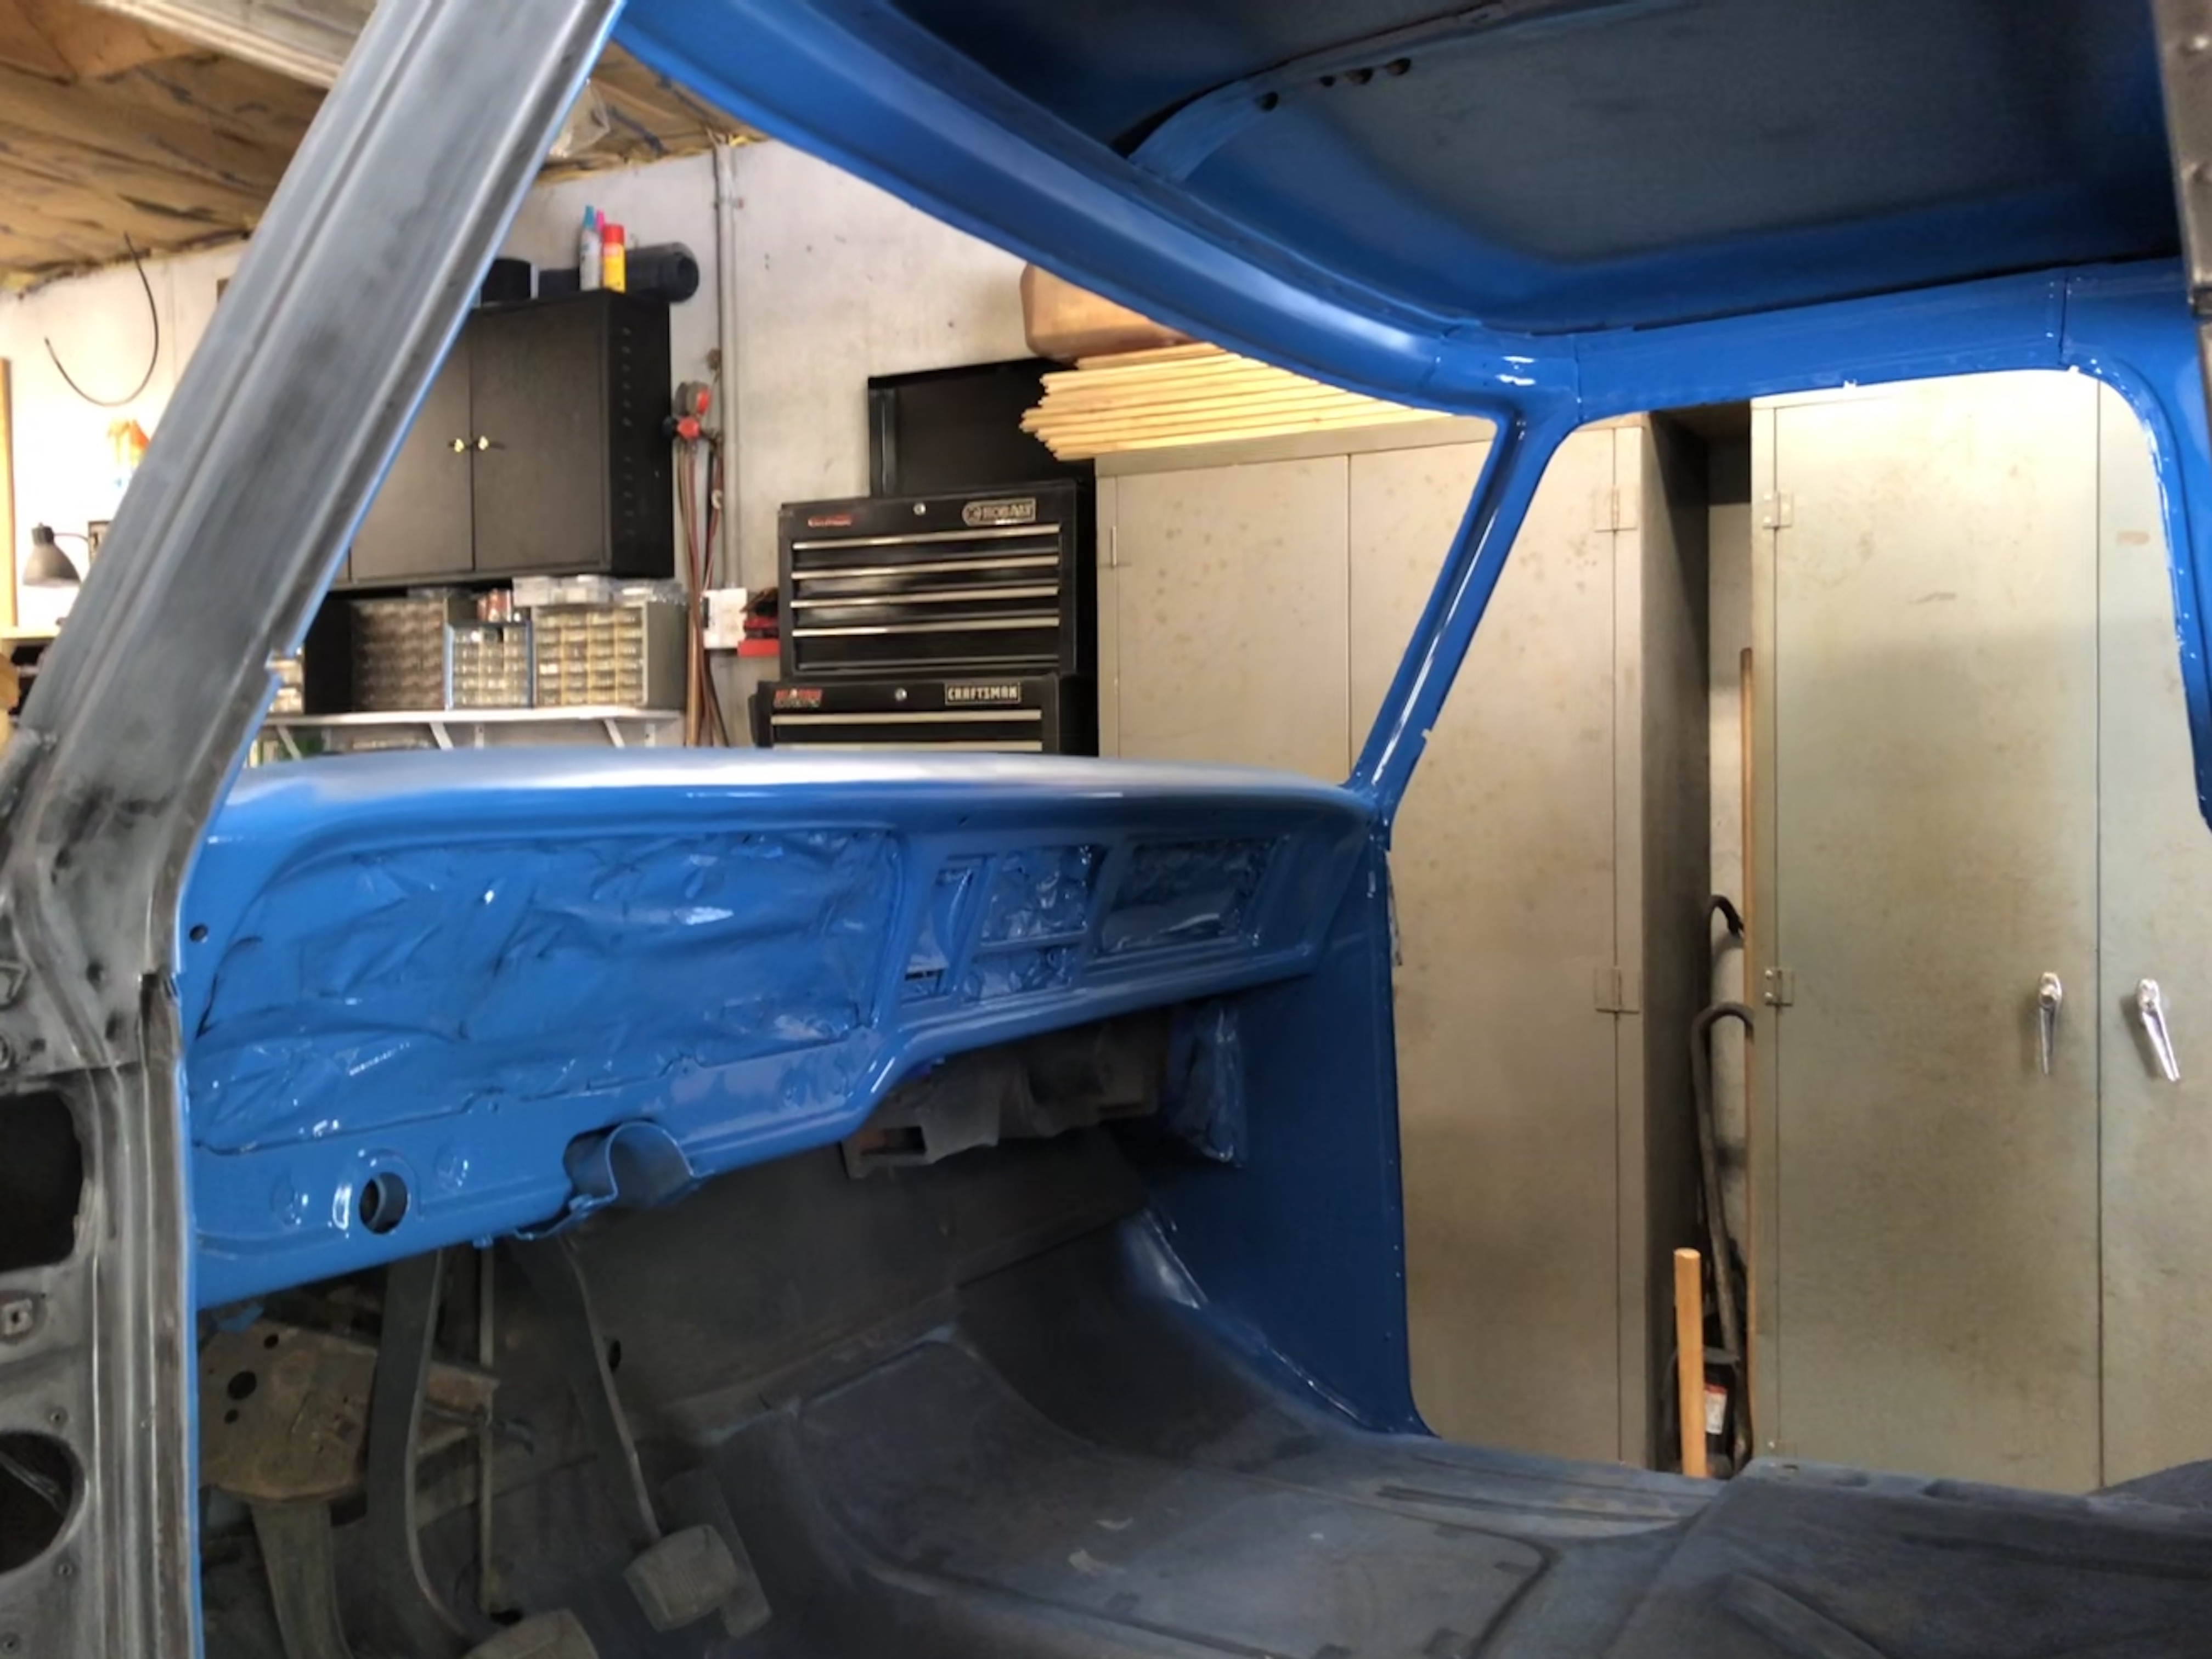
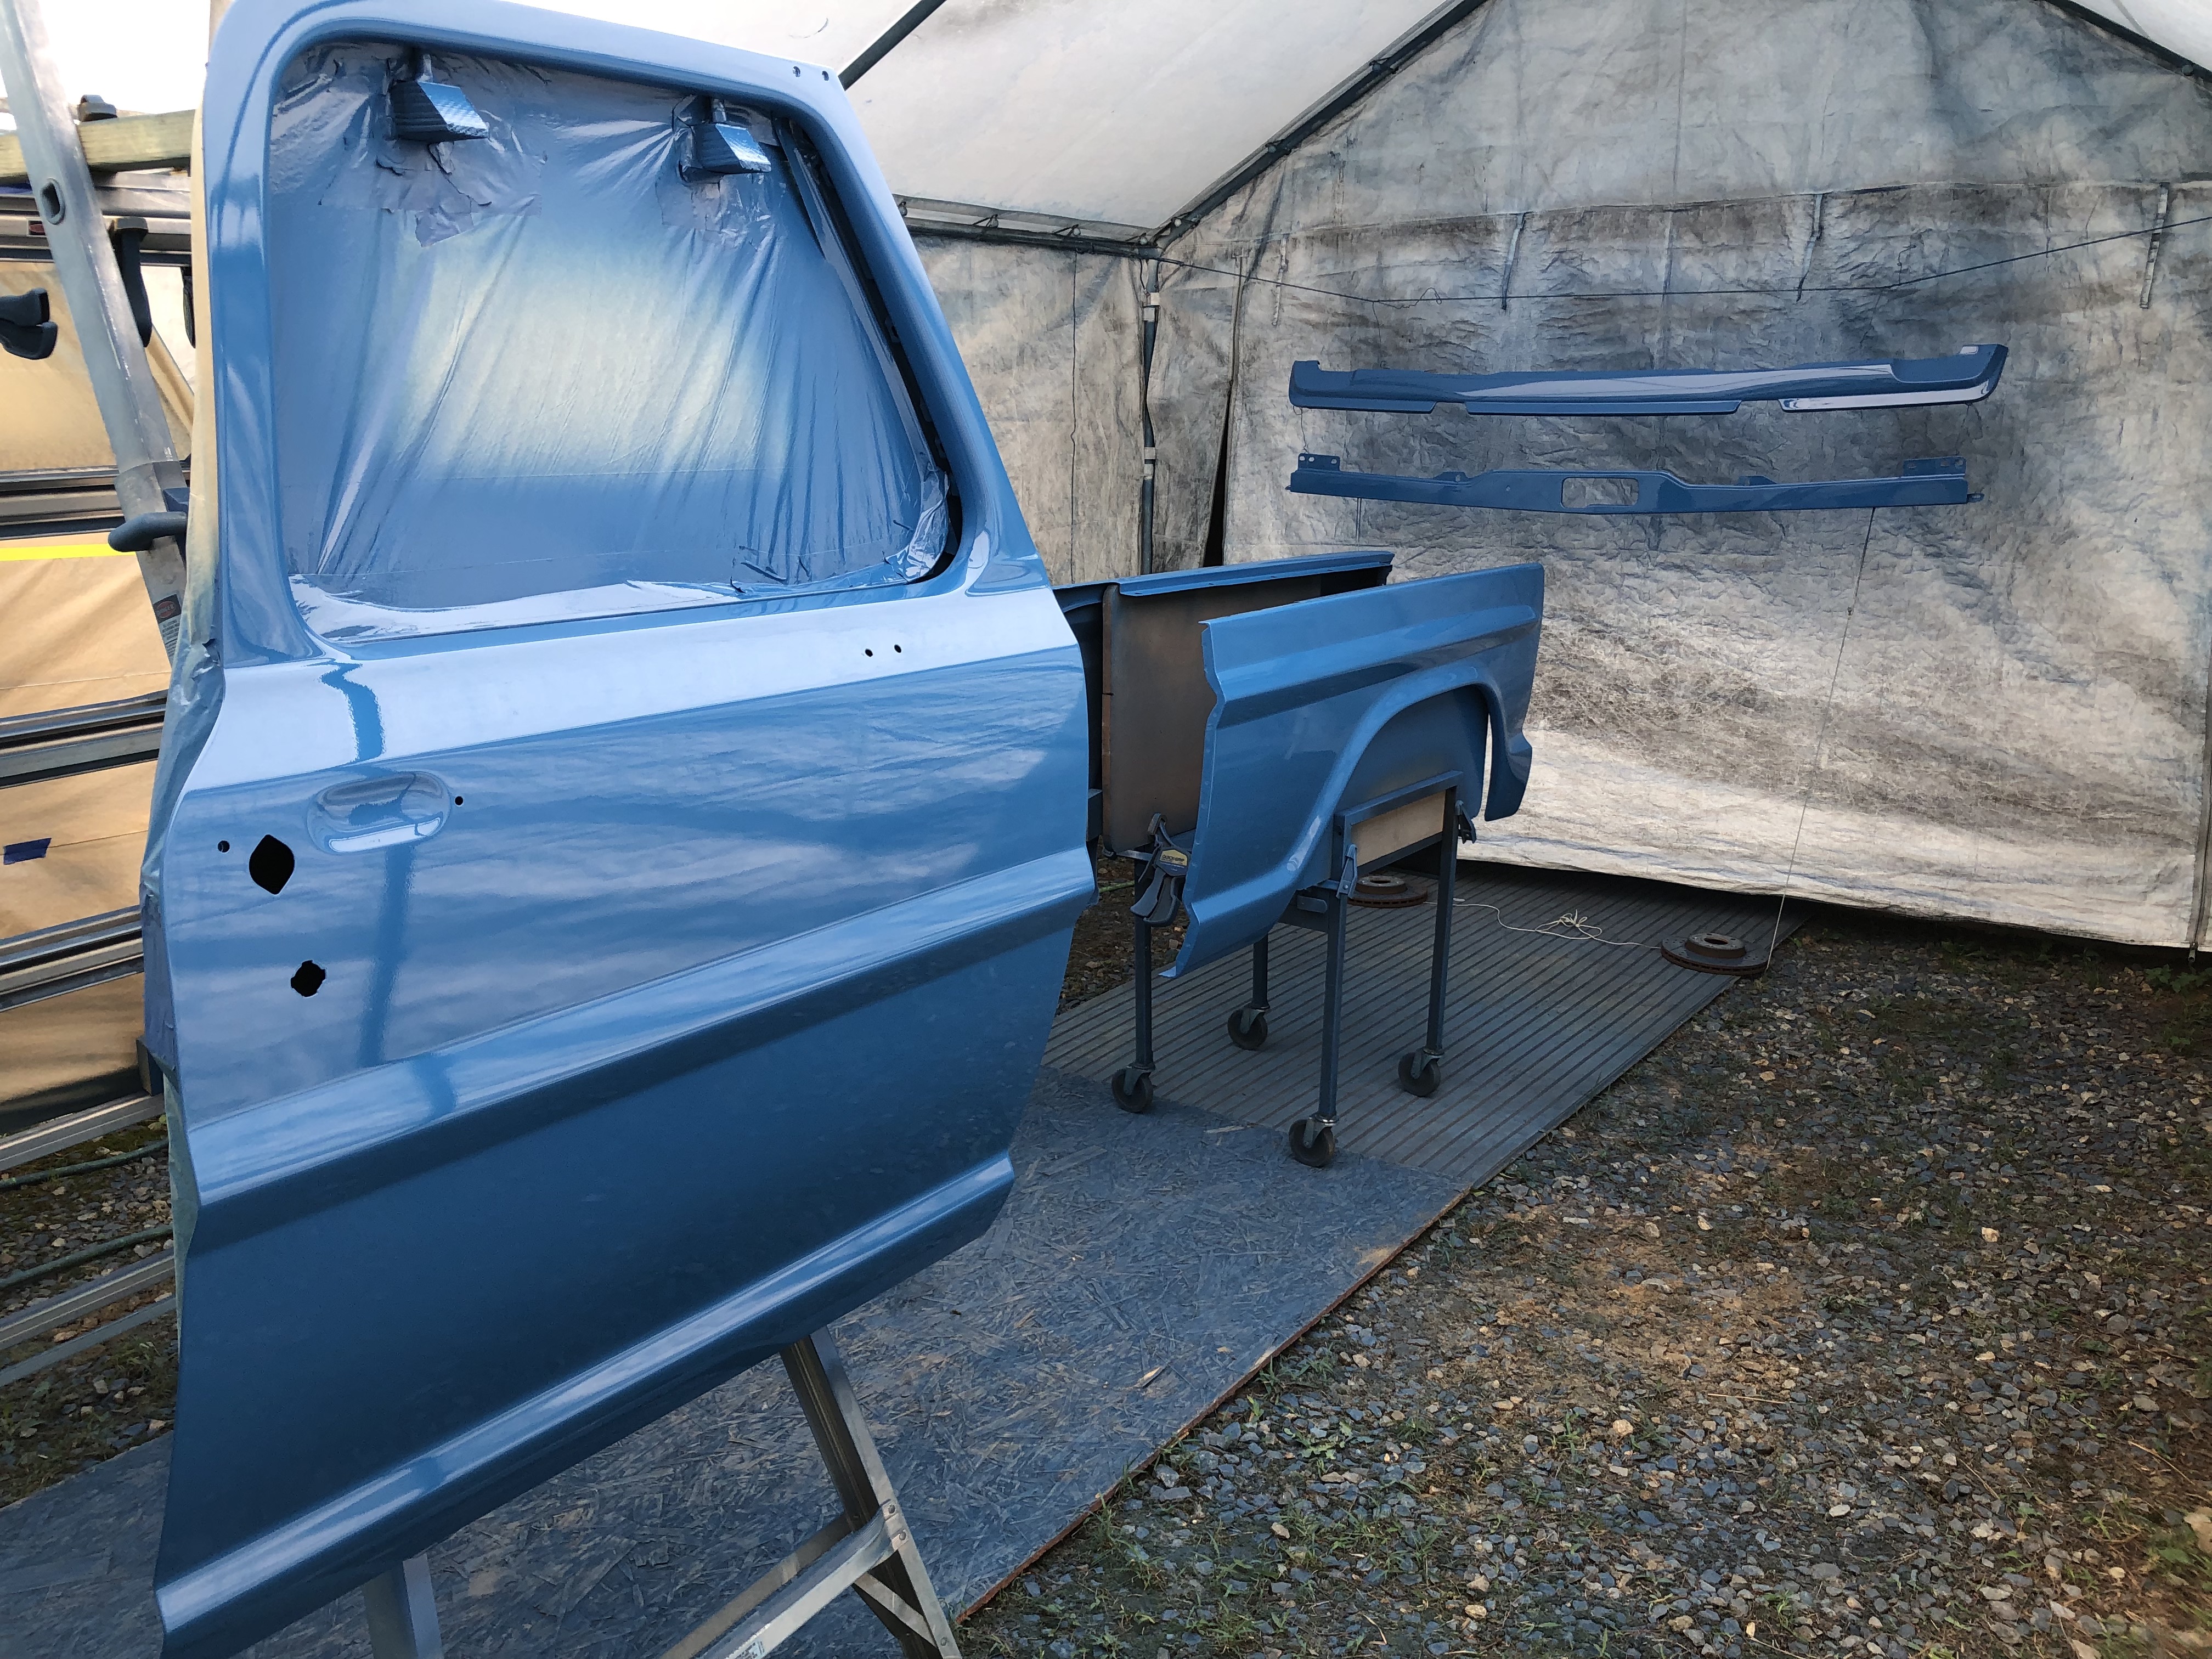
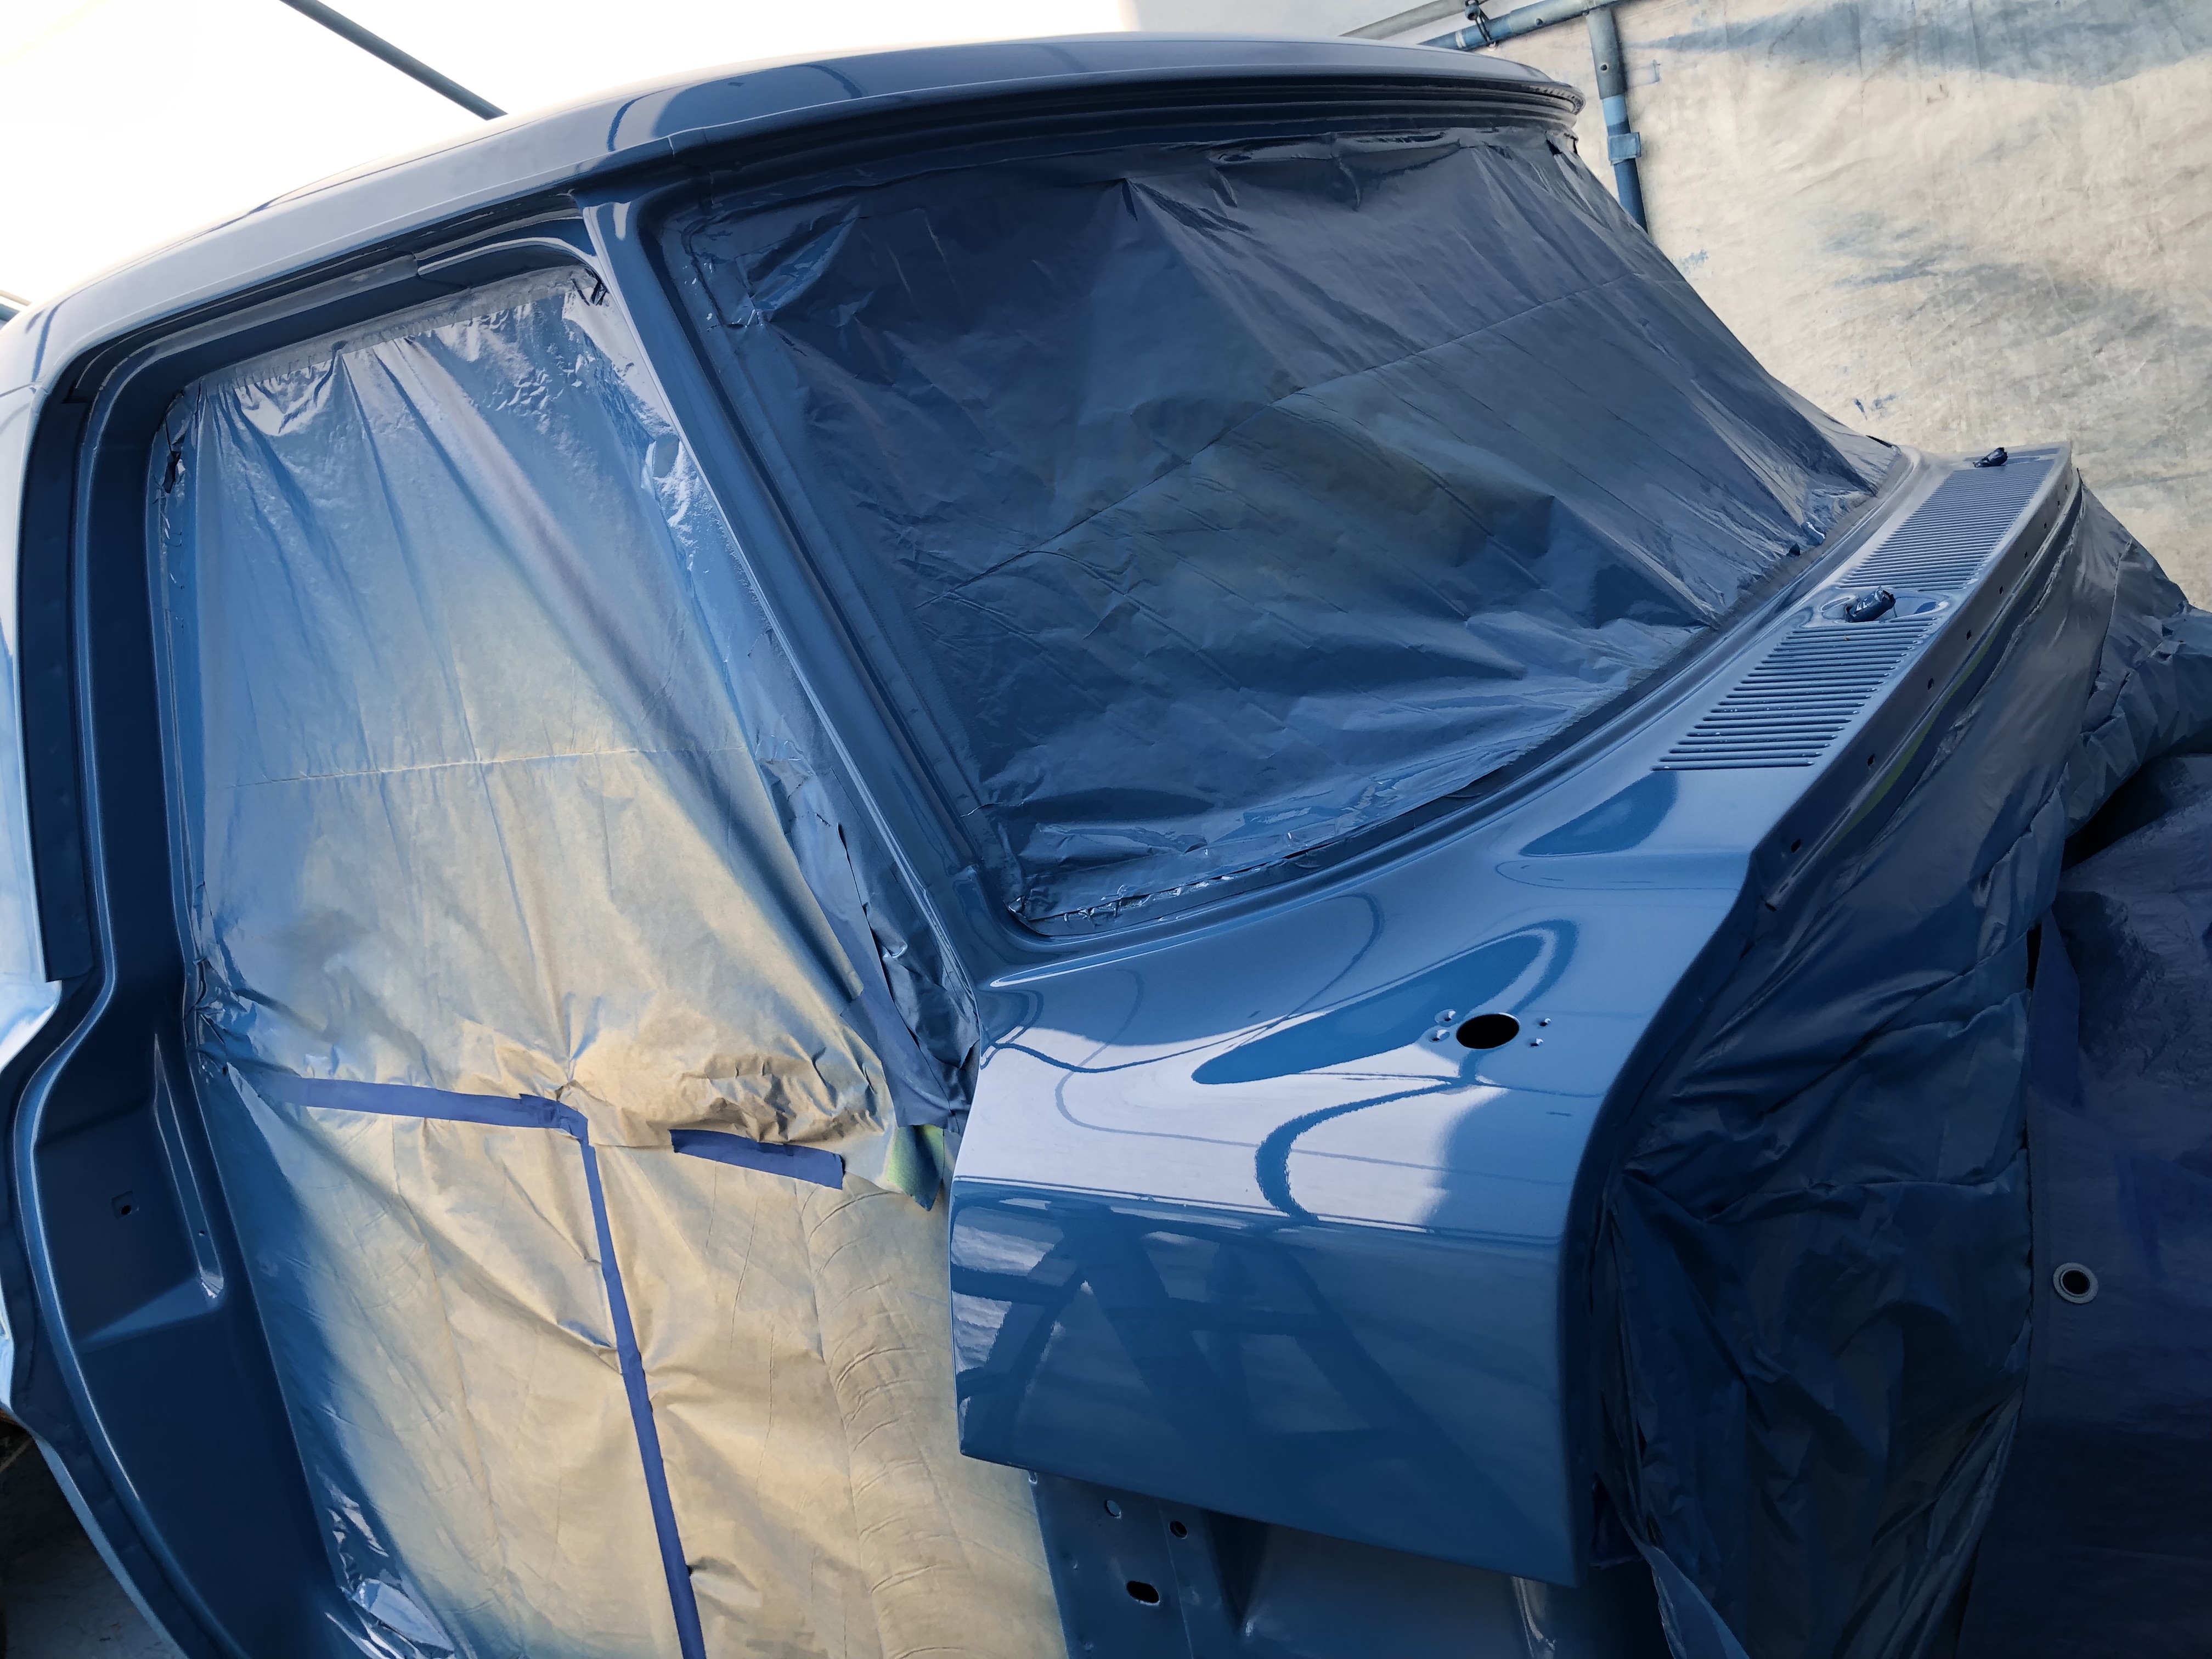
So I still have a lot of work to do but I’m glad to have finally hit the milestone of getting the first round of color sprayed. I’ve put down 3 coats of single-stage and will sand that with 600 to remove any orange peel, dust bibs etc, before spraying with another two coats (maybe in June or July) when I return to our place in GA. Then it will be time to cut and buff. So really not close to going back together yet but feels good to see it back to the original blue. Finally seeing some light at the end of the tunnel.


The first week I got here I spent a little more time tweaking the panel fit and getting everything aligned. Then I drilled index holes through all the hinges and mounts so I can get it back lined-up and gapped where it should be once painted. Then pulled it back apart, sprayed a little more epoxy and complete some final block sanding. Had to address a spot on the lower edge of the hood and one of the bedside bumps that didn’t show up earlier. Then it was on to the epoxy sealer and first round of color. I don’t have a proper clean and ventilated spray booth so I did the spraying over 8 days. Sealer going on certain parts one day, followed by the single stage color coats the following. Sealer was 25% reduced epoxy. I was impressed and surprised with how glassy smooth and basically perfect it laid down. Unfortunately the single-stage color didn’t come off as nice. There is not only orange peel to flatten, the dust nibs increased exponentially between the three coats…. Only had a few minor runs and sags on the last day doing the cab. Trying to make my way around all that real estate and maintain a wet edge, I overlapped a couple edges and corners more than I should have. I was also trying to go a little slower and lay down a little more paint to reduce the peel… not a good idea for a rookie.
So I still have a lot of work to do but I’m glad to have finally hit the milestone of getting the first round of color sprayed. I’ve put down 3 coats of single-stage and will sand that with 600 to remove any orange peel, dust bibs etc, before spraying with another two coats (maybe in June or July) when I return to our place in GA. Then it will be time to cut and buff. So really not close to going back together yet but feels good to see it back to the original blue. Finally seeing some light at the end of the tunnel.
-
DuckRyder
- Moderator
- Posts: 4893
- Joined: Mon Jul 19, 2004 3:04 pm
- Location: Scruffy City
- Contact:
Re: Finally back around to my 72 F100
I love it.
Robert
1972 F100 Ranger XLT (445/C6/9” 3.50 Truetrac)
"An unarmed man can only flee from evil, and evil is not overcome by fleeing from it." -- Jeff Cooper
1972 F100 Ranger XLT (445/C6/9” 3.50 Truetrac)
"An unarmed man can only flee from evil, and evil is not overcome by fleeing from it." -- Jeff Cooper
-
MAK
- Blue Oval Fan
- Posts: 515
- Joined: Tue Dec 21, 2004 9:35 am
- Location: Georgia, Blairsville - Florida, Flagler Beach
- Contact:
-
JWW

- Blue Oval Fanatic

- Posts: 793
- Joined: Wed Apr 11, 2007 7:57 pm
- Location: Tennessee
Re: Finally back around to my 72 F100
Man that looks good!
JWW
1967 F100 Ranger, Auto, 240ci
2004 F150 Crew Cab
My project: http://www.fordification.com/forum/view ... &sk=t&sd=a
1967 F100 Ranger, Auto, 240ci
2004 F150 Crew Cab
My project: http://www.fordification.com/forum/view ... &sk=t&sd=a
-
MAK
- Blue Oval Fan
- Posts: 515
- Joined: Tue Dec 21, 2004 9:35 am
- Location: Georgia, Blairsville - Florida, Flagler Beach
- Contact:
Re: Finally back around to my 72 F100
Thank you. If things go as planned I’ll be back up there later this month and hopefully get it all sanded with 600 and the final two coats sprayed on the exterior of all the panels. Then all I’ll have remaining is the cut and buff process later in the year.
-
MAK
- Blue Oval Fan
- Posts: 515
- Joined: Tue Dec 21, 2004 9:35 am
- Location: Georgia, Blairsville - Florida, Flagler Beach
- Contact:
Re: Finally back around to my 72 F100
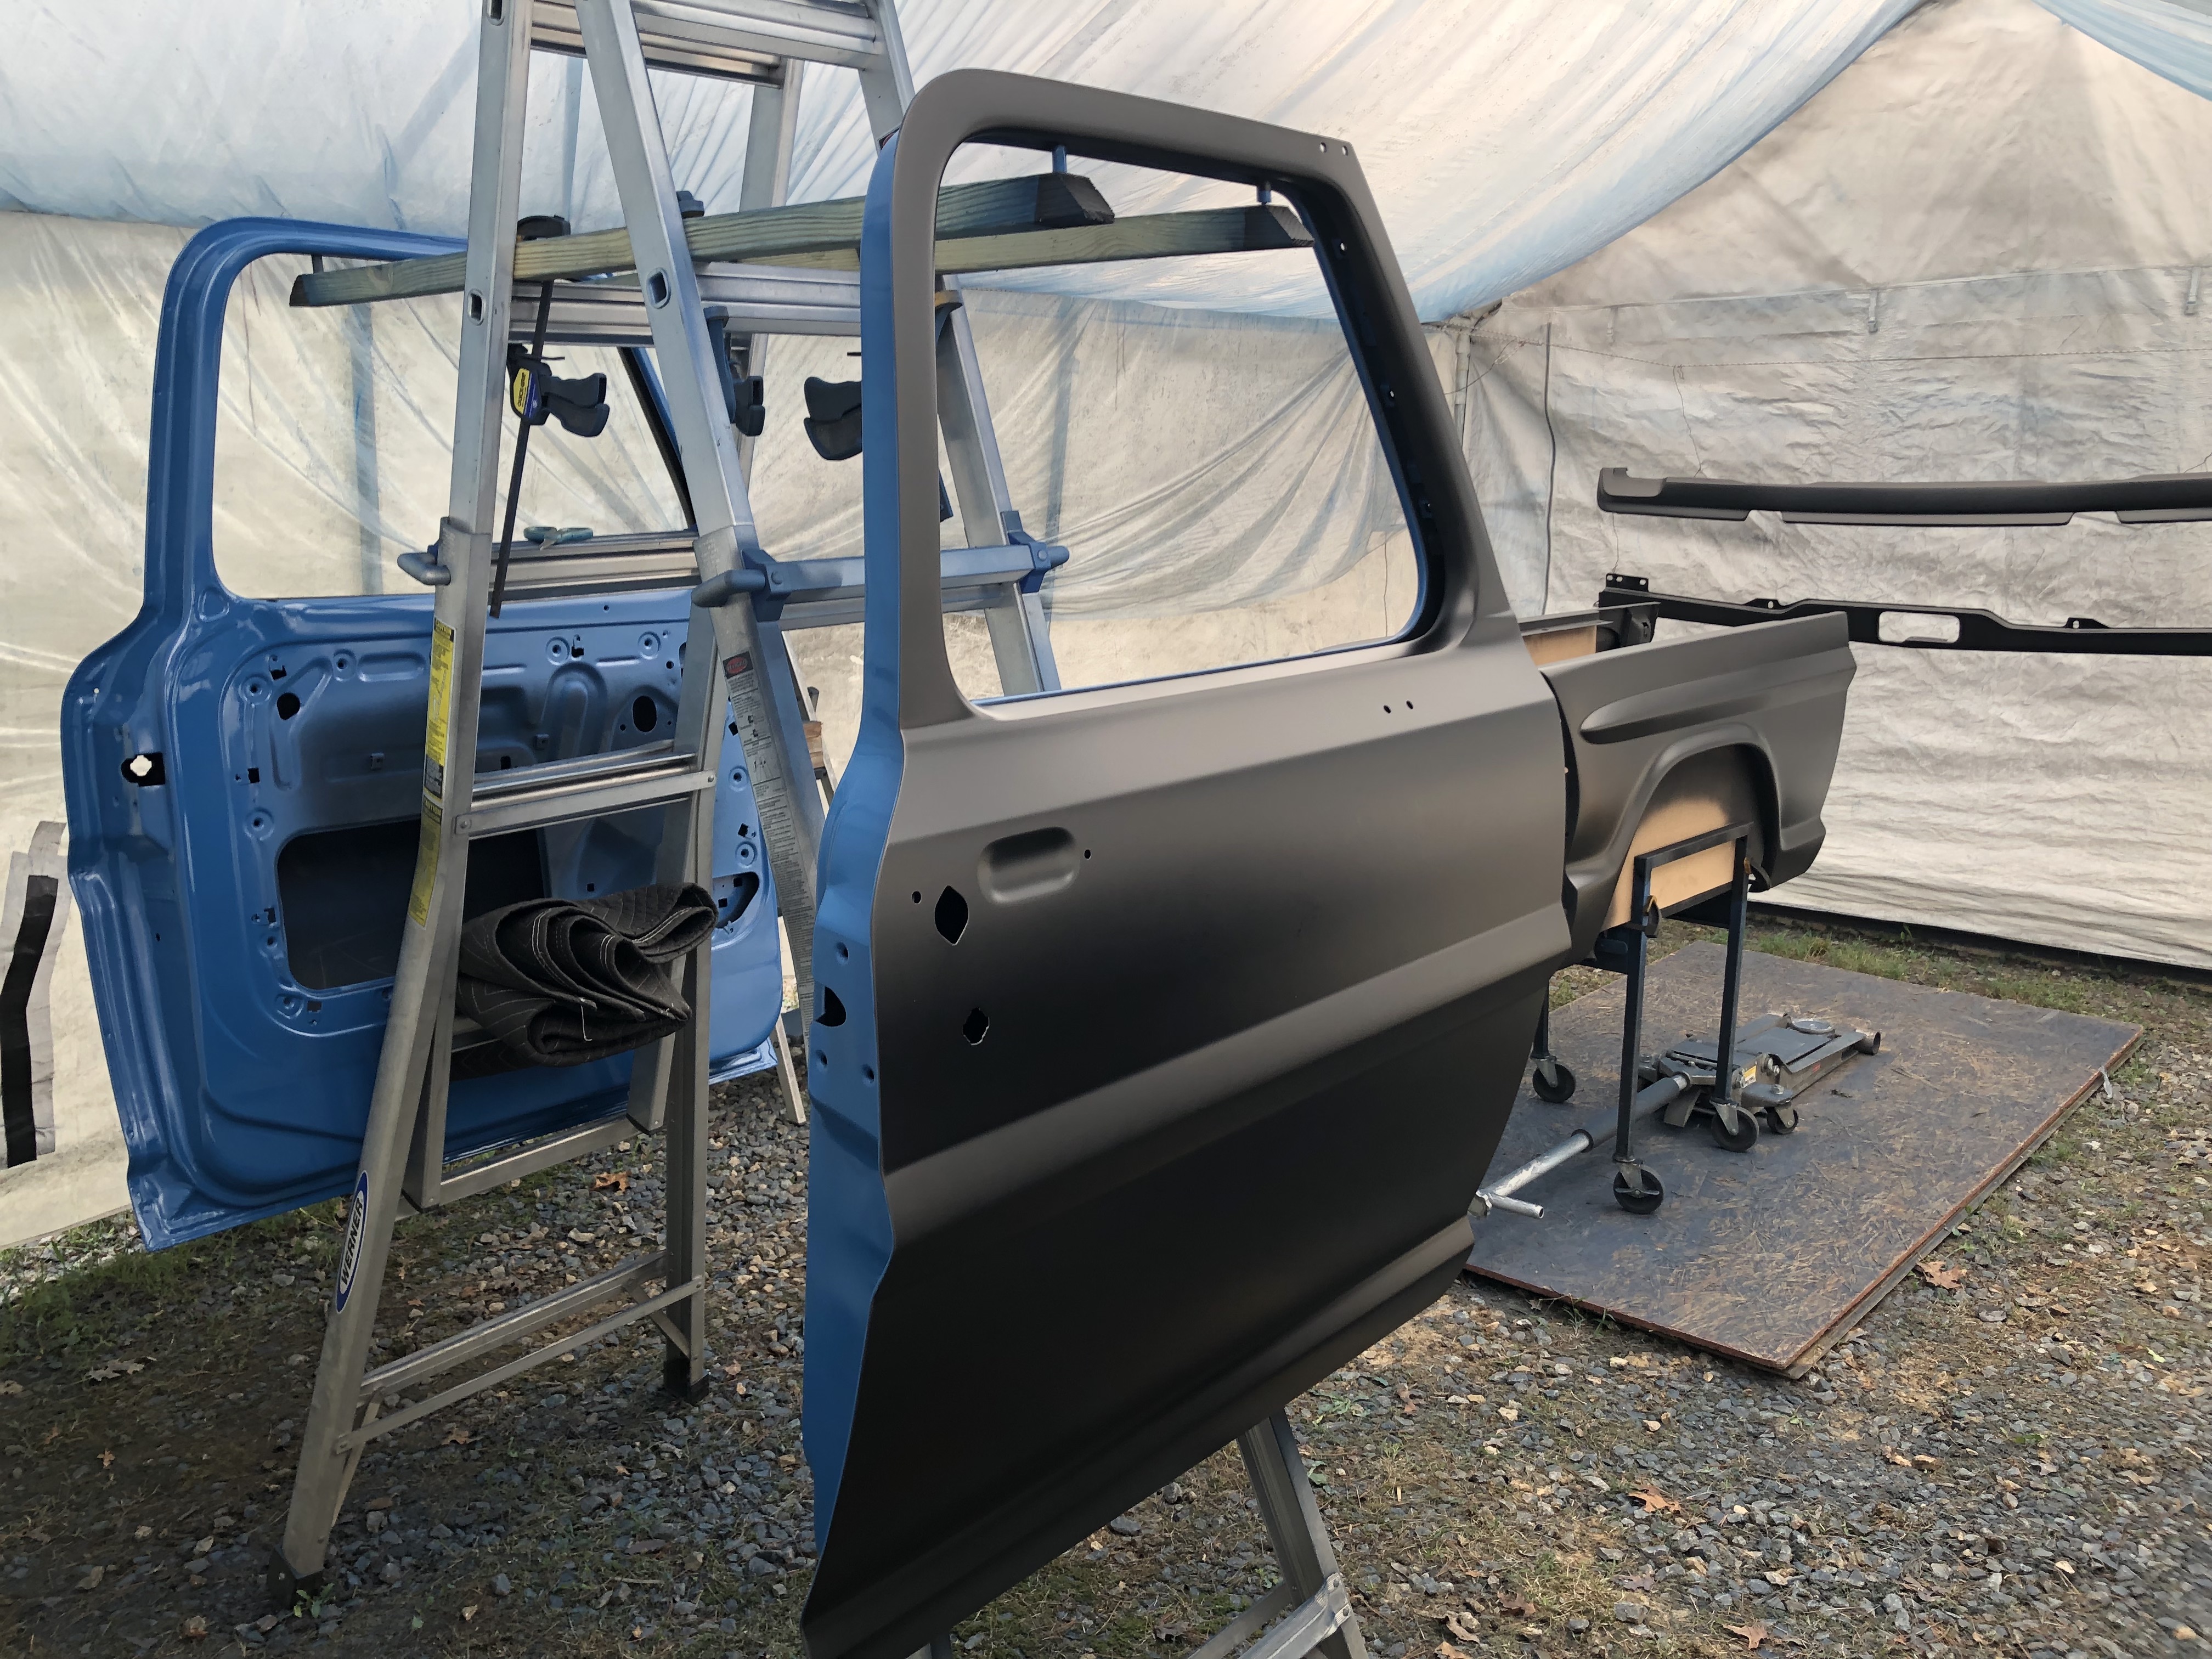
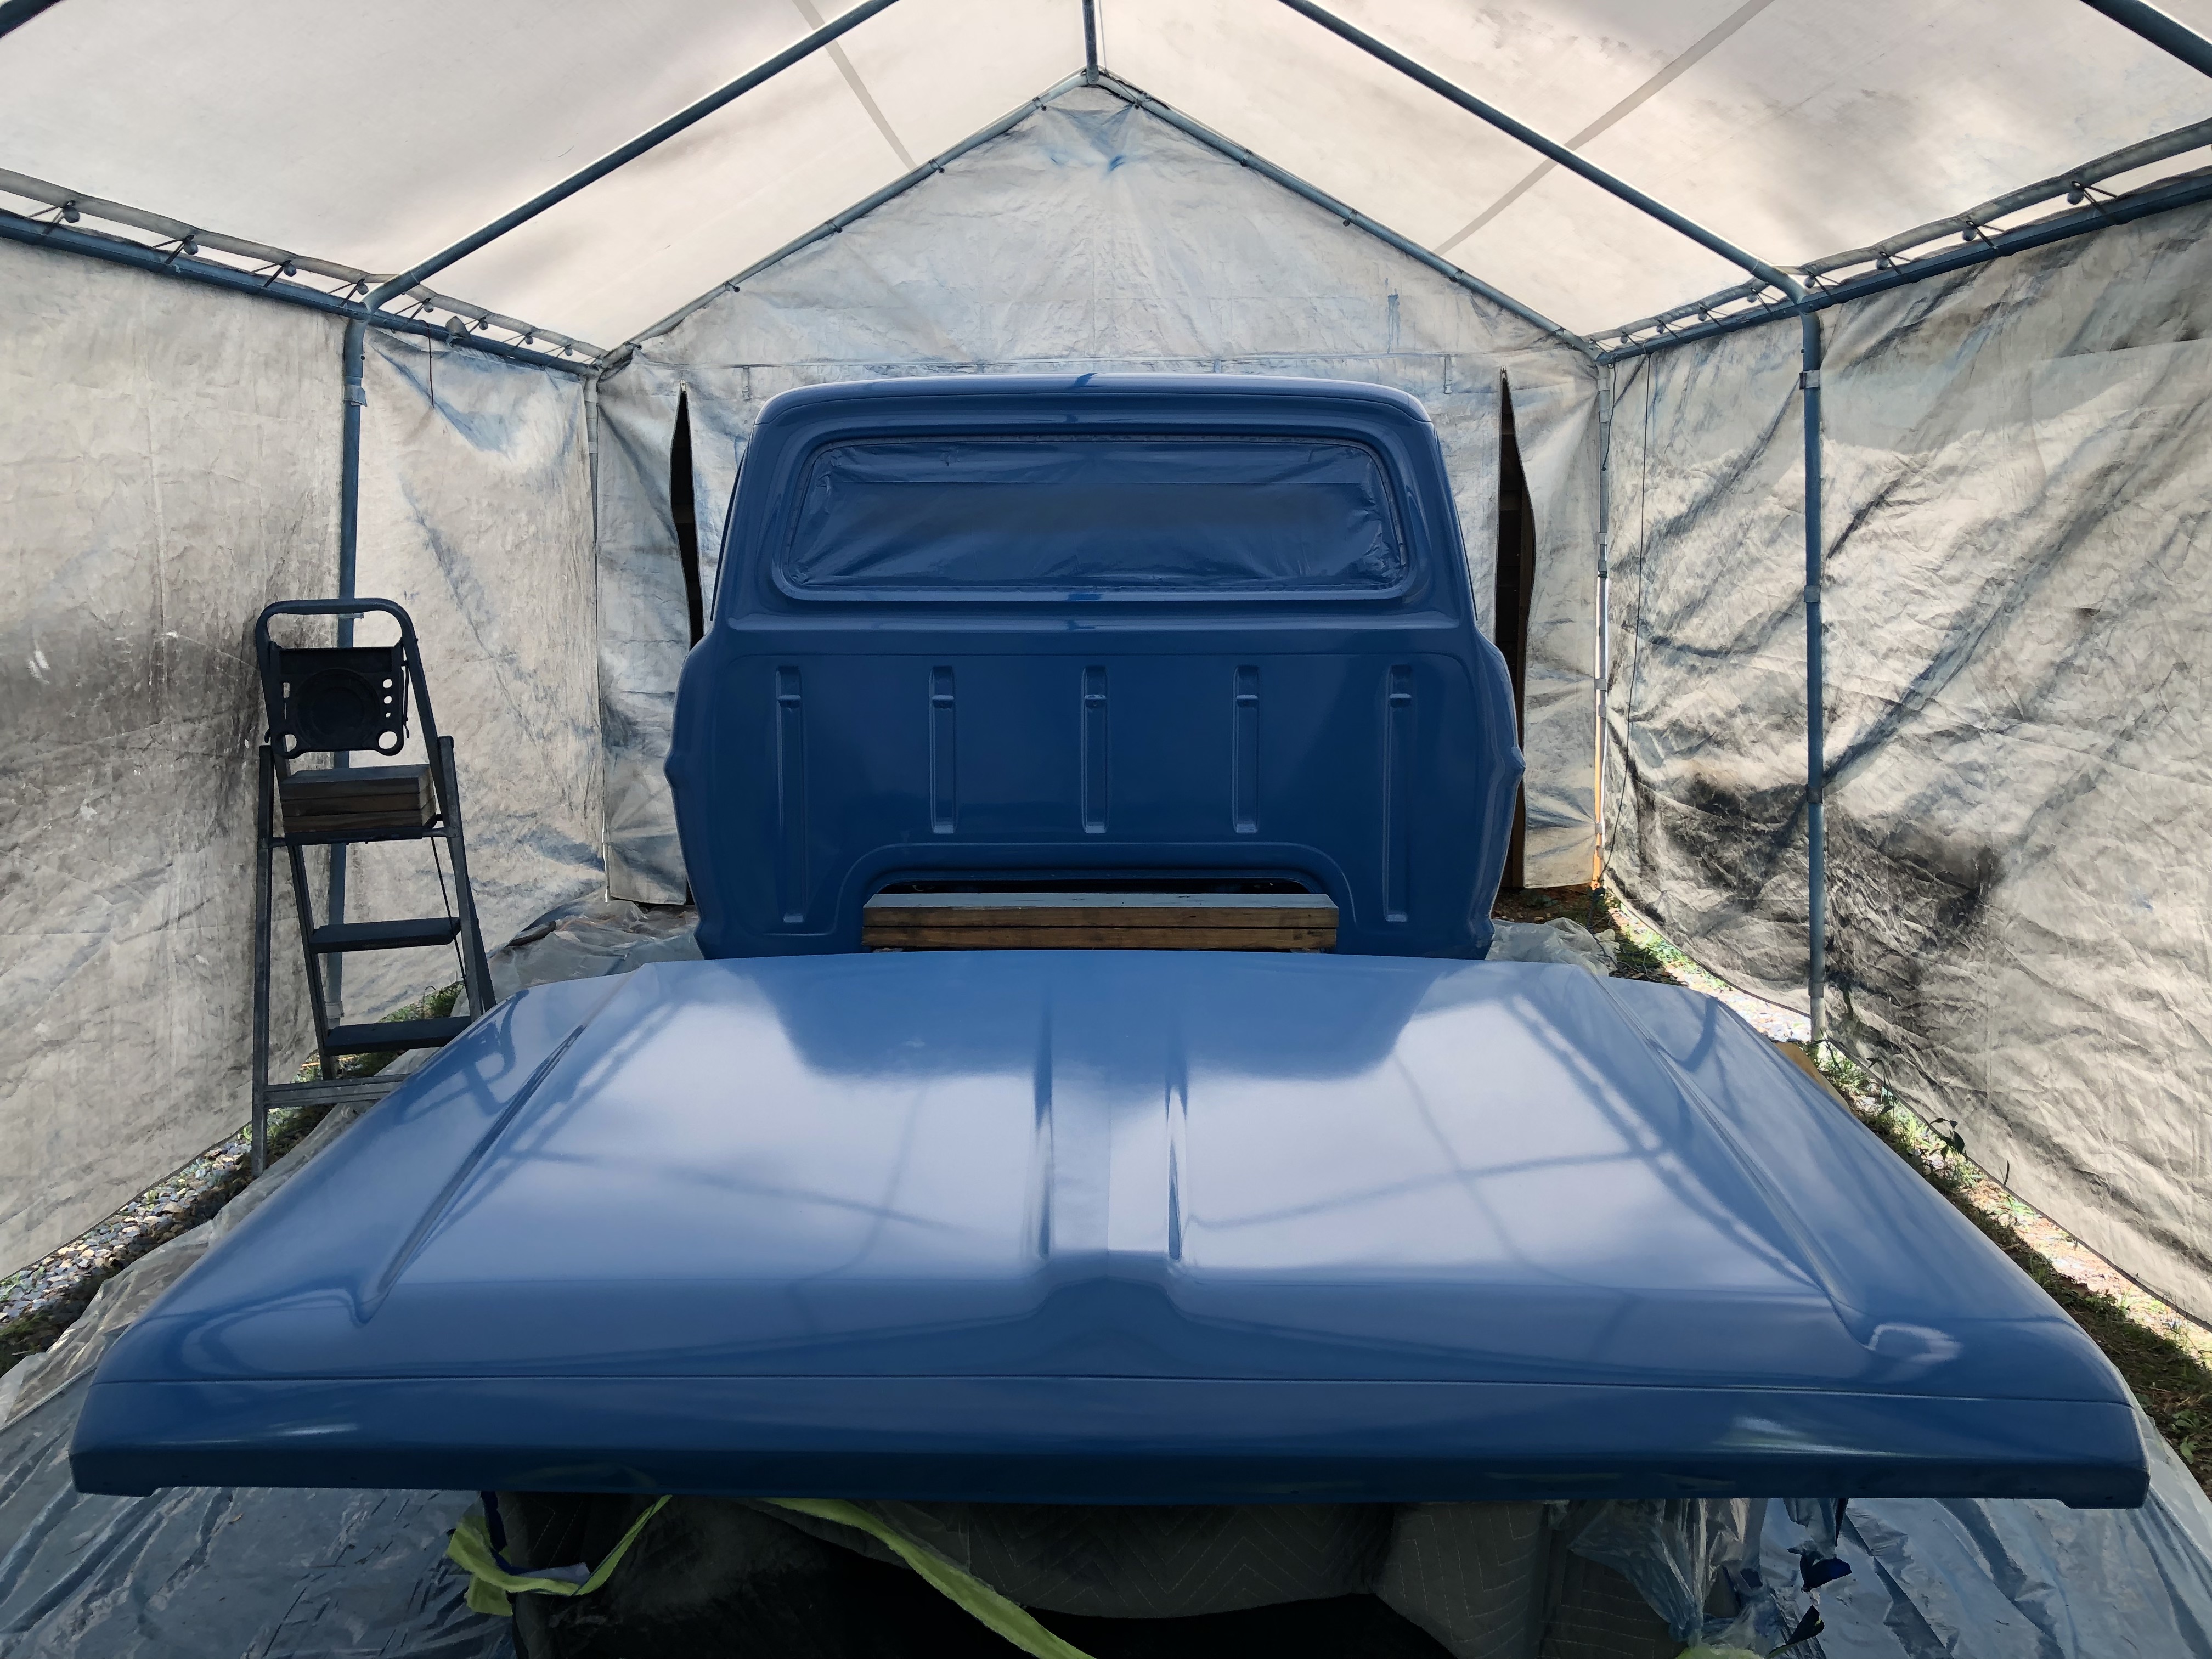
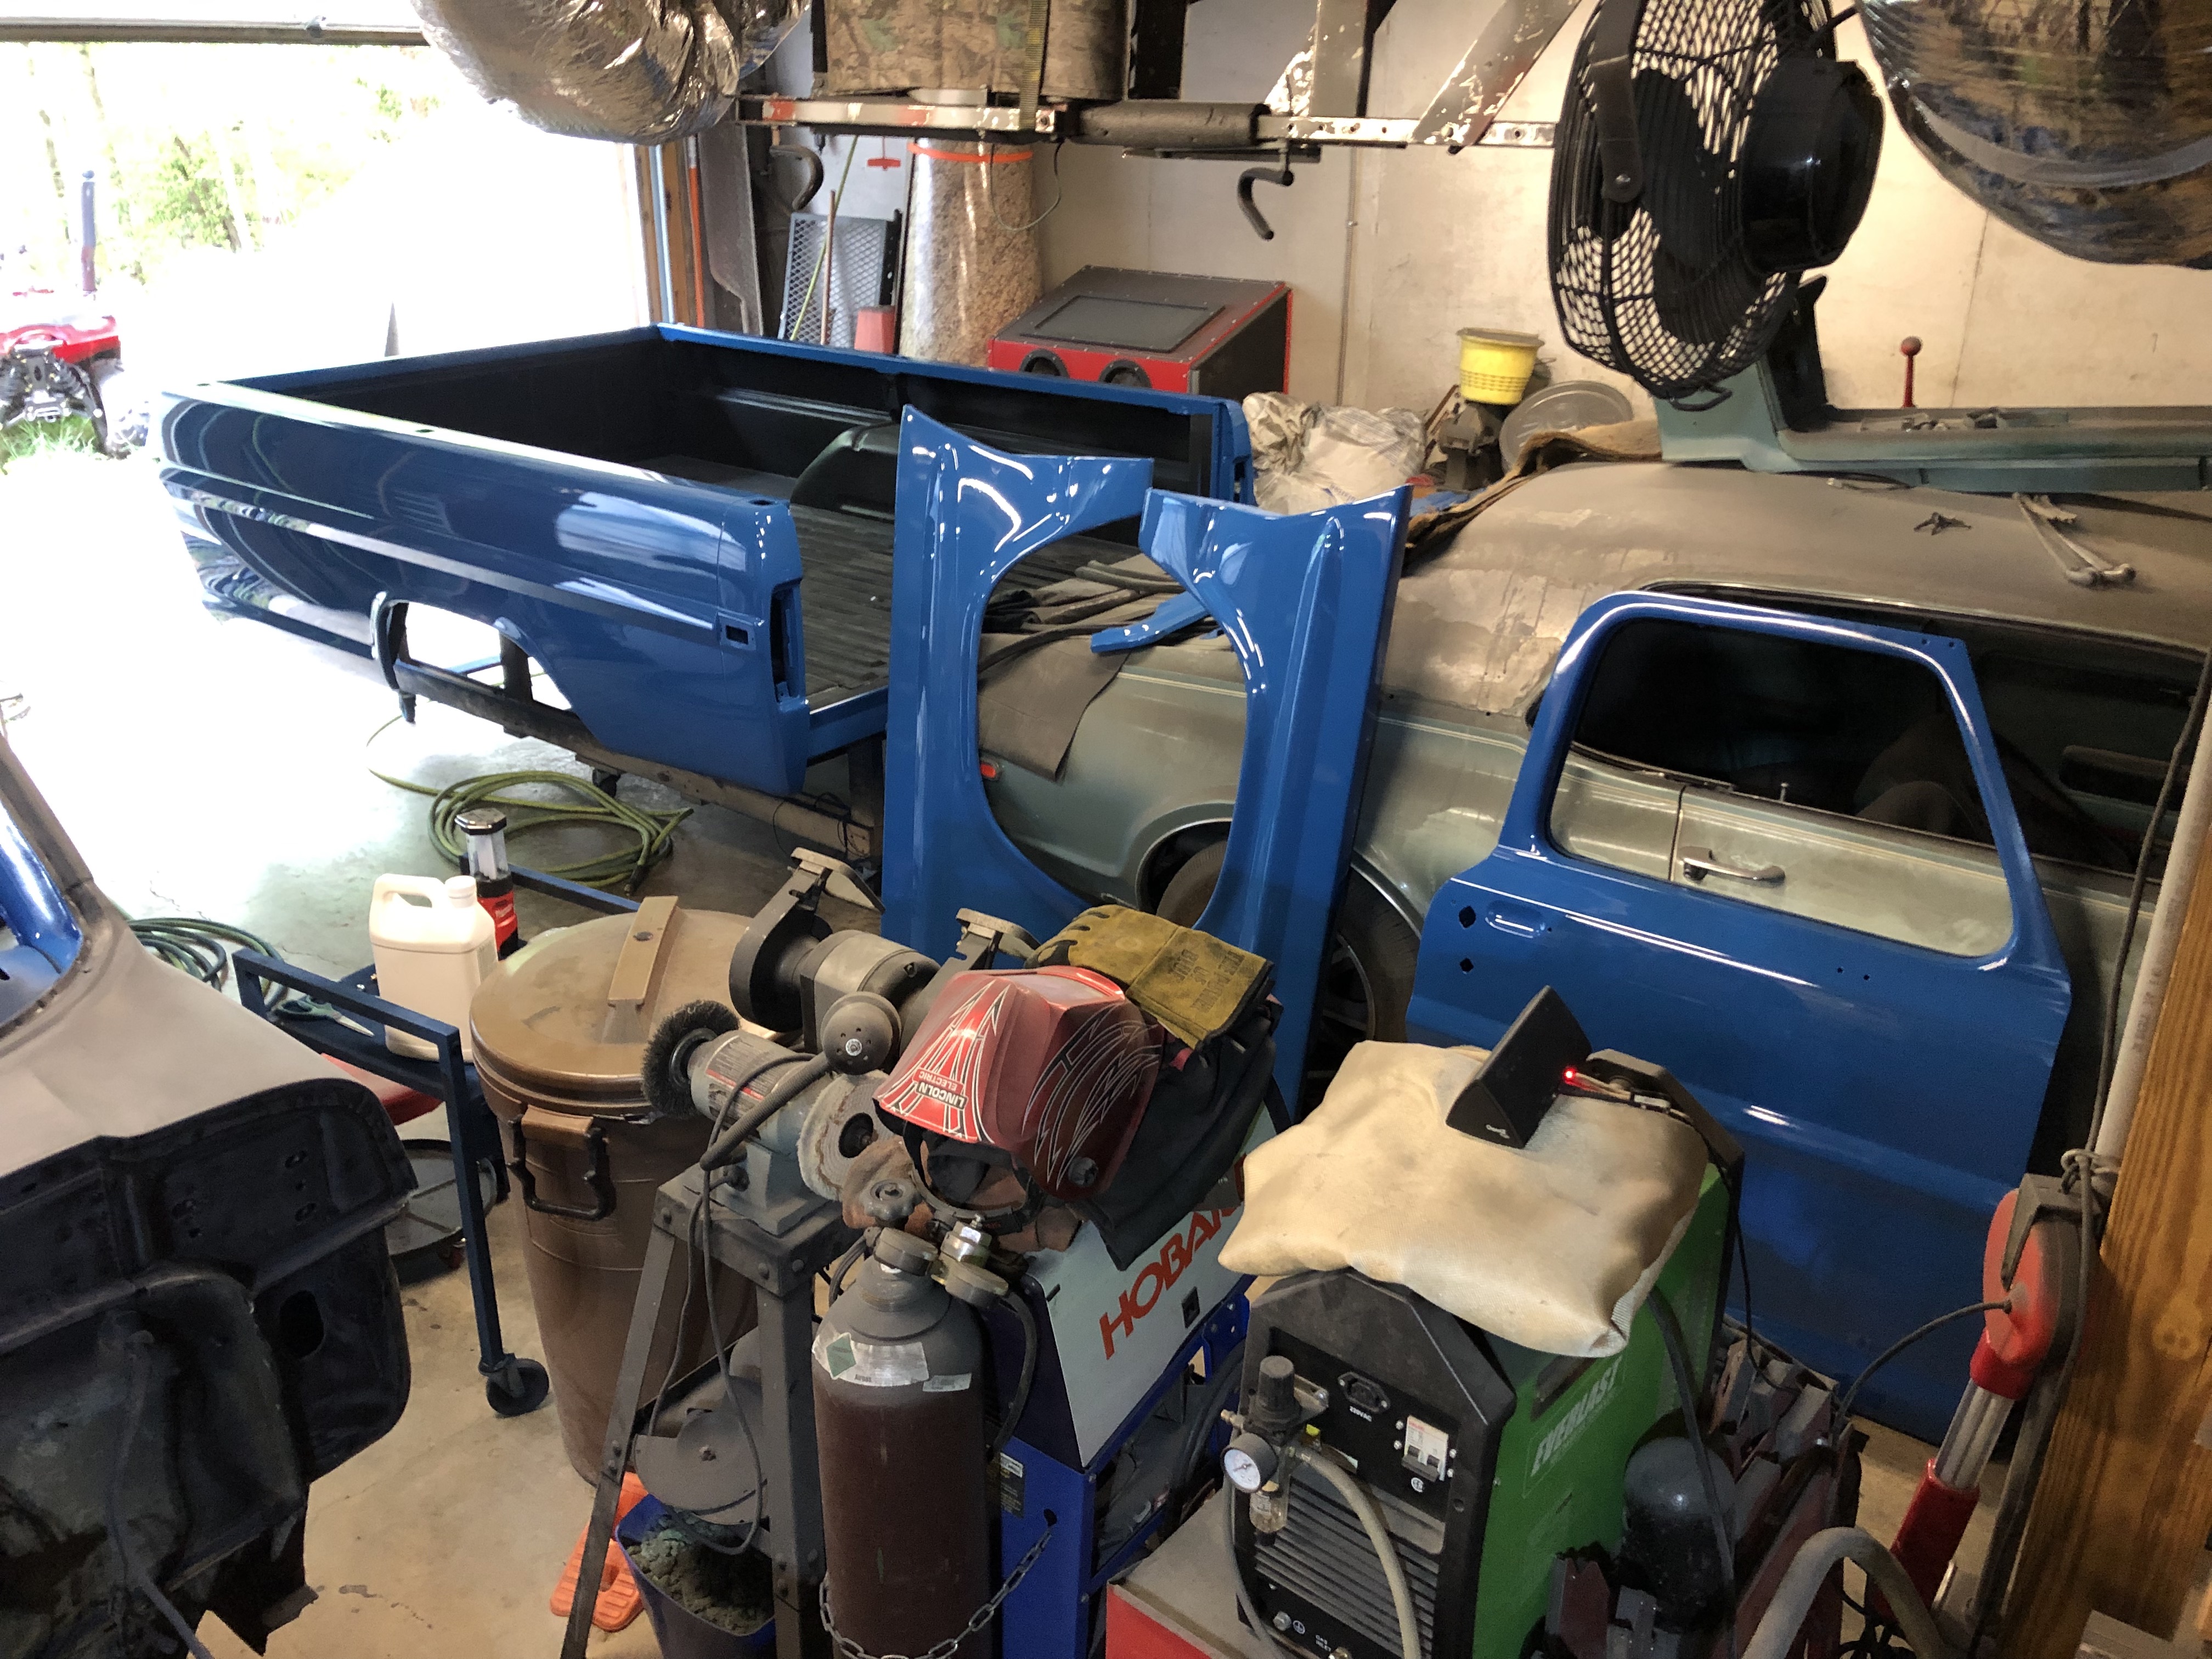
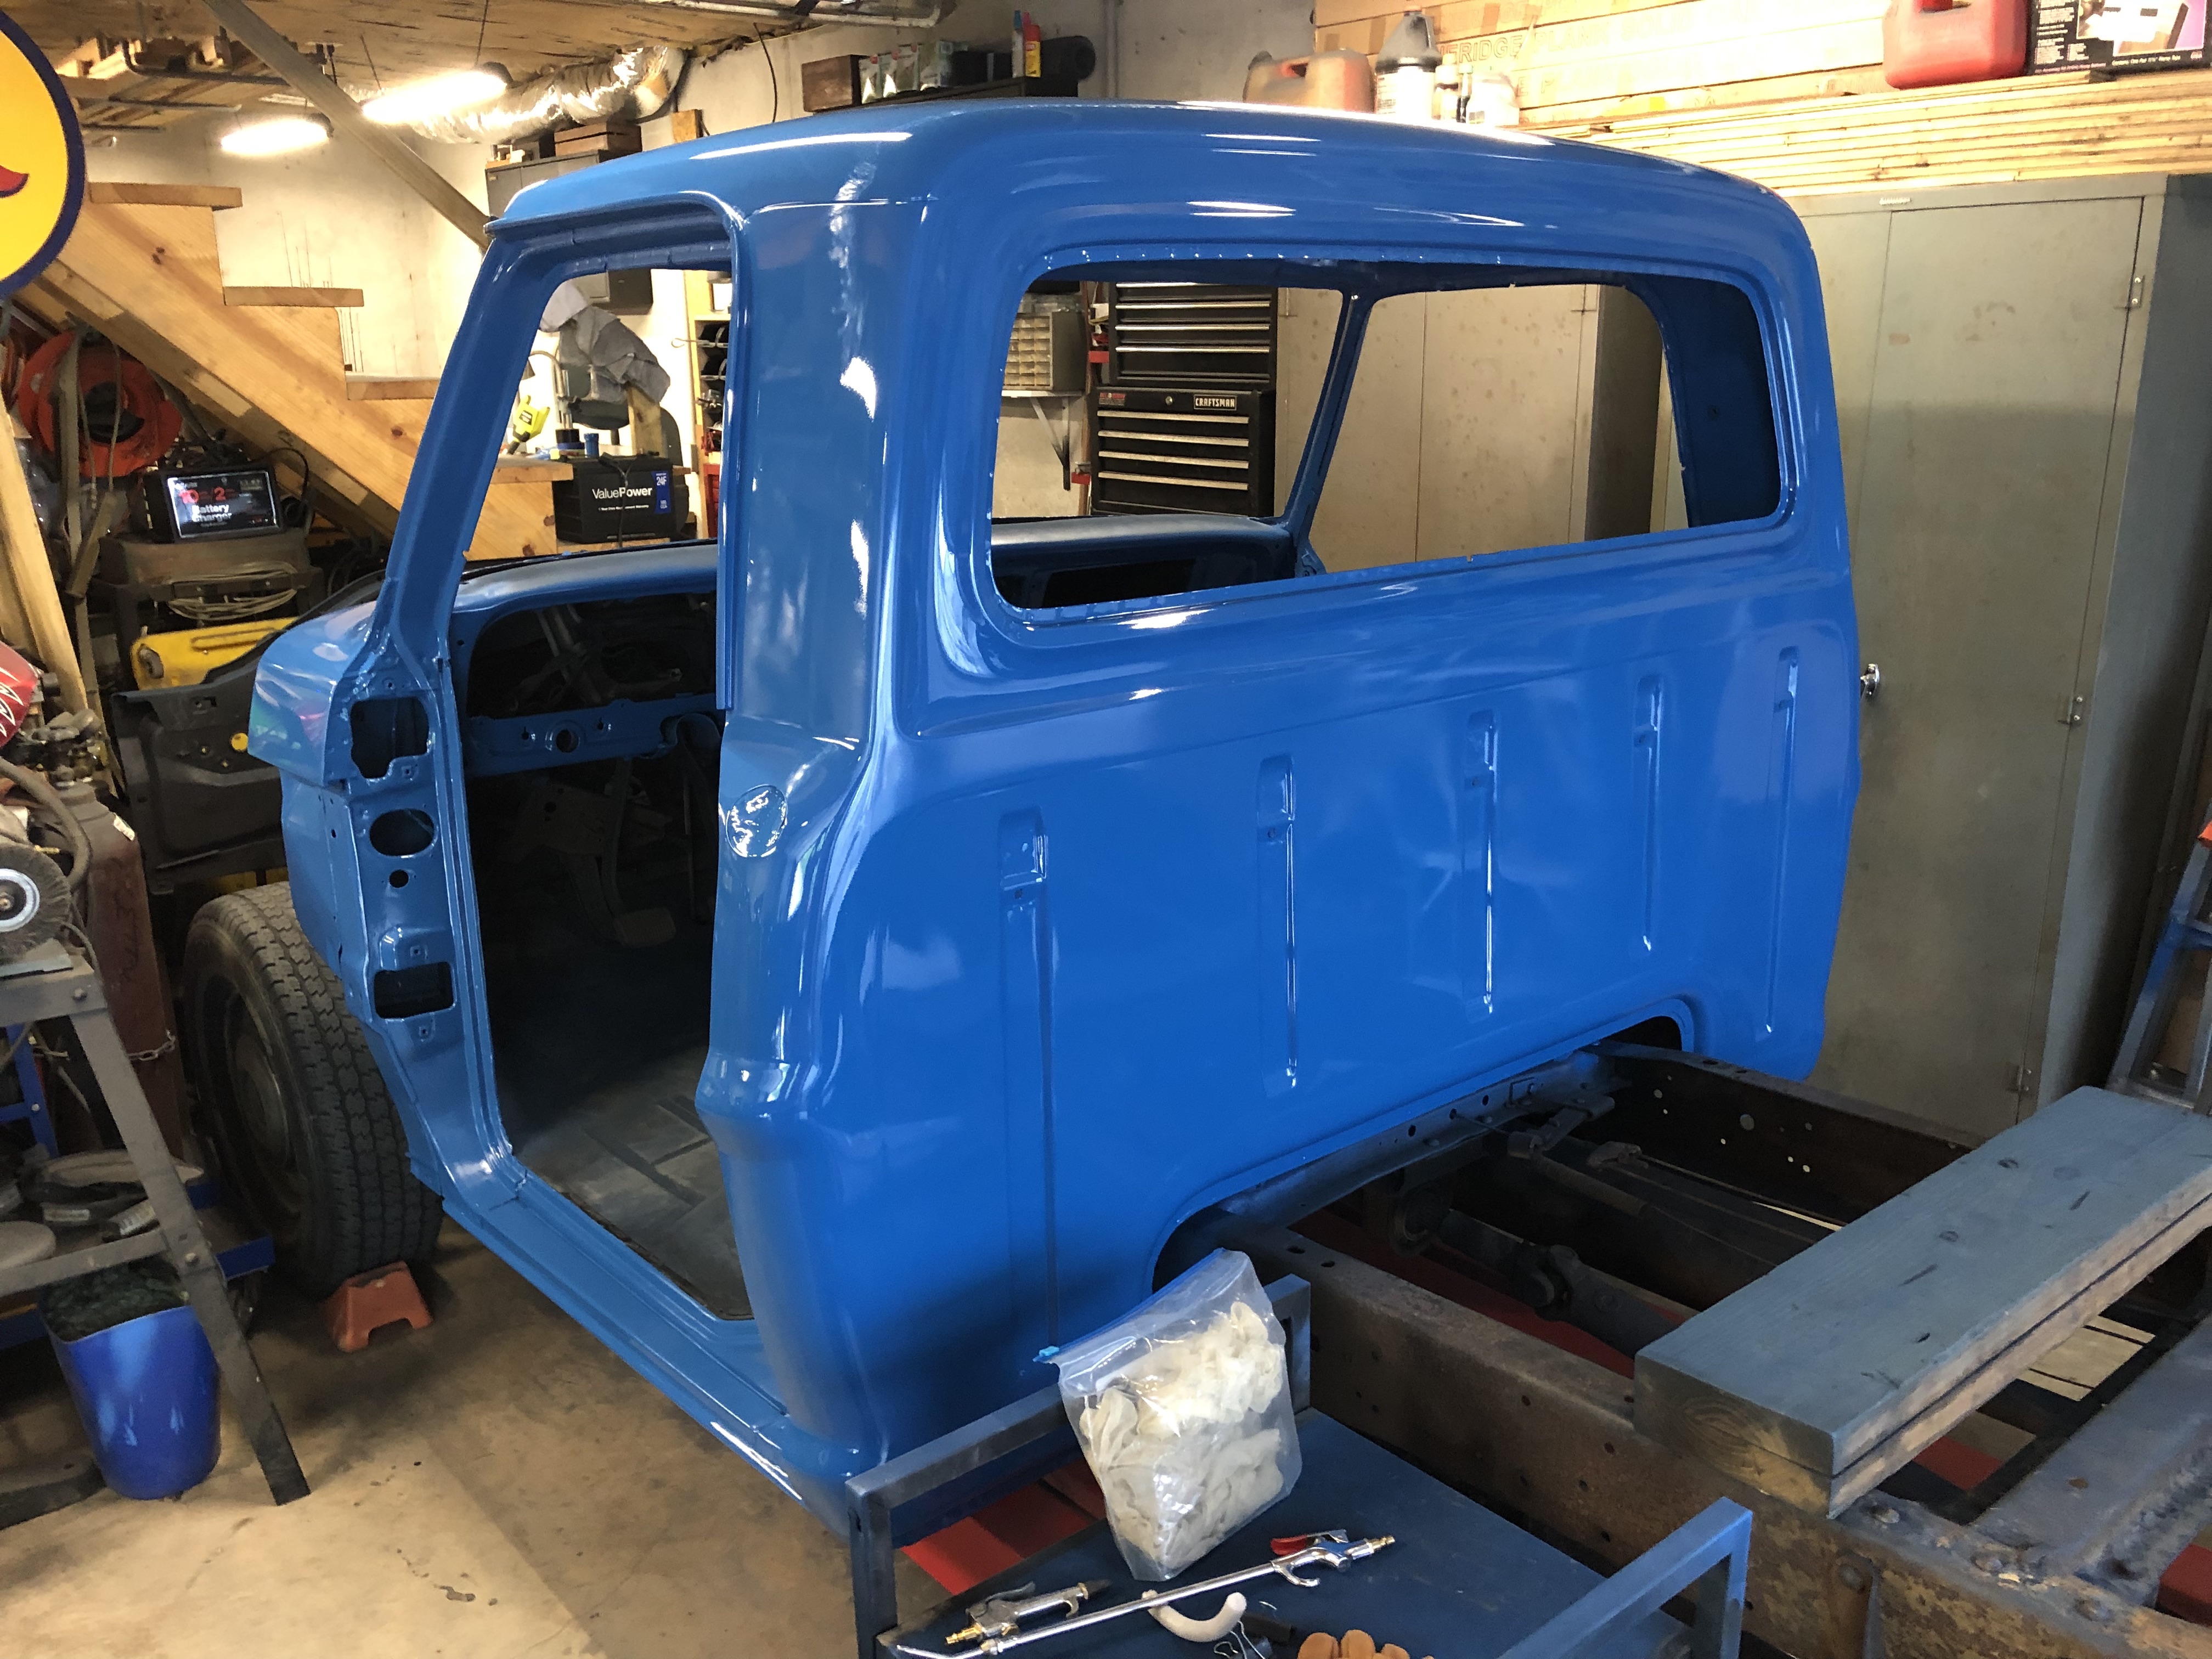
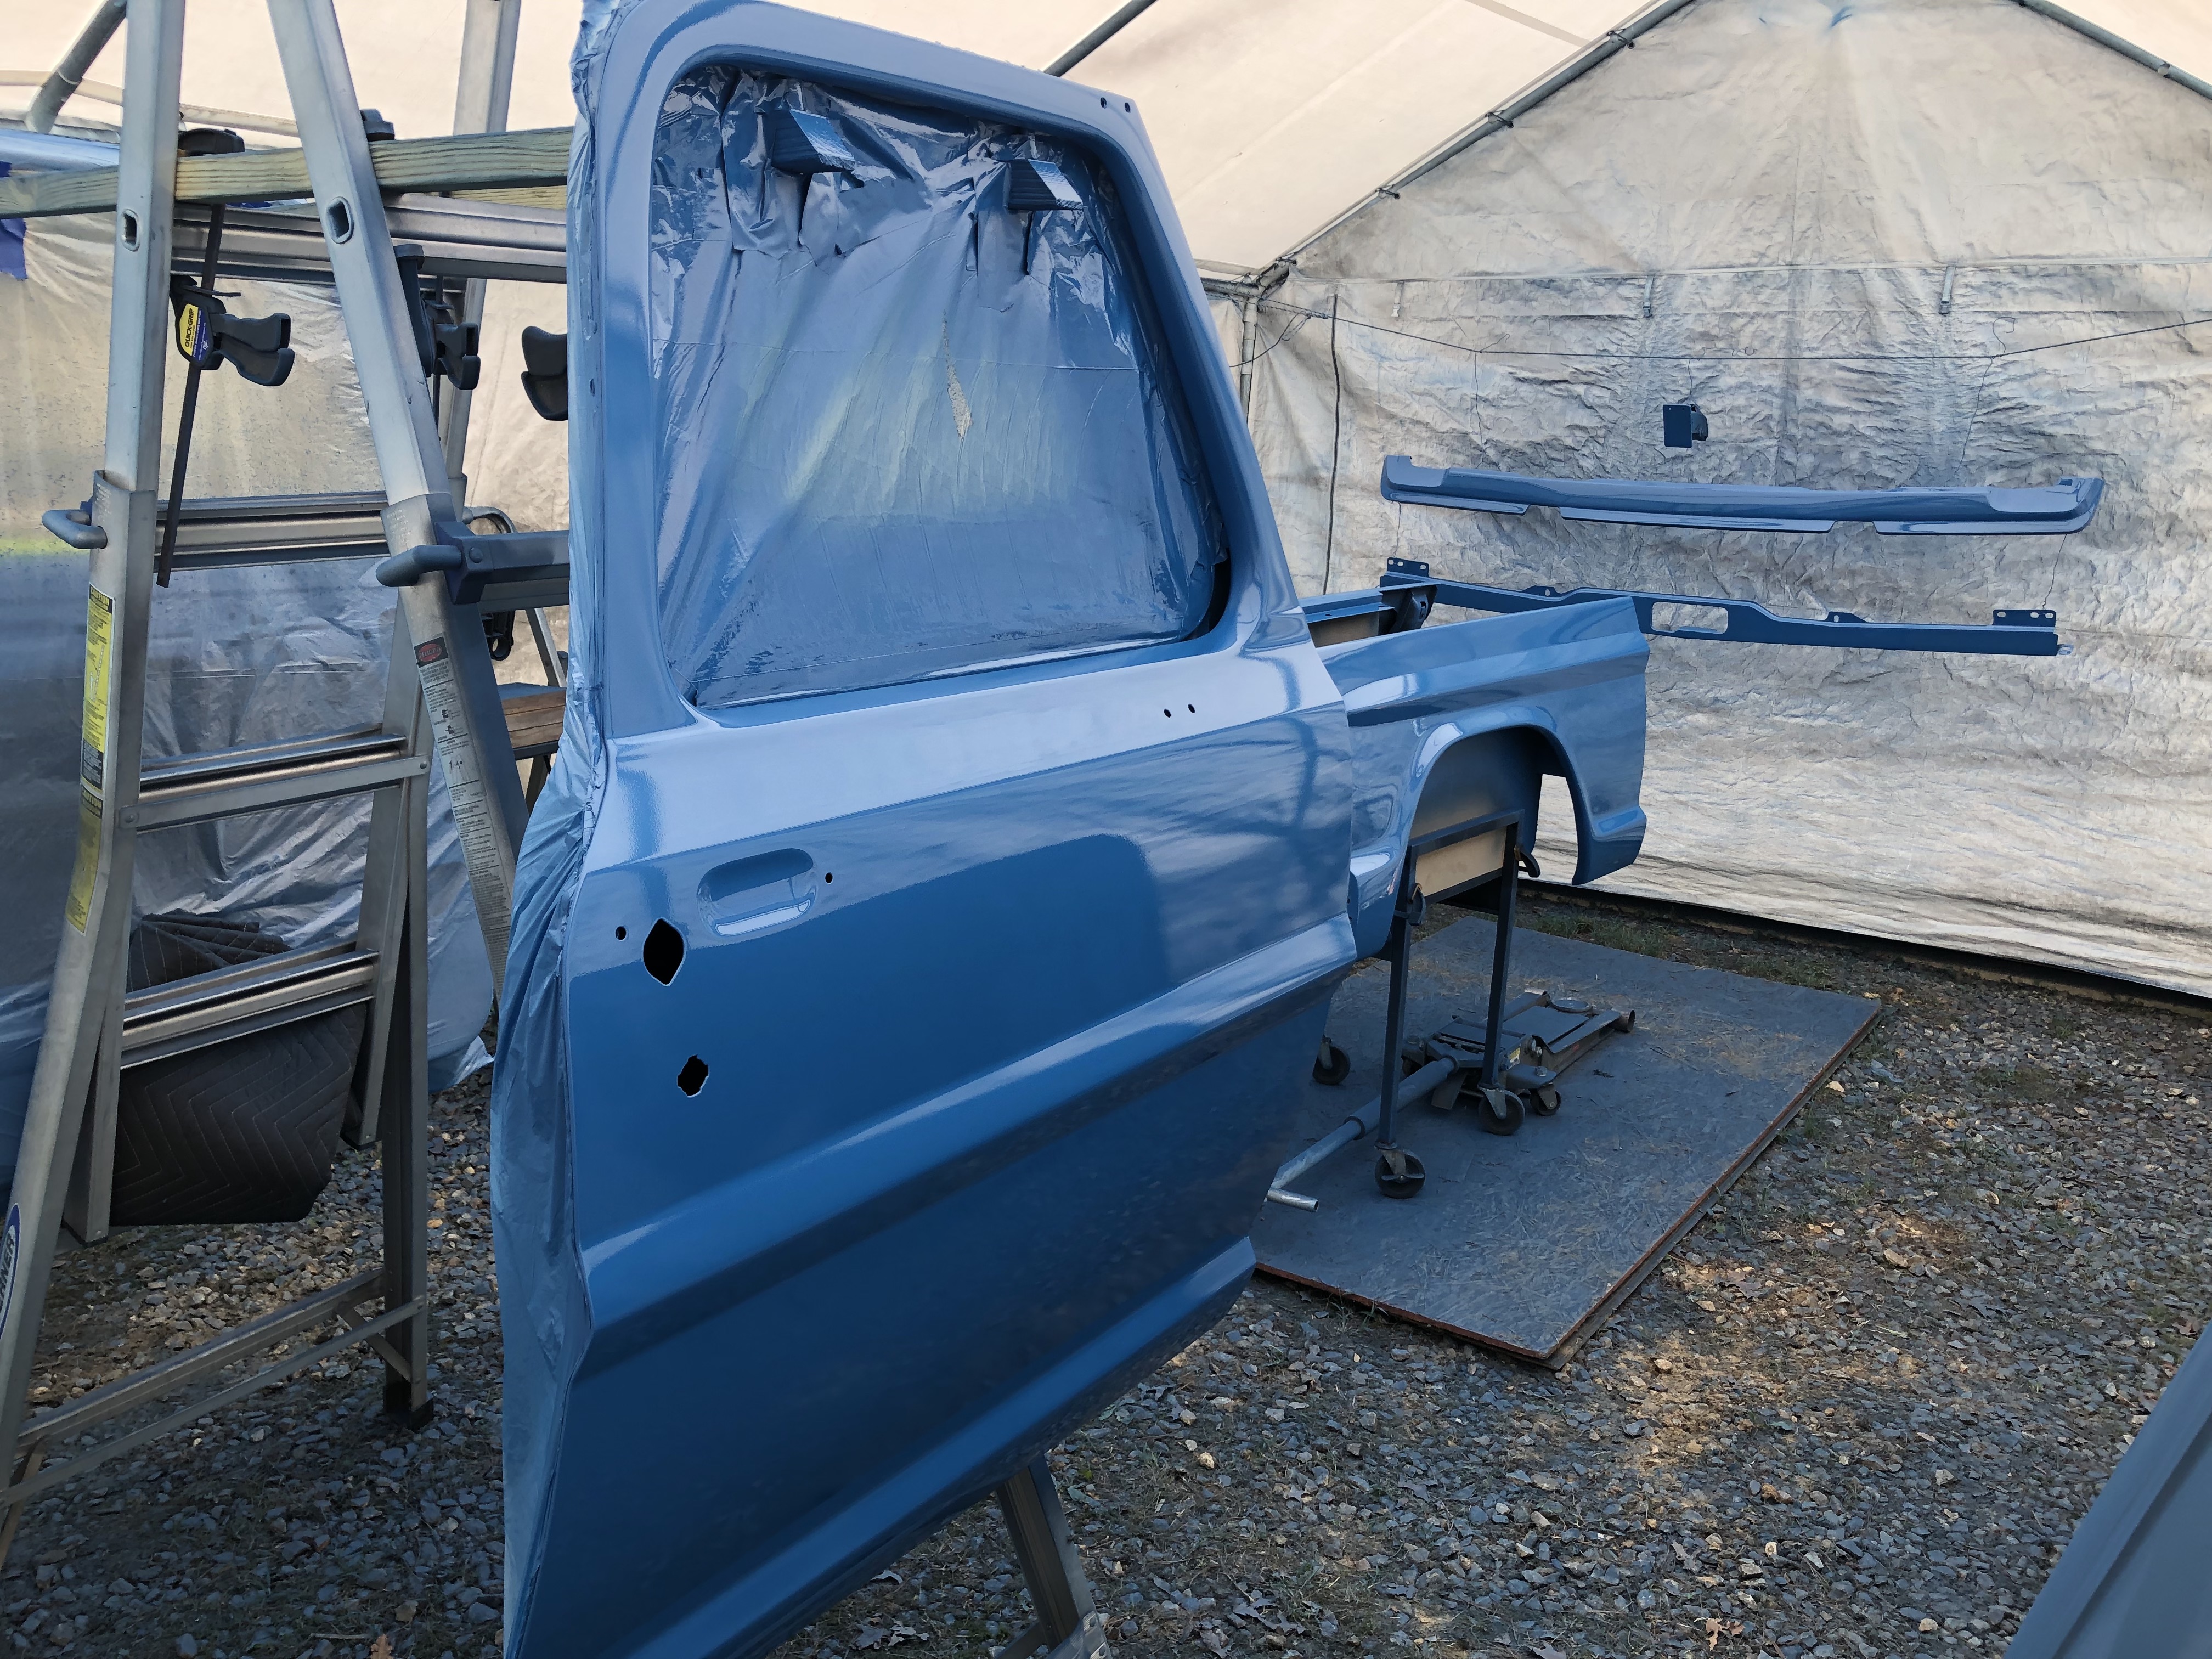
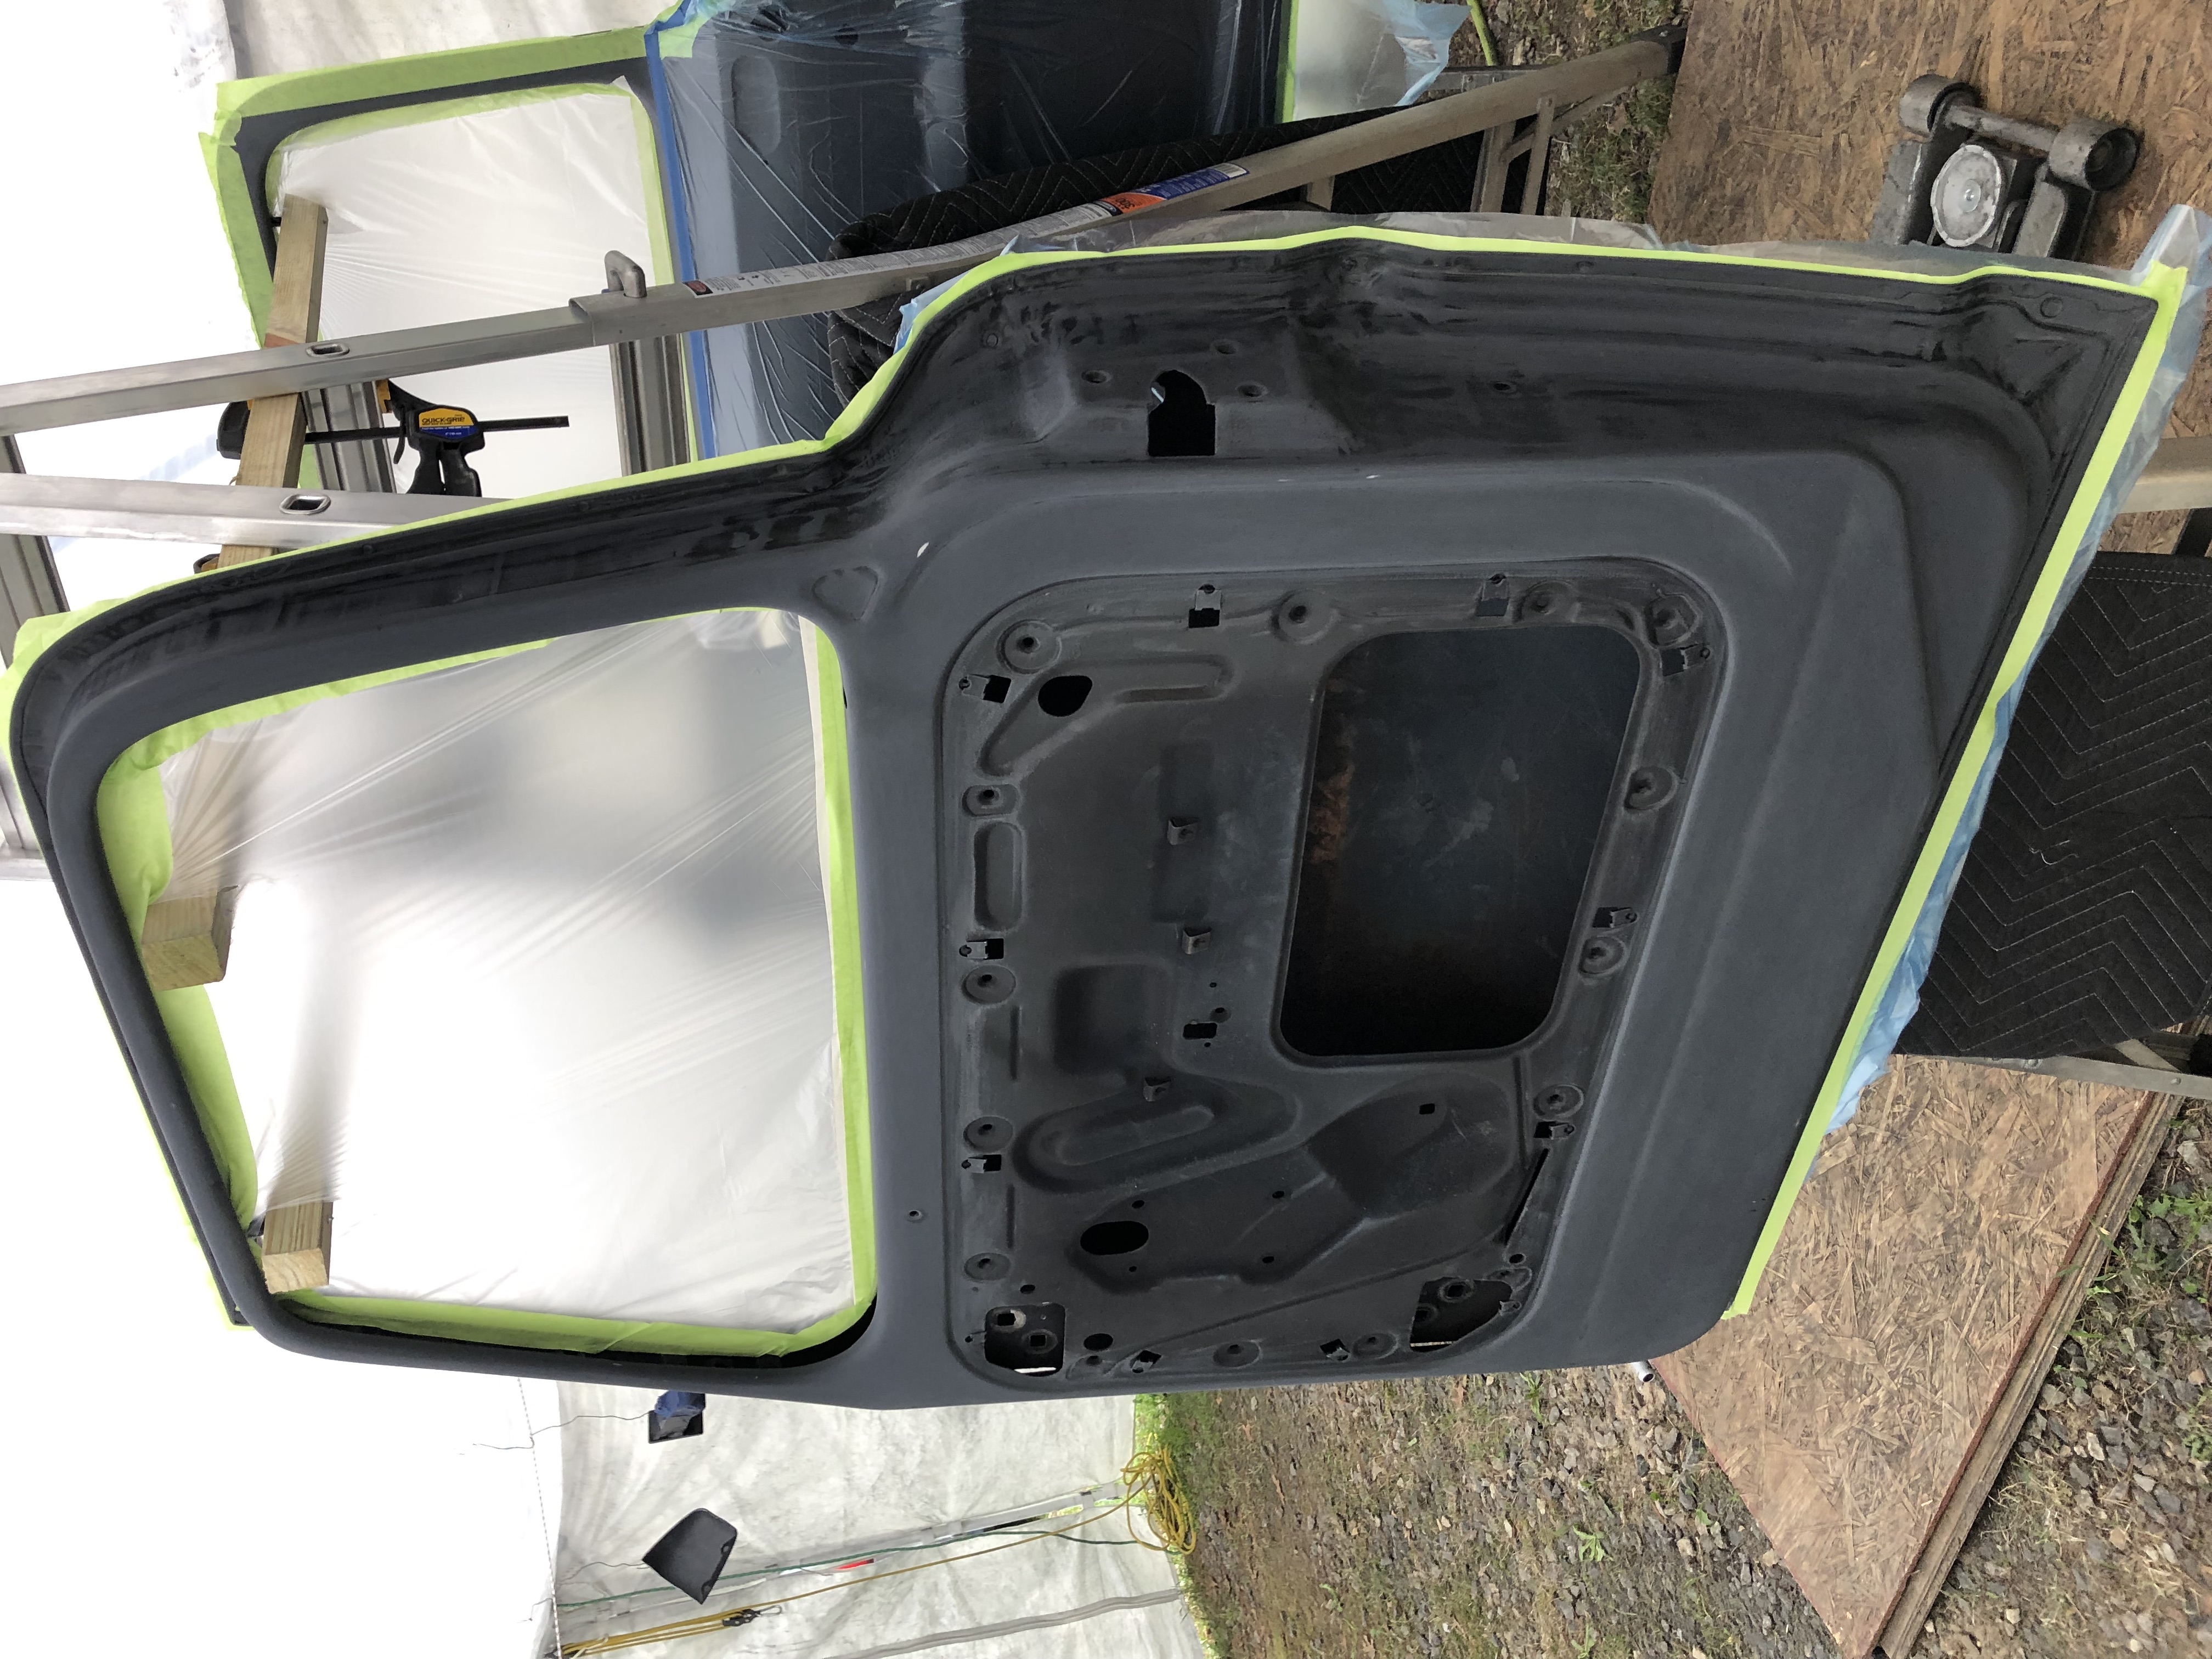
Disappointing results after final spray. Man, what a learning process… I’m not sure I have enough years left to get good with laying down the paint, but maybe I’ll at least improve with the old Cougar next. I hope to get another garage space built by then so I’m not working in a portable tent and can get some decent lighting around me to be able to see the paint going on…
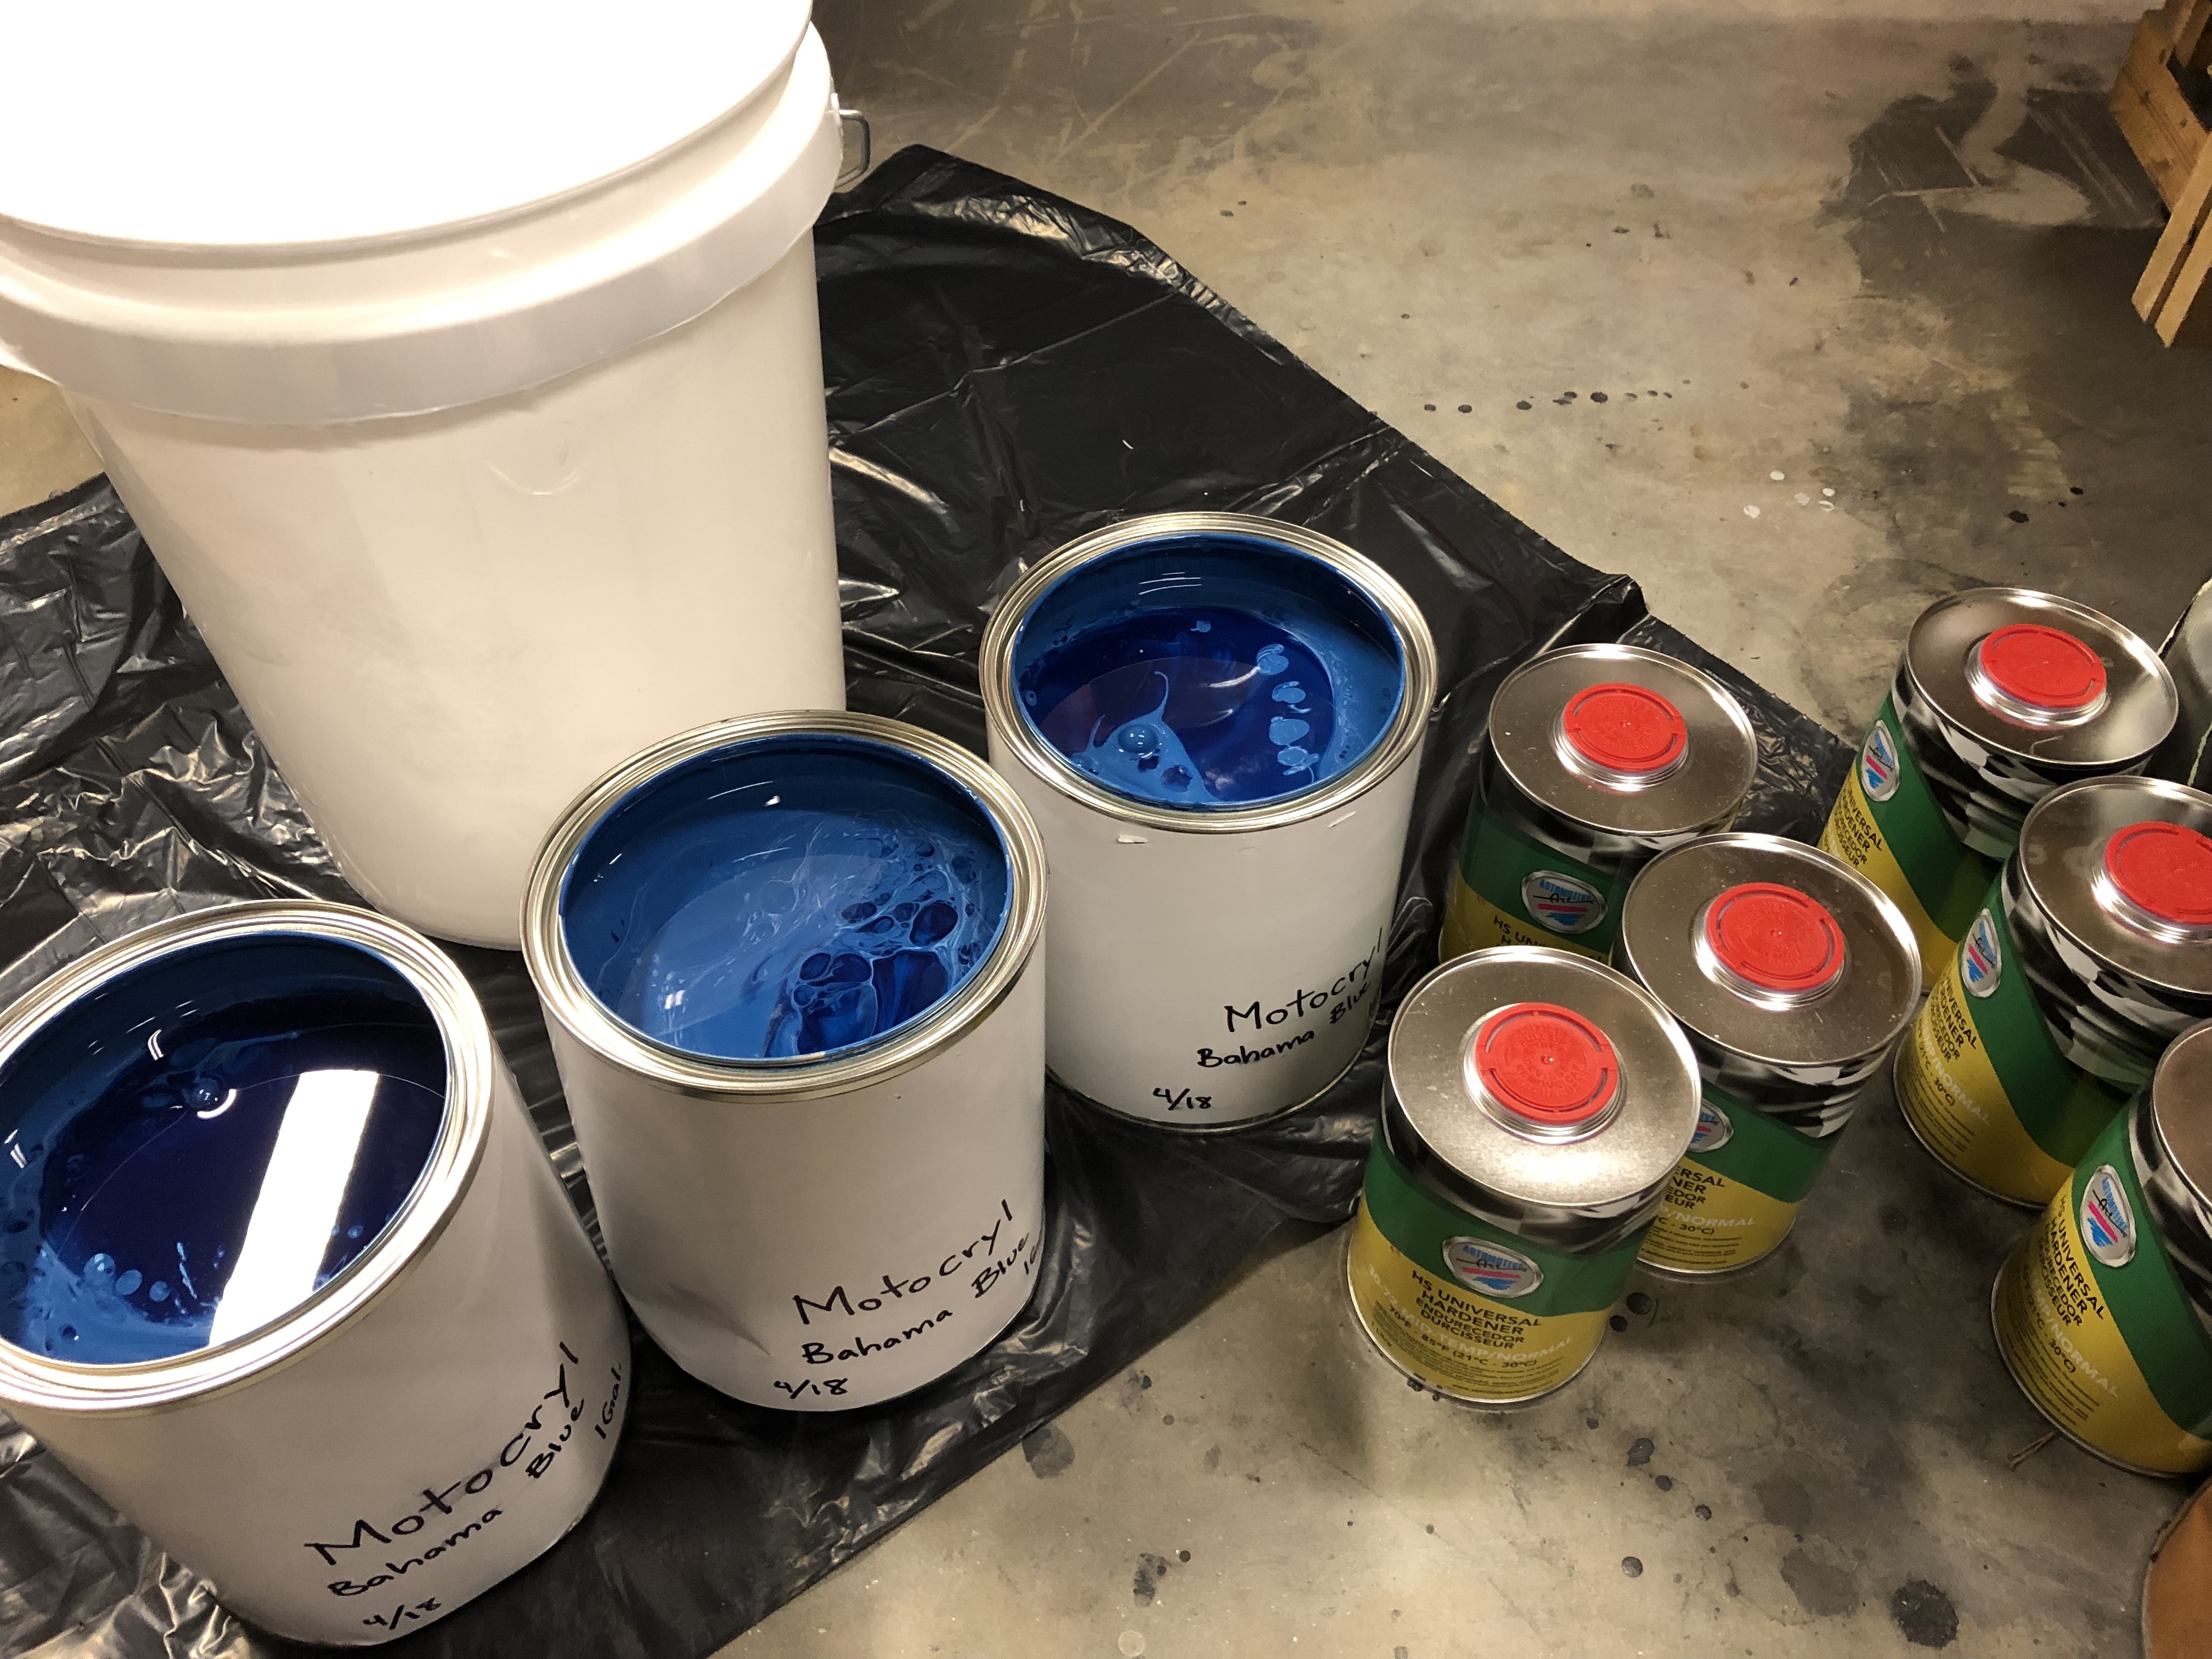
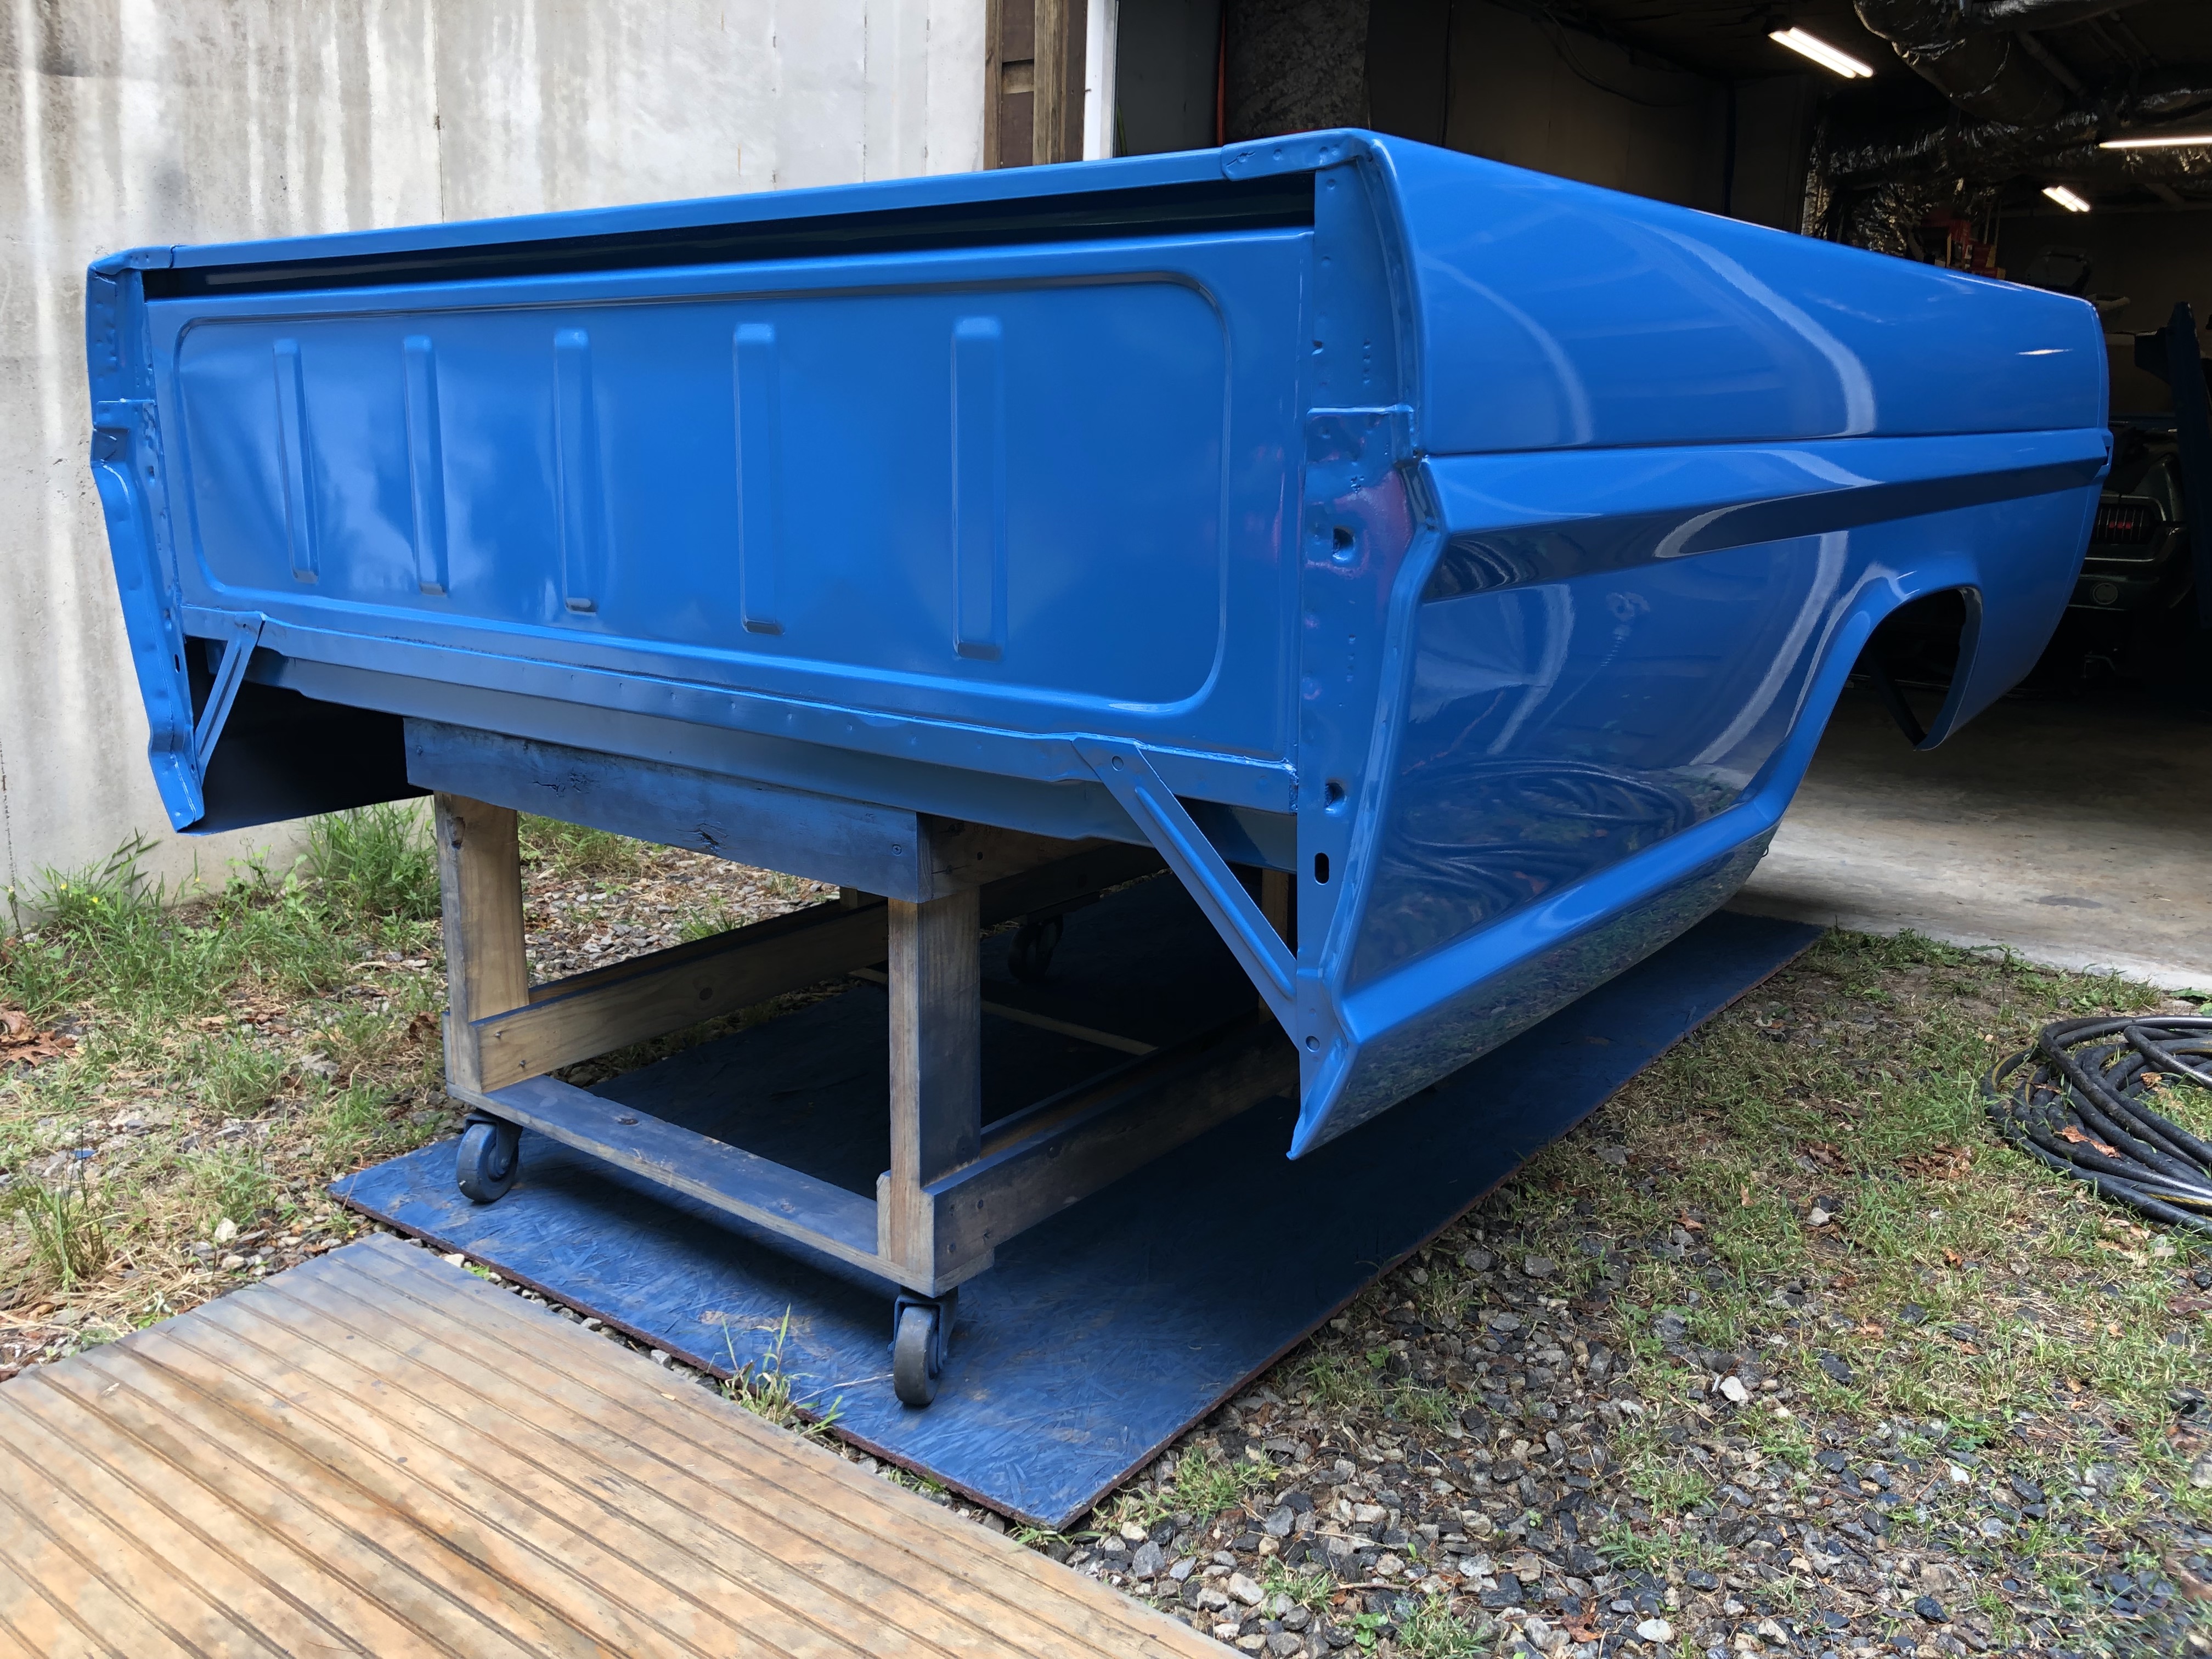
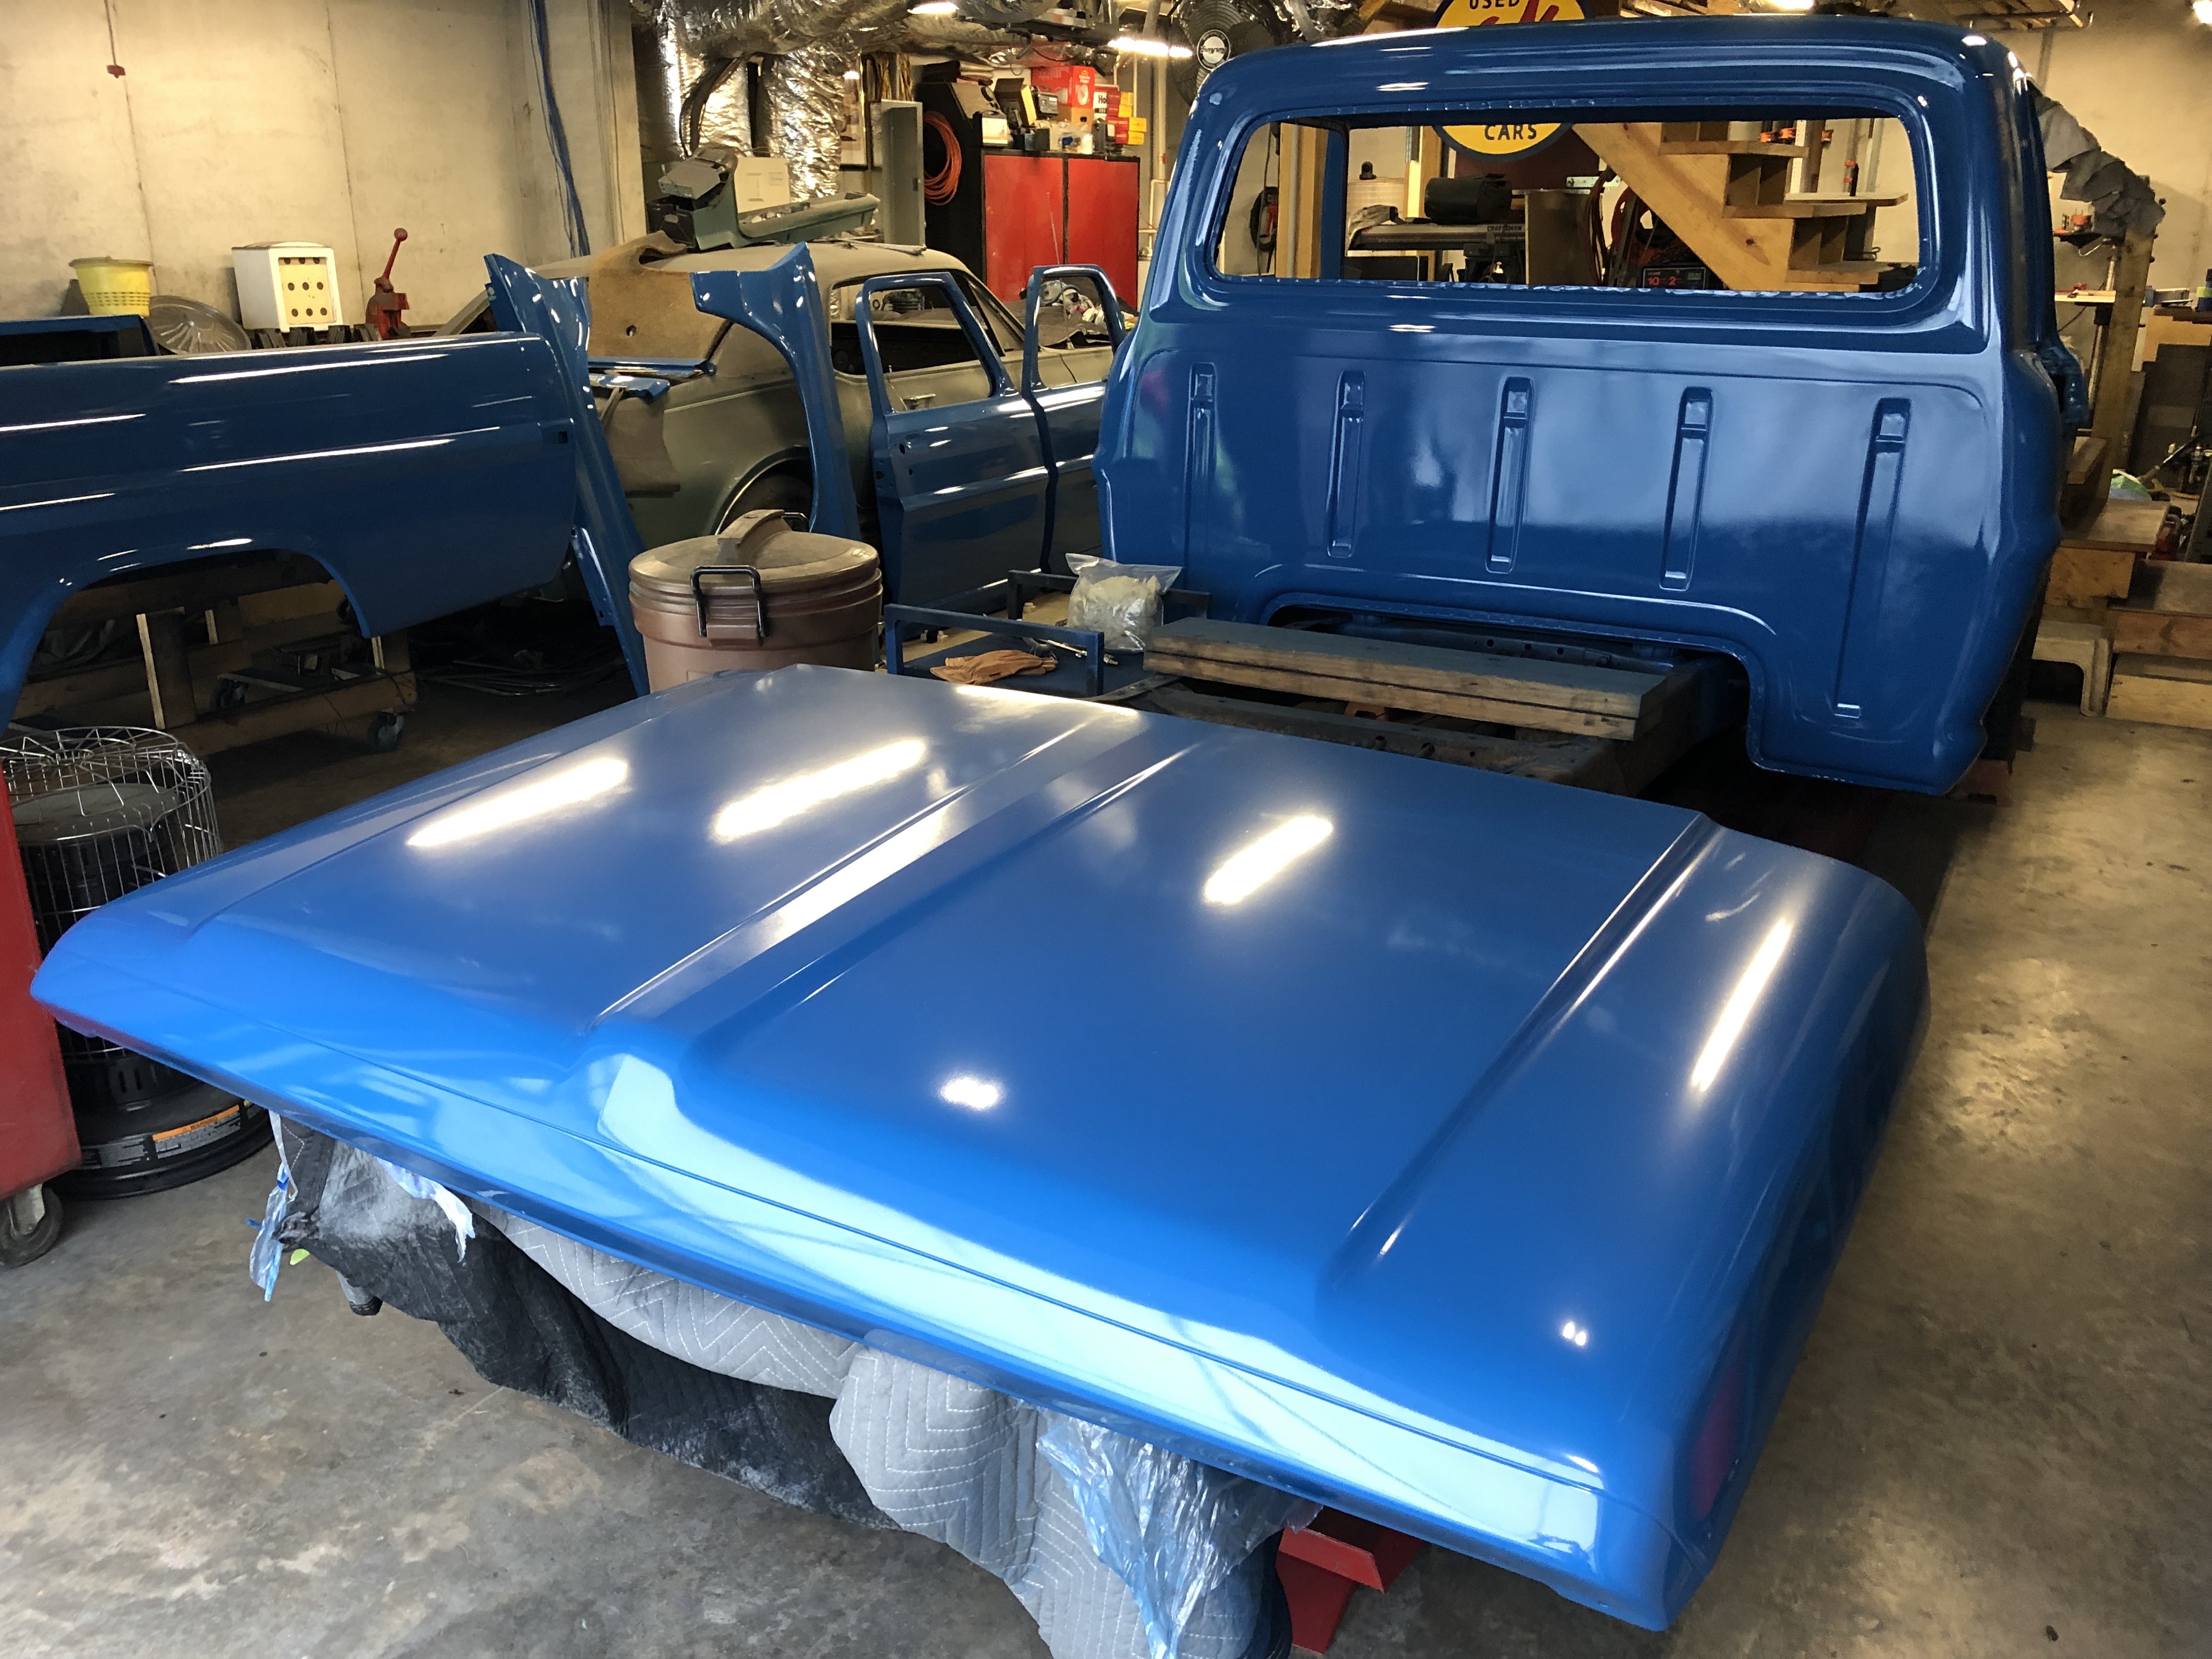
I sprayed the first 3 color coats of single-stage Motocryl back in May. Flattened all the orange peel and abundant dust nibs with 600 to a nice consistent surface and sprayed the final 3 coats this past week. It was funny to see the look after the sanding with 600. Gave it a dull chalky look exactly like the faded blue I always remember it being.
On the plus side, I got a far cleaner spray each day as I worked through the various panels. At least it’s another step forward, and aside from a tailgate, my painting is complete. I was careful to remember to wipe-off the hose between the coats, and hung the hood vertical instead of flat like before. I also sprayed the hood in a different session from the cab so I wasn’t stirring up as much dust moving back and forth, climbing around, and juggling step-stools, etc. Also did all my staging the night before along with blowing off and wiping down so the dust had more time to settle.
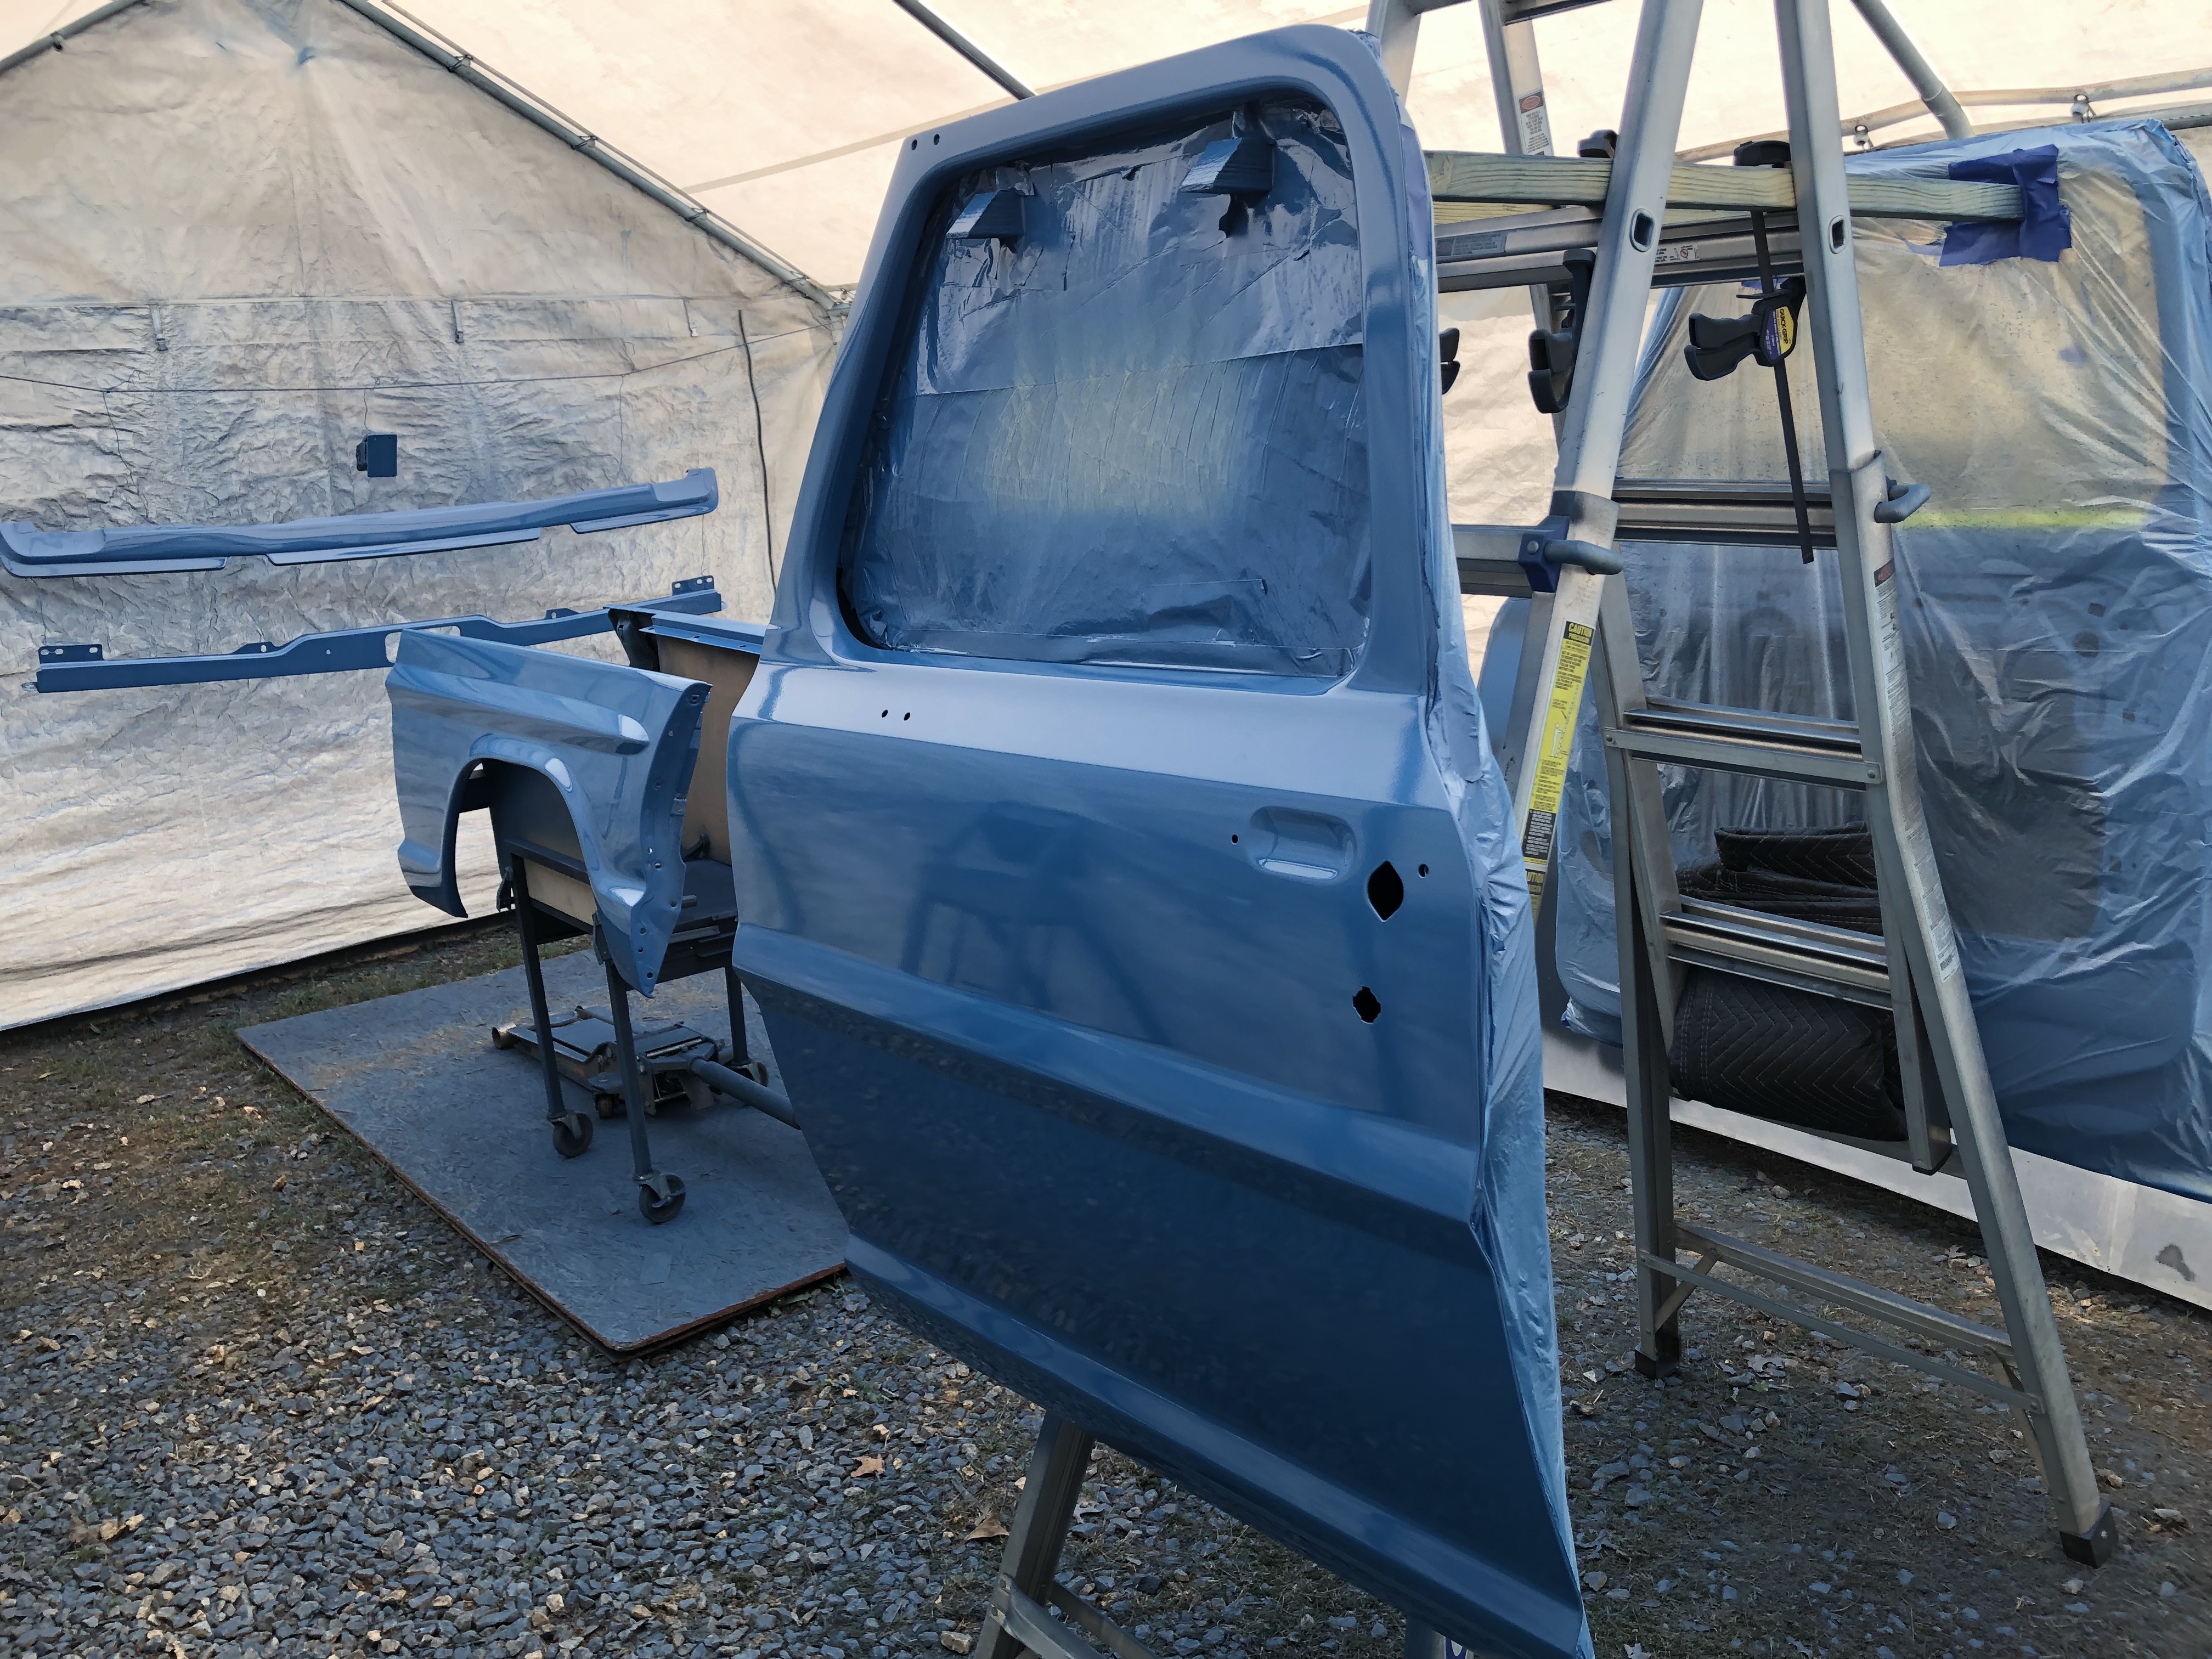
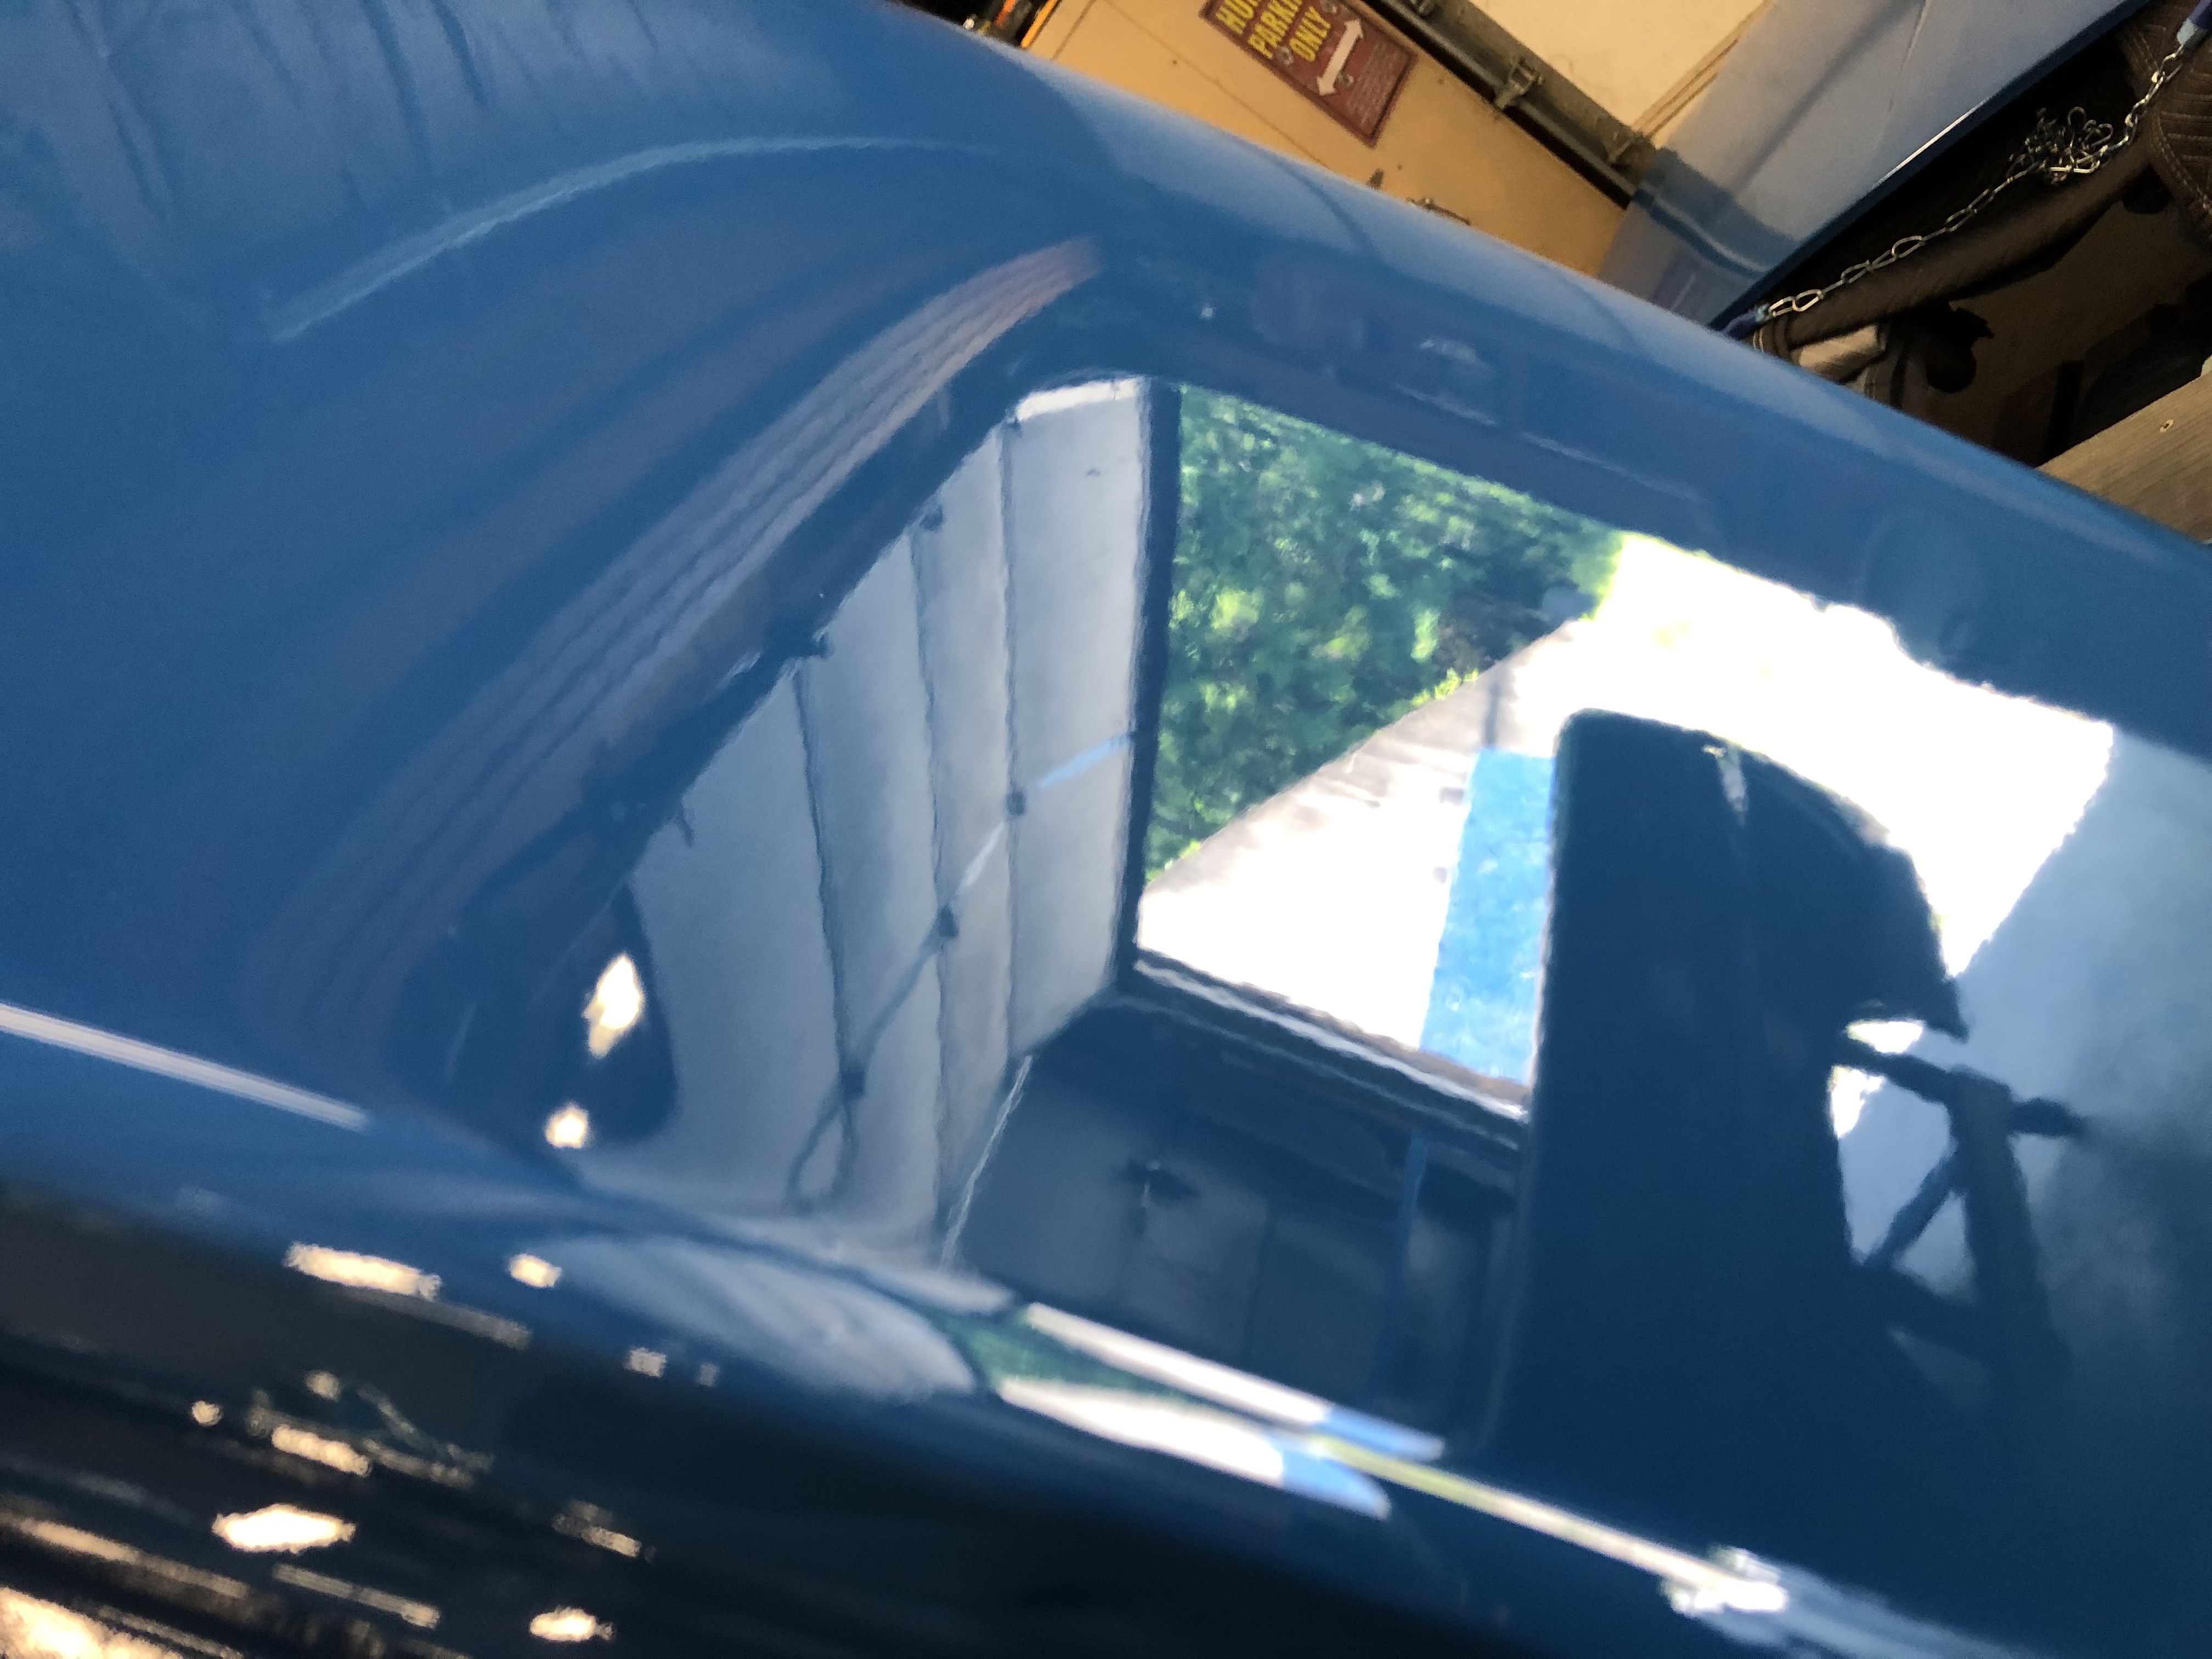
Orange-peel on the other hand unfortunately turned out worse than last time on some of the panels. I think the gun is probably adjusted correctly, and distance is correct, and I just need to slow down. I guess I’ve got a fear of getting a bunch of runs and sags and make the passes too fast. More experience or someone watching that actually knows what they are doing would I’m sure be able to make some fluid adjustments and suggestions to deal with the speed. I’m clueless, maybe the fluid control and/or pressure is still off. Lack of good lighting and really being able to see what’s happening doesn’t help….
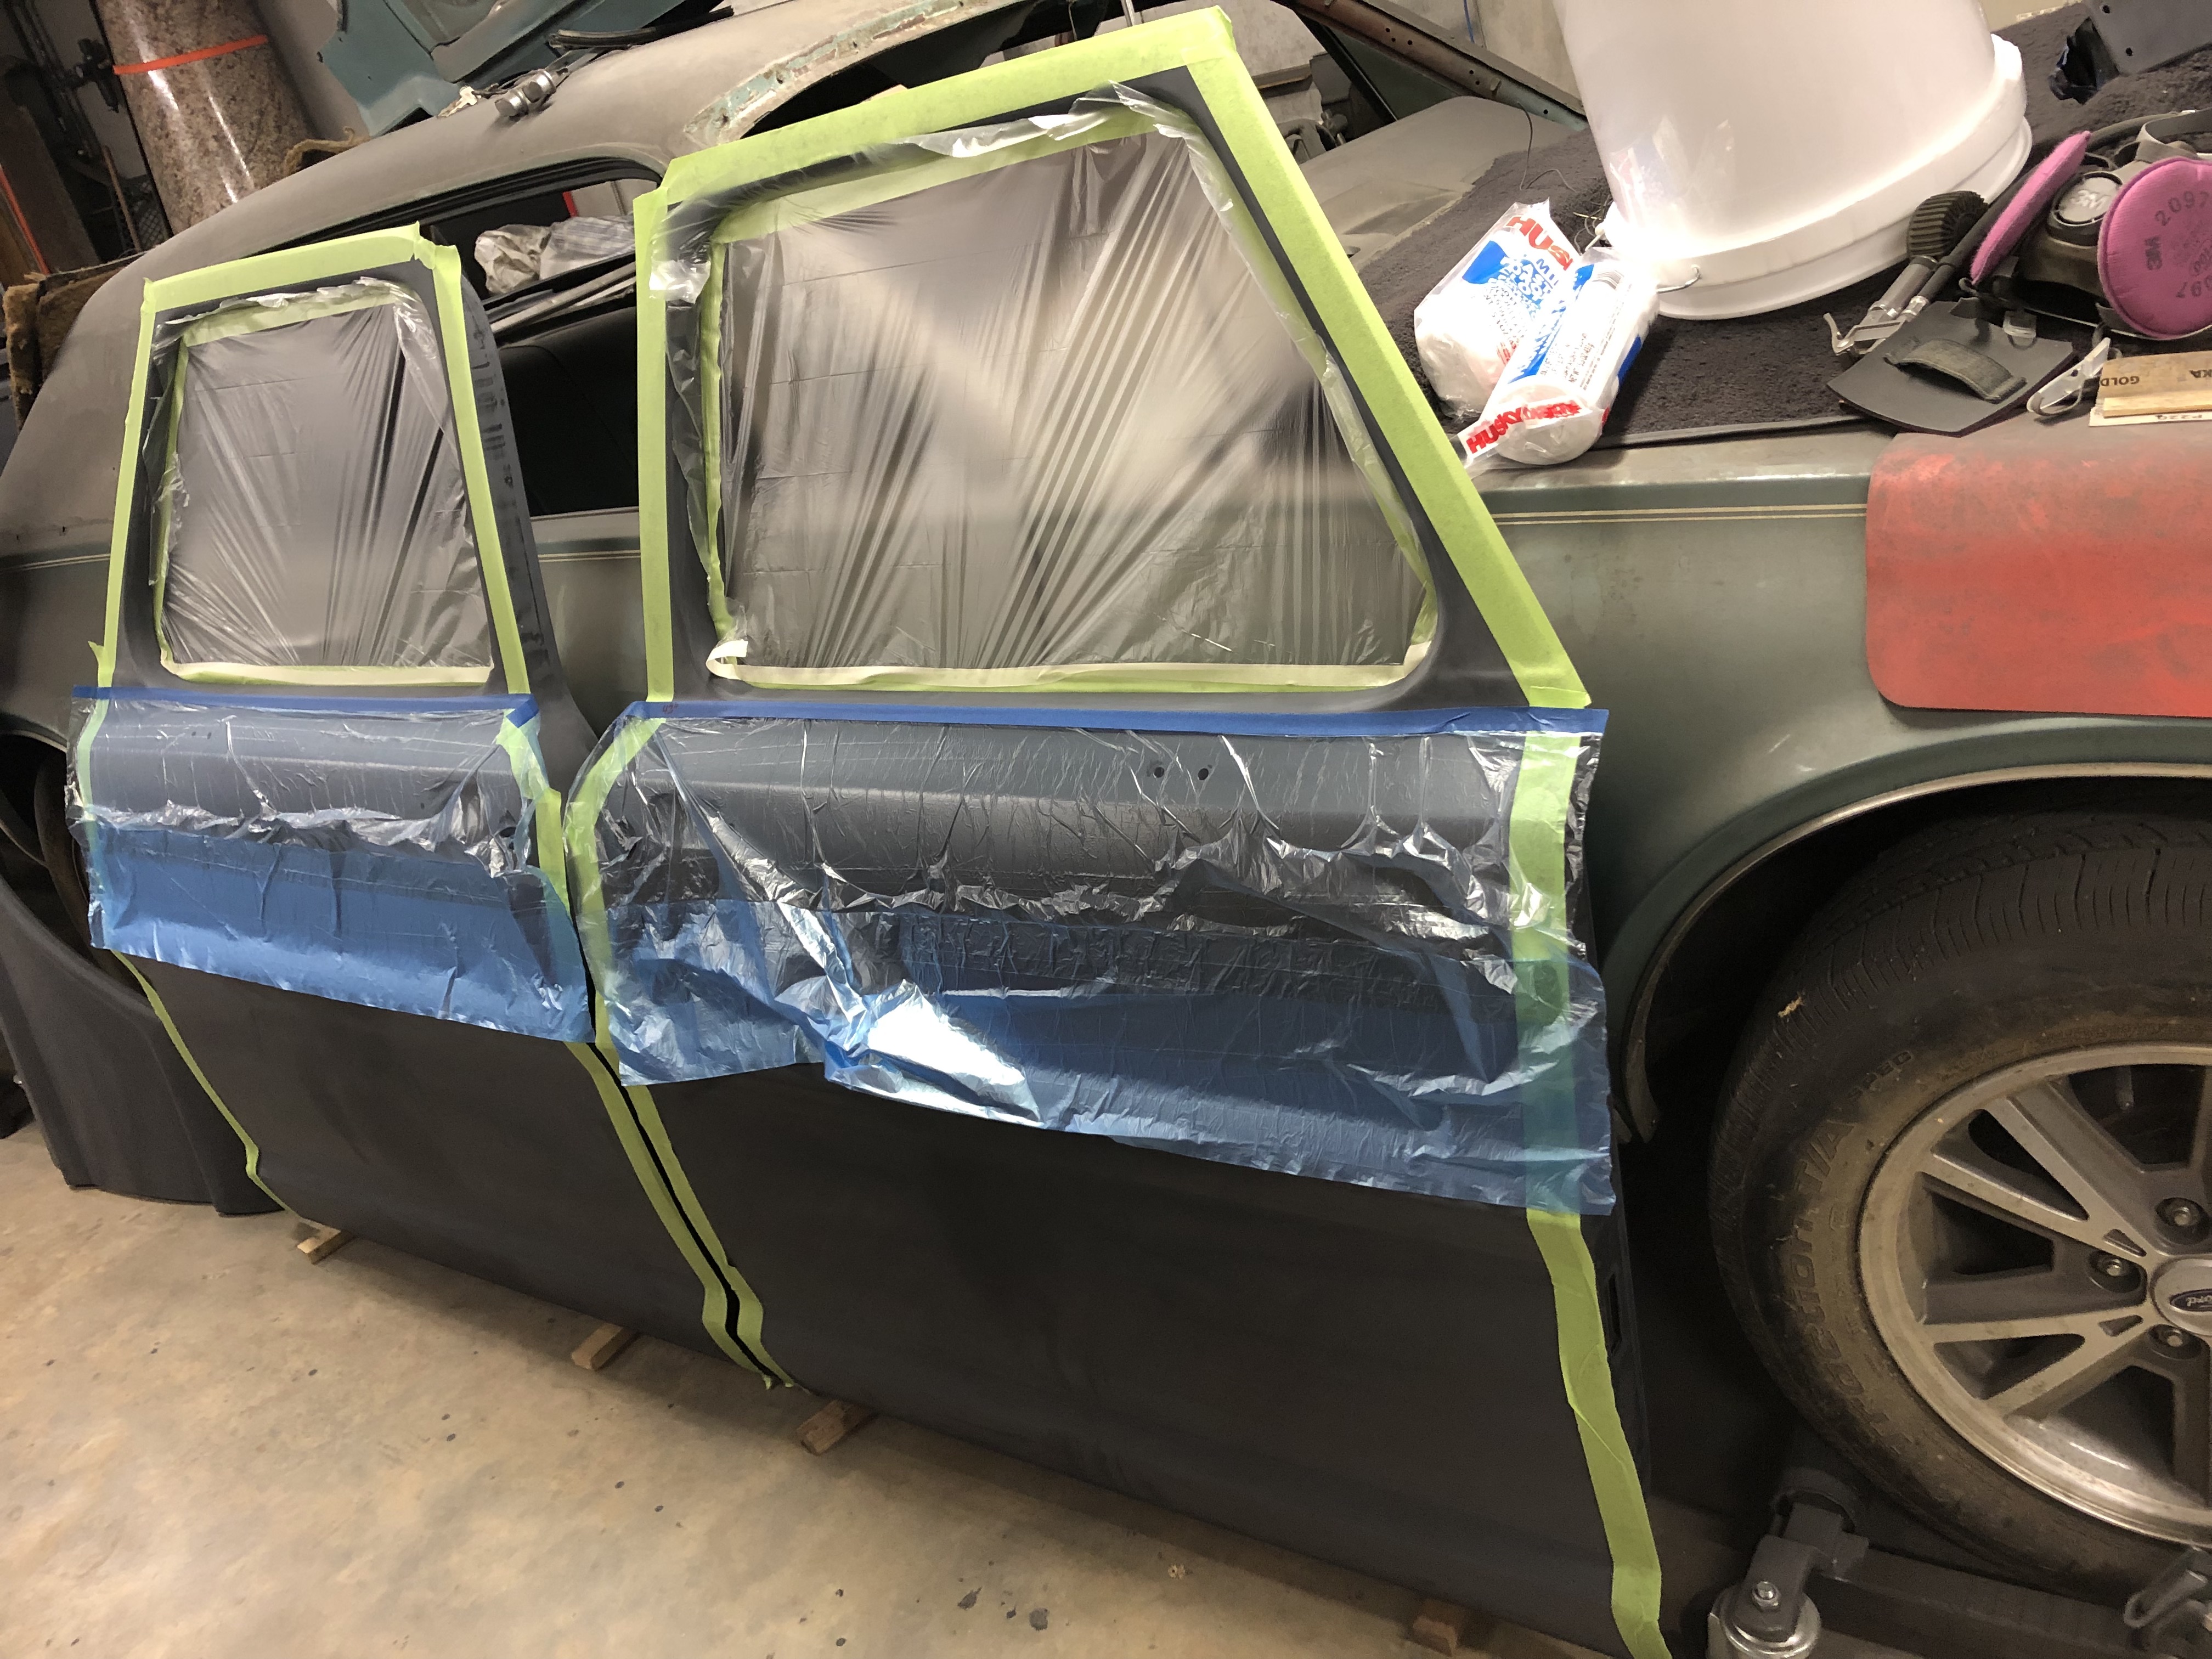
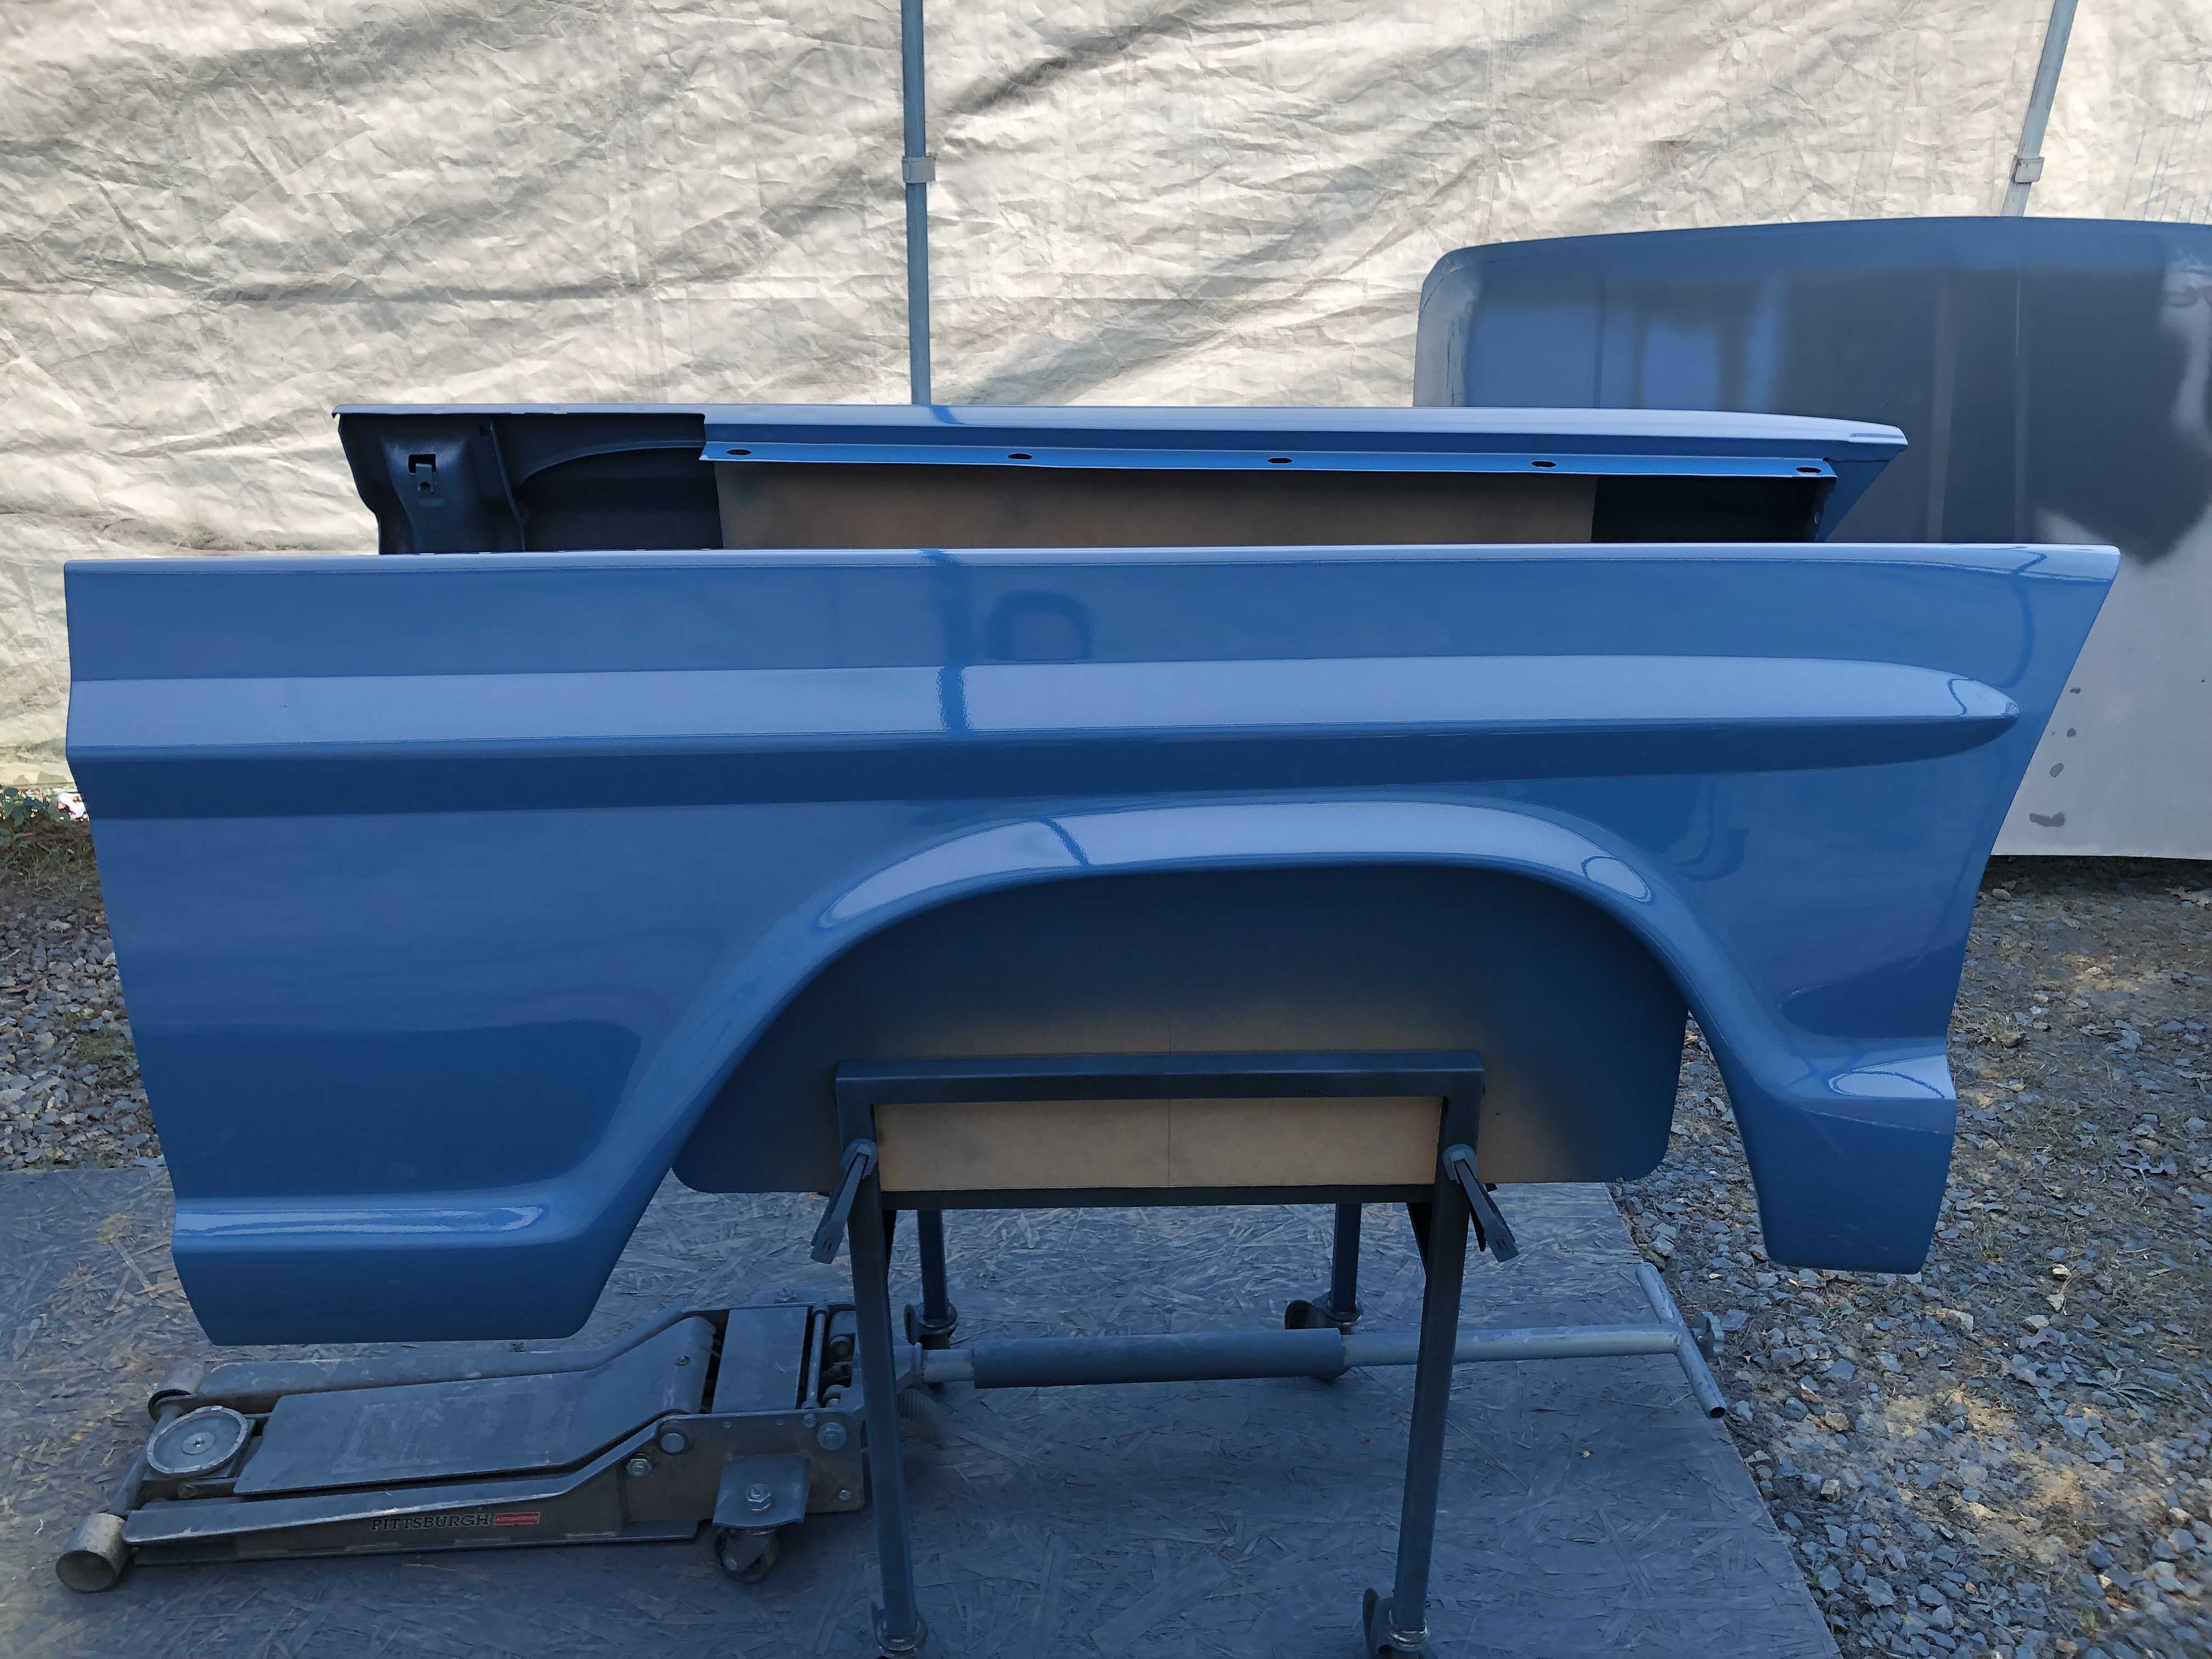
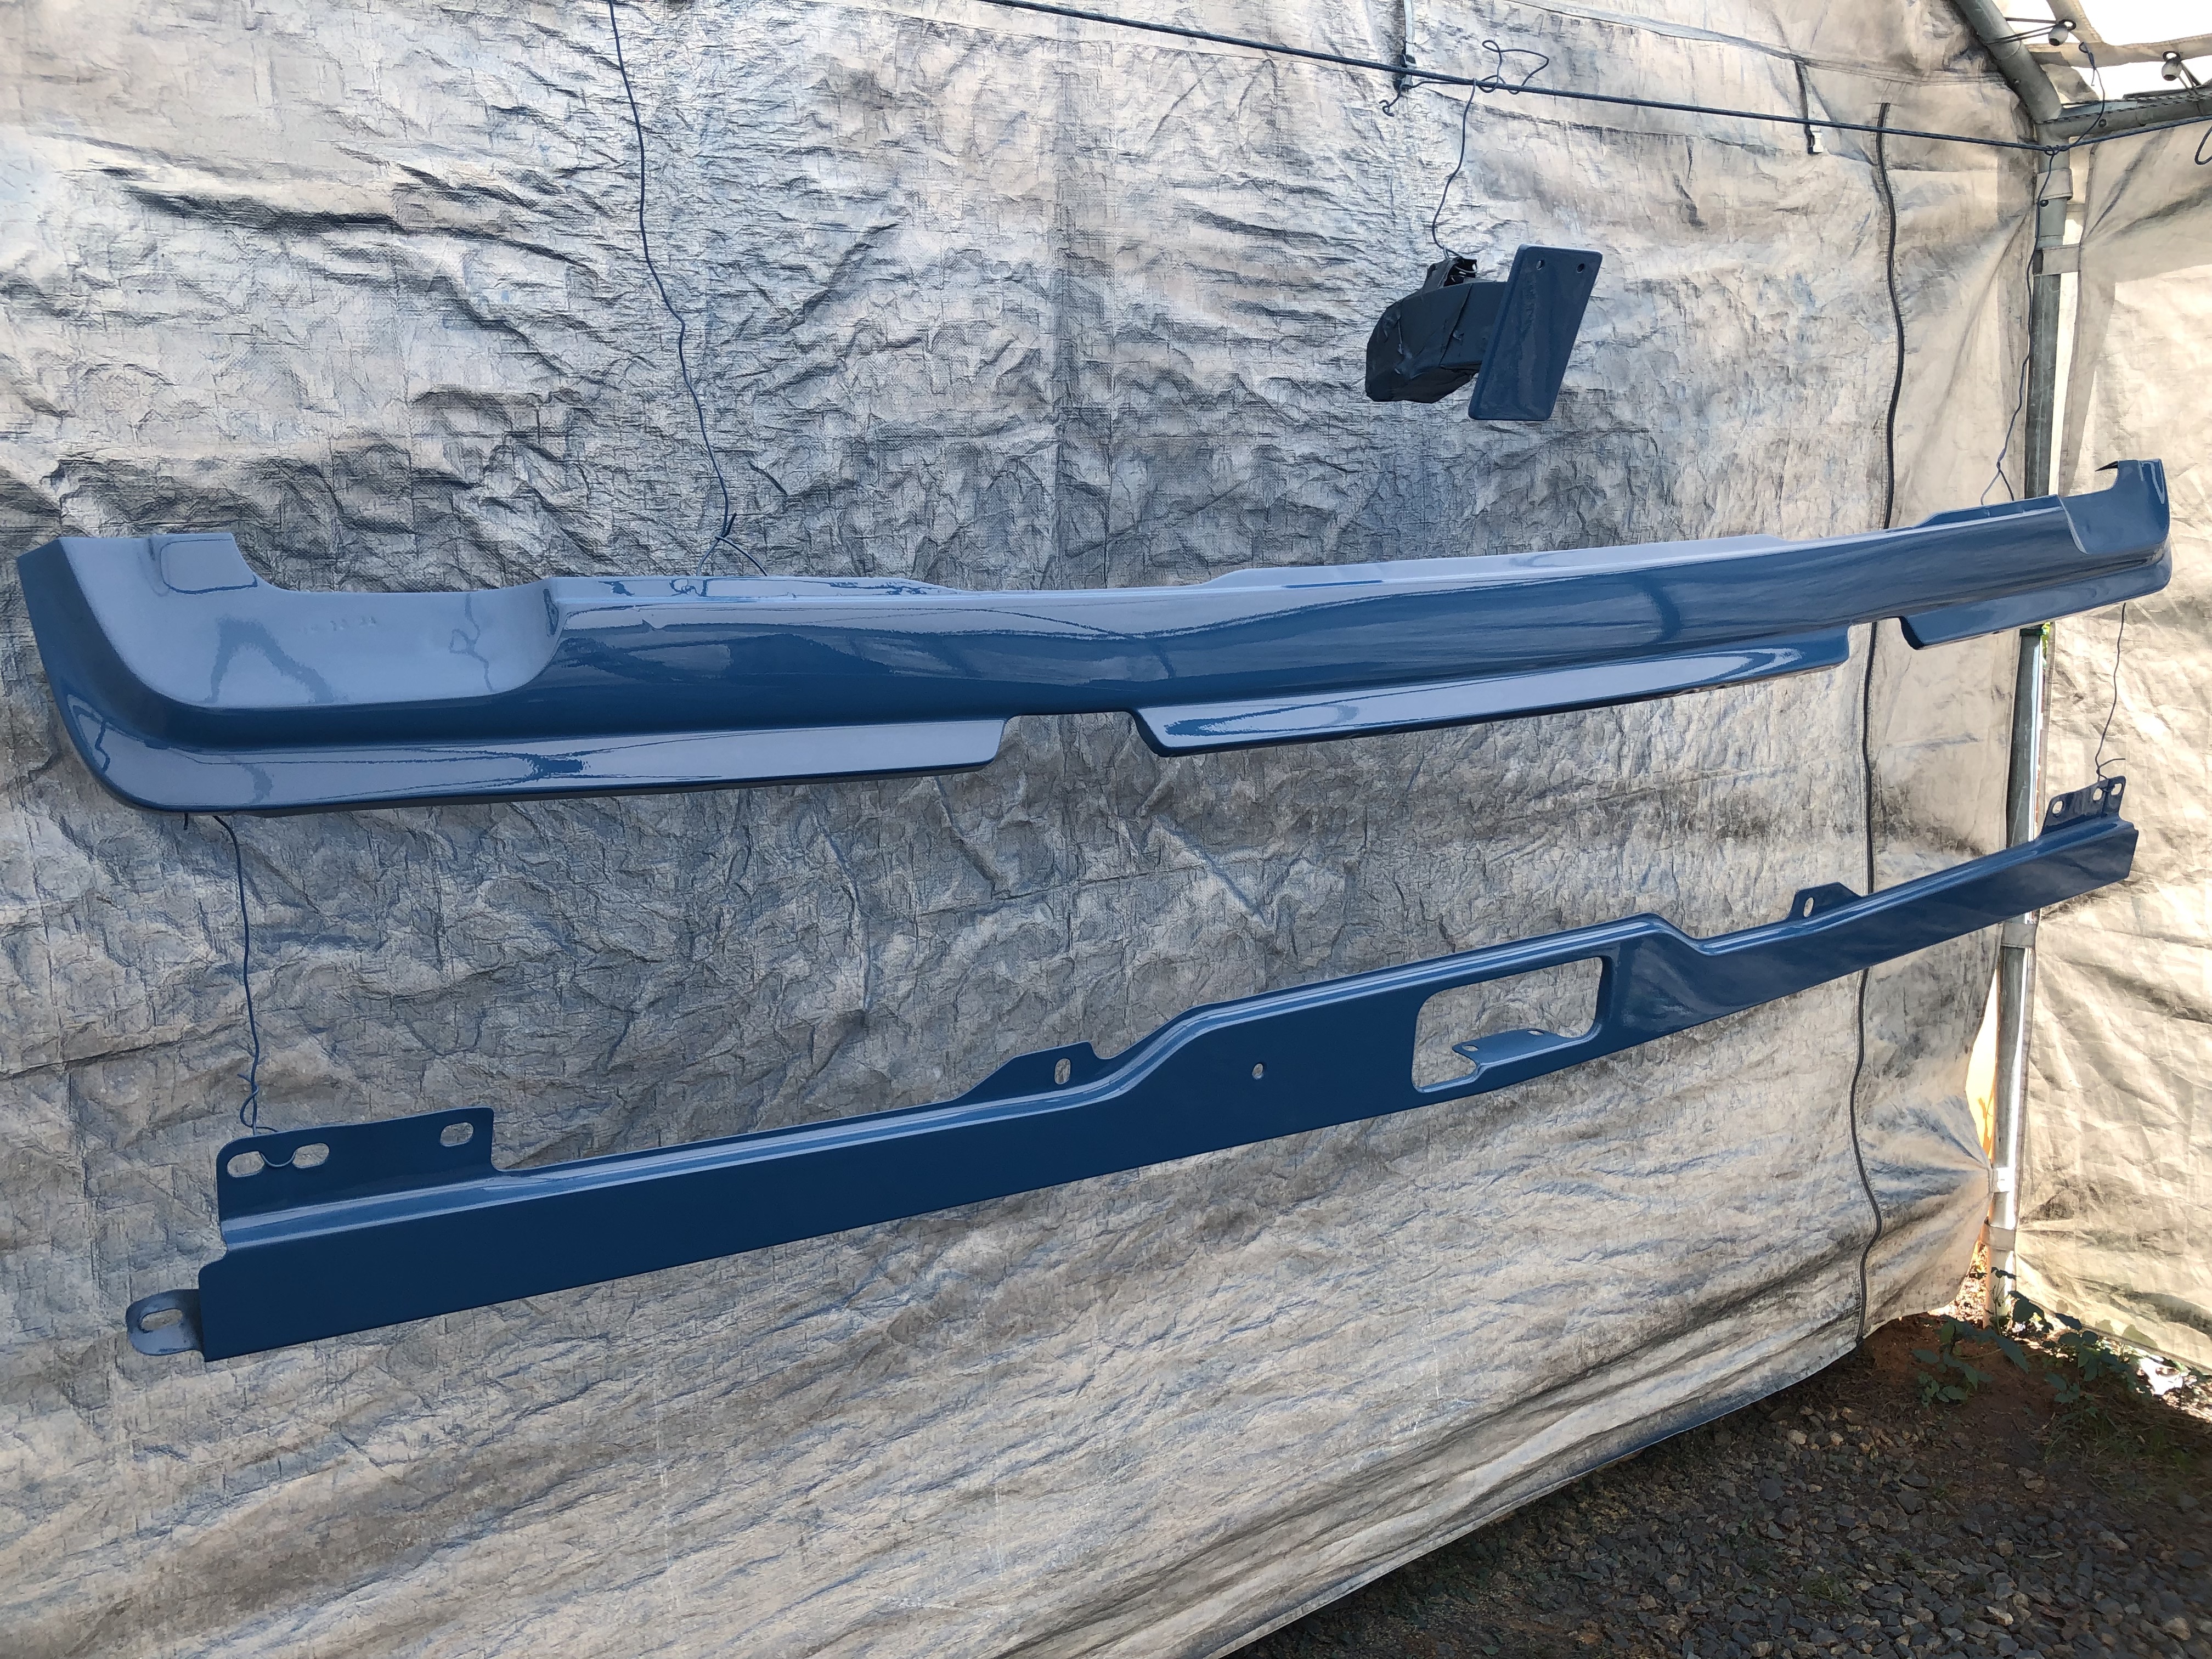
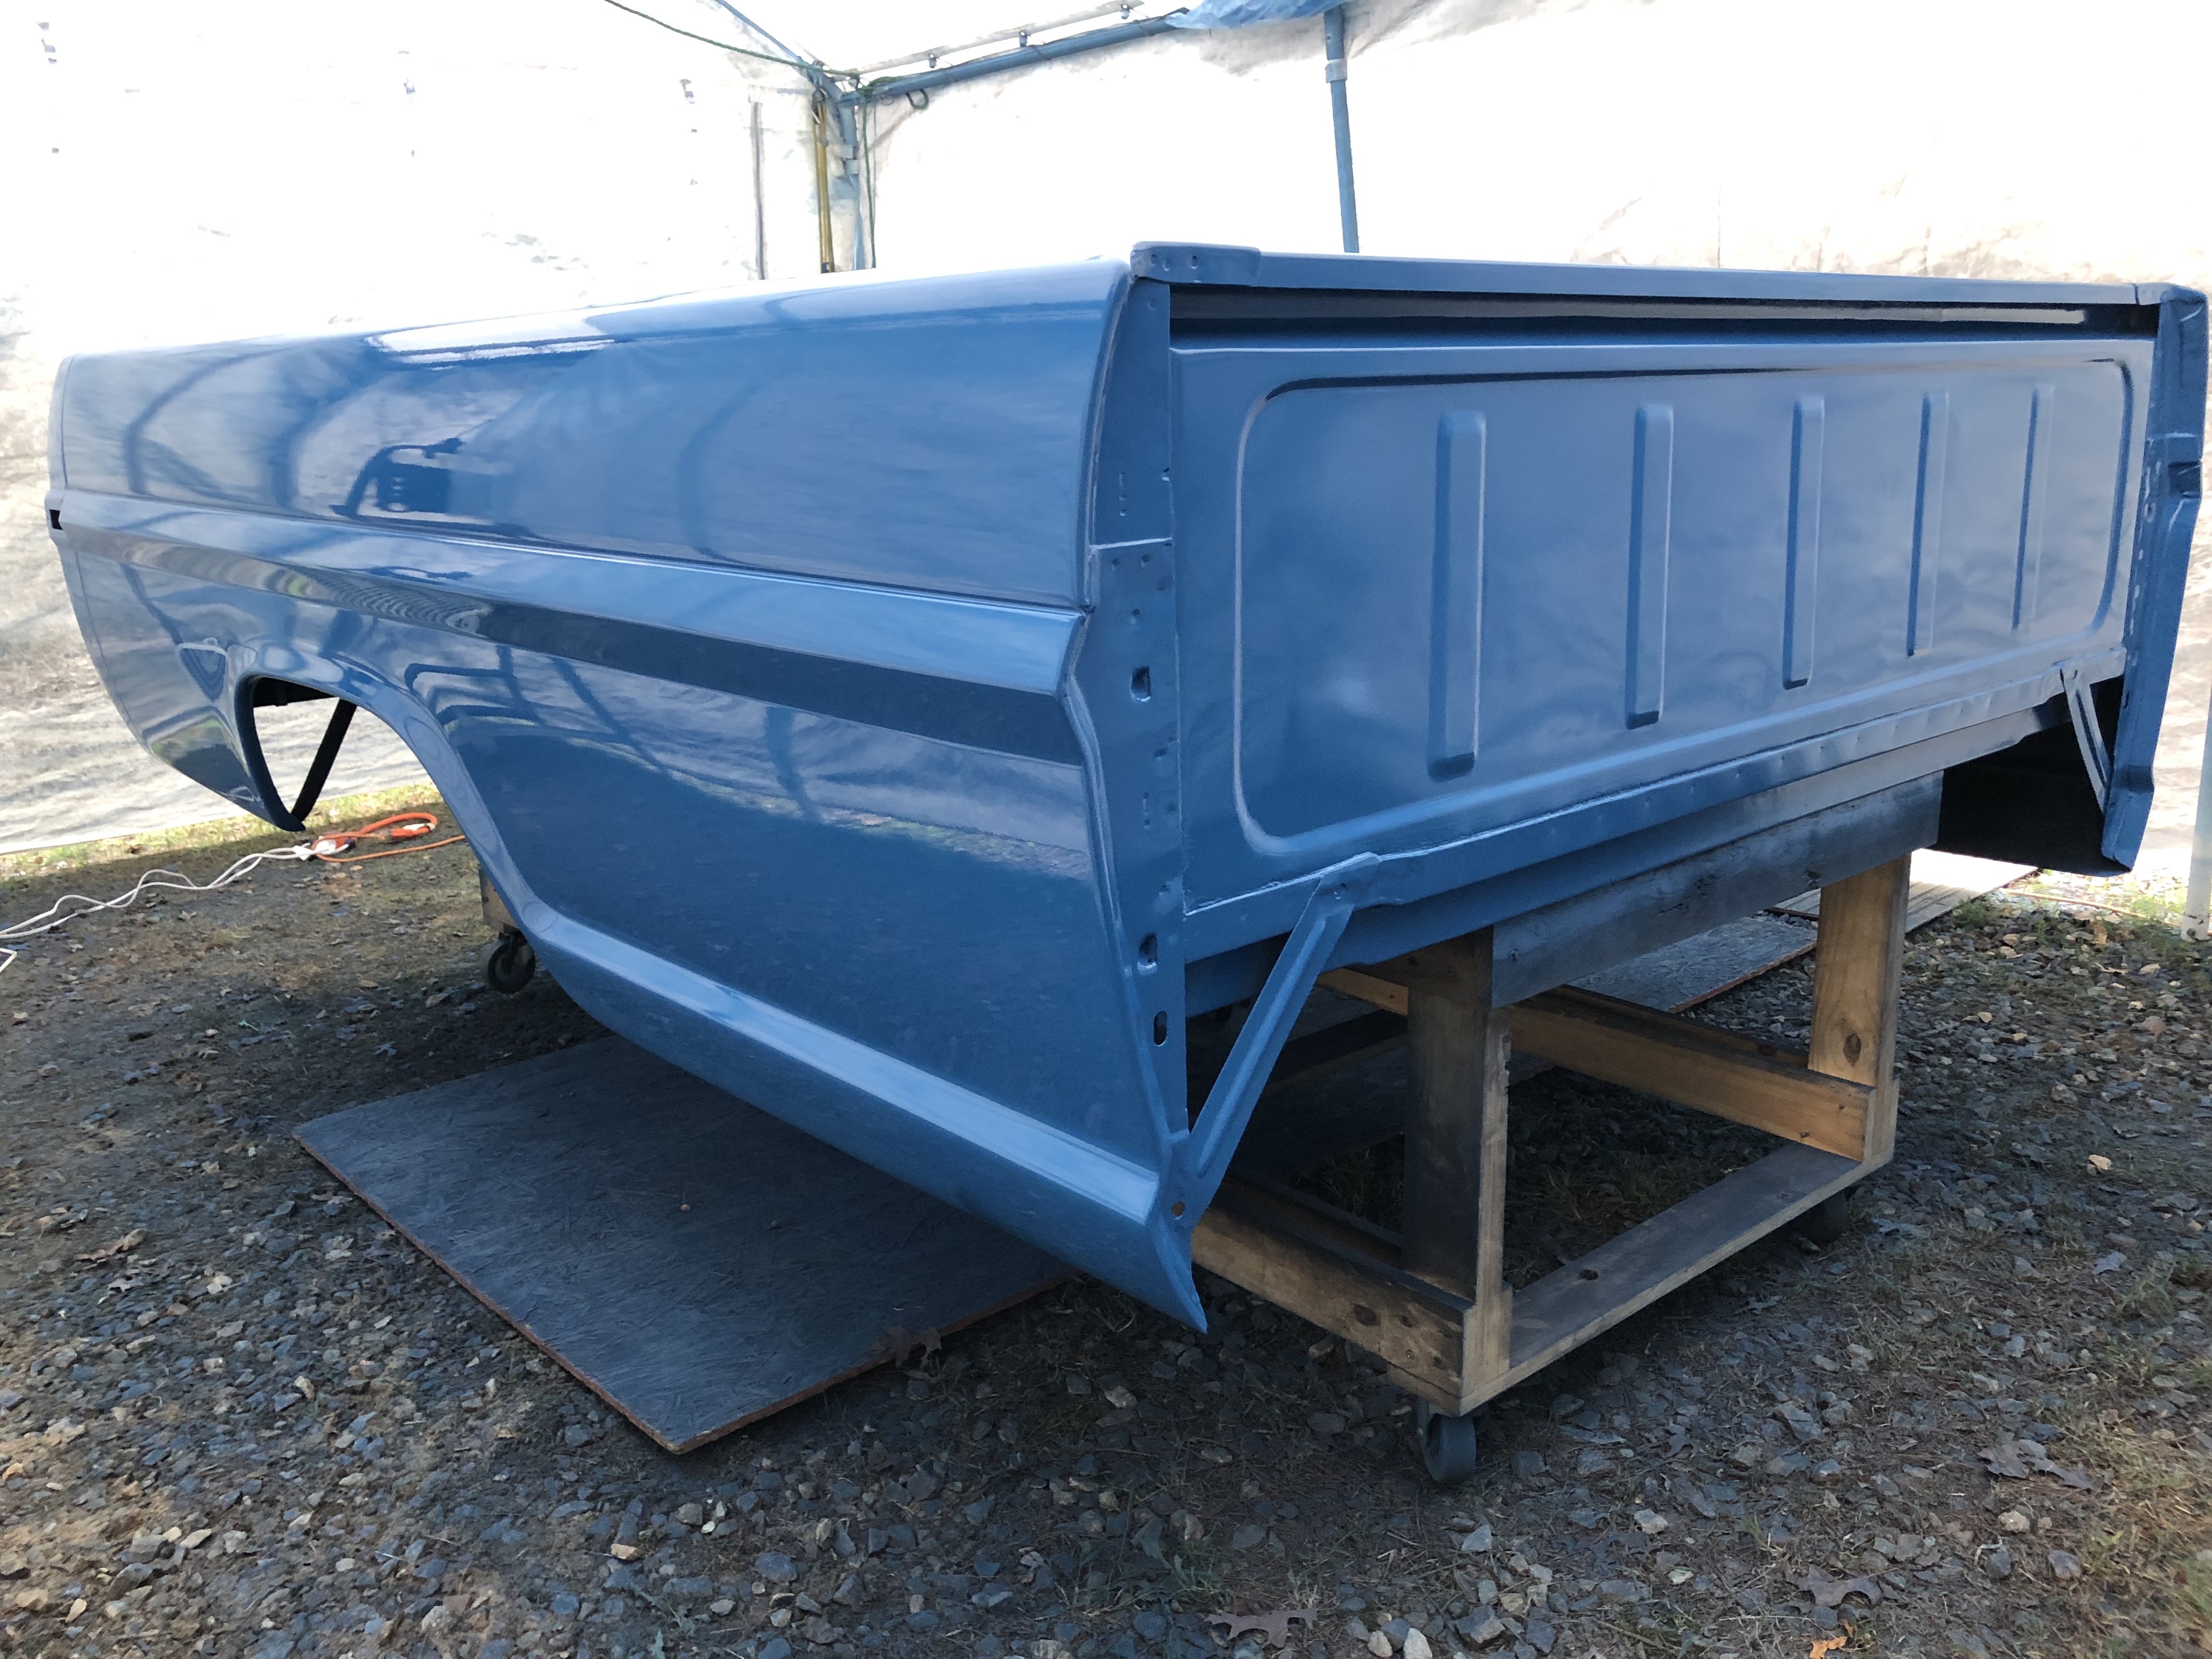
What I find odd is the difference I got from one morning to the next with the results. Four morning sessions, each at the same temps and humidity levels with best I could tell using the same settings, speed and distance. Fifty percent overlap. Looked the same going down but then would notice the texture after the final coat was down. The front fenders, doors and valence/ bumper guards on the first day came out the best. They looked slightly better than my results for the first 3 coats in May, with a light peel similar I guess to some factory jobs I’ve seen. The hood is the worst. It came out with much more texture. Maybe closer to a dry spray where it didn’t flow together as well. The bed is similar but not as bad. The cab finish is slightly better but not nearly as good as the doors and fenders.
Hard to see in the photos. It actually looks worse in the pics than it is, but still not good. Hopefully will be able to get it all looking nice after the next round of sanding and buffing. Guess I’ll start with 1000 and see how that seems to handle the texture. I may not have learned to spray but I have sure learned more of an appreciation for the skill and abilities of a painter…. Next time I post will be after I get back to our place in GA and have begun the cut and buff stage.


I sprayed the first 3 color coats of single-stage Motocryl back in May. Flattened all the orange peel and abundant dust nibs with 600 to a nice consistent surface and sprayed the final 3 coats this past week. It was funny to see the look after the sanding with 600. Gave it a dull chalky look exactly like the faded blue I always remember it being.
On the plus side, I got a far cleaner spray each day as I worked through the various panels. At least it’s another step forward, and aside from a tailgate, my painting is complete. I was careful to remember to wipe-off the hose between the coats, and hung the hood vertical instead of flat like before. I also sprayed the hood in a different session from the cab so I wasn’t stirring up as much dust moving back and forth, climbing around, and juggling step-stools, etc. Also did all my staging the night before along with blowing off and wiping down so the dust had more time to settle.
Orange-peel on the other hand unfortunately turned out worse than last time on some of the panels. I think the gun is probably adjusted correctly, and distance is correct, and I just need to slow down. I guess I’ve got a fear of getting a bunch of runs and sags and make the passes too fast. More experience or someone watching that actually knows what they are doing would I’m sure be able to make some fluid adjustments and suggestions to deal with the speed. I’m clueless, maybe the fluid control and/or pressure is still off. Lack of good lighting and really being able to see what’s happening doesn’t help….
What I find odd is the difference I got from one morning to the next with the results. Four morning sessions, each at the same temps and humidity levels with best I could tell using the same settings, speed and distance. Fifty percent overlap. Looked the same going down but then would notice the texture after the final coat was down. The front fenders, doors and valence/ bumper guards on the first day came out the best. They looked slightly better than my results for the first 3 coats in May, with a light peel similar I guess to some factory jobs I’ve seen. The hood is the worst. It came out with much more texture. Maybe closer to a dry spray where it didn’t flow together as well. The bed is similar but not as bad. The cab finish is slightly better but not nearly as good as the doors and fenders.
Hard to see in the photos. It actually looks worse in the pics than it is, but still not good. Hopefully will be able to get it all looking nice after the next round of sanding and buffing. Guess I’ll start with 1000 and see how that seems to handle the texture. I may not have learned to spray but I have sure learned more of an appreciation for the skill and abilities of a painter…. Next time I post will be after I get back to our place in GA and have begun the cut and buff stage.
-
Venomous duck

- Preferred User

- Posts: 268
- Joined: Fri Jun 22, 2018 6:39 am
- Location: Norman, Oklahoma
- Contact:
Re: Finally back around to my 72 F100
Very impressive work. Especially considering what you are using as a paint booth. Do you have or have you considered a light for your paint gun such as a Gunbudd? Painting is one of the more difficult skills to learn. Someday I hope to get it down. Love the updates. Keep up the great work, it's looking great.
-
MAK
- Blue Oval Fan
- Posts: 515
- Joined: Tue Dec 21, 2004 9:35 am
- Location: Georgia, Blairsville - Florida, Flagler Beach
- Contact:
Re: Finally back around to my 72 F100
Thank you.Venomous duck wrote: ↑Tue Jul 04, 2023 7:14 pm Very impressive work. Especially considering what you are using as a paint booth. Do you have or have you considered a light for your paint gun such as a Gunbudd? Painting is one of the more difficult skills to learn. Someday I hope to get it down. Love the updates. Keep up the great work, it's looking great.
I actually got out one of my headlamps this past time but then forgot to use it. I had seen someone wearing one and thought it looked like a good idea. Although I’m not sure if it would work well with the full face respirator. I had never seen the GunBudd until just now. Looks like I could easily strap one of my headlamps on the gun. Good idea. Thanks for the suggestion.
Not planning to do any more painting though until I finish this and get around to the Cougar and by then I’m hoping I’ll have an additional garage built. Well, I still need to either cut and weld together a new tailgate from a few I have or find a nice new one and then get it painted. Would probably get one of the Dennis Carpenter reproductions but would like to see one first.
-
jzjames

- 100% FORDified!

- Posts: 1765
- Joined: Sun Jan 09, 2005 2:59 pm
- Location: Washington, Windy Point
Re: Finally back around to my 72 F100
A blue Ford truck!
How nice is that gonna be!
How nice is that gonna be!
-
DuckRyder
- Moderator
- Posts: 4893
- Joined: Mon Jul 19, 2004 3:04 pm
- Location: Scruffy City
- Contact:
Re: Finally back around to my 72 F100
I really like this - maybe one day I’ll make it this far.
I know we are all pretty rough on ourselves but I think the paint looks great. I strongly suspect that if you could go back in time you did at least as good as the factory… keep it up.
I know we are all pretty rough on ourselves but I think the paint looks great. I strongly suspect that if you could go back in time you did at least as good as the factory… keep it up.
Robert
1972 F100 Ranger XLT (445/C6/9” 3.50 Truetrac)
"An unarmed man can only flee from evil, and evil is not overcome by fleeing from it." -- Jeff Cooper
1972 F100 Ranger XLT (445/C6/9” 3.50 Truetrac)
"An unarmed man can only flee from evil, and evil is not overcome by fleeing from it." -- Jeff Cooper
-
MAK
- Blue Oval Fan
- Posts: 515
- Joined: Tue Dec 21, 2004 9:35 am
- Location: Georgia, Blairsville - Florida, Flagler Beach
- Contact:
Re: Finally back around to my 72 F100
Thanks for the kind comments. I do like the original Blue. Brings back the memories.
Those old trucks definitely were not known for their fine fit and finish… I think the seams are probably filled/finished a bit more consistent than they came off the assembly line, and with all the blocking and flattening I worked on it’s probably a bit flatter. Hopefully I can get the cut and buff process completed without burning through anywhere to primer…. If so I will be a happy man.
Those old trucks definitely were not known for their fine fit and finish… I think the seams are probably filled/finished a bit more consistent than they came off the assembly line, and with all the blocking and flattening I worked on it’s probably a bit flatter. Hopefully I can get the cut and buff process completed without burning through anywhere to primer…. If so I will be a happy man.
-
MAK
- Blue Oval Fan
- Posts: 515
- Joined: Tue Dec 21, 2004 9:35 am
- Location: Georgia, Blairsville - Florida, Flagler Beach
- Contact:
Re: Finally back around to my 72 F100
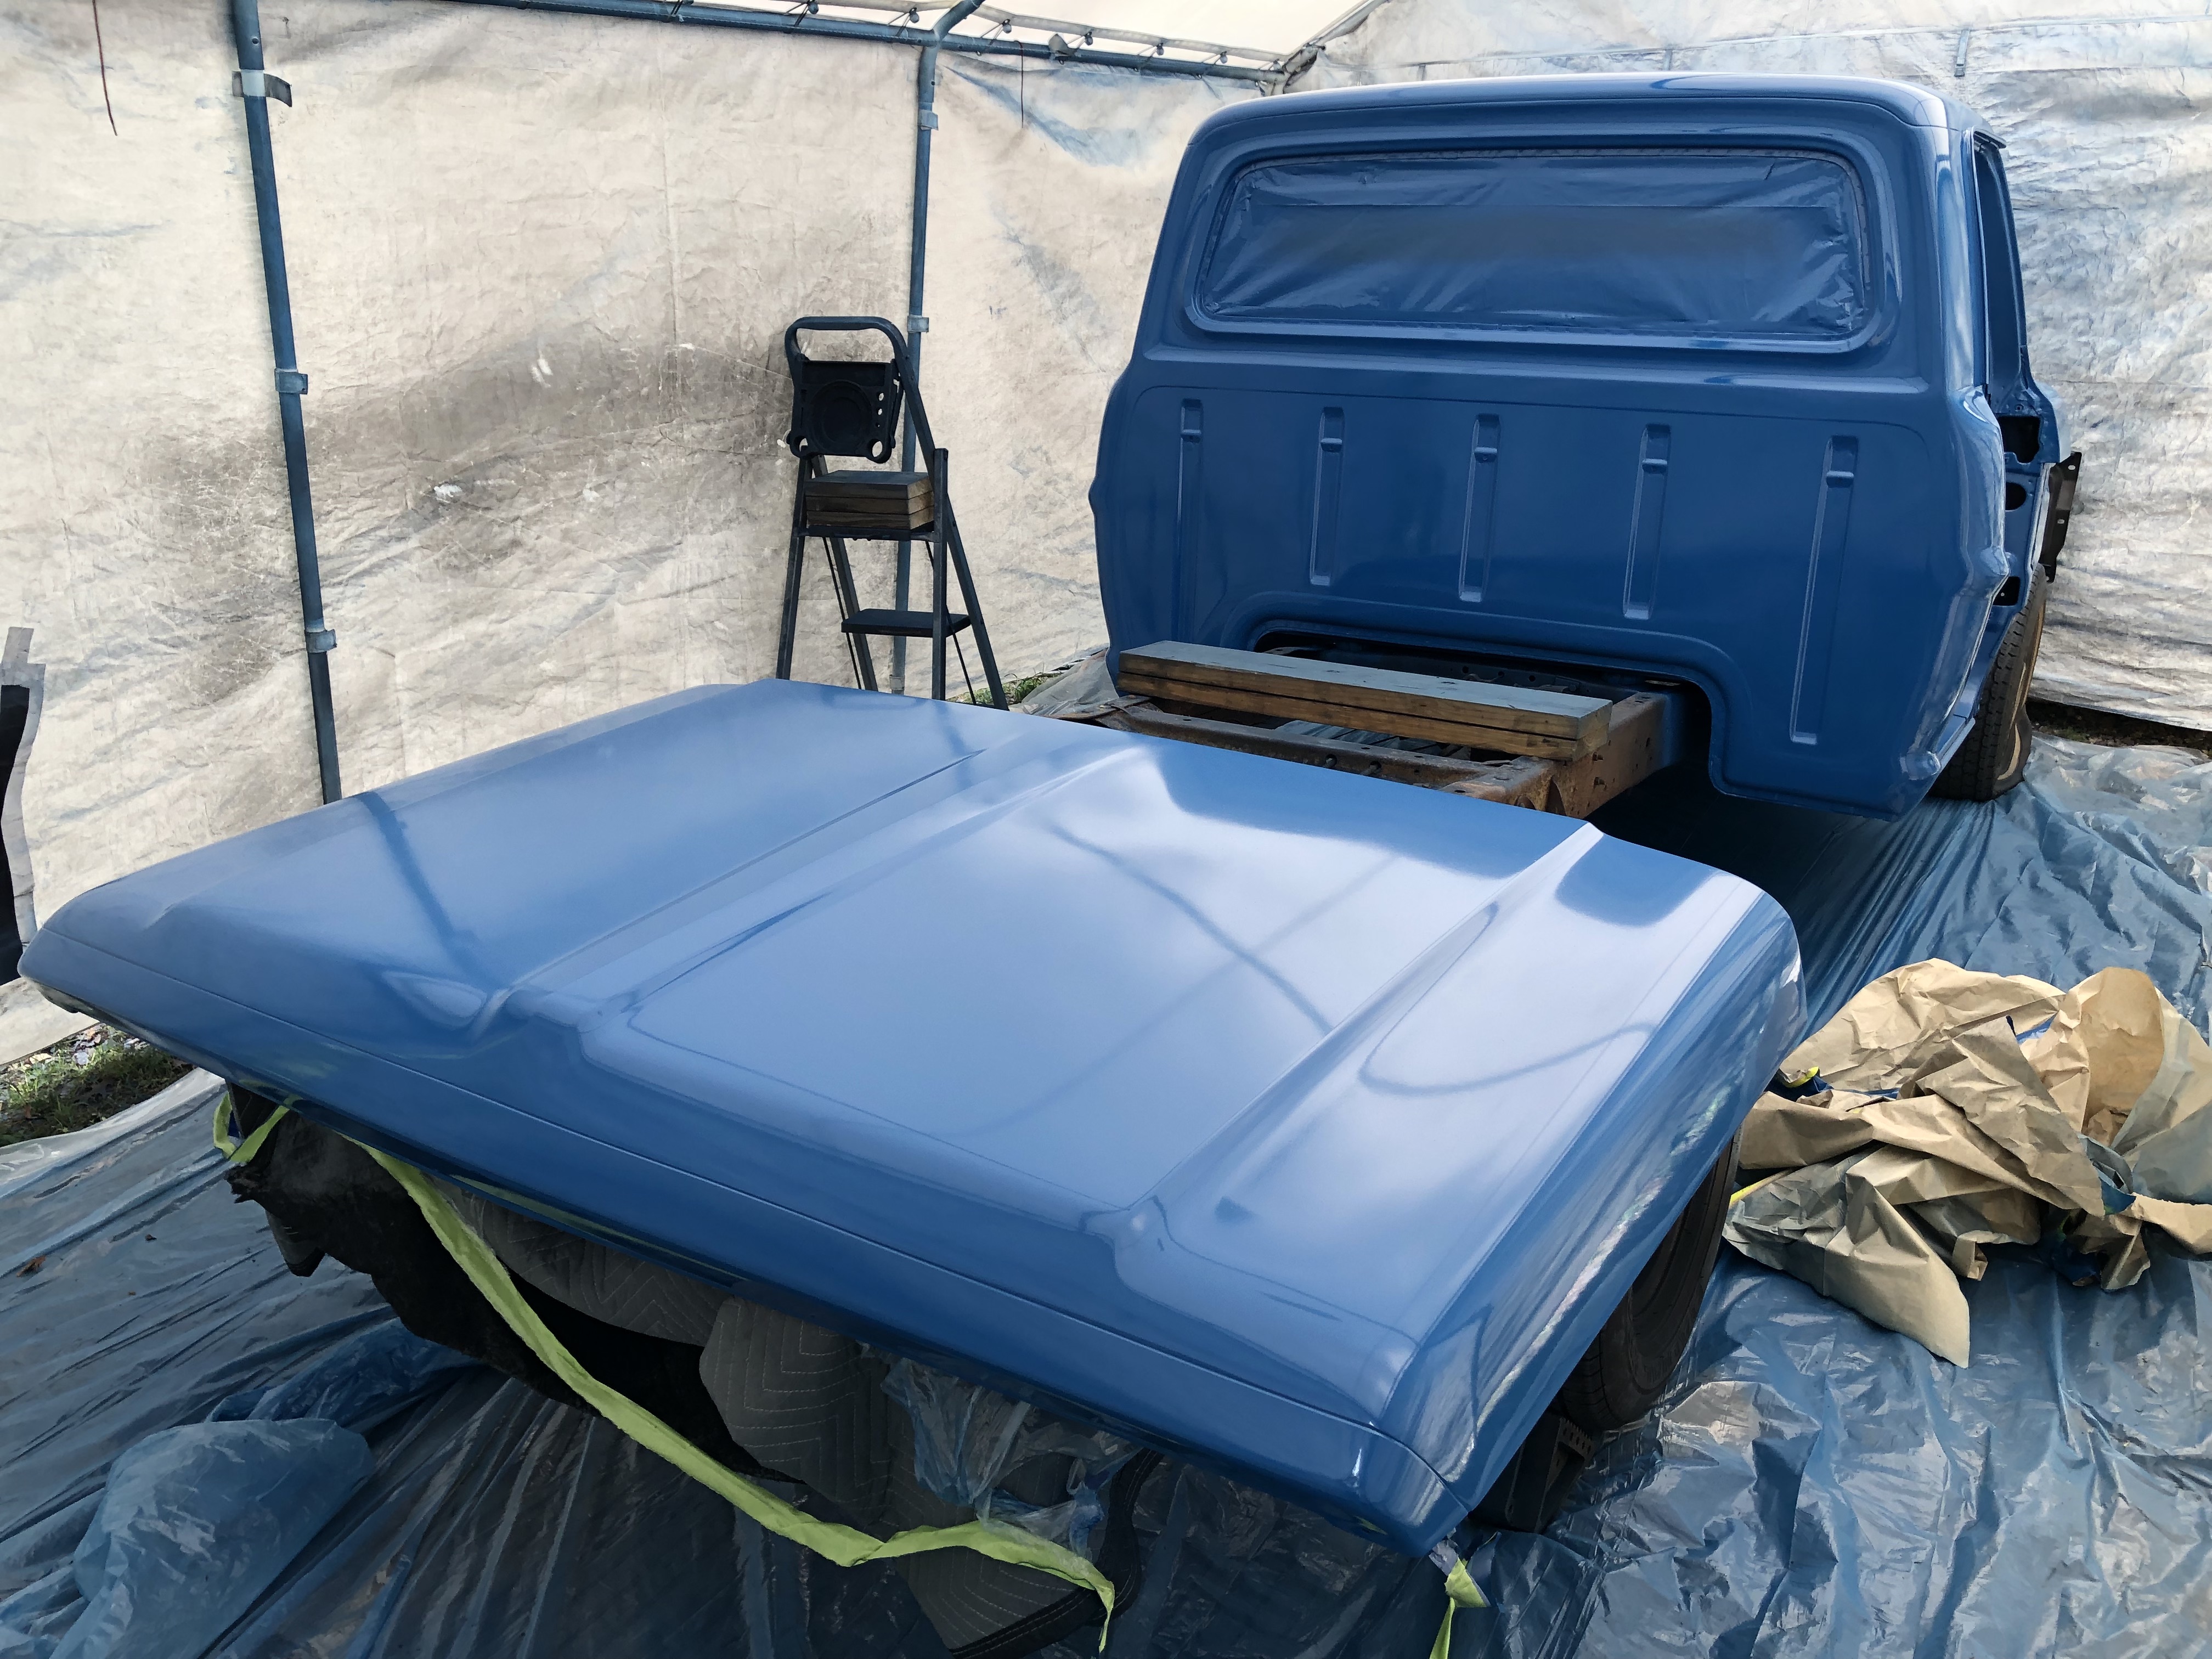
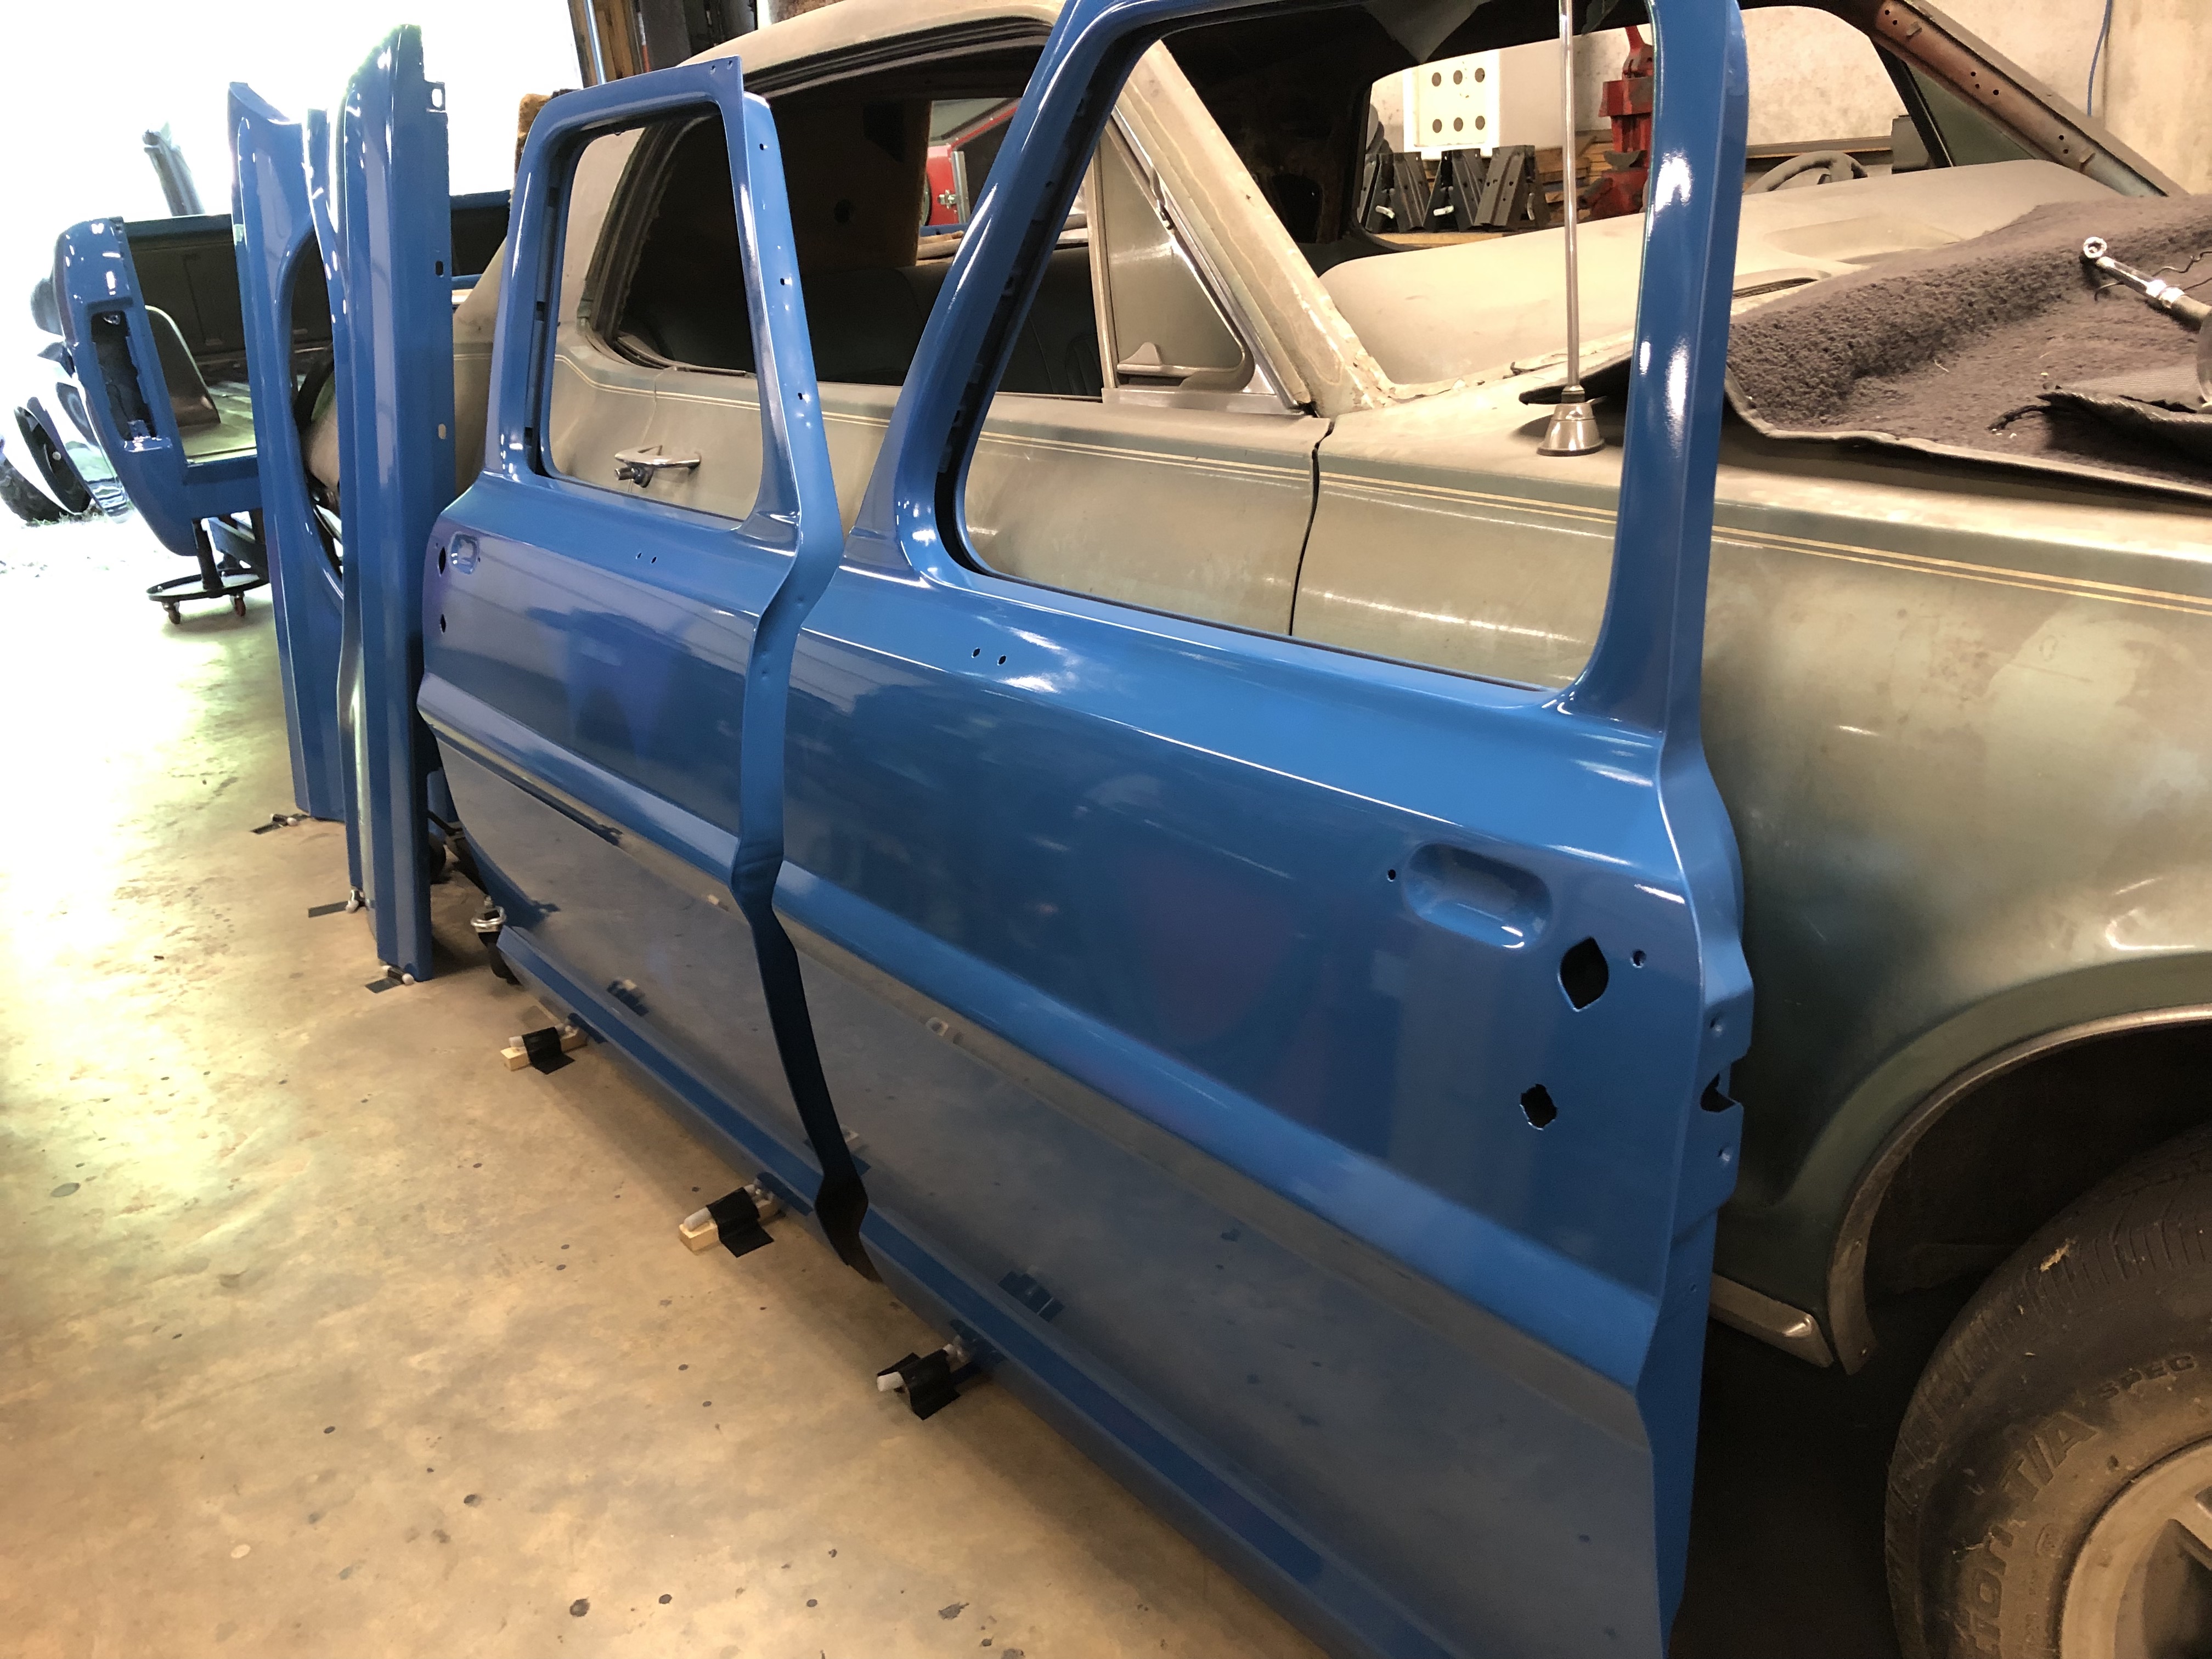
Well, the Cut and Buff phase of my project is underway. I made it back to our place in GA for over a week and managed to make some progress and get some experience under my belt. At this phase I decided I would take small bites each day instead of my usual longer 10+ hour sessions. Less chance to get tired and rush or do something stupid at the end of a long day. Doing the sanding on a single panel or part one day, and then the buffing and polishing on it the next. I managed to get the cab and roof done in addition to the hood before we had to get home. I’m planning to get back for another week the first part of next month to try and at least get close to finishing before going to the F100 Grand Nationals (not with the truck this year).
I was afraid of using the Rotary and a wool pad but was having problems leaving a lot of RO scratches etc that were not coming out with the foam finishing pad. Definitely a steep learning curve on this process… I ended up doing the hood and roof 3 times before I finally got it right and all scratches removed. Each time if would complete the final polishing and think I was good until I would get at just the right angle and in the right light before I would find scratches….
Also found how important a clean work area is, and I do not have a clean work area even after blowing, sweeping, and wiping as best I can. Determined I was likely introducing contaminates into the mix by leaning over panels and not being careful to wipe the cord, etc. Vertical surfaces came out clean and scratch-free on the first tries…
Ended up using the Rotary and a wool pad w/ 3D ACA 510 compound, followed by the Forced Random Orbit and black foam w/ 3D ACA 520. The sanding stage was progressing through 1000, 1500 film dry, then 2500 and 5000 foam wet.
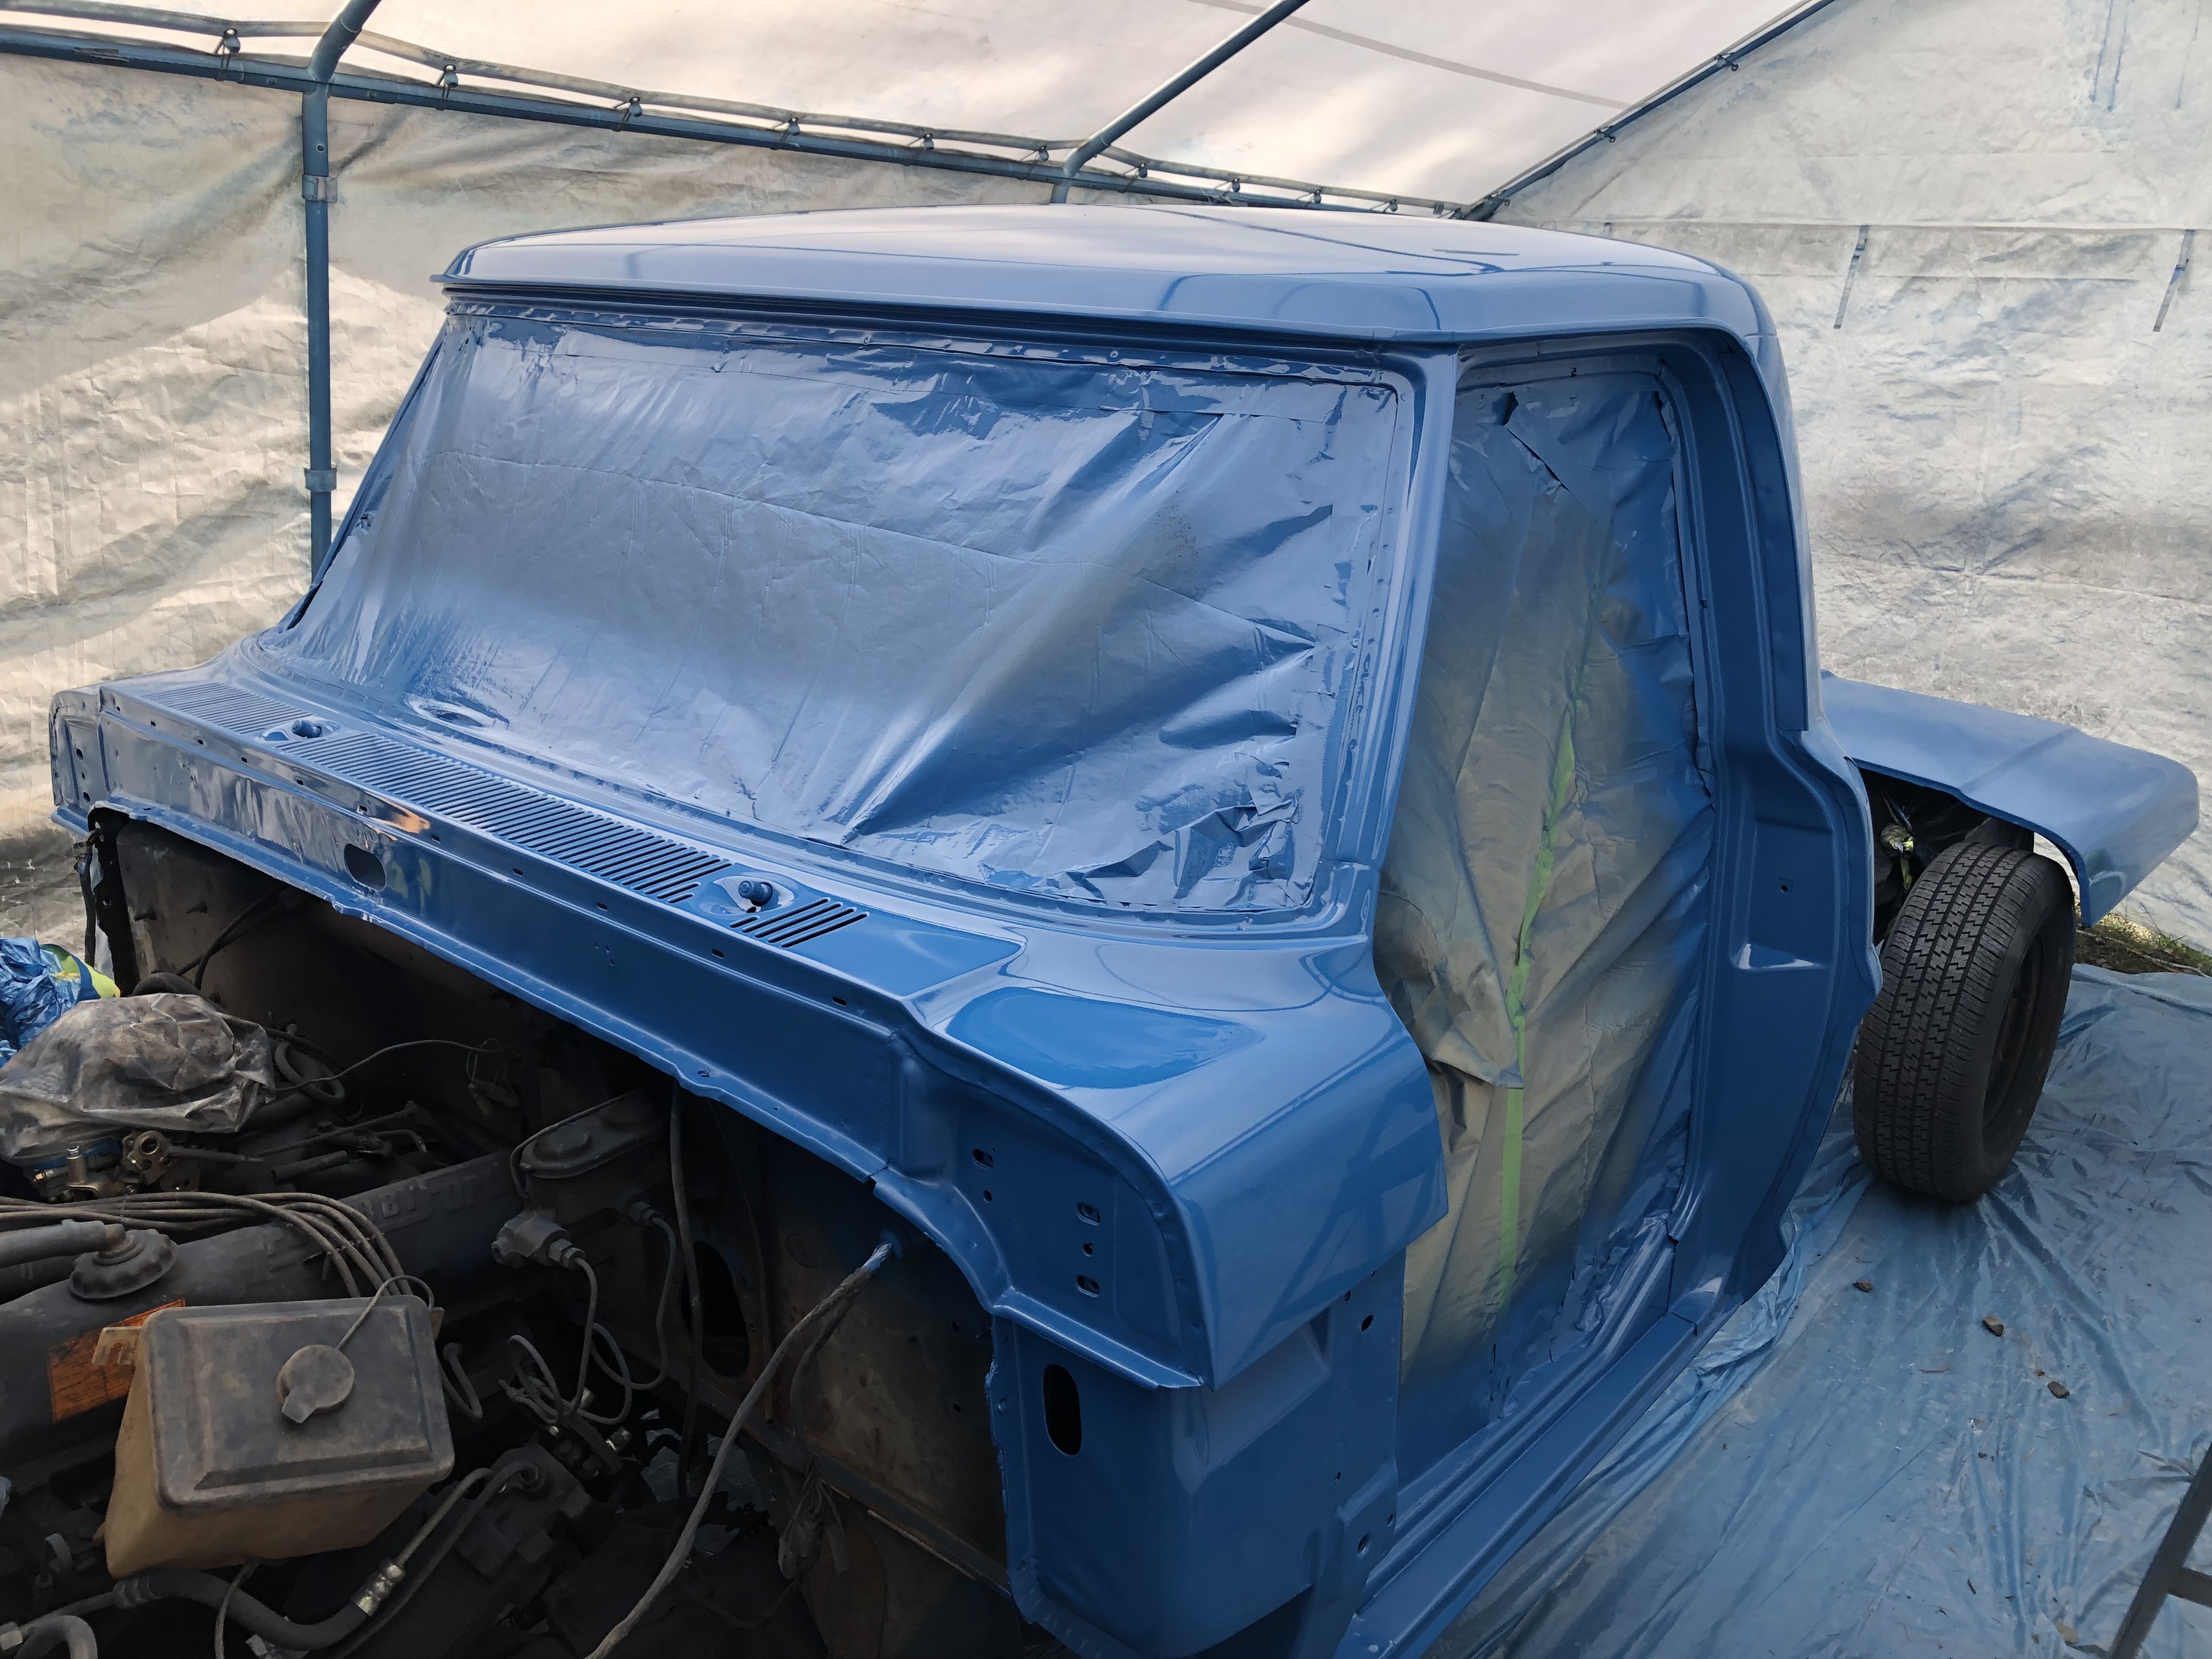
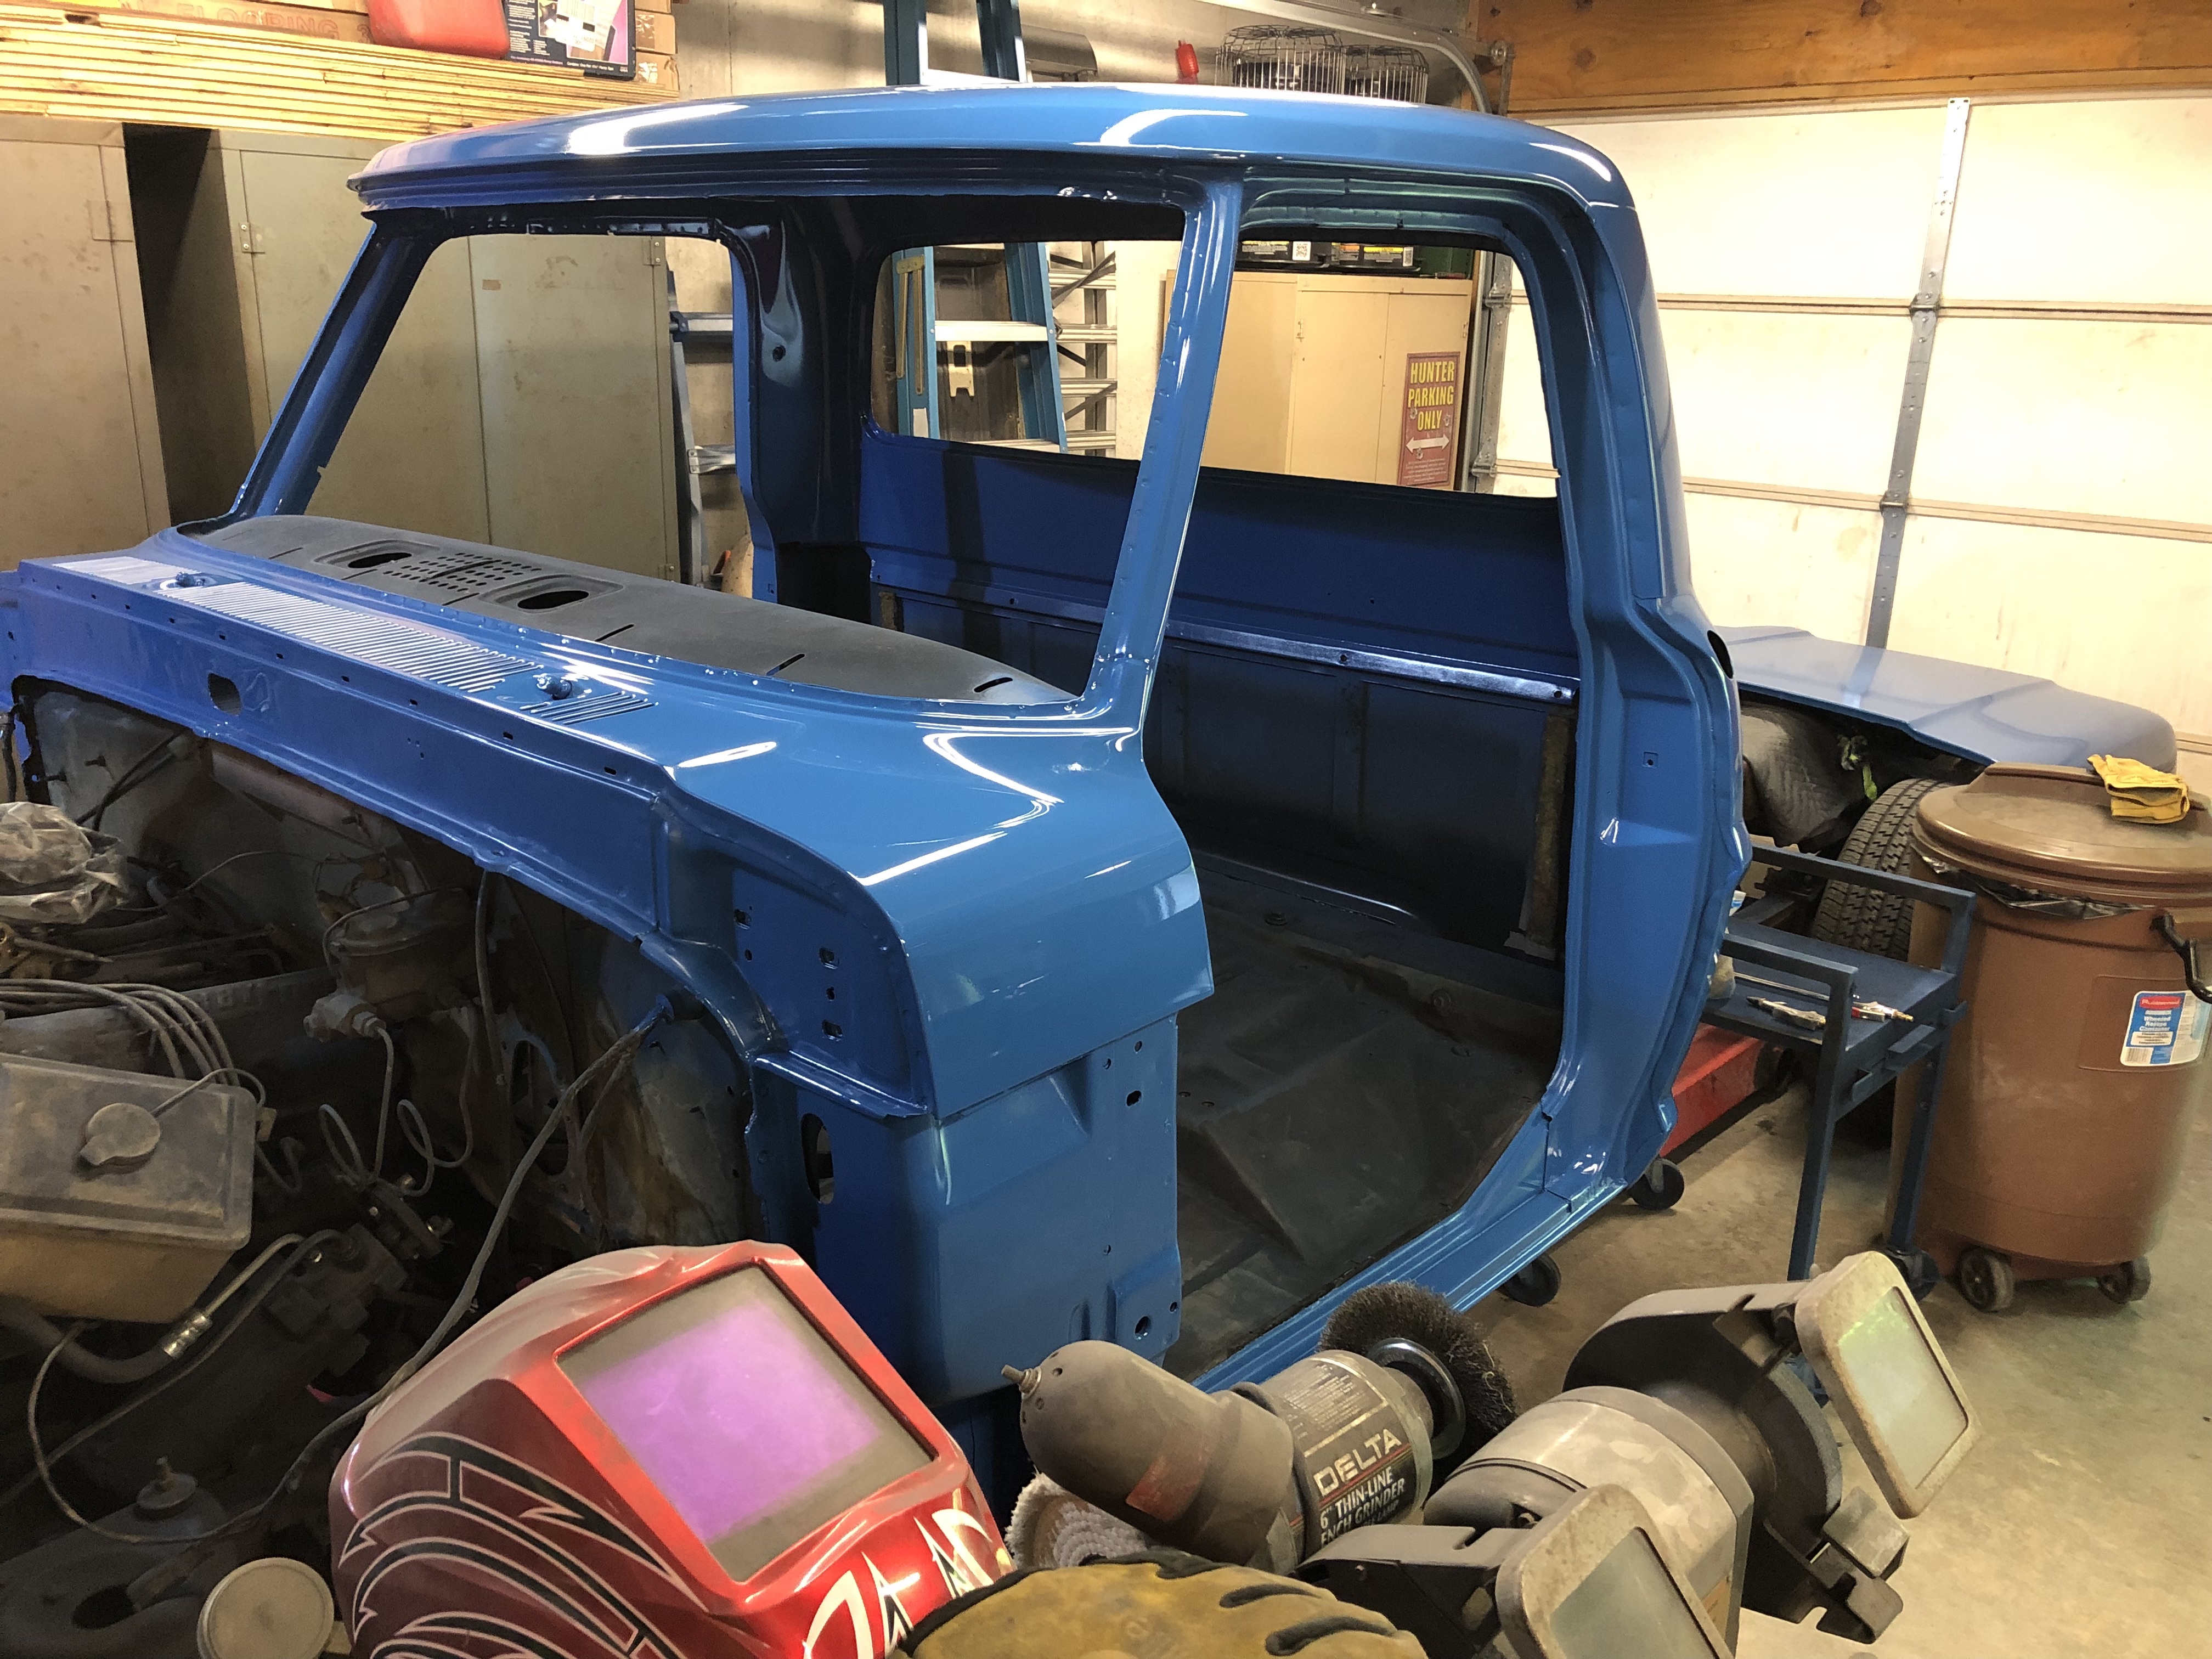
My hood for some reason had a much worse texture than all the other panels. I sprayed everything at the same speed and distance, etc over several days but I had various results. I guess the heat and humidity differences caused many of my issues that a pro would have been able to address on the fly. Poor lighting also made it hard to see my surface well as the paint went down… I’m thinking the almost dry-spray texture of the hood was because I had put down an additional coat too soon and not waiting the full half hour I had between all other sprays. Looked great right after the spray but looked worse as it cured. All other panels ranged from light orange peel like you would find on many new cars, to a heavier standard orange peel look.
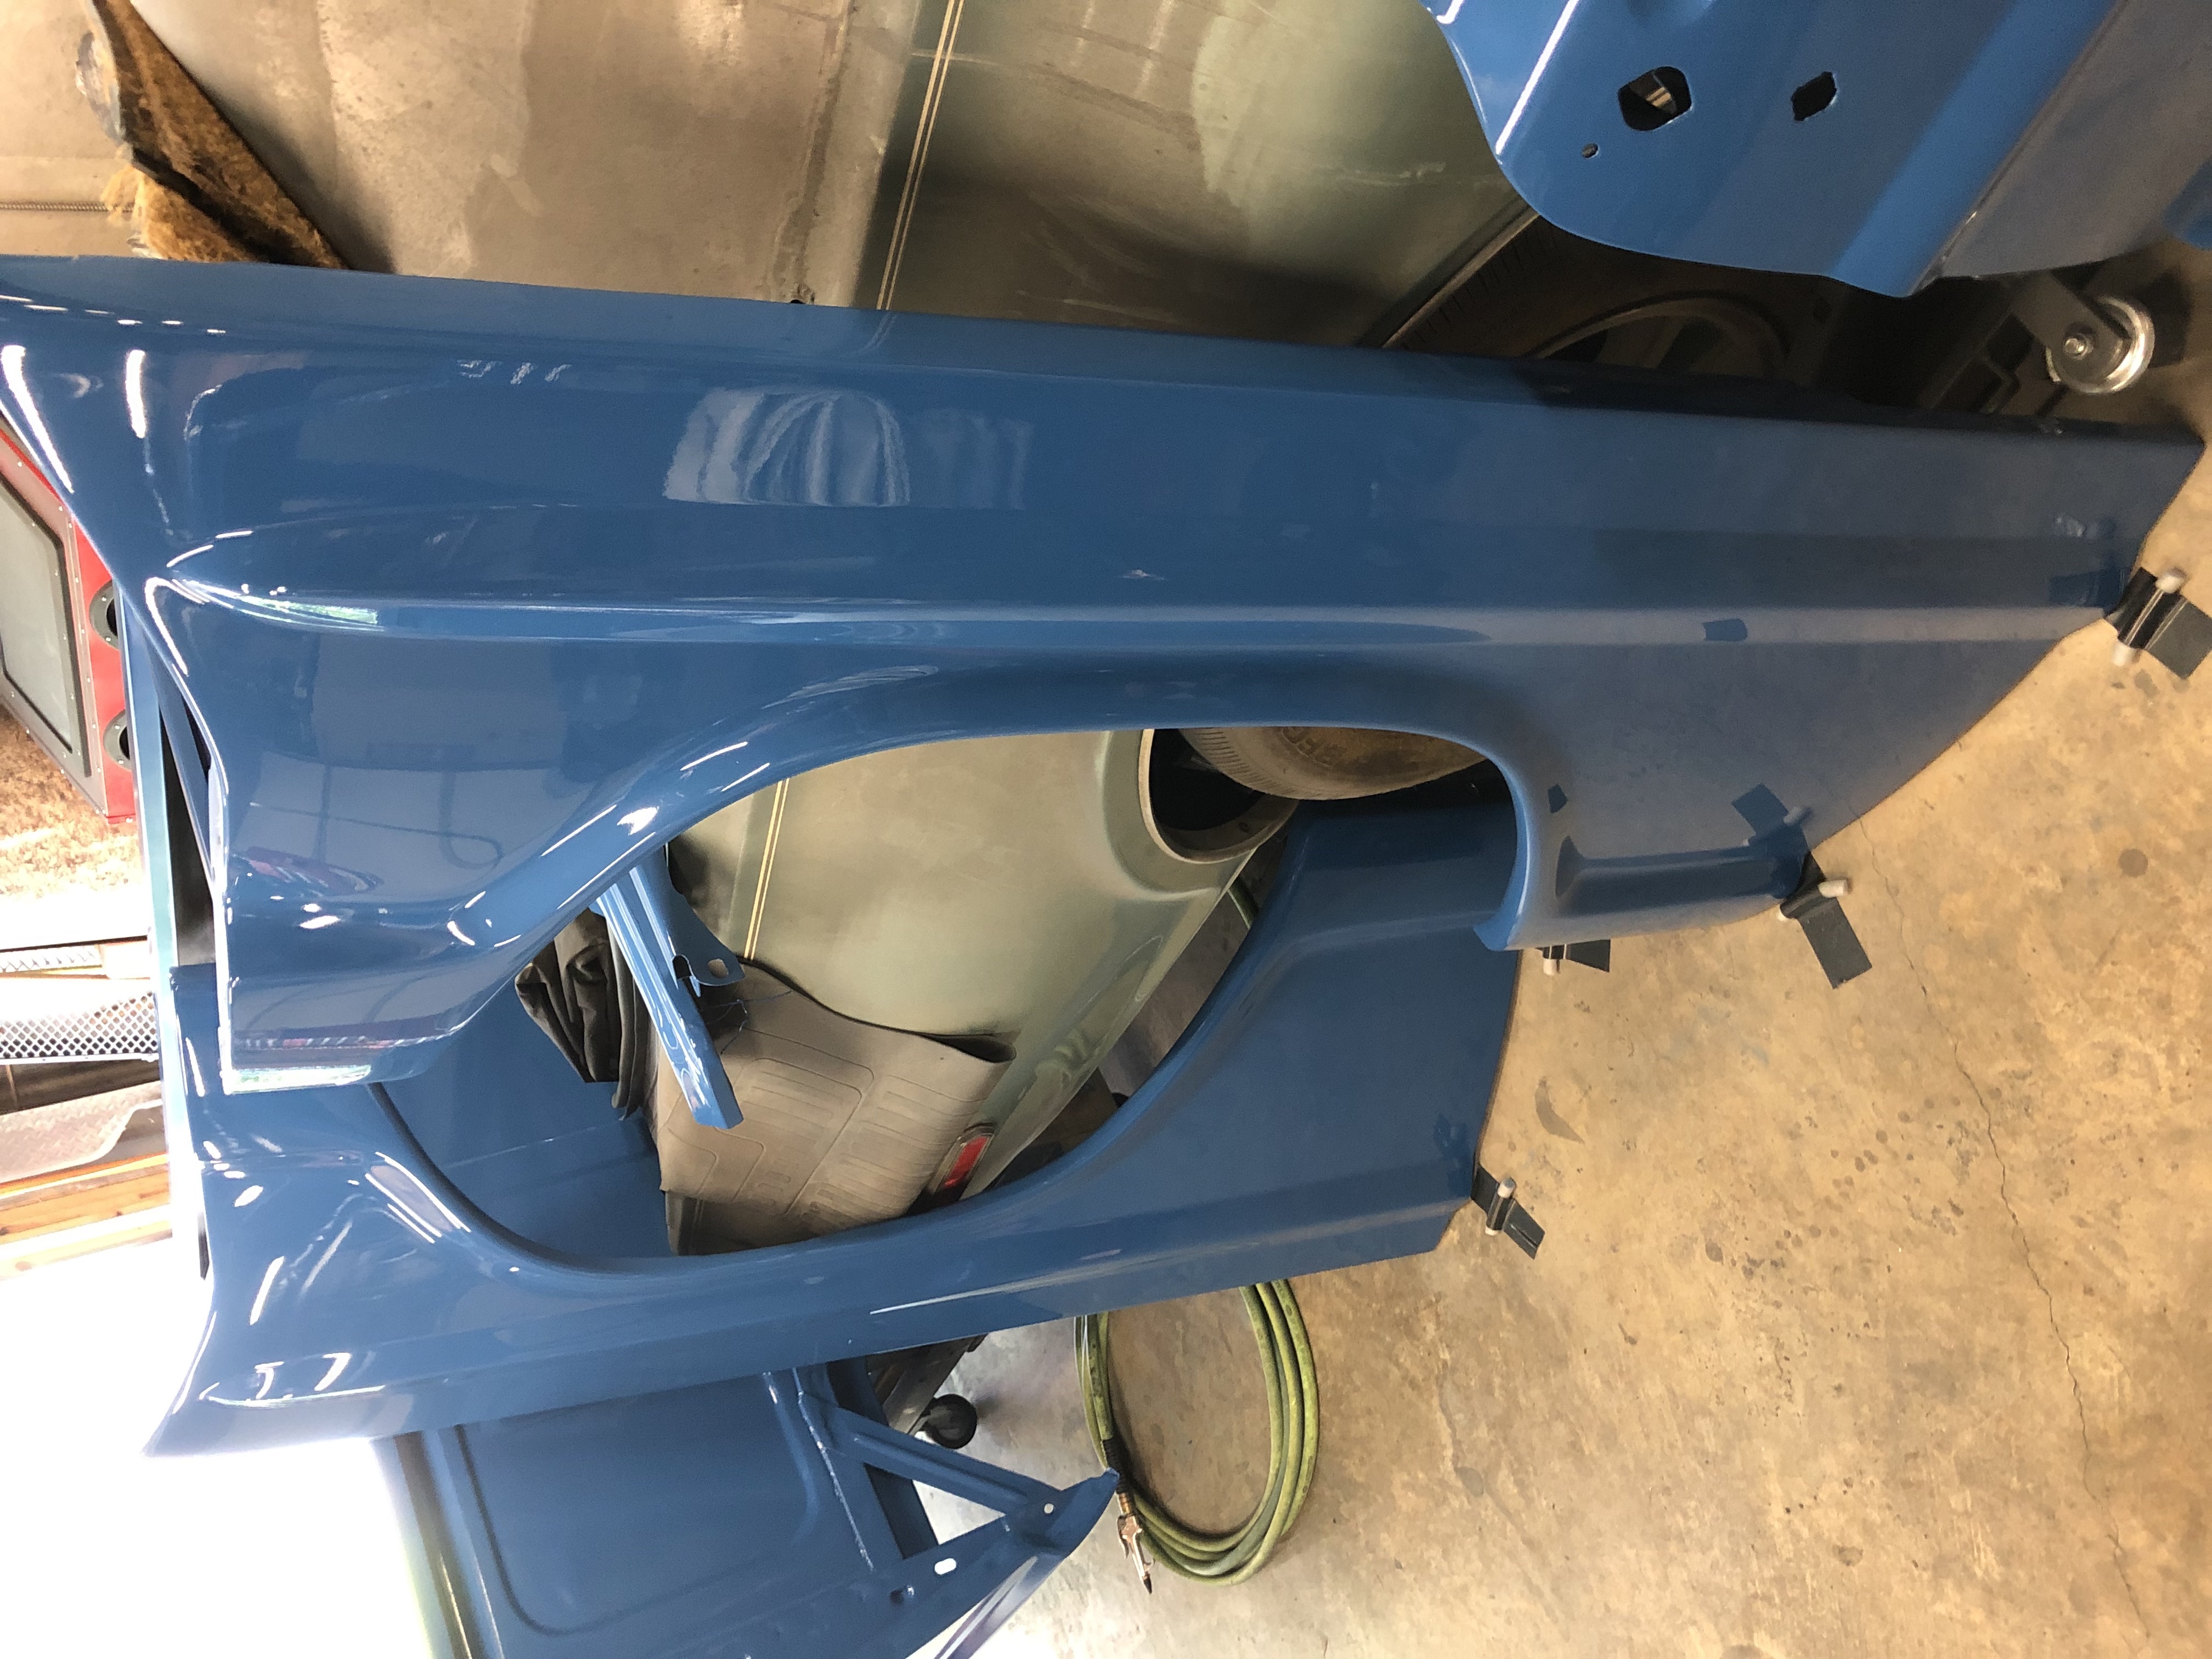
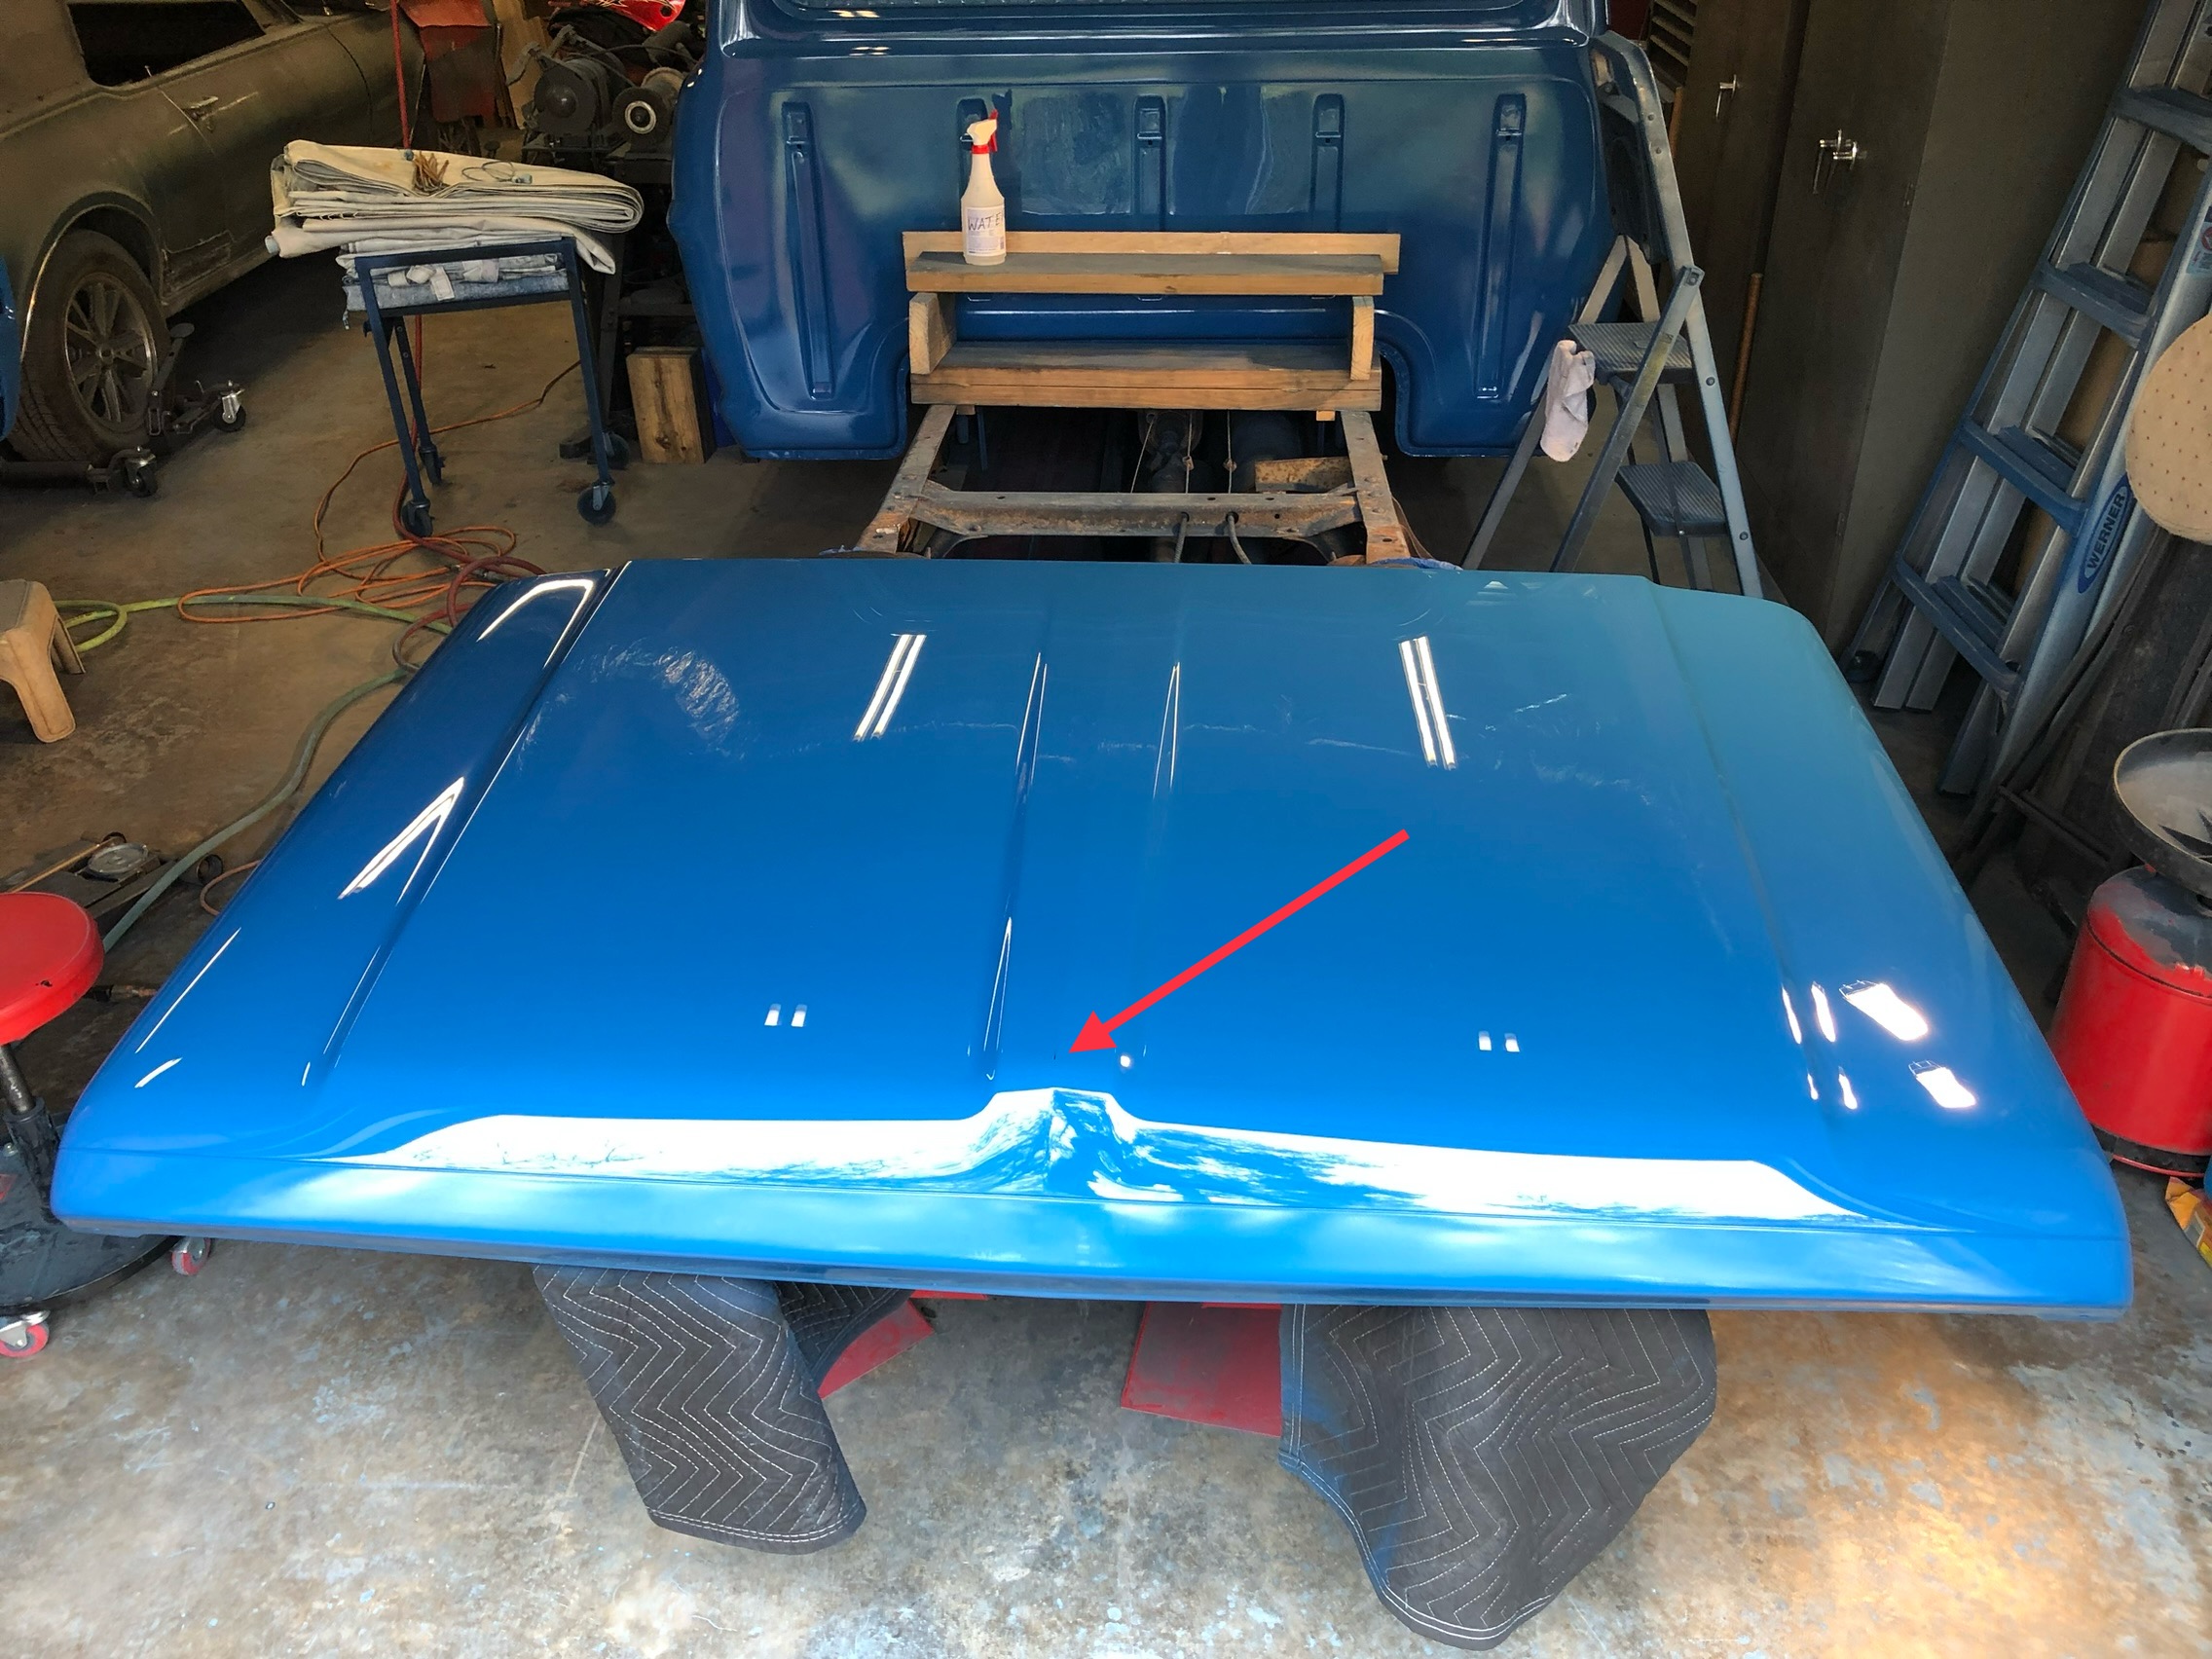
I did burn through on three spots on the hood. All stupid and avoidable for all but a rank a mature newbie like myself. I was so focused on burn through during the buffing stage with the rotary that I was careless with the sanding. While I would like to have taped and stayed away from the sharp edges altogether, the worse texture of the hood would have made it look funny going from mirror smooth flats to texture on the edges. I had actually sprayed some extra coats along those sharp edges and the front of the hood, but it was obviously not enough. That hood had actually drug out into the evening and I should have been sanding by hand, but had not put down the 6” RO sander like I should have…. So, I think that I will be able to blend it in and do a repair when I spray my tailgate that has not been done yet. If it does not blend to where I cannot see it then fortunately I can tape along that seam along the front and just respray that leading edge. That main tiny burn-through right at the peak at the front center will have to remain as best I can blend it since I am not going to respray the entire hood. Pretty sure I don’t have that much paint left. On the positive side, I’ve learned enough that I don’t think I will have any more burn-through issues, not to mention that the most difficult spots were on the hood.
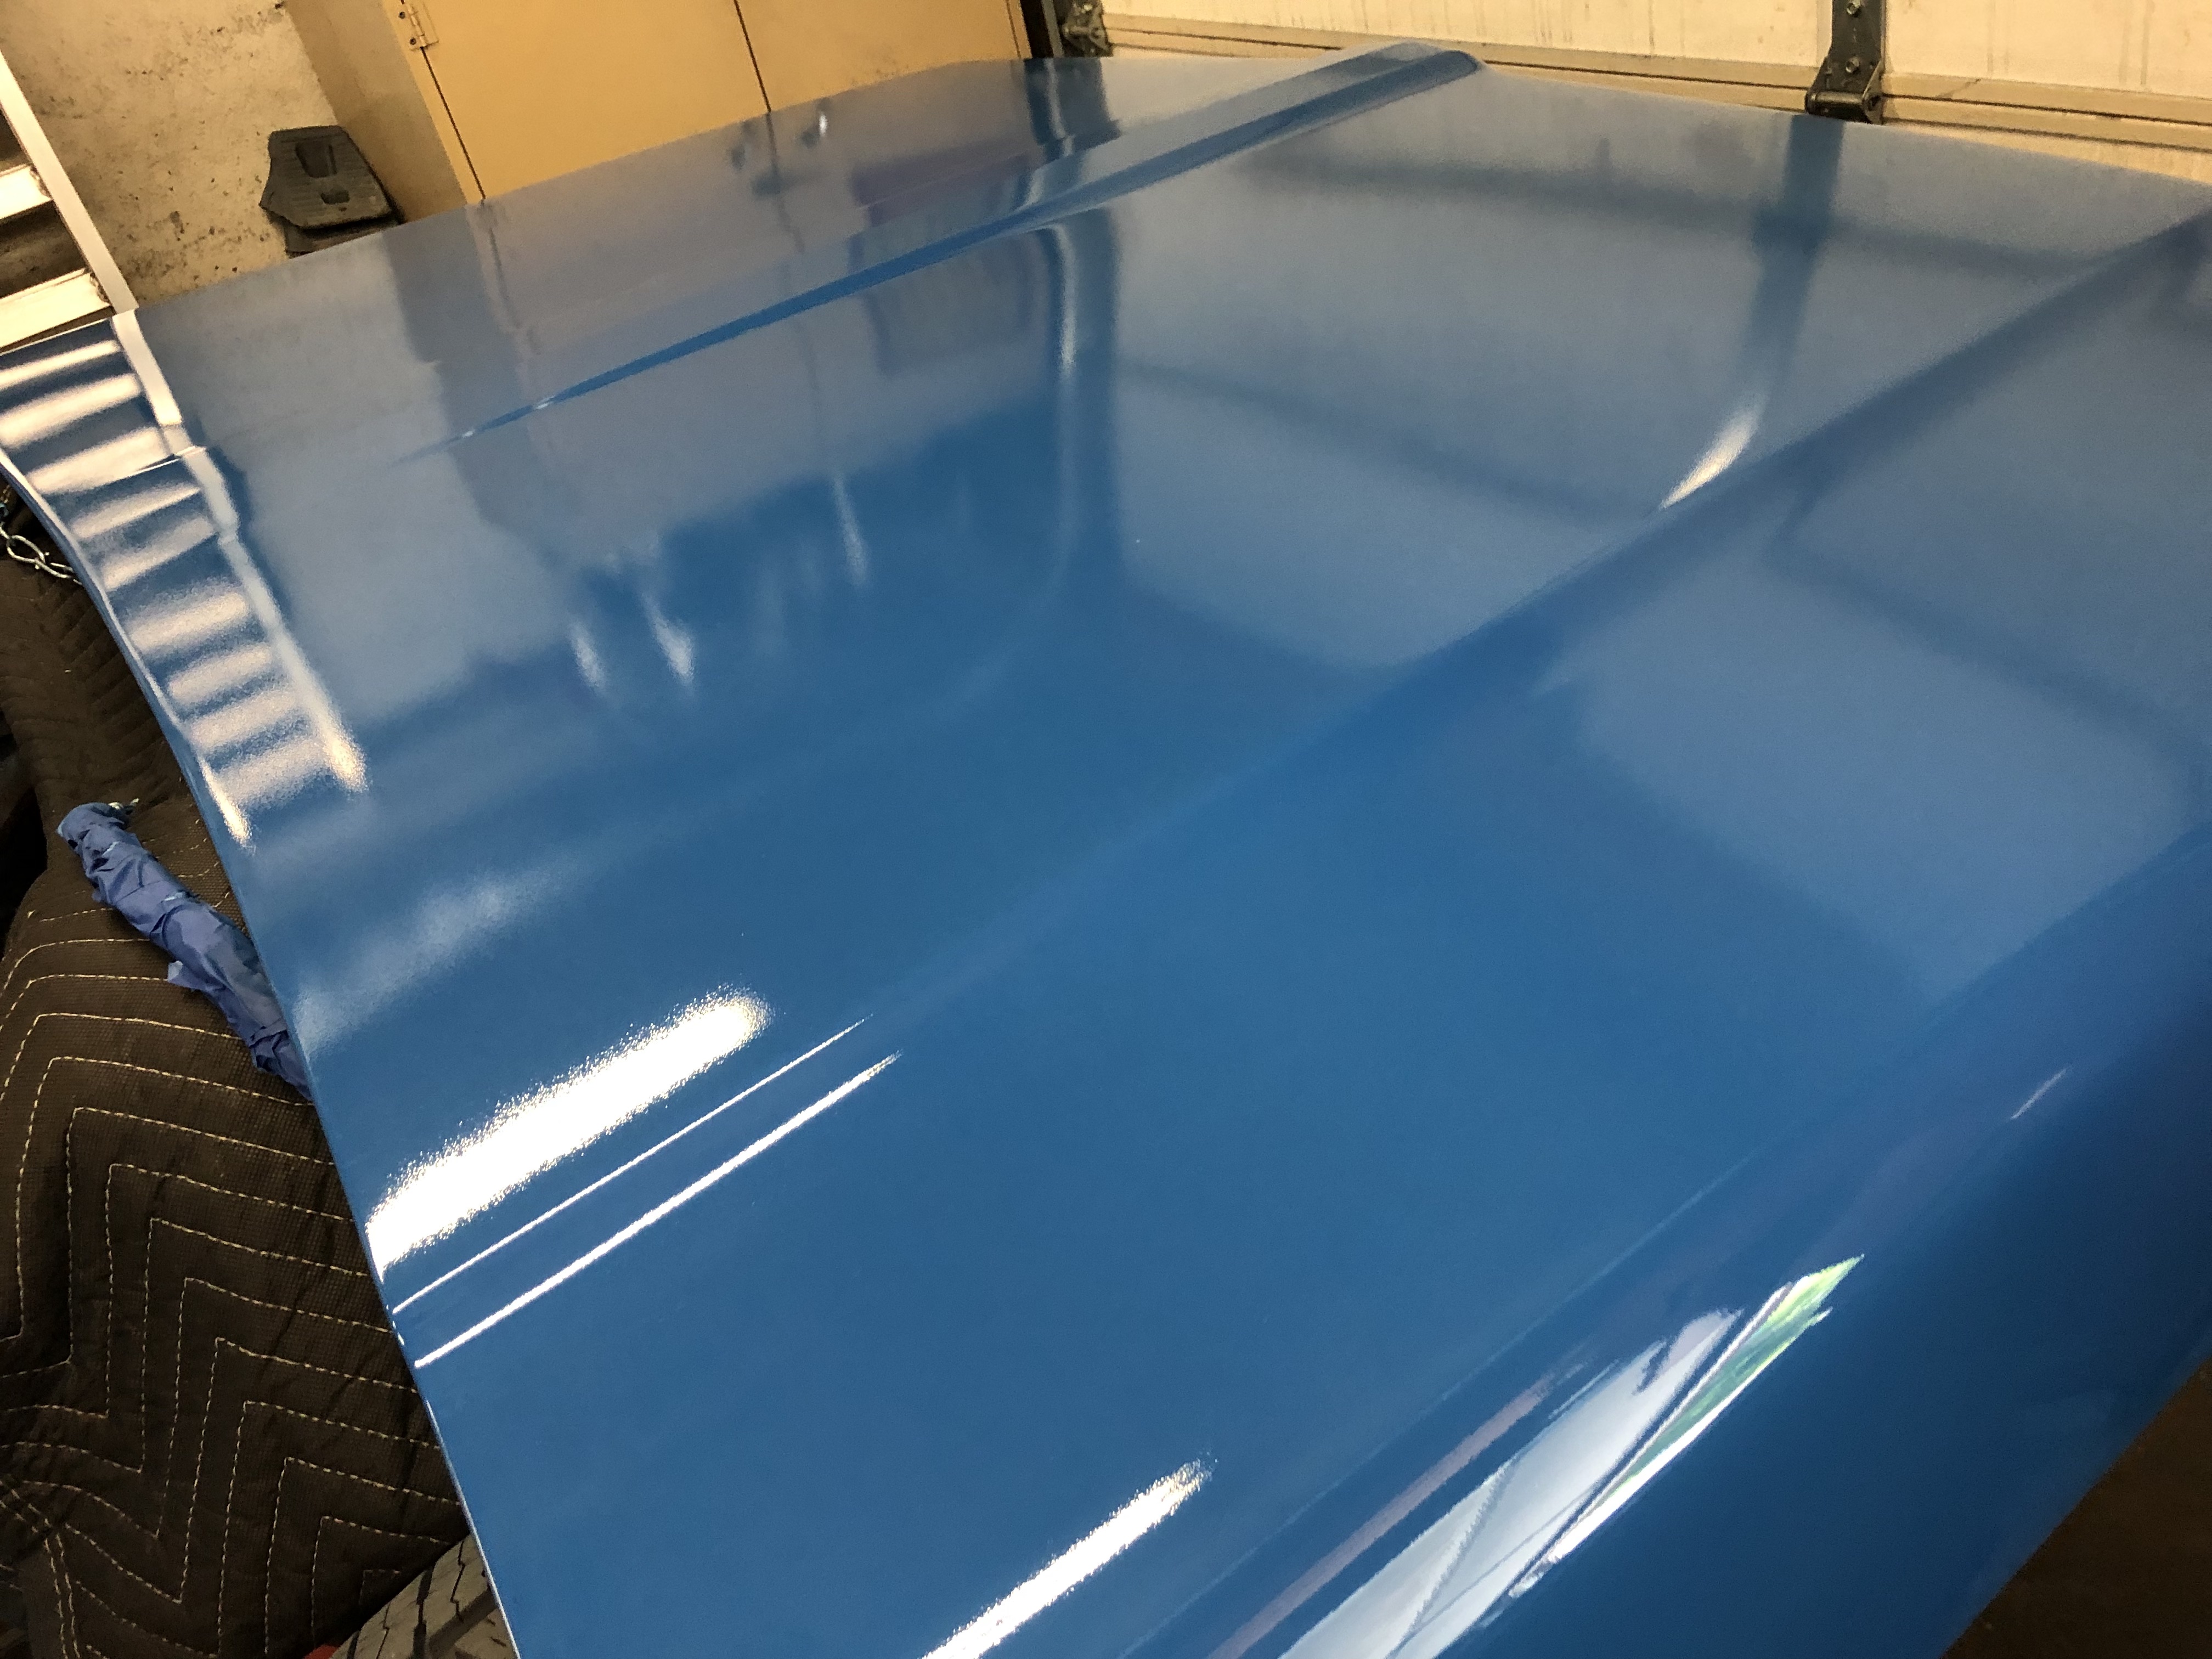
Photos show some pics of the scratches I was fighting on the hood and roof each time I would think I was done. A couple photos show how bad the texture was on the hood and you can see some before and after pics where the main hood was complete and the leading edge in front of the seam had not been done yet. Cowl photos show midway through wet sanding and then prior to the buffing/polishing.
Finally some light at the end of the tunnel. Should be able to finish the doors and front fenders next month and then will have plenty of time to knock out the rest over the summer when I can get my wife up there for a longer period (thanks to a grandson on the way).


I was afraid of using the Rotary and a wool pad but was having problems leaving a lot of RO scratches etc that were not coming out with the foam finishing pad. Definitely a steep learning curve on this process… I ended up doing the hood and roof 3 times before I finally got it right and all scratches removed. Each time if would complete the final polishing and think I was good until I would get at just the right angle and in the right light before I would find scratches….
Also found how important a clean work area is, and I do not have a clean work area even after blowing, sweeping, and wiping as best I can. Determined I was likely introducing contaminates into the mix by leaning over panels and not being careful to wipe the cord, etc. Vertical surfaces came out clean and scratch-free on the first tries…
Ended up using the Rotary and a wool pad w/ 3D ACA 510 compound, followed by the Forced Random Orbit and black foam w/ 3D ACA 520. The sanding stage was progressing through 1000, 1500 film dry, then 2500 and 5000 foam wet.
My hood for some reason had a much worse texture than all the other panels. I sprayed everything at the same speed and distance, etc over several days but I had various results. I guess the heat and humidity differences caused many of my issues that a pro would have been able to address on the fly. Poor lighting also made it hard to see my surface well as the paint went down… I’m thinking the almost dry-spray texture of the hood was because I had put down an additional coat too soon and not waiting the full half hour I had between all other sprays. Looked great right after the spray but looked worse as it cured. All other panels ranged from light orange peel like you would find on many new cars, to a heavier standard orange peel look.
I did burn through on three spots on the hood. All stupid and avoidable for all but a rank a mature newbie like myself. I was so focused on burn through during the buffing stage with the rotary that I was careless with the sanding. While I would like to have taped and stayed away from the sharp edges altogether, the worse texture of the hood would have made it look funny going from mirror smooth flats to texture on the edges. I had actually sprayed some extra coats along those sharp edges and the front of the hood, but it was obviously not enough. That hood had actually drug out into the evening and I should have been sanding by hand, but had not put down the 6” RO sander like I should have…. So, I think that I will be able to blend it in and do a repair when I spray my tailgate that has not been done yet. If it does not blend to where I cannot see it then fortunately I can tape along that seam along the front and just respray that leading edge. That main tiny burn-through right at the peak at the front center will have to remain as best I can blend it since I am not going to respray the entire hood. Pretty sure I don’t have that much paint left. On the positive side, I’ve learned enough that I don’t think I will have any more burn-through issues, not to mention that the most difficult spots were on the hood.
Photos show some pics of the scratches I was fighting on the hood and roof each time I would think I was done. A couple photos show how bad the texture was on the hood and you can see some before and after pics where the main hood was complete and the leading edge in front of the seam had not been done yet. Cowl photos show midway through wet sanding and then prior to the buffing/polishing.
Finally some light at the end of the tunnel. Should be able to finish the doors and front fenders next month and then will have plenty of time to knock out the rest over the summer when I can get my wife up there for a longer period (thanks to a grandson on the way).