
The heat tube brings hot air from a void in the passenger side exhaust manifold. The void is a separate location not exposed to exhaust gas. It has a plate on top with a large screw, but it is partly hidden against the heads when the manifold is installed. Vacuum from the choke on the carb sucks hot air up the choke tube. The air enters the manifold void from another tube that runs from the airhorn of the carb via the air cleaner. If this tube is broken, hot air doesn't reach the choke and the choke may never open fully, so your truck will always run rich. That's not the good kind of rich.
Here is the manifold end of the old tube, rusted off.
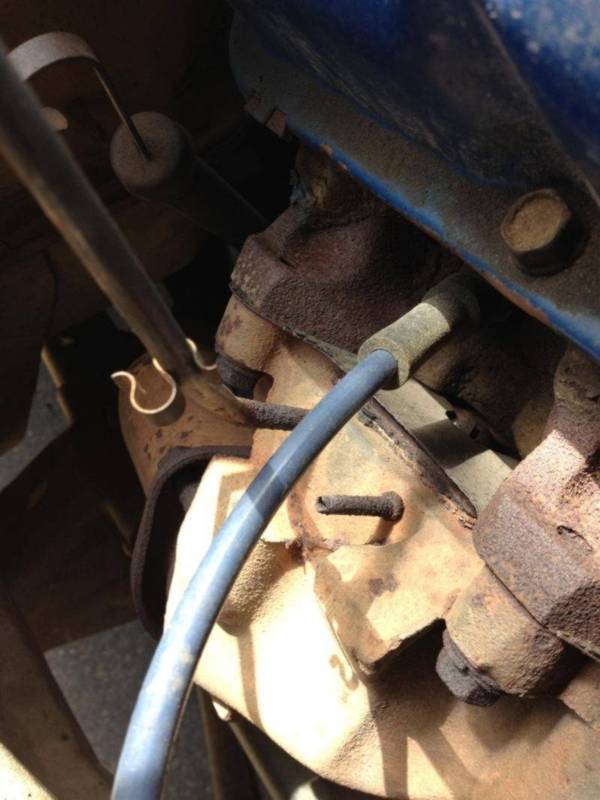
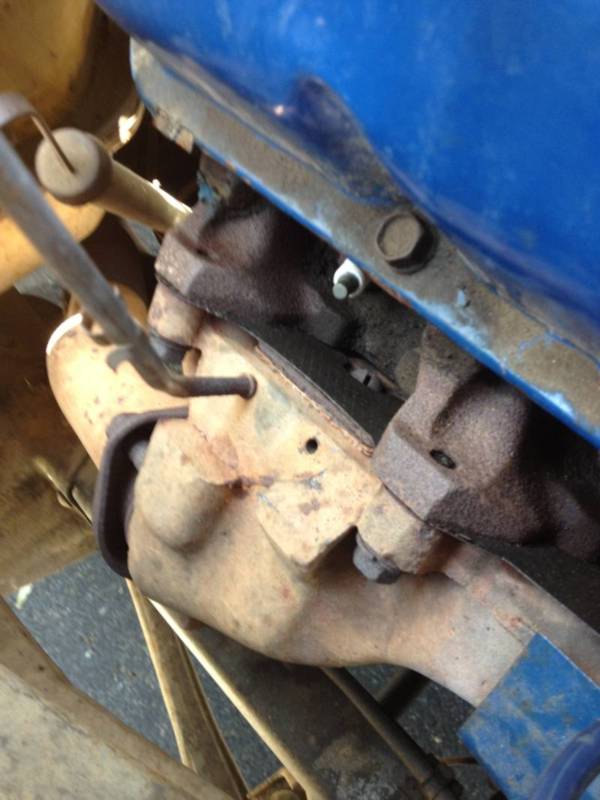
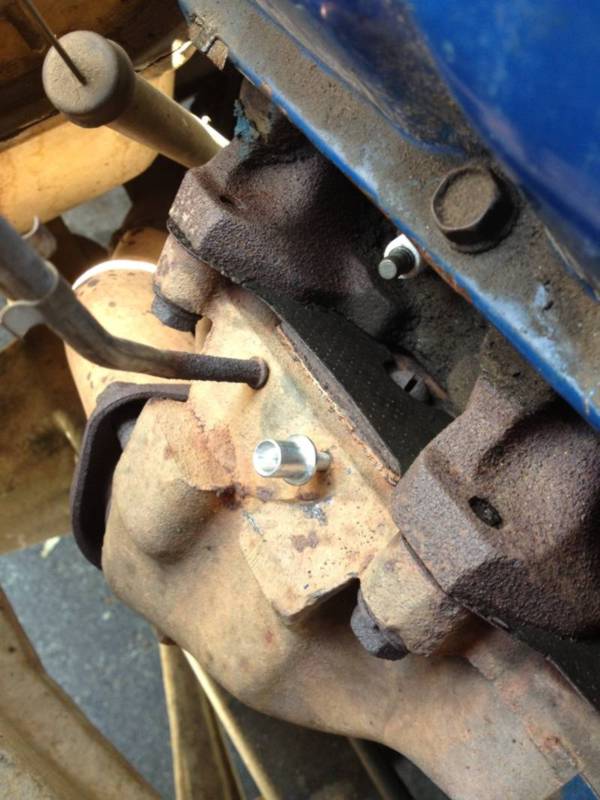
Because there was about a 1" stub, I was able to place some wood against the heads and pull it out with vice grips. However, in most cases it needs to be drilled out. The hole is supposed to be 3/16". If you need to drill it out, be sure to center the drill so it only drills the pipe stub, not the manifold. Because the old one is press fit in there, there will be a point where the part of the stub remaining in the manifold just spins out with the drill. Try and avoid getting metal shavings in the hole if you can. You don't want those being sucked into the choke. This is what it will look like. Note that in this shot you can clearly see the large screw (under the spark plug) that holds the plate on top of the void.
Take a LOT of care to blow out the void by pulling the tube off at the carb air horn and blow compressed air down it. Air and shavings should come out your newly drilled out hole. Do it 10 times. Do it 14 times actually. Now, get the universal choke kit from NAPA, pictured below.
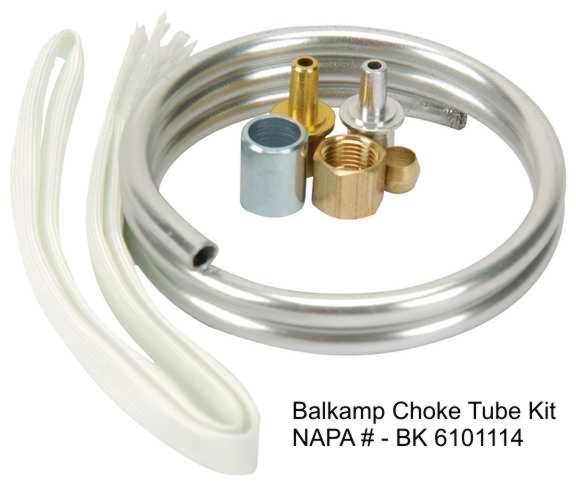
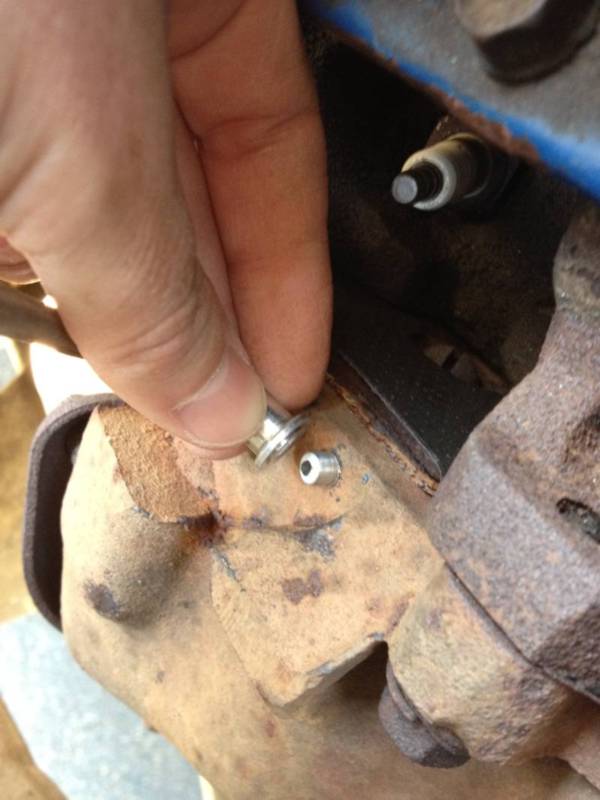
The silver tip is the one that you want to use in the 3/16" hole. You are going to tap it into the hole. If, like mine, your hole in the manifold is a little rusted, rather than drill it out more, I chose to slim the tip down a little. I did this by putting the tip in the chuck of my drill and spinning it in the drill while holding a piece of 80 grit sandpaper on the side. This shaved just a touch off it, making the whole tip a little narrower, but still tapered. Here it is slightly shaved down.
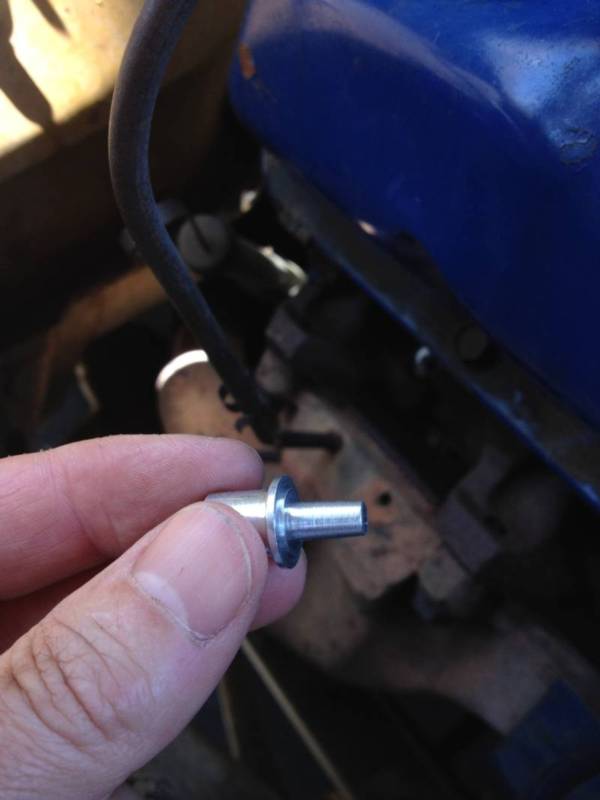
Next, you tap the tip into the hole by putting the larger round silver tube (from the kit) over it and hitting it with a hammer.
Take a lot of care doing this. It's a little tight in there. If you hit it hard off center, you"ll break it and you'll have to go to NAPA and lay out another $9.99. Don't ask me how I know this!
So to do it right, tap it in as straight as you can. I used a short length of rebar so I could get the hammer a little higher in the engine bay to tap it in. Once it's nice and snug, it's all good.
Now - the fun part. CAREFULLY unroll the aluminum tubing, stretching and pulling and straightening it out. I did this by kind of warming and rubbing it by using my two thumbs pointing upward and slooowwwwly straightening it out. Maybe sit in front of some NASCAR or a bizarre english detective series for a while to keep this a slow process. Once it's straight, I carefully put some smooth bends in it to match the one that was just hanging there. If you don't have one there you'll have to make it up or copy these pictures. I made it so it runs mostly parallel to the other tube, since they are clipped together just above the manifold. At the carb end, put the threaded fitting on the pipe, then the small pressure fitting collar and screw it onto the threaded female fitting on the choke. Sorry, didn't take pictures of that. This is the harder end to do because it's under the carb, so do this first and leave it just finger tight so you can take it off again. DON'T put the white woven cover on yet.
Now, make sure your bends all fit nicely from top to bottom. The pipe at the bottom will be too long (at least on my model). Try to match up with the tip that you've lightly hammered into the manifold and allow a little more length. Always easier to cut more off than add more on! Make a mark with a sharpie / marker. Unscrew it off the carb and take it somewhere like a bench to cut the end off at your mark. The tube crushes easily so use a saw or cutoff wheel, not clippers, which will crush the tube.
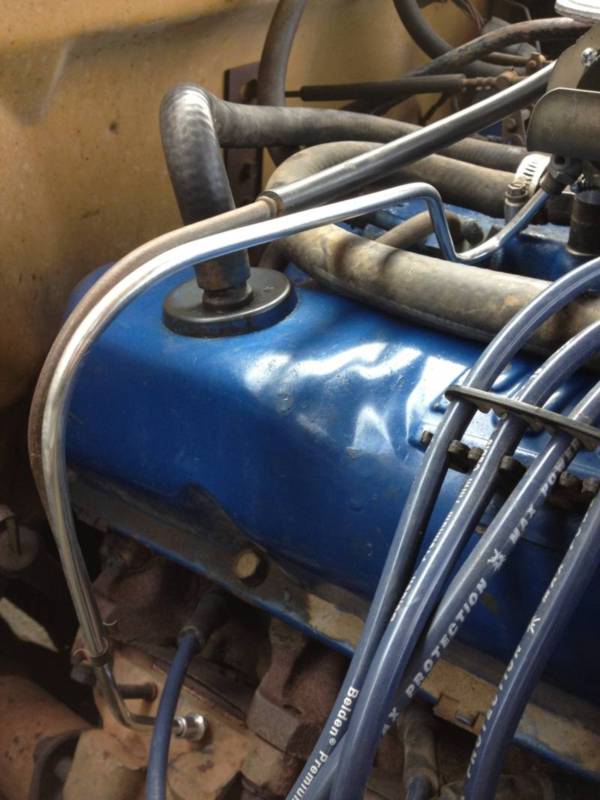
Clean up the end and dust off any filings. Dry fit it at the carb again finger tight. Now drop the newly cut end into the cup that's part of the tip. If you've left it a little long it will kind of "spring" into place with a bit of tension. If not, overbend it a lttle so it is held in place by tension. Here is what it should look like now.
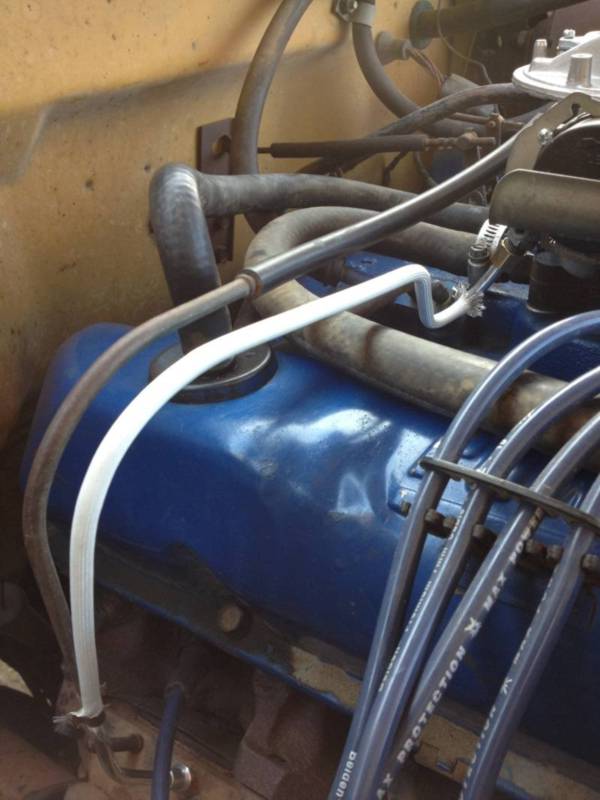
If everything fits nicely, remove the bottom joint again and slide the white heat wrap onto it. This takes a little time, so you may feel like removing the whole thing from the carb end as well. Up to you! The ends of the wrap are frayed and there is no elegant way to make them un-frayed, even it you try manscaping it a bit. I even figured burning the ends might work but turns out the heat resistant wrap is heat resistant so it won't melt. Duh. So leave it, which is what I did. At the lower end I did clip the frayed part into the clip that joins the two tubes together. This is what the finished product should look like now.
And that's it! Good luck. Patrick


