Good evening Bobby, Aaron, 1982 Flareside, and Frank, thanks for your fast and excellent replies!
BobbyFord wrote:I would recommend getting the correct electric choke kit for your application, that way you can initially set the choke and forget about it.
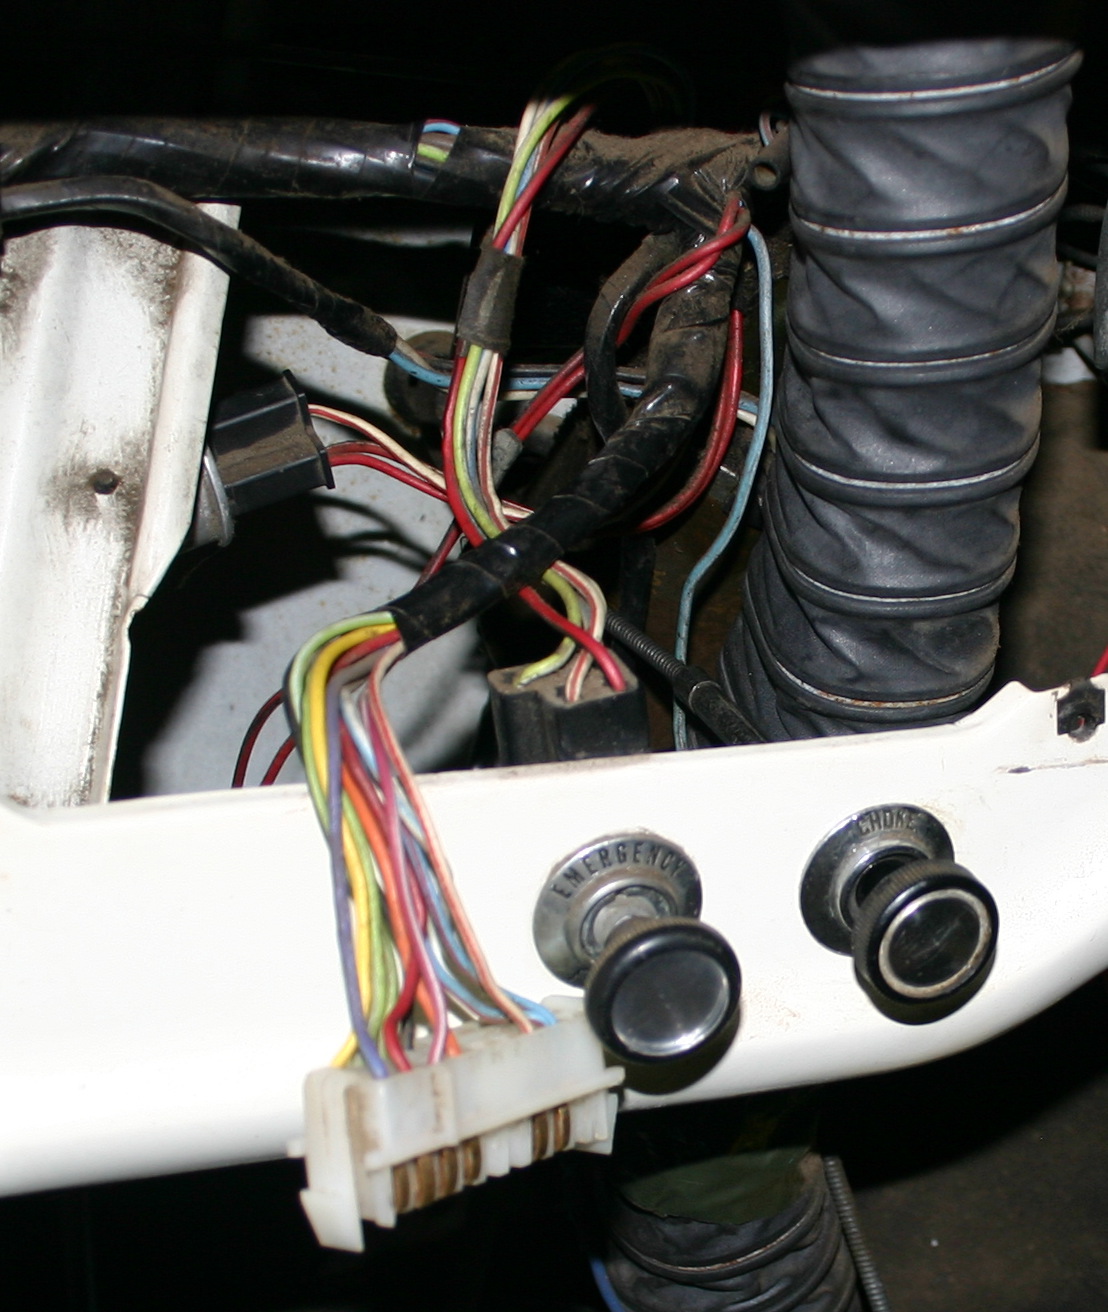
I suppose electric chokes are practical most of the time, yet I've developed a strong preference for manual chokes over the years.
I tend to prefer to open the choke a lot sooner than most electric chokes like to do it, but more importantly, I like to fiddle around with it in different kinds of weather to get the engine to run at its best.
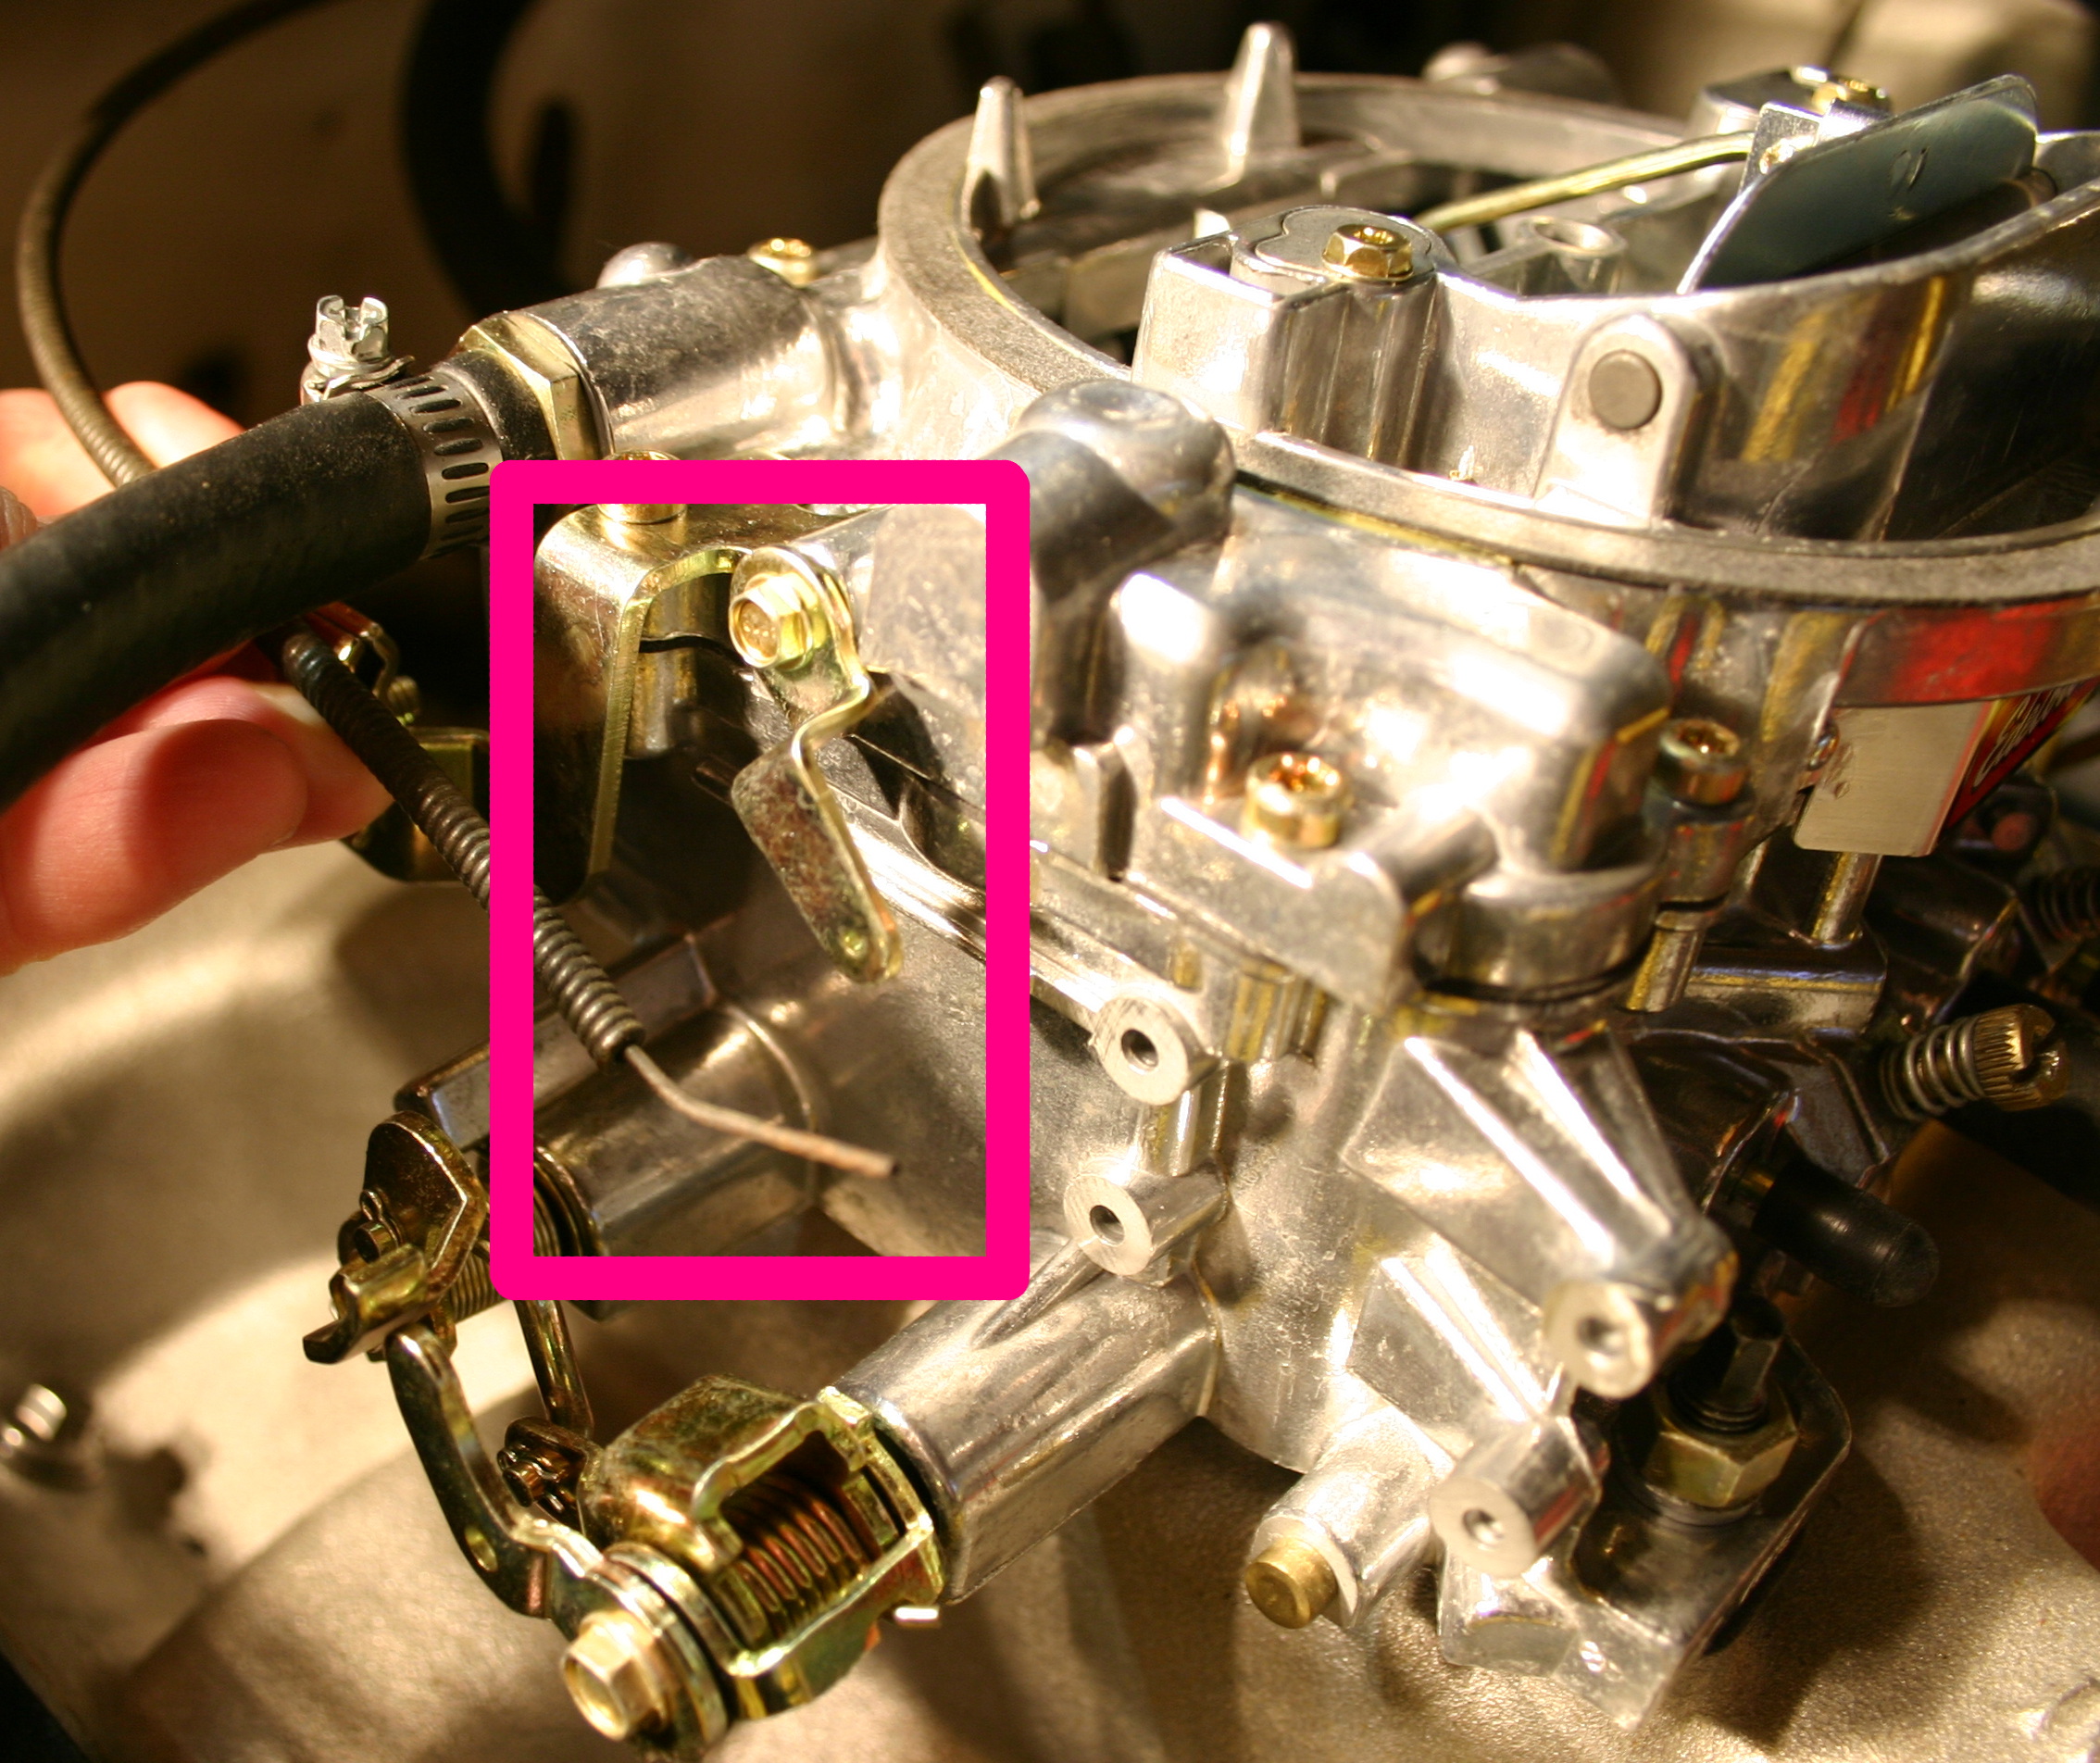
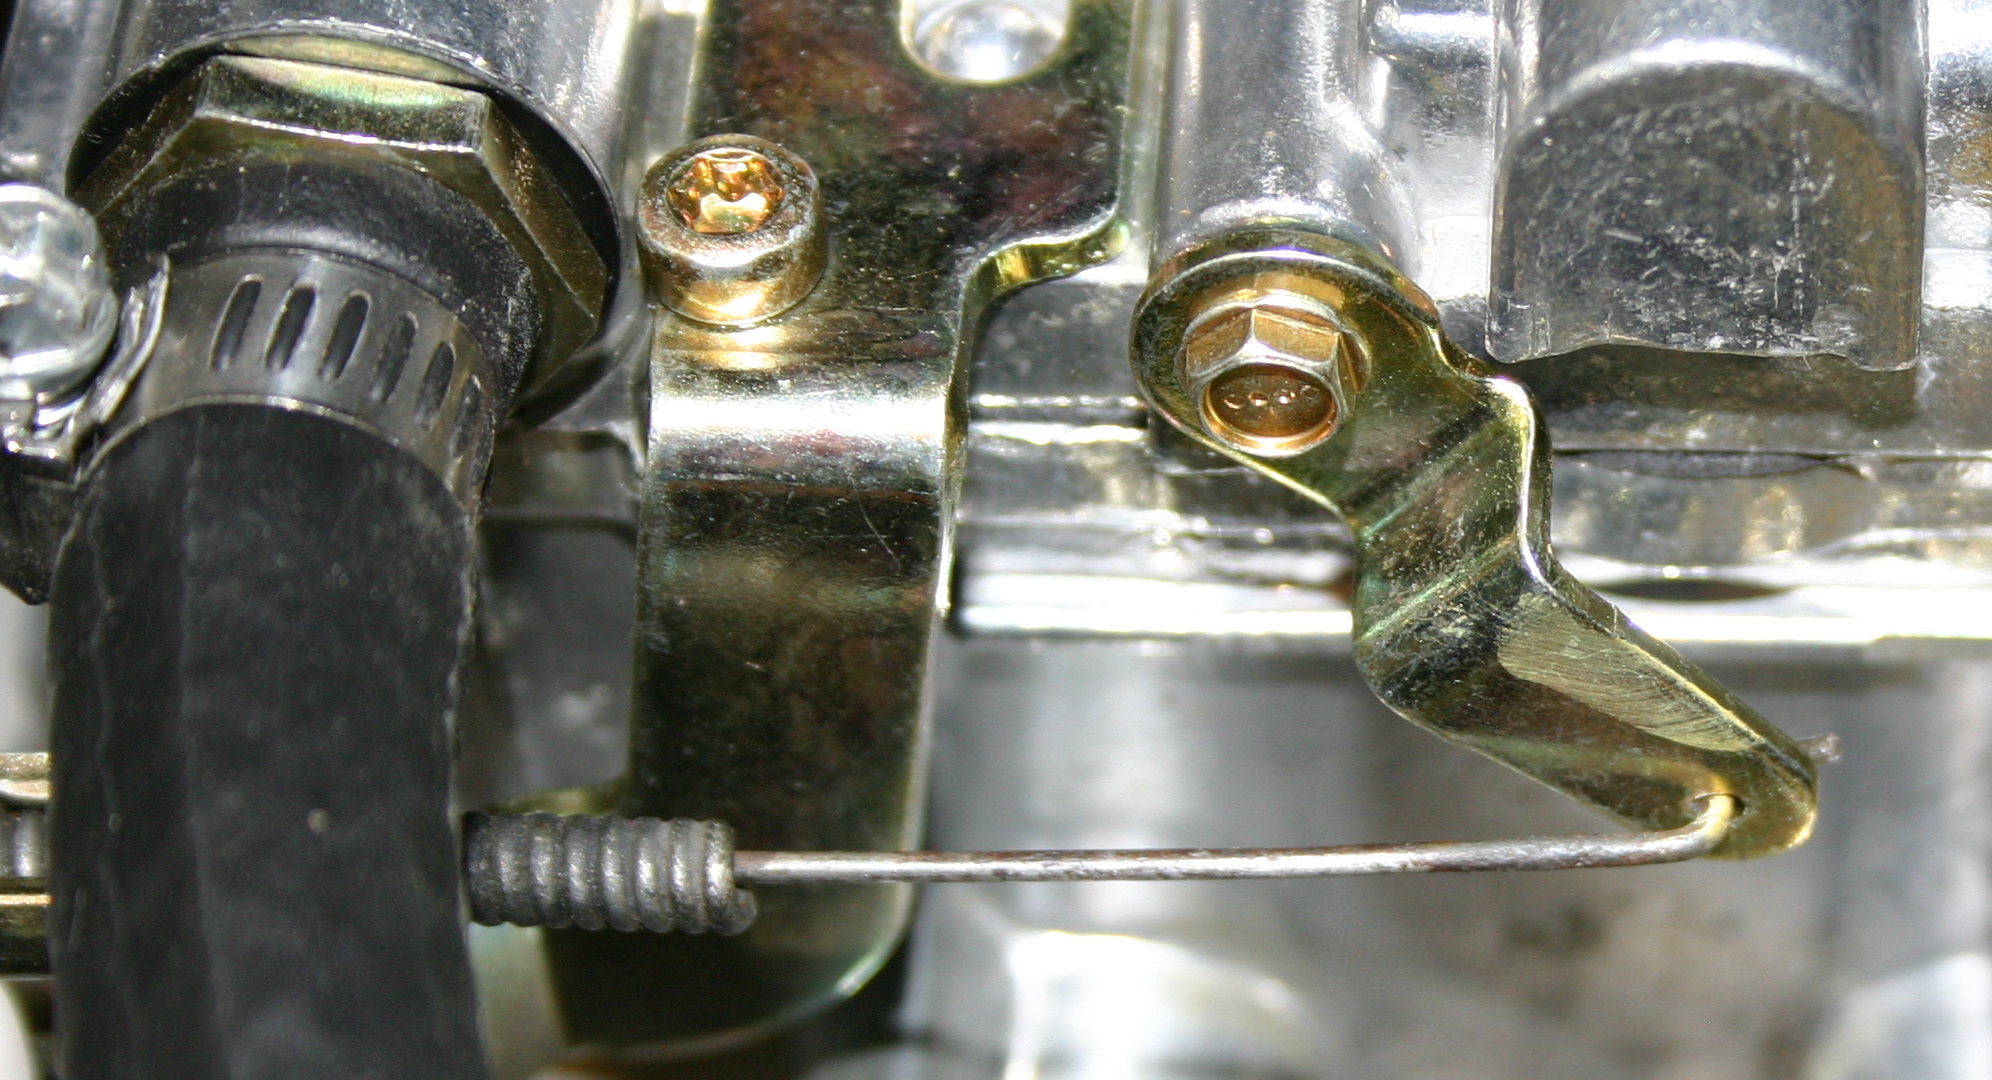
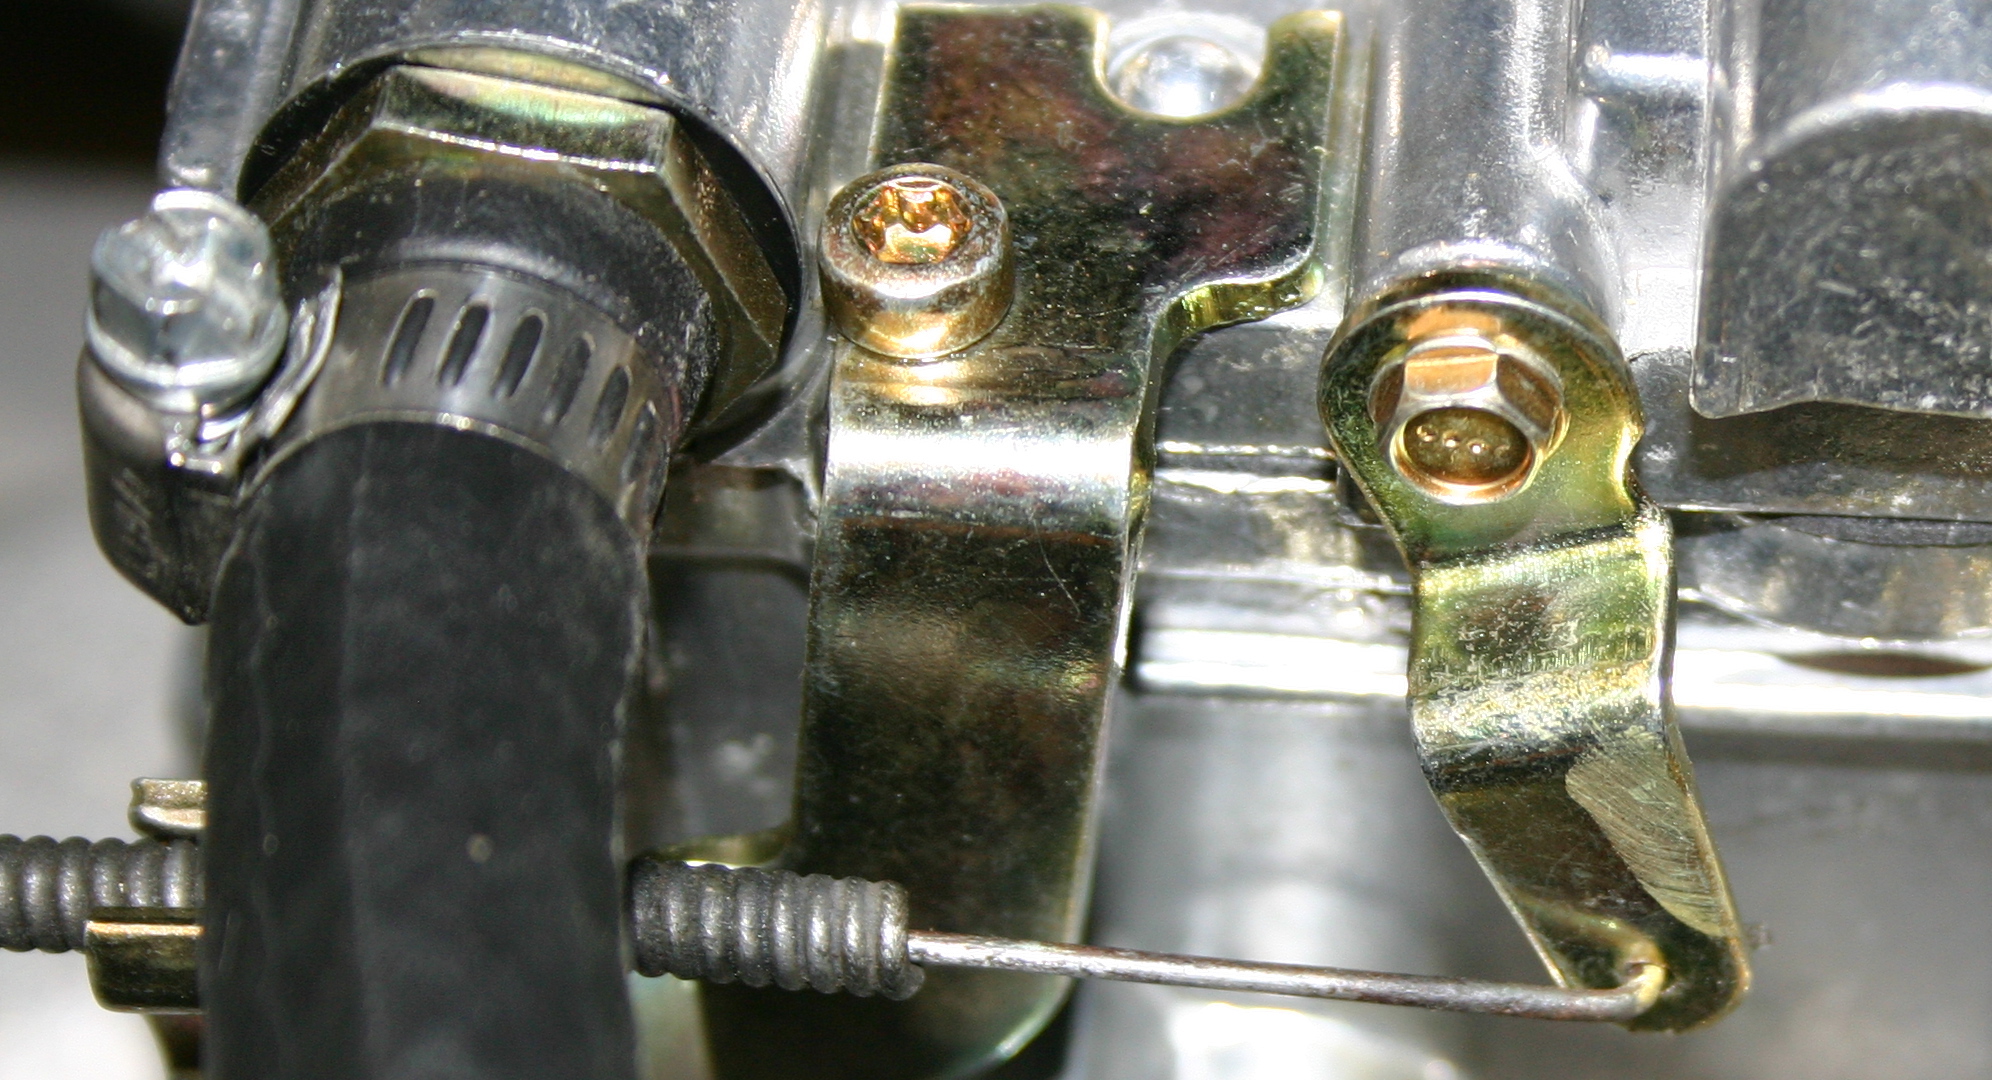
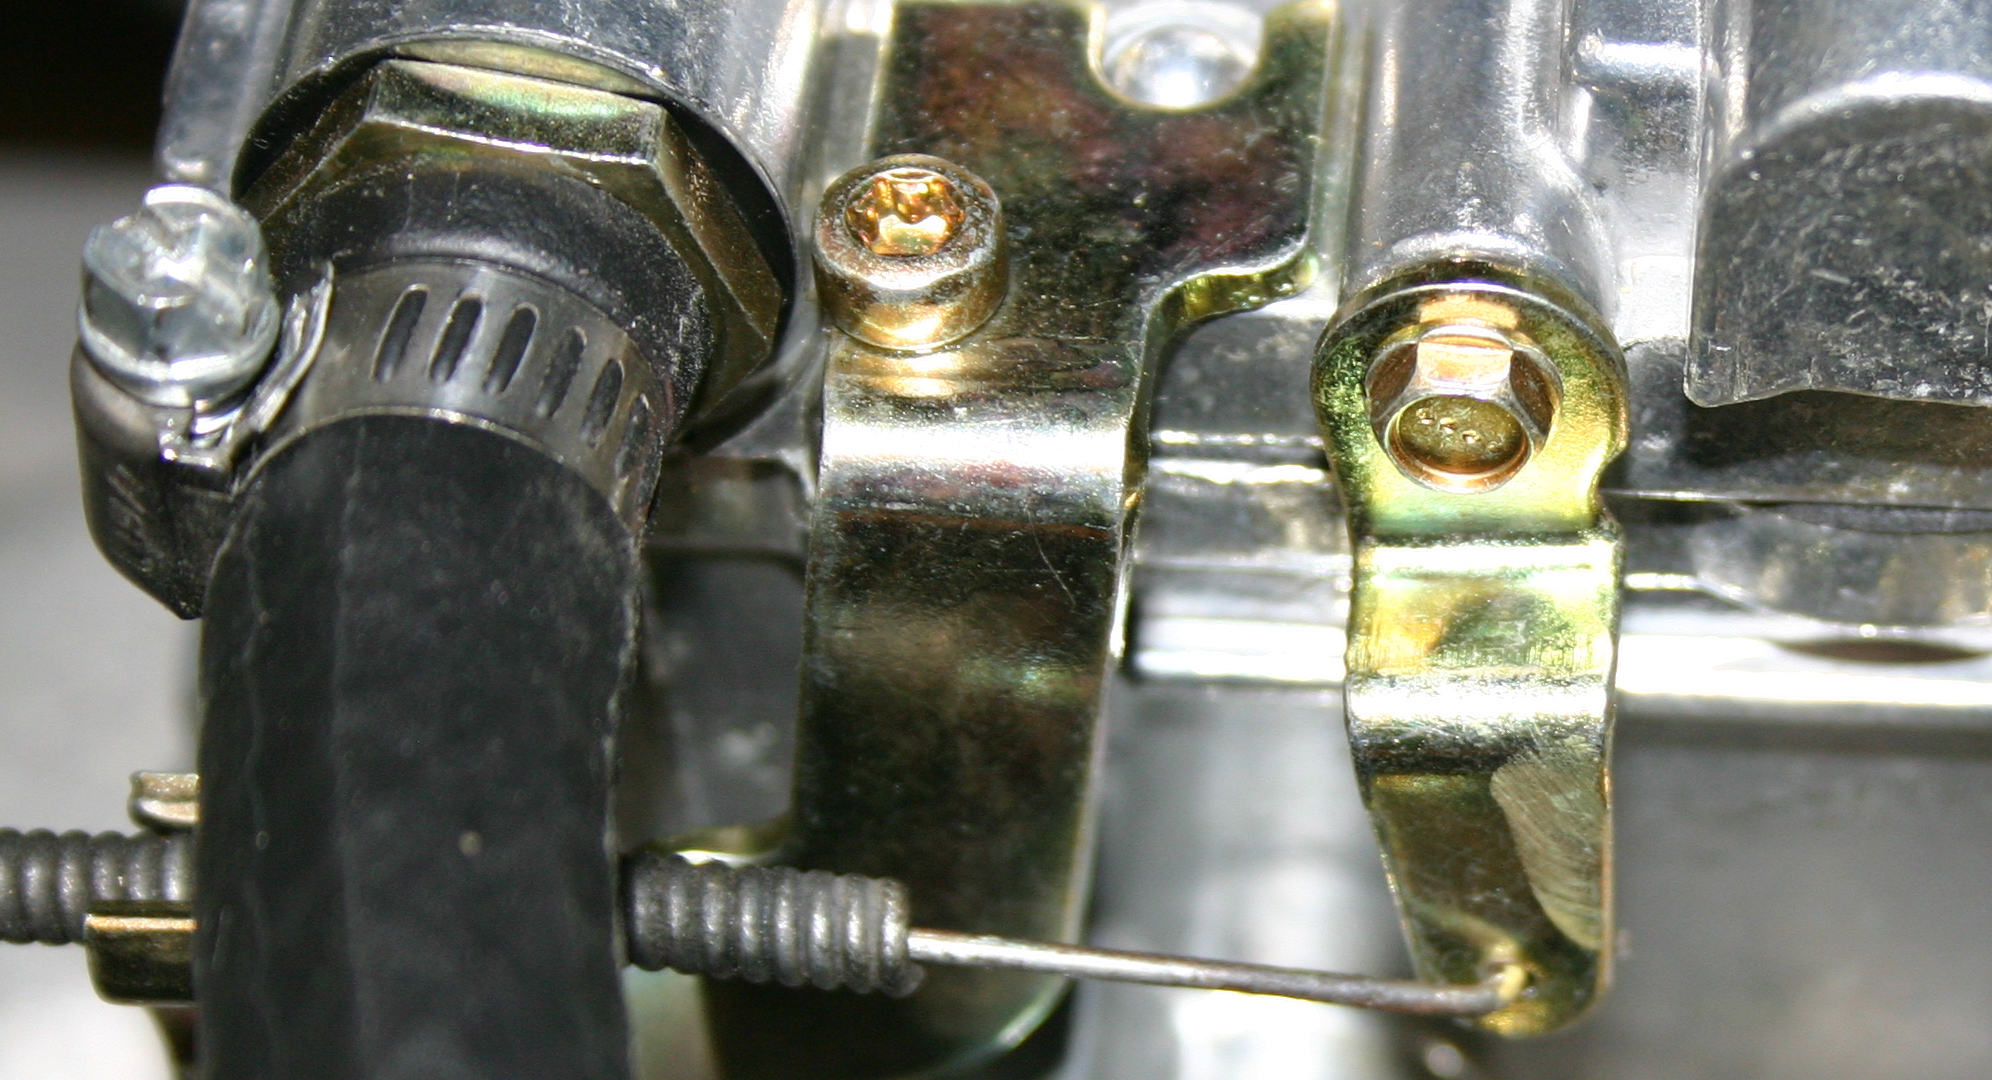
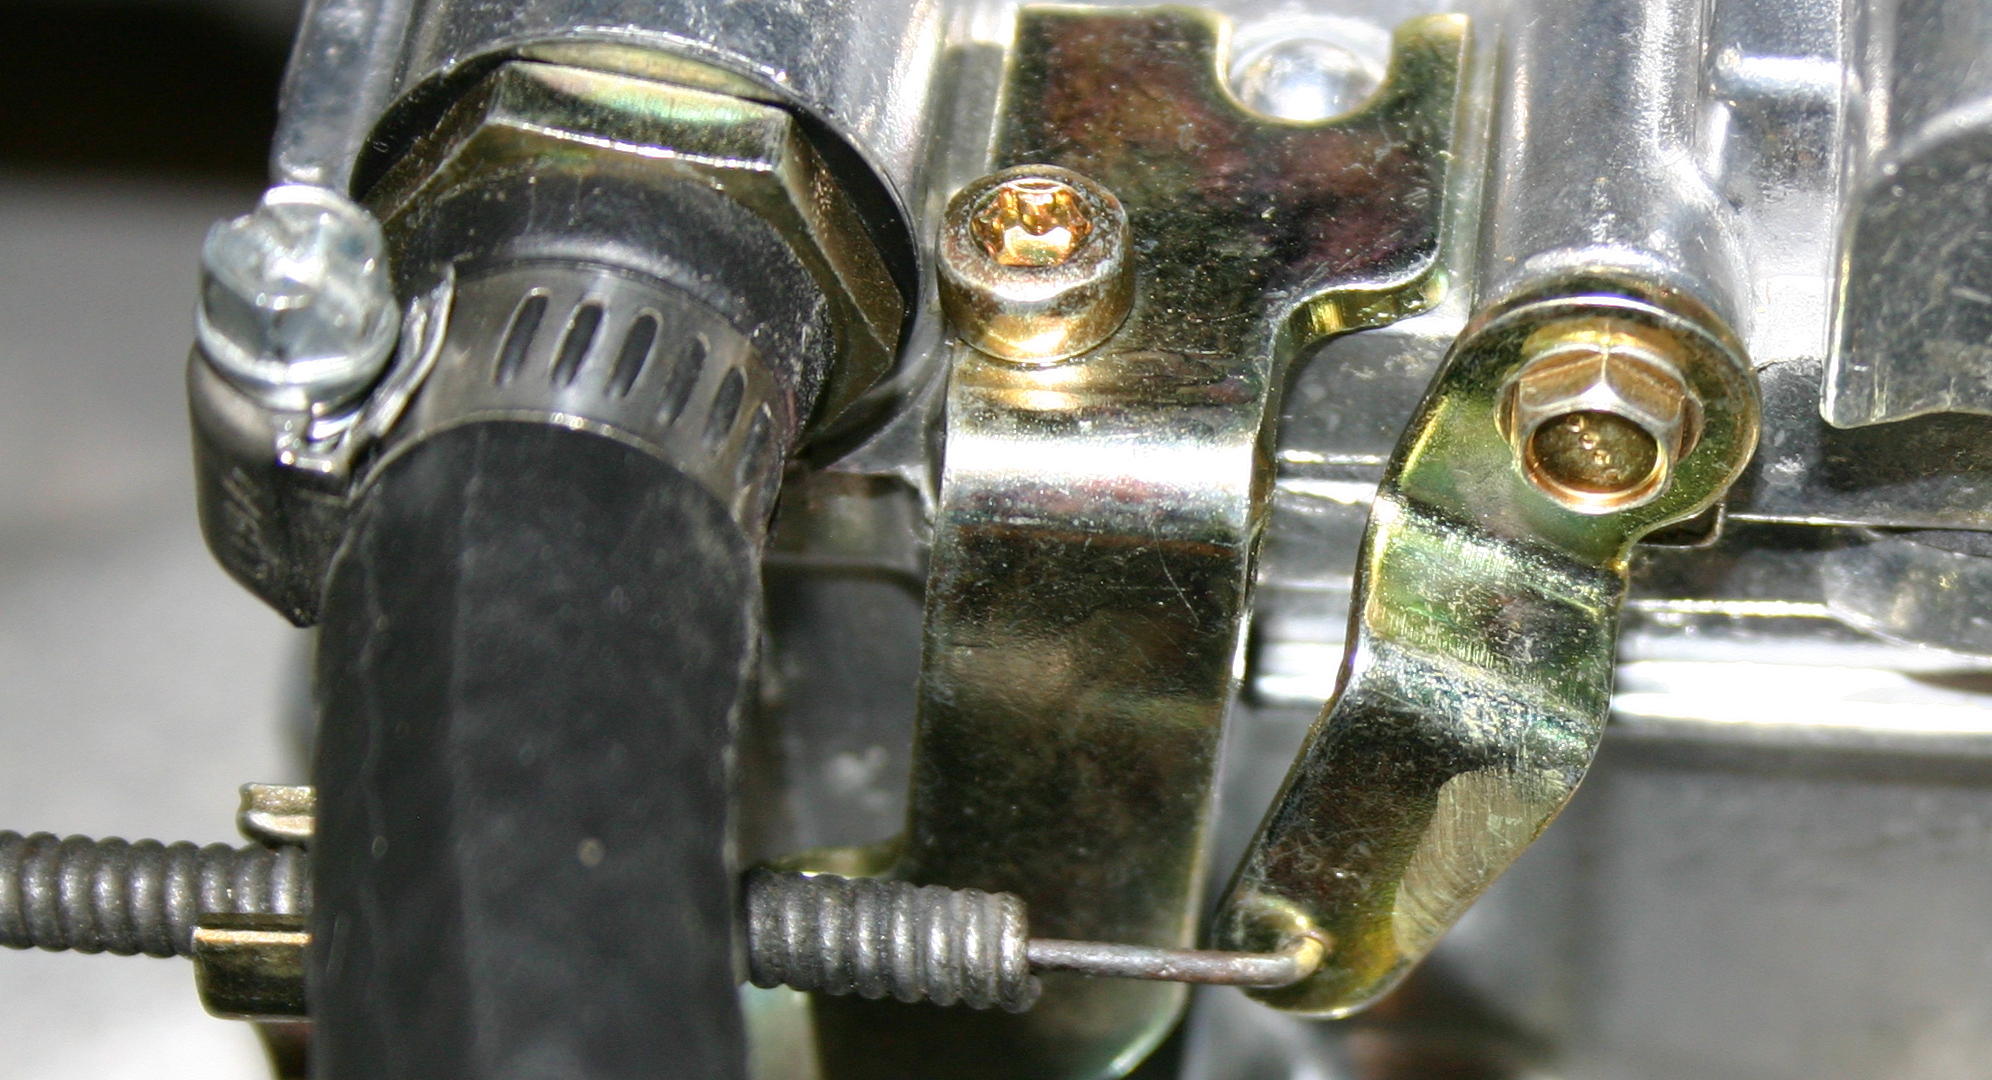
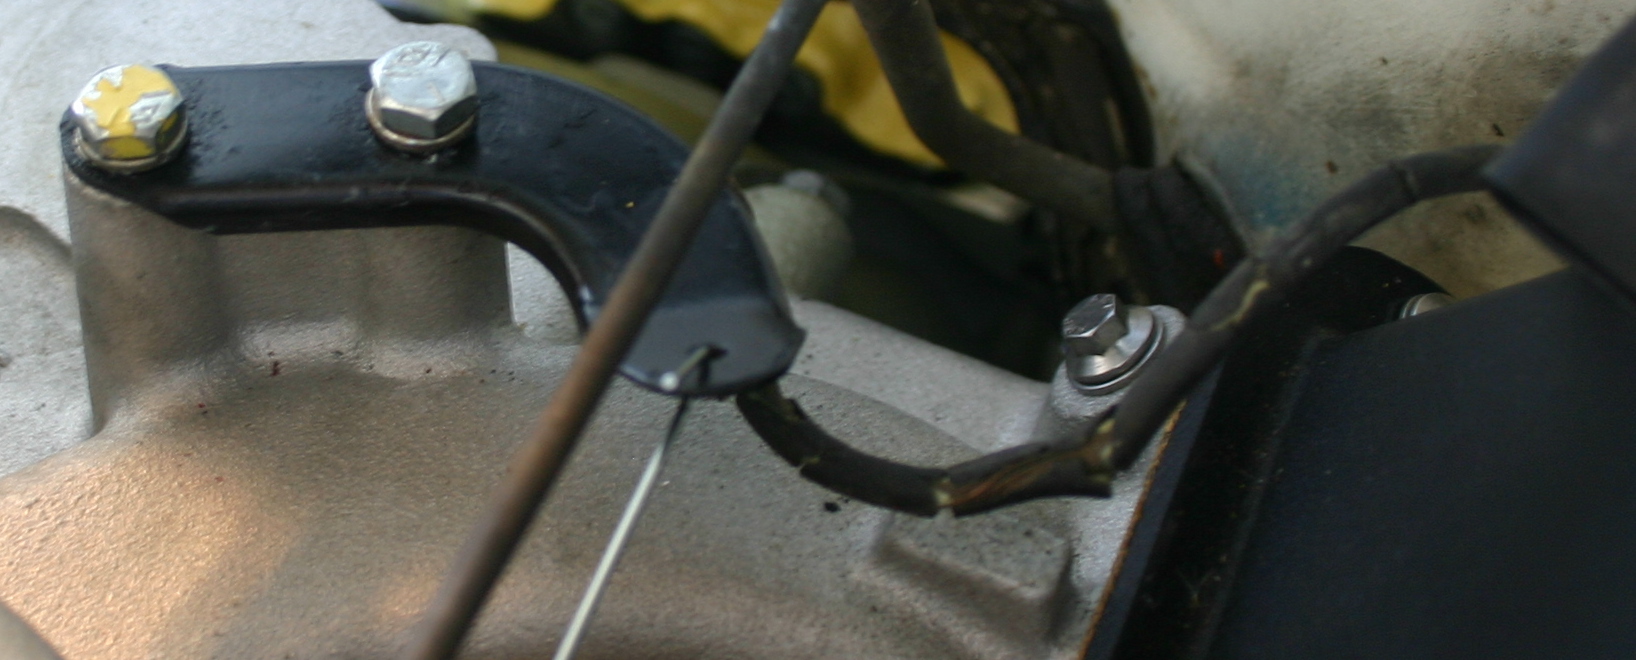
Redcap wrote:I put a kink in the end of the cable and adjust the pull at the the cable sheath mounting point. Works just fine.
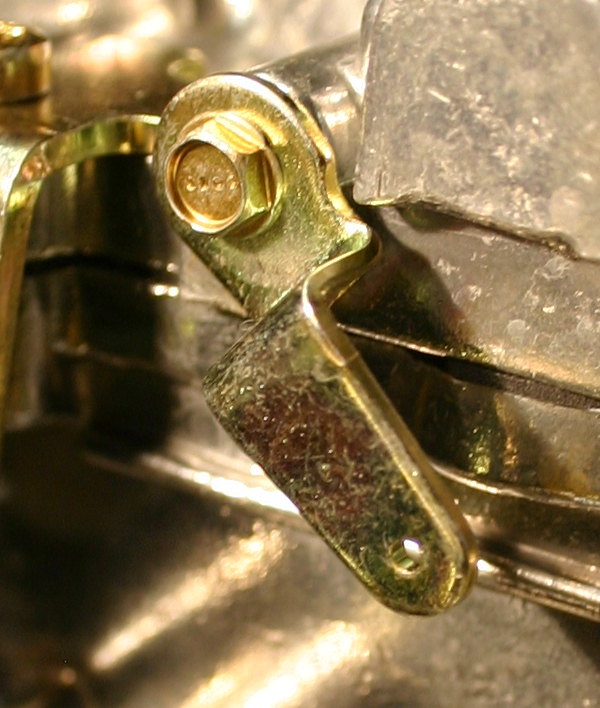
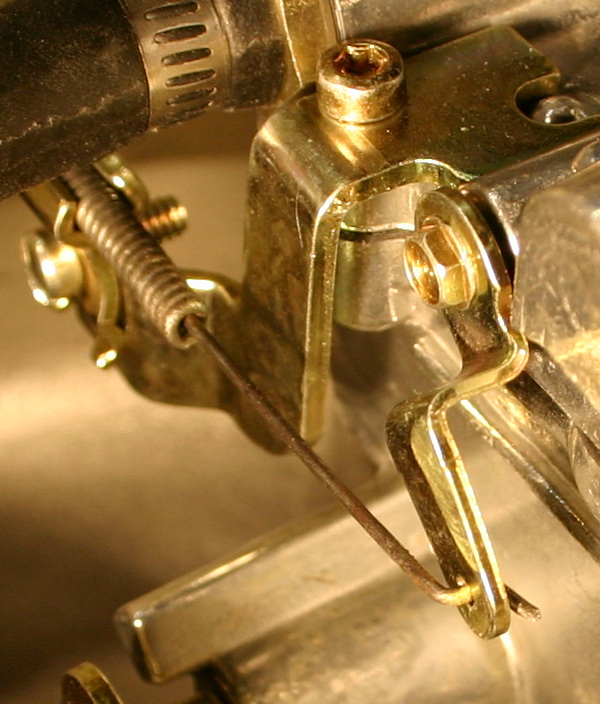
I see! I guess that could work for me, although I haven't tried slipping the cable through that tiny hole in the choke arm yet. If I can find a simple fastener that will make this even more solid, that's what I'd like best.
I did some Web searching for carburetor/choke fasteners, and looked on McMaster for a while, but haven't come up with that funny part I'm thinking of yet.
1982 flareside wrote:Get a holley

Thanks for this suggestion, although a Holley might be a little more expensive than one of these little fasteners! That said, it's true that I probably
will be switching to a Holley carburetor in a few thousand miles, since I heard from Tom Lucas that he could get the engine to run a little better if I put on a carburetor of his precise specification (which would be a Holley).
FreakysFords wrote:Ditto. I've got a "z bend tool" from my RC stuff that works wonders. Perhaps there's a hobby shop nearby, or better yet, an RC airplane club. They could fix ya right up.
Okay! Is a Z-shaped bend truly the ideal shape? I can imagine that two successive right angles (like a stair step shape) might be less prone to slipping fore and aft when adjusted by the control cable. Perhaps I don't have a clear mental picture of this Z-shaped bend?
FreakysFords wrote:Alternatively, the same shop should have the clamp on type to tighten down on your cable and then clip through the linkage.
That's what I was initially looking for, although a Z-shaped bend sounds like it might be simpler and work just as nicely!
I'm actually not aware of any R/C shops in the immediate area (Salinas), although there probably are some. Thanks for that great suggestion!
FreakysFords wrote:Personally I prefer the manual choke. I decide how much choke I need and when, but then again, I'm a touch on the older side.

We have many things in common Frank. In addition to sharing a preference for manual chokes, we're both R/C pilots--I'm a helicopter guy! I'll have to PM you to ask more about your interests, or perhaps we could start an R/C aircraft free-for-all thread in the General Discussion area.
Bobby, Aaron, 1982 Flareside, and Frank, thanks again for your superb replies!
Robroy