Good evening!
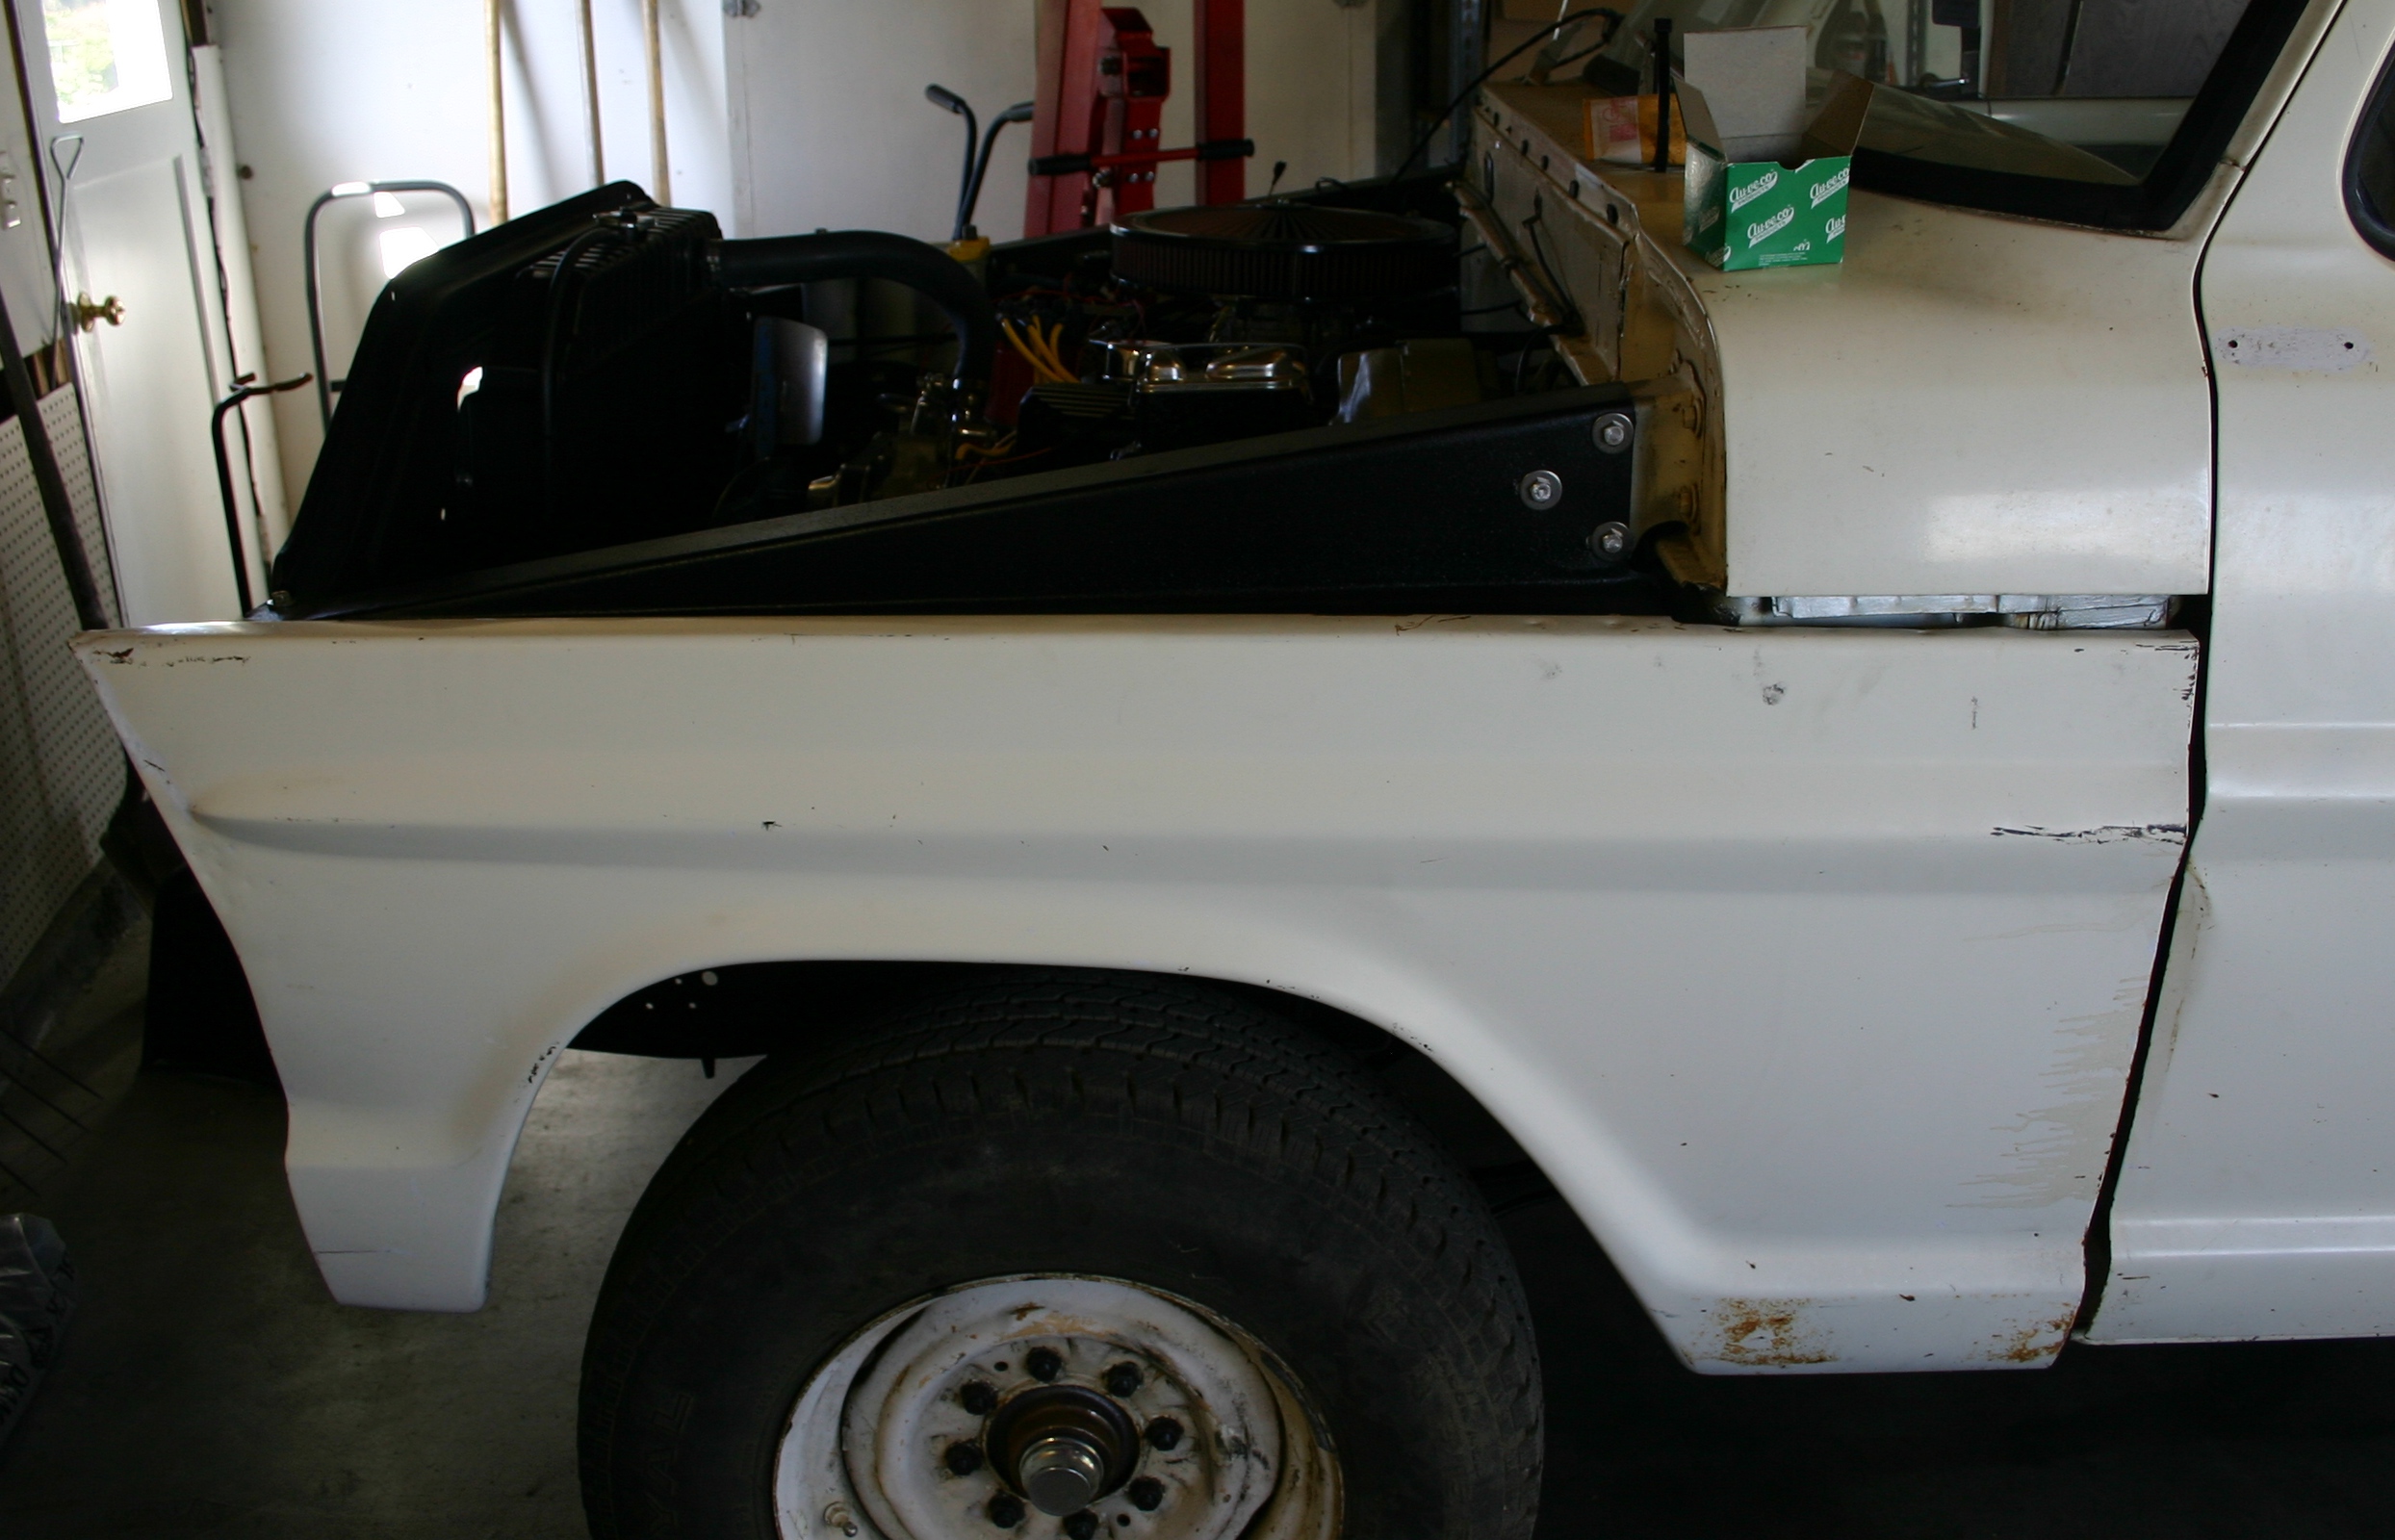
I made some fender installation progress today and took photos along the way. Y'all can click on any of these photos to see large editions.
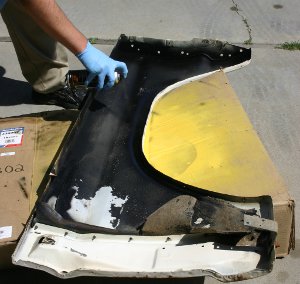
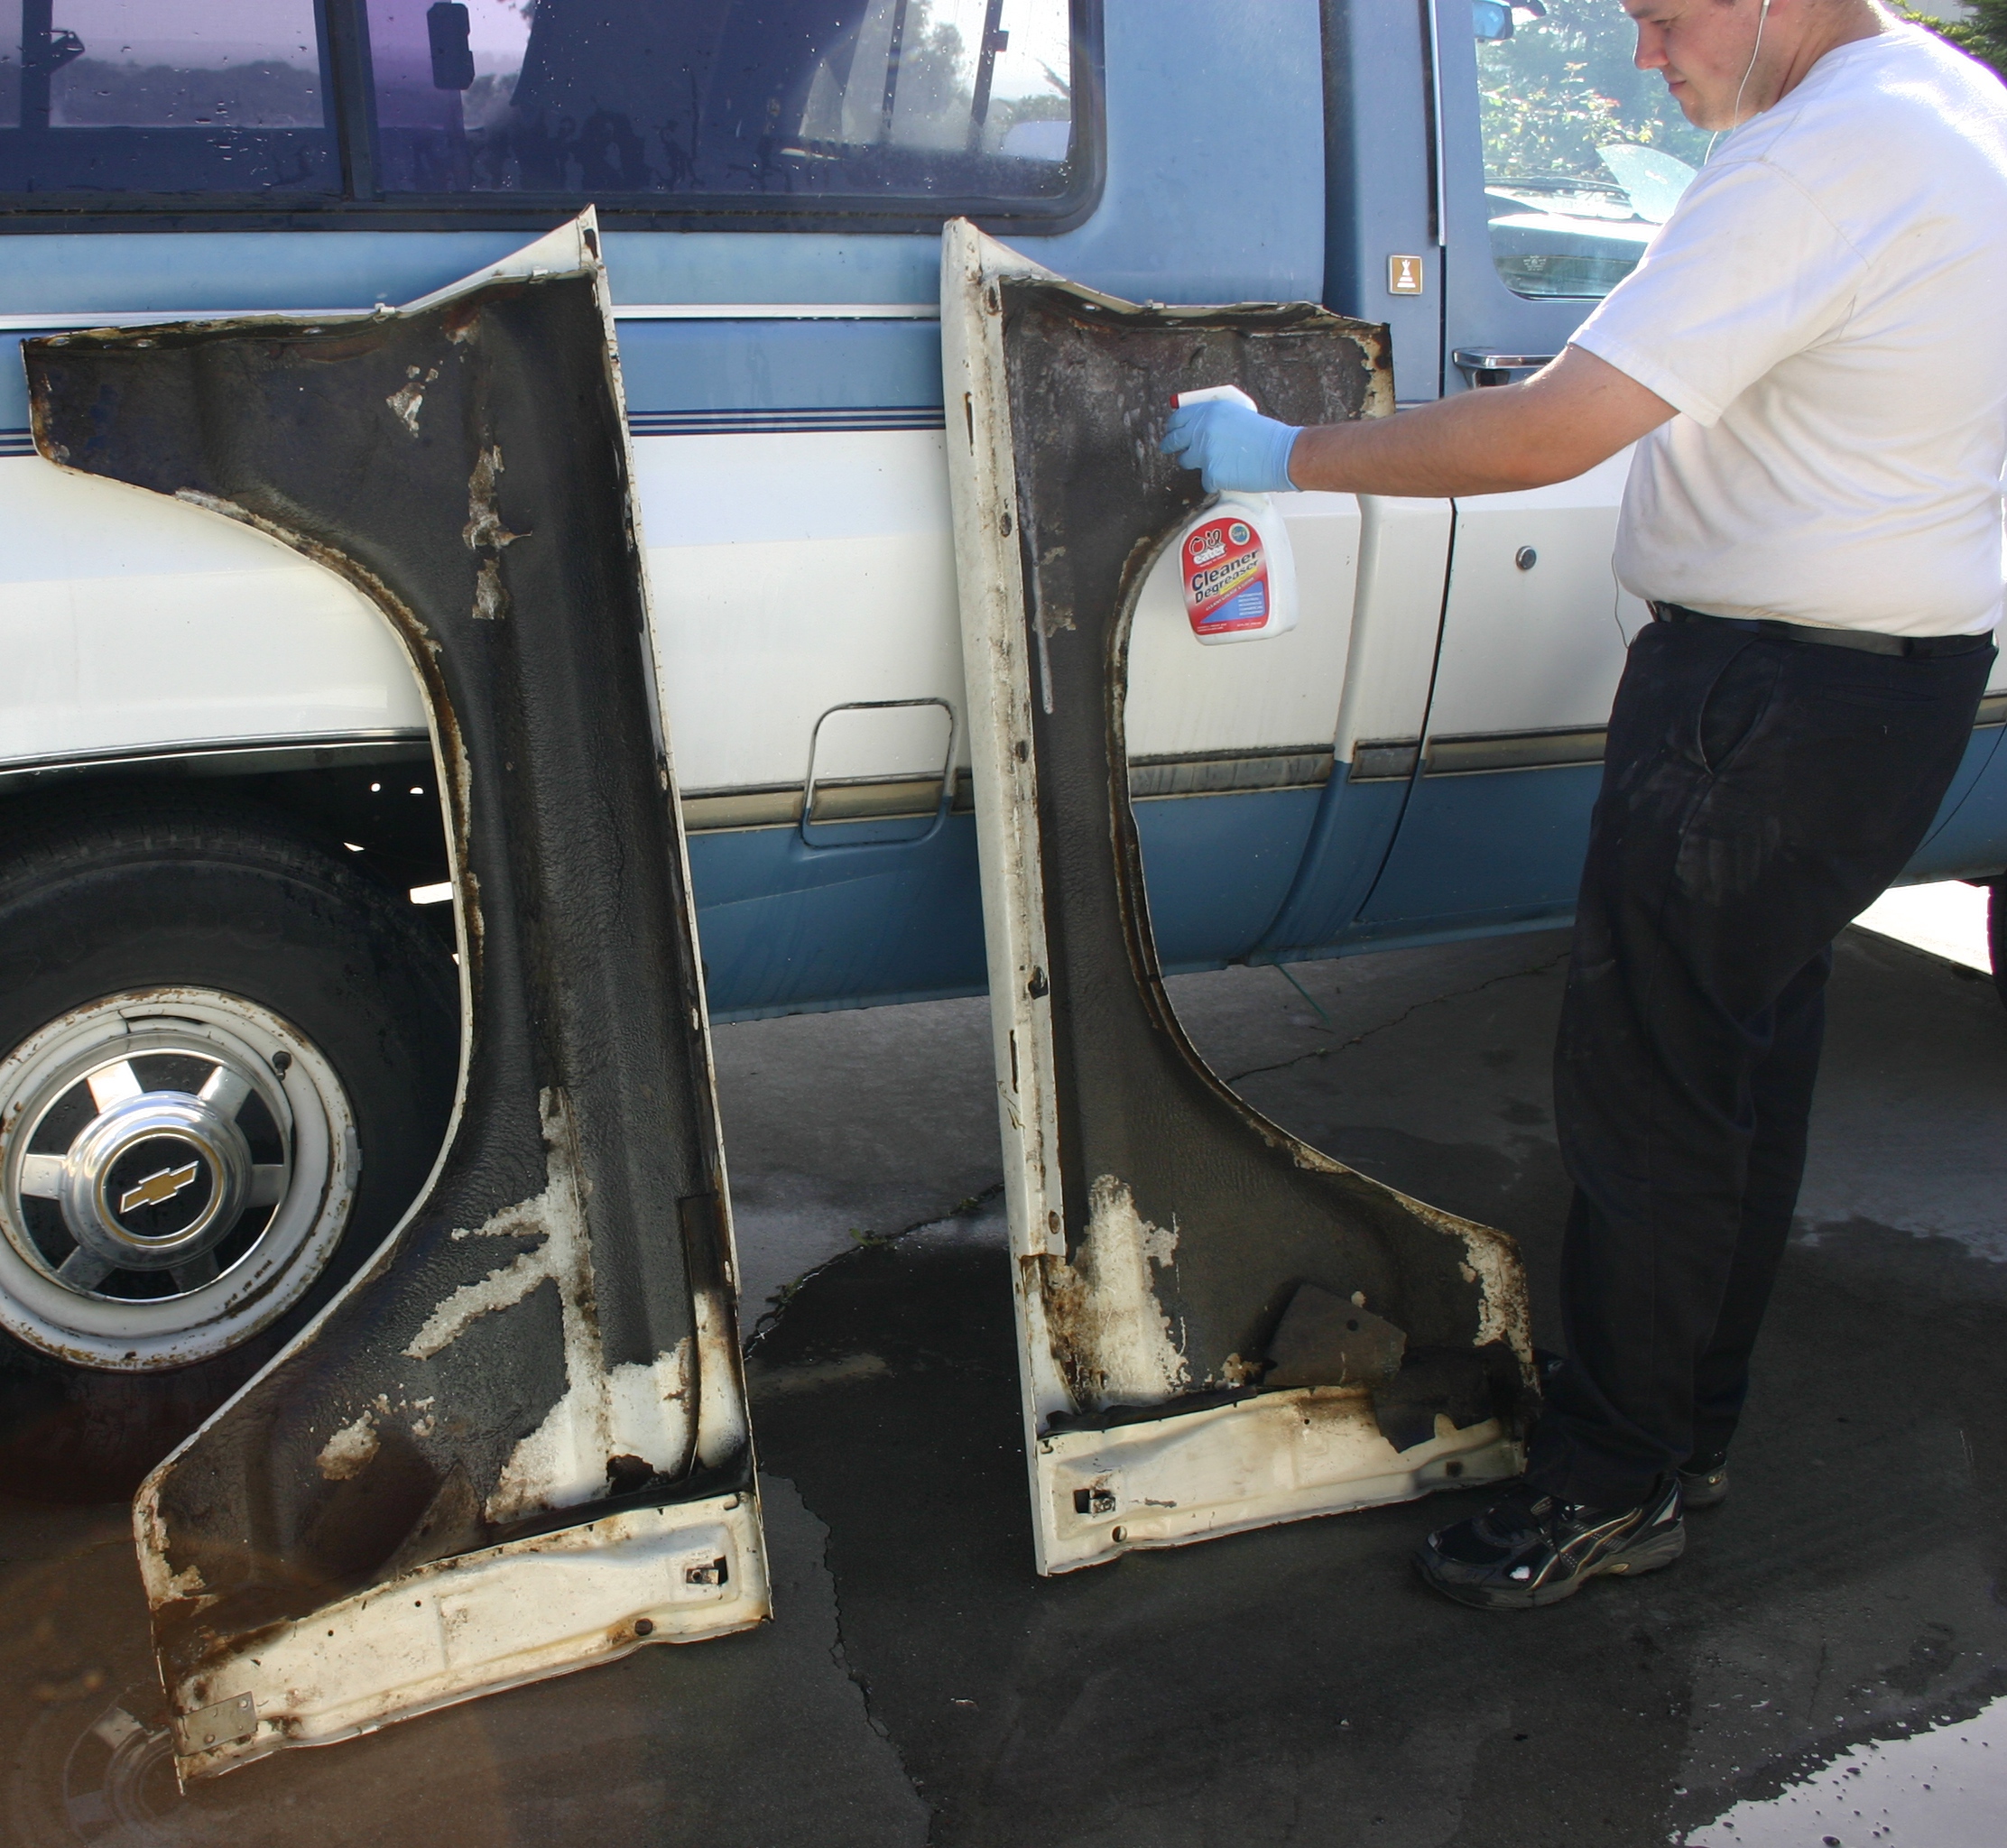
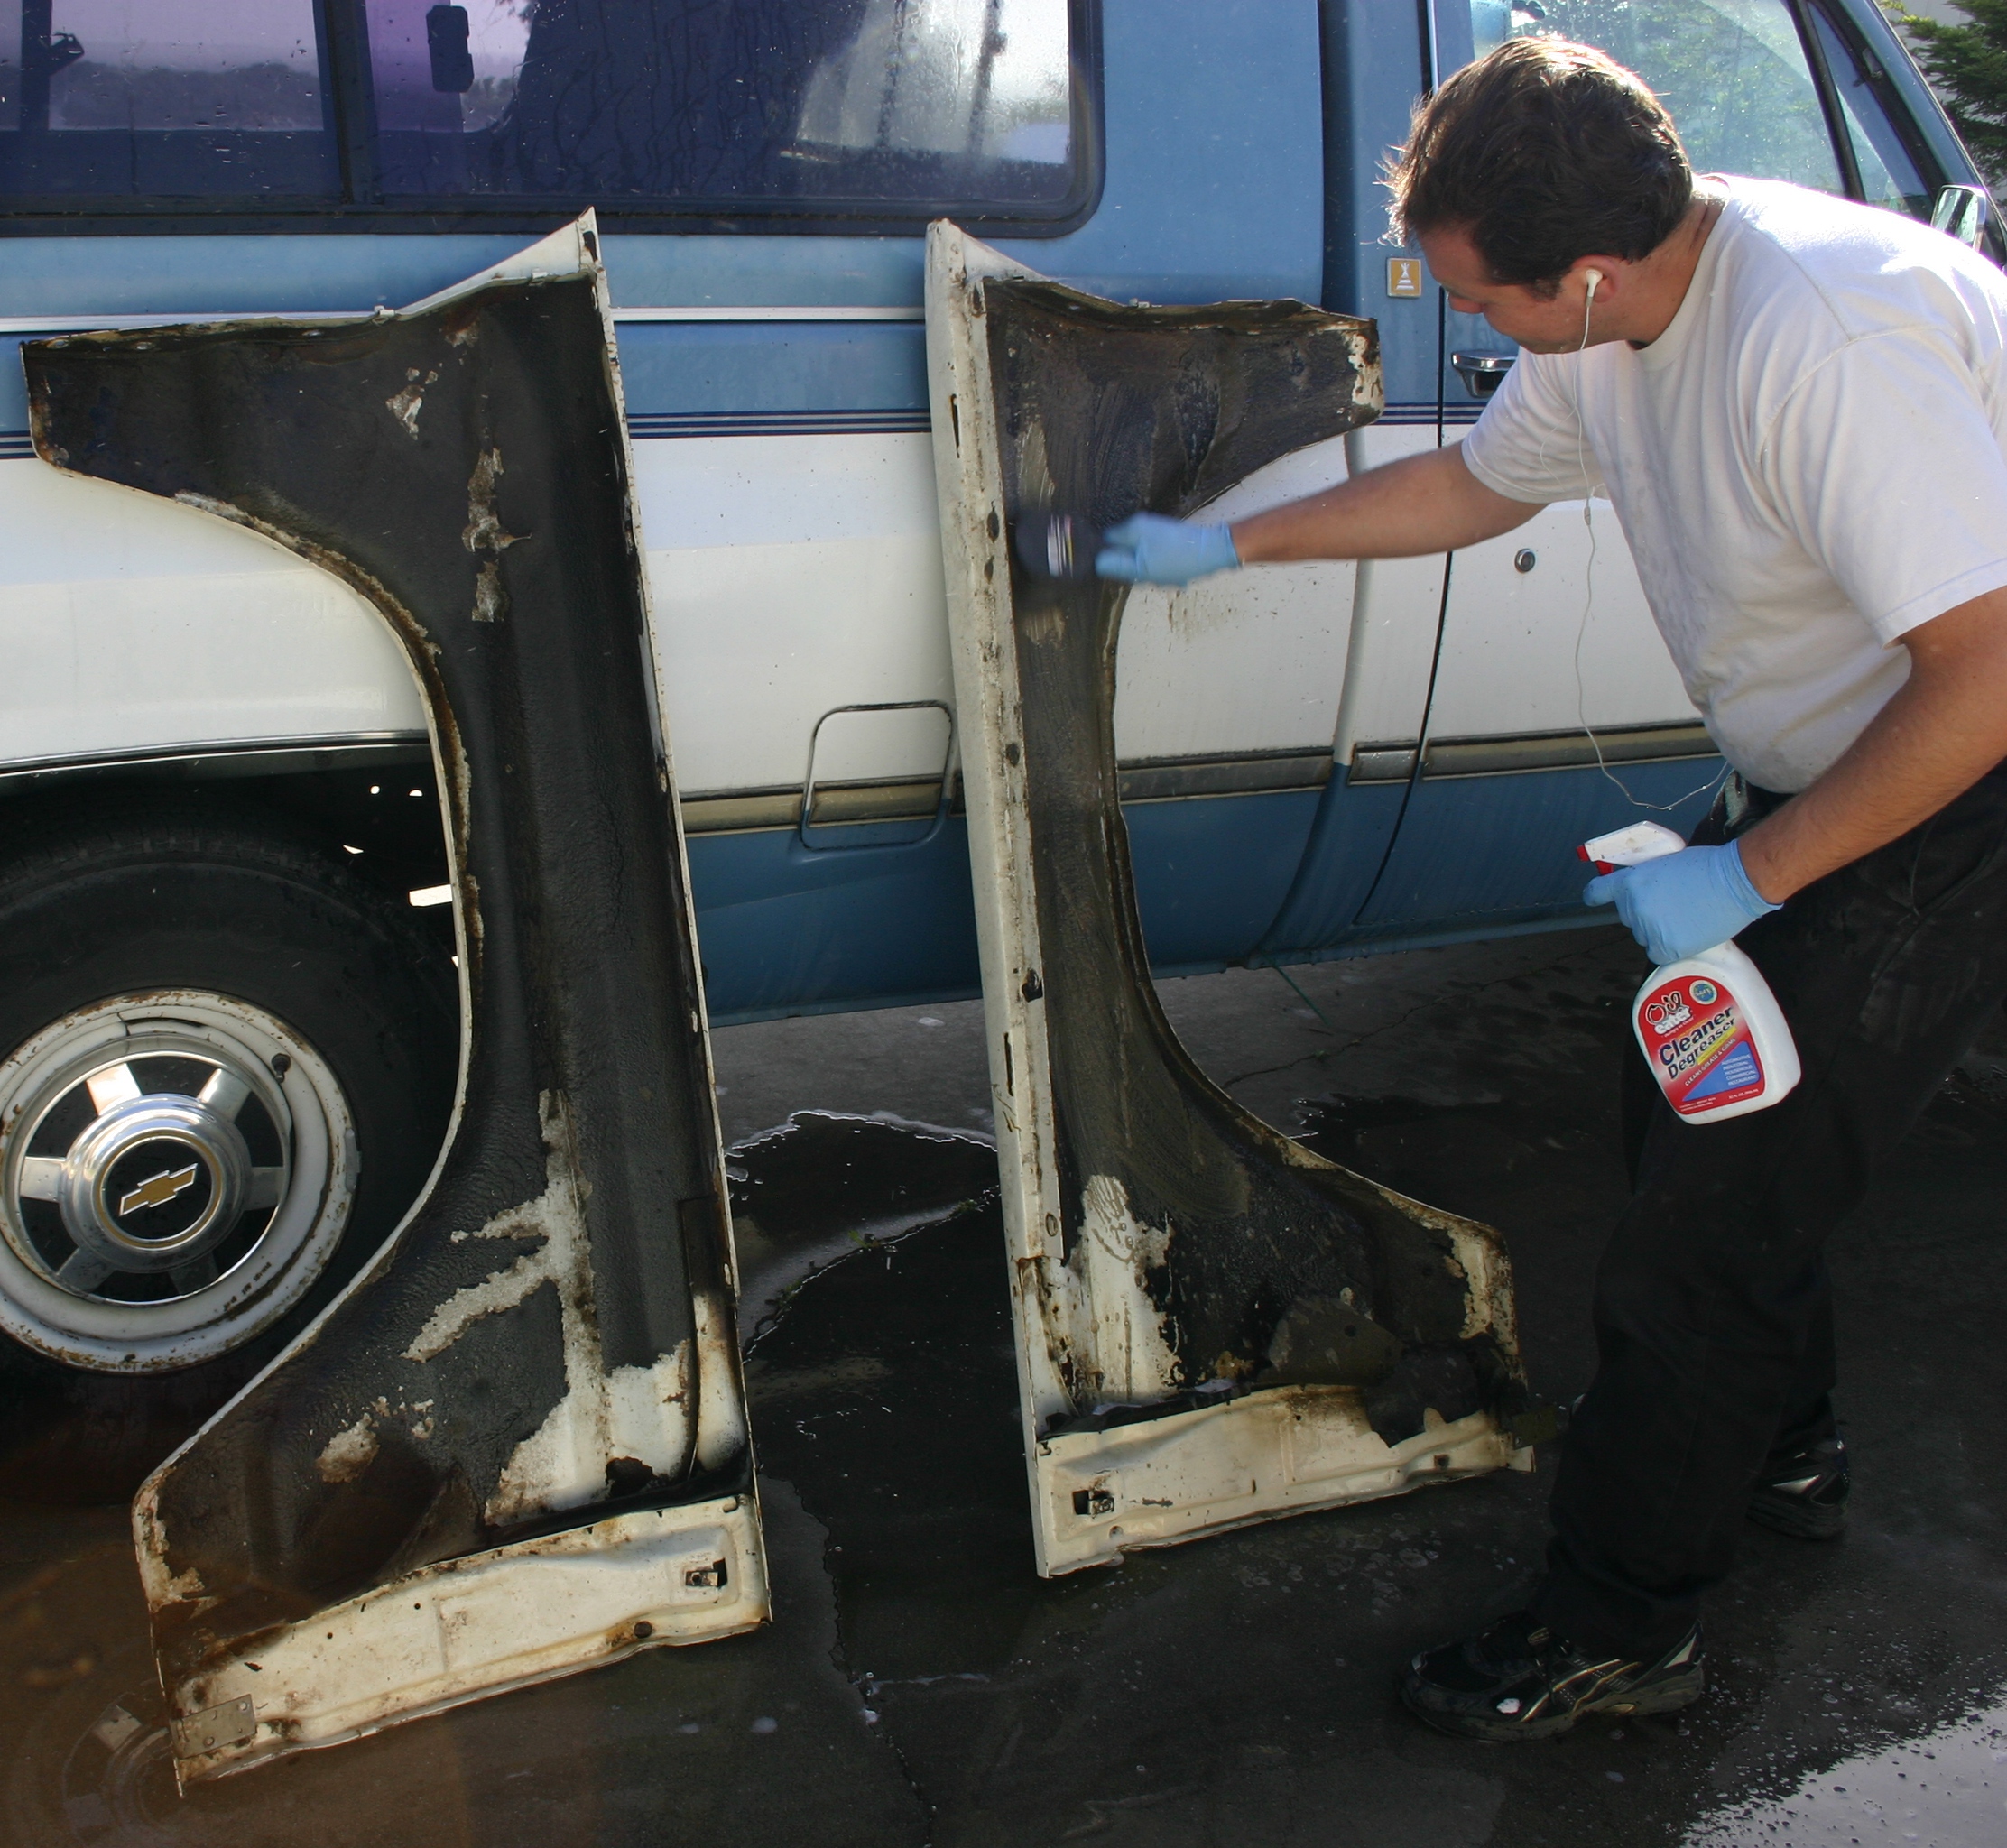
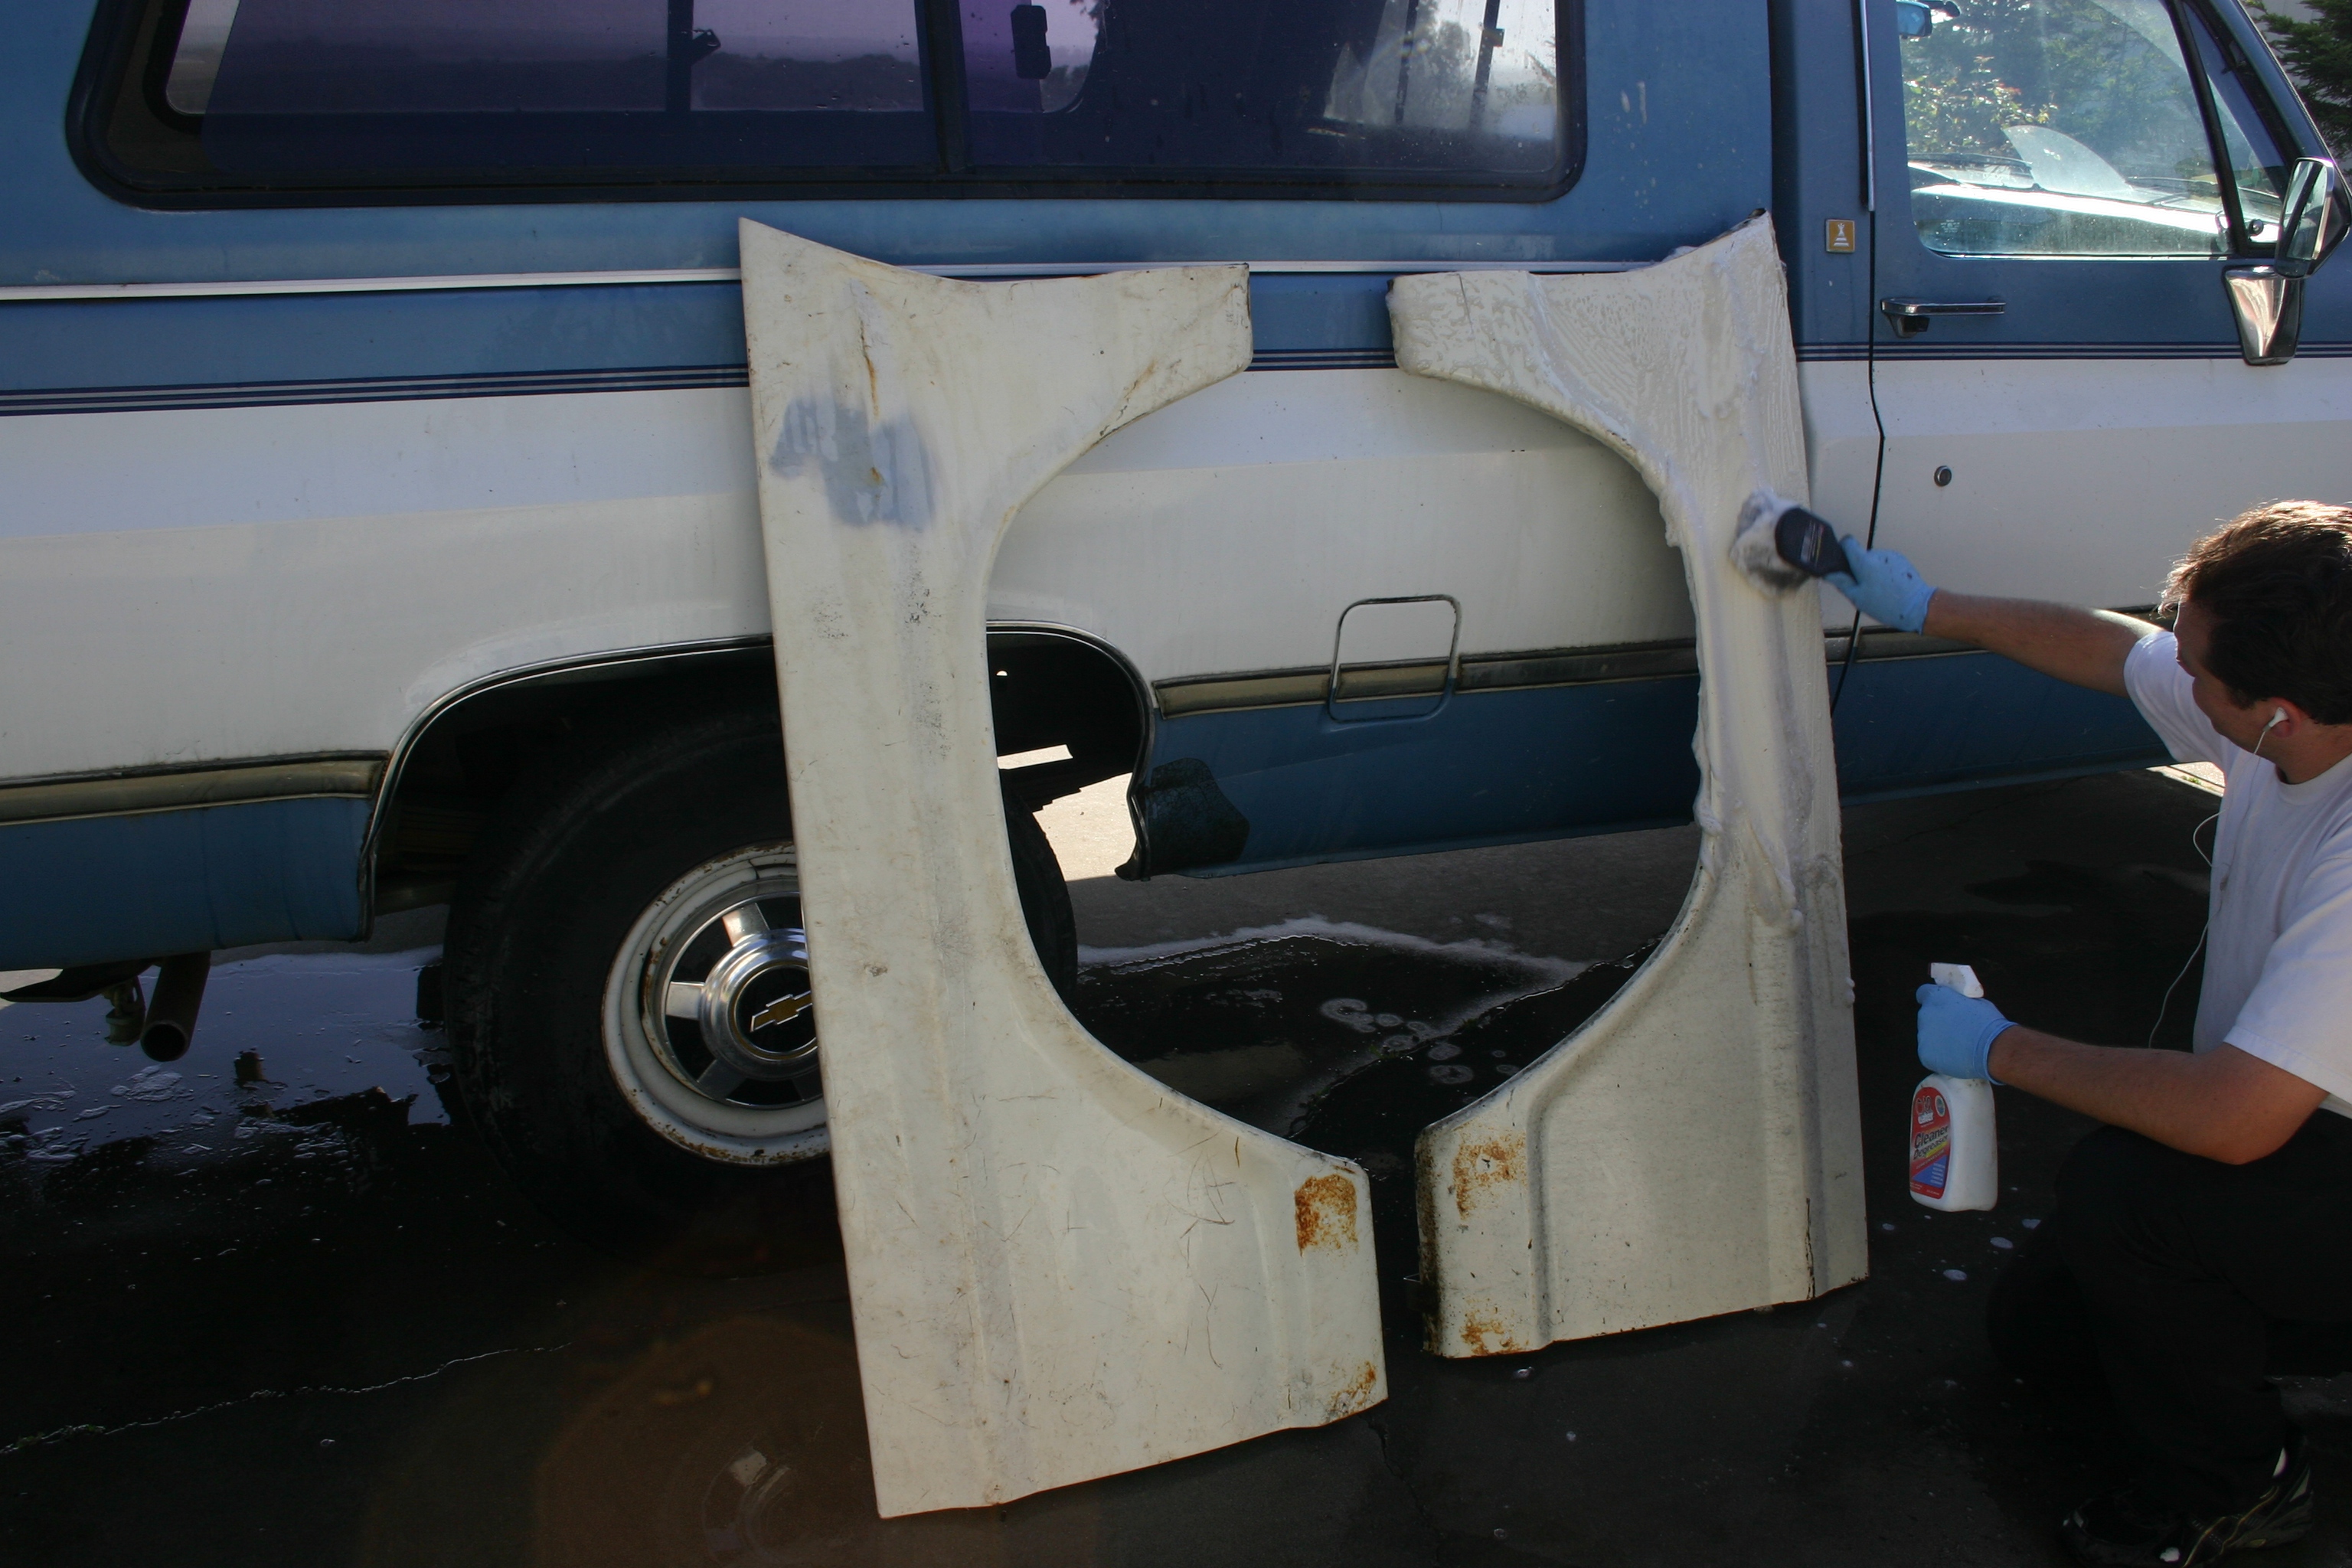
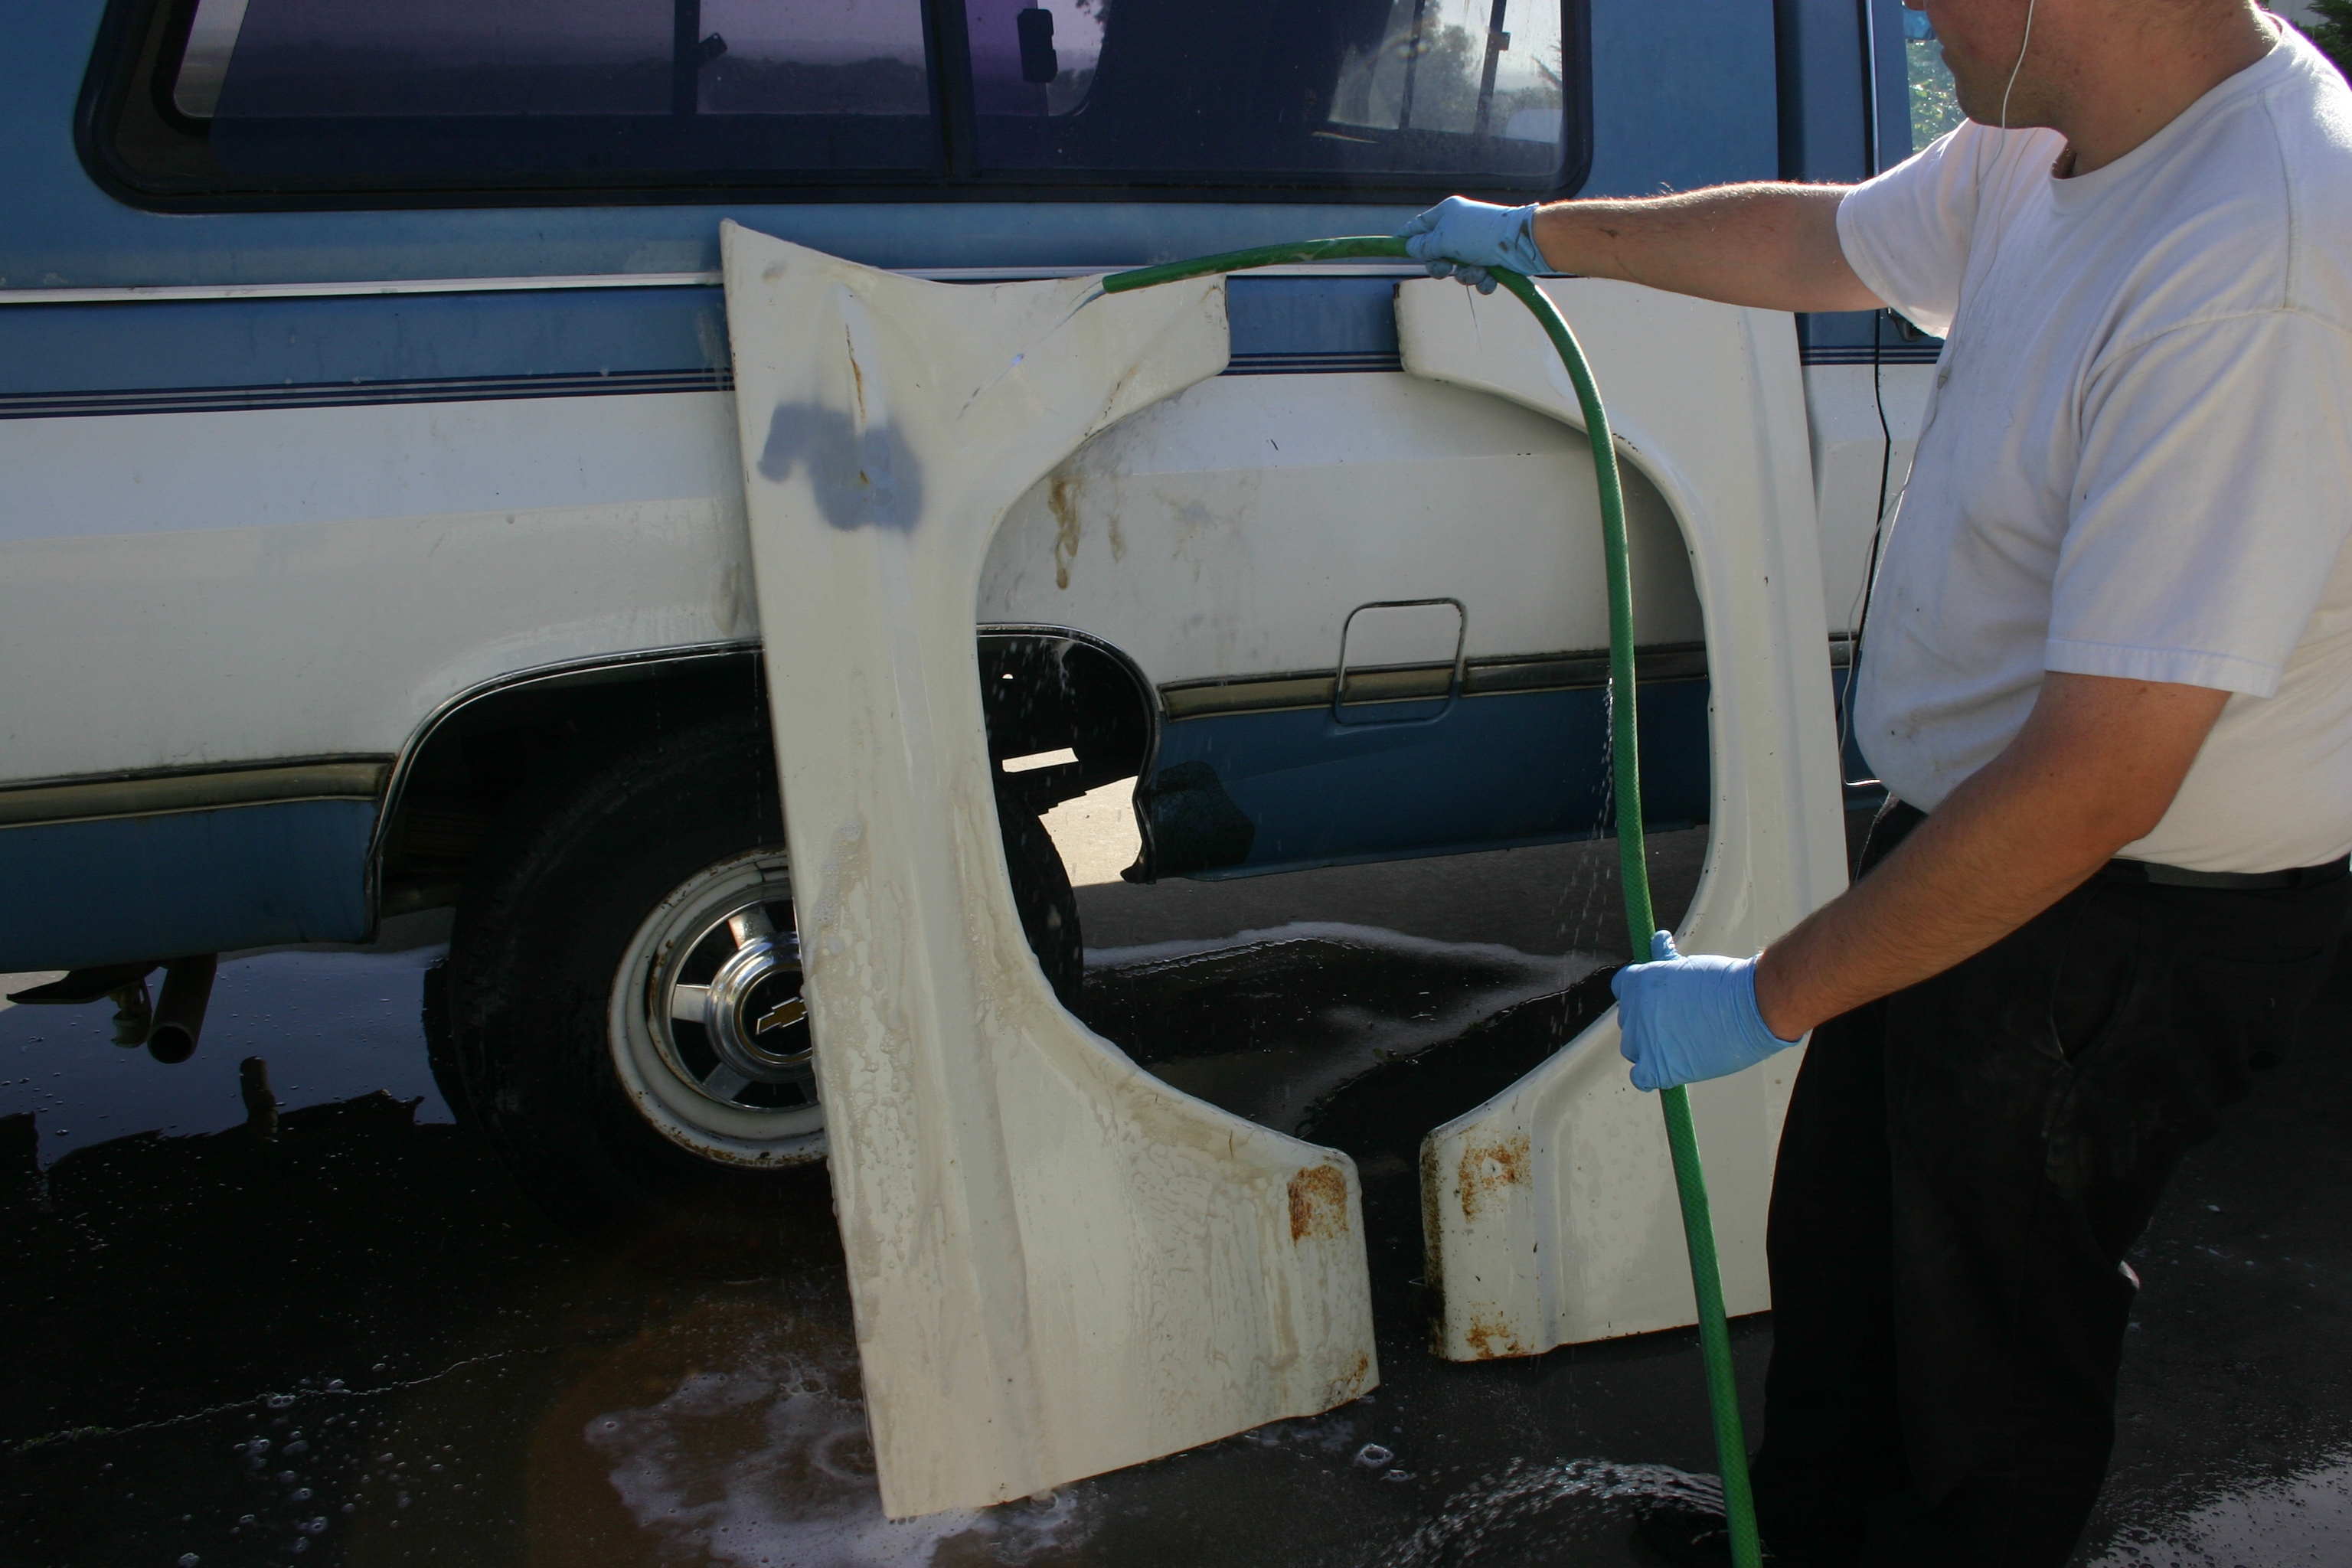
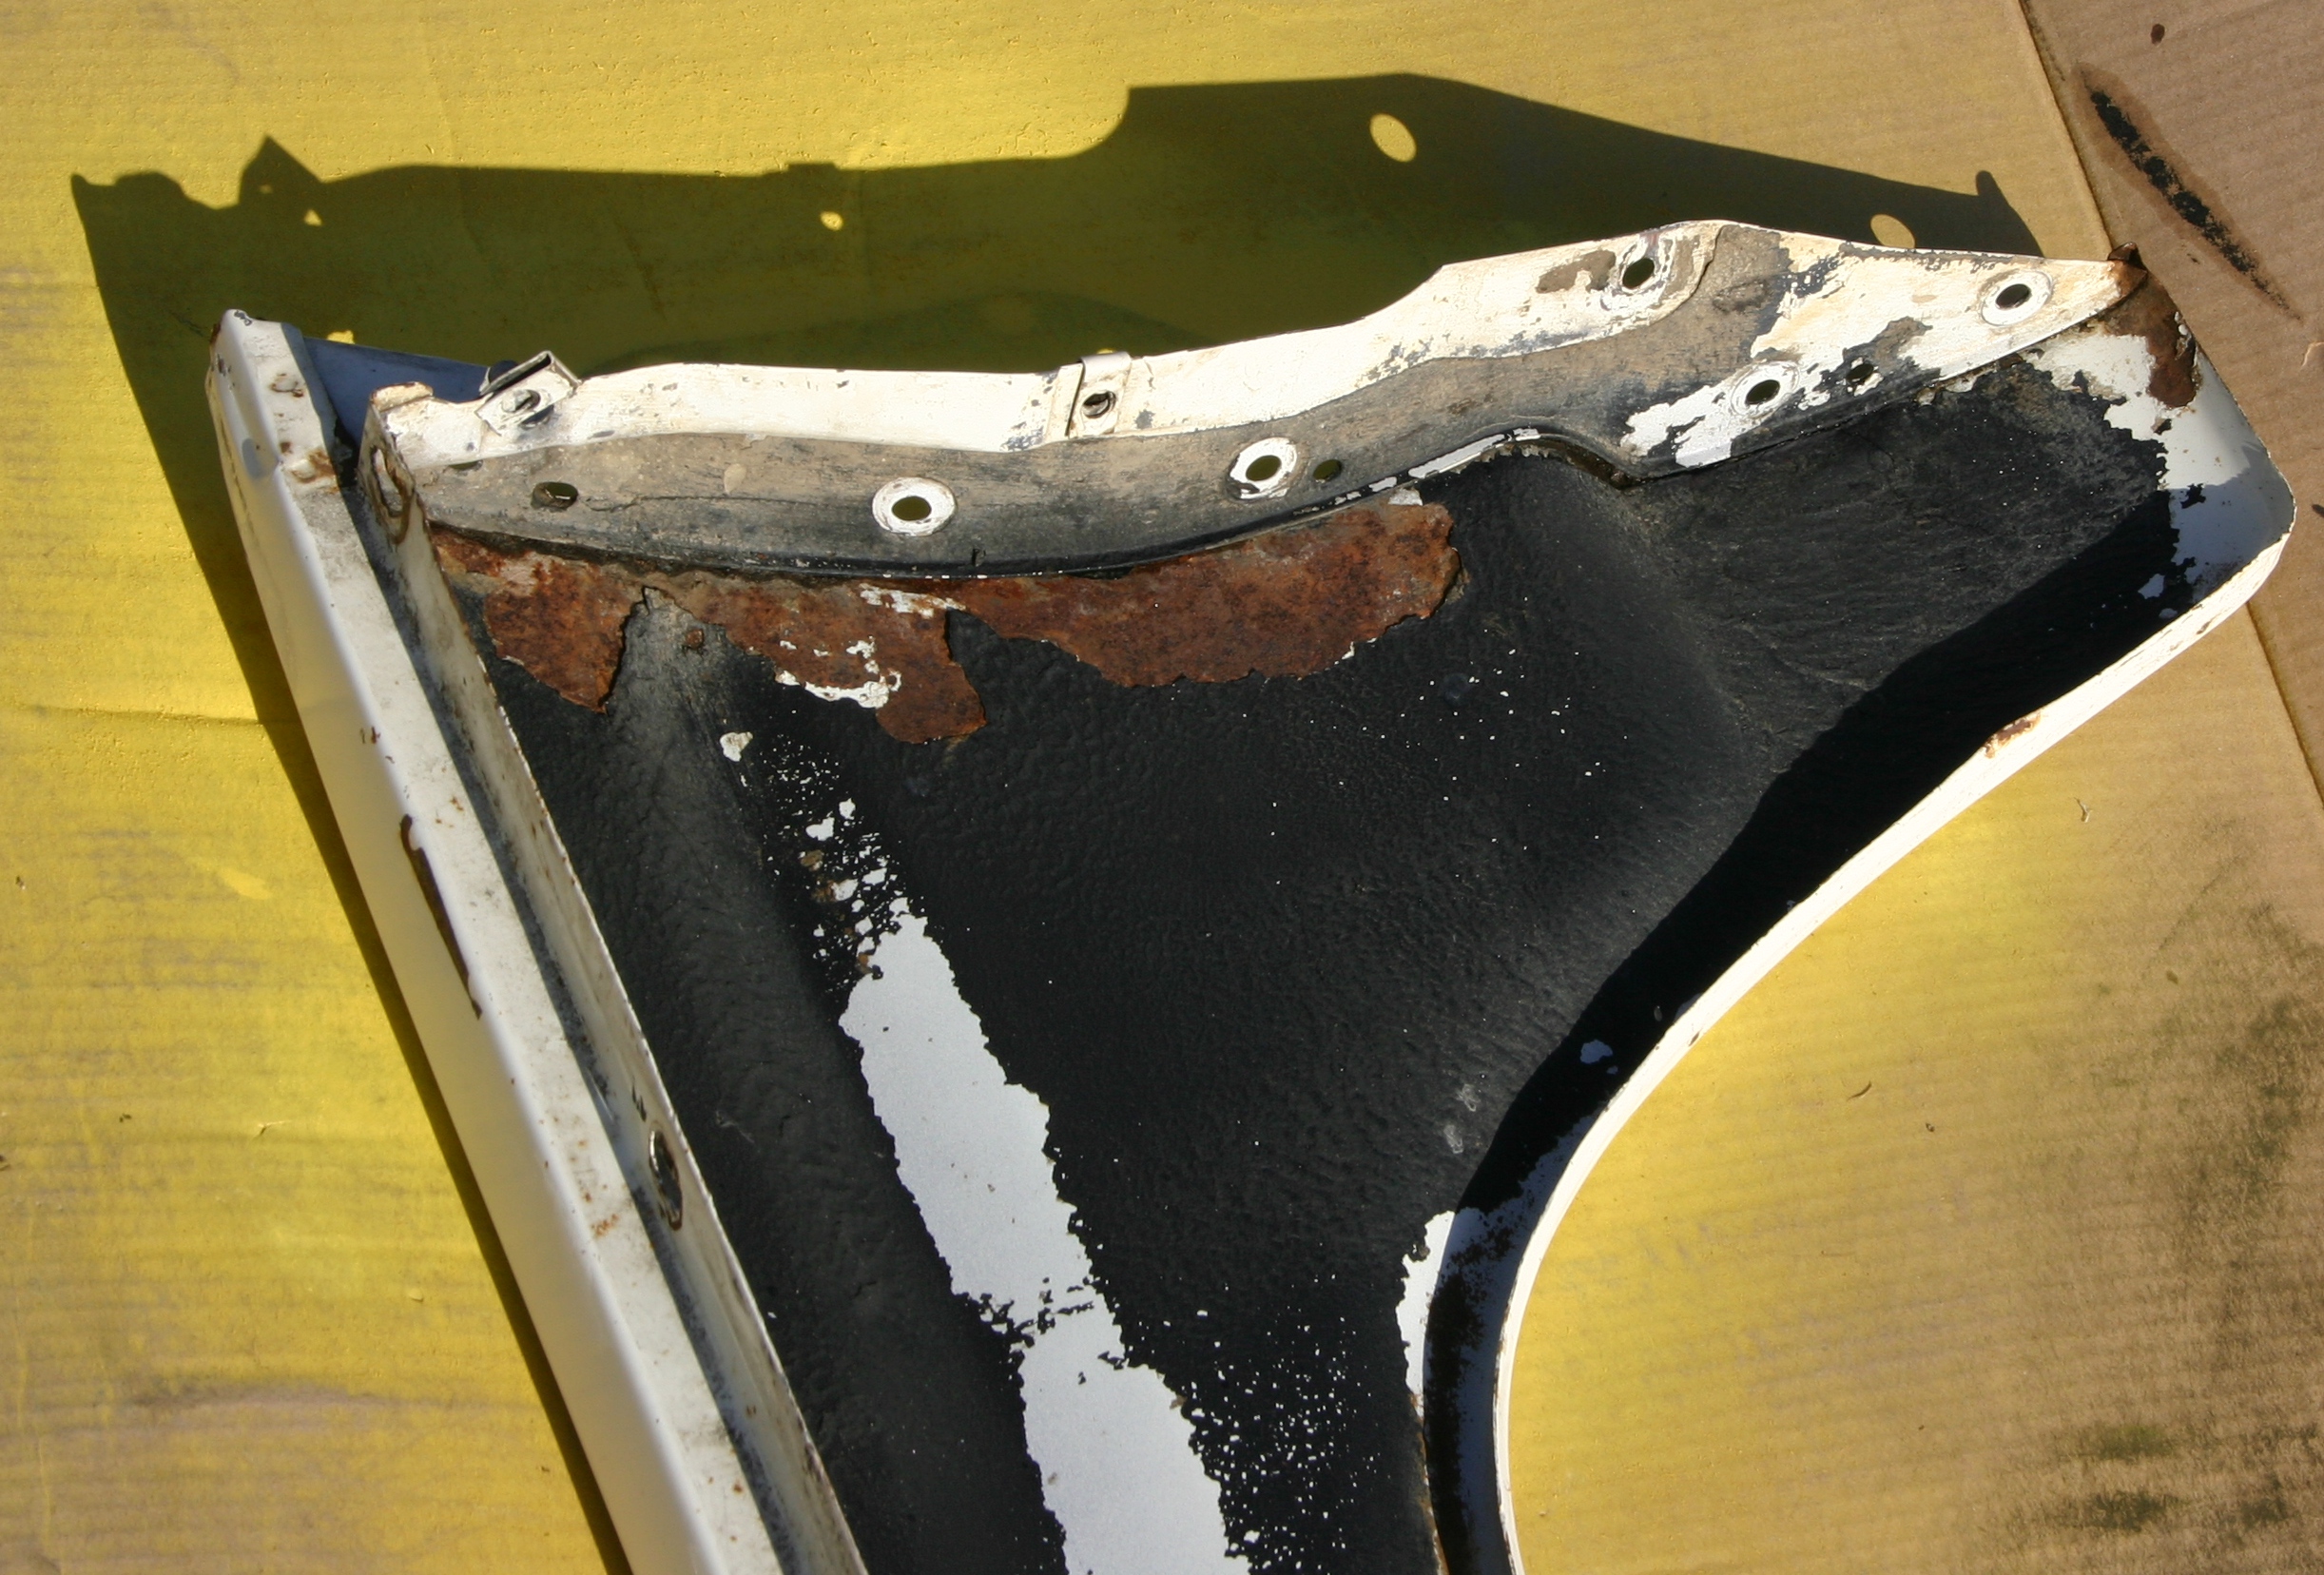
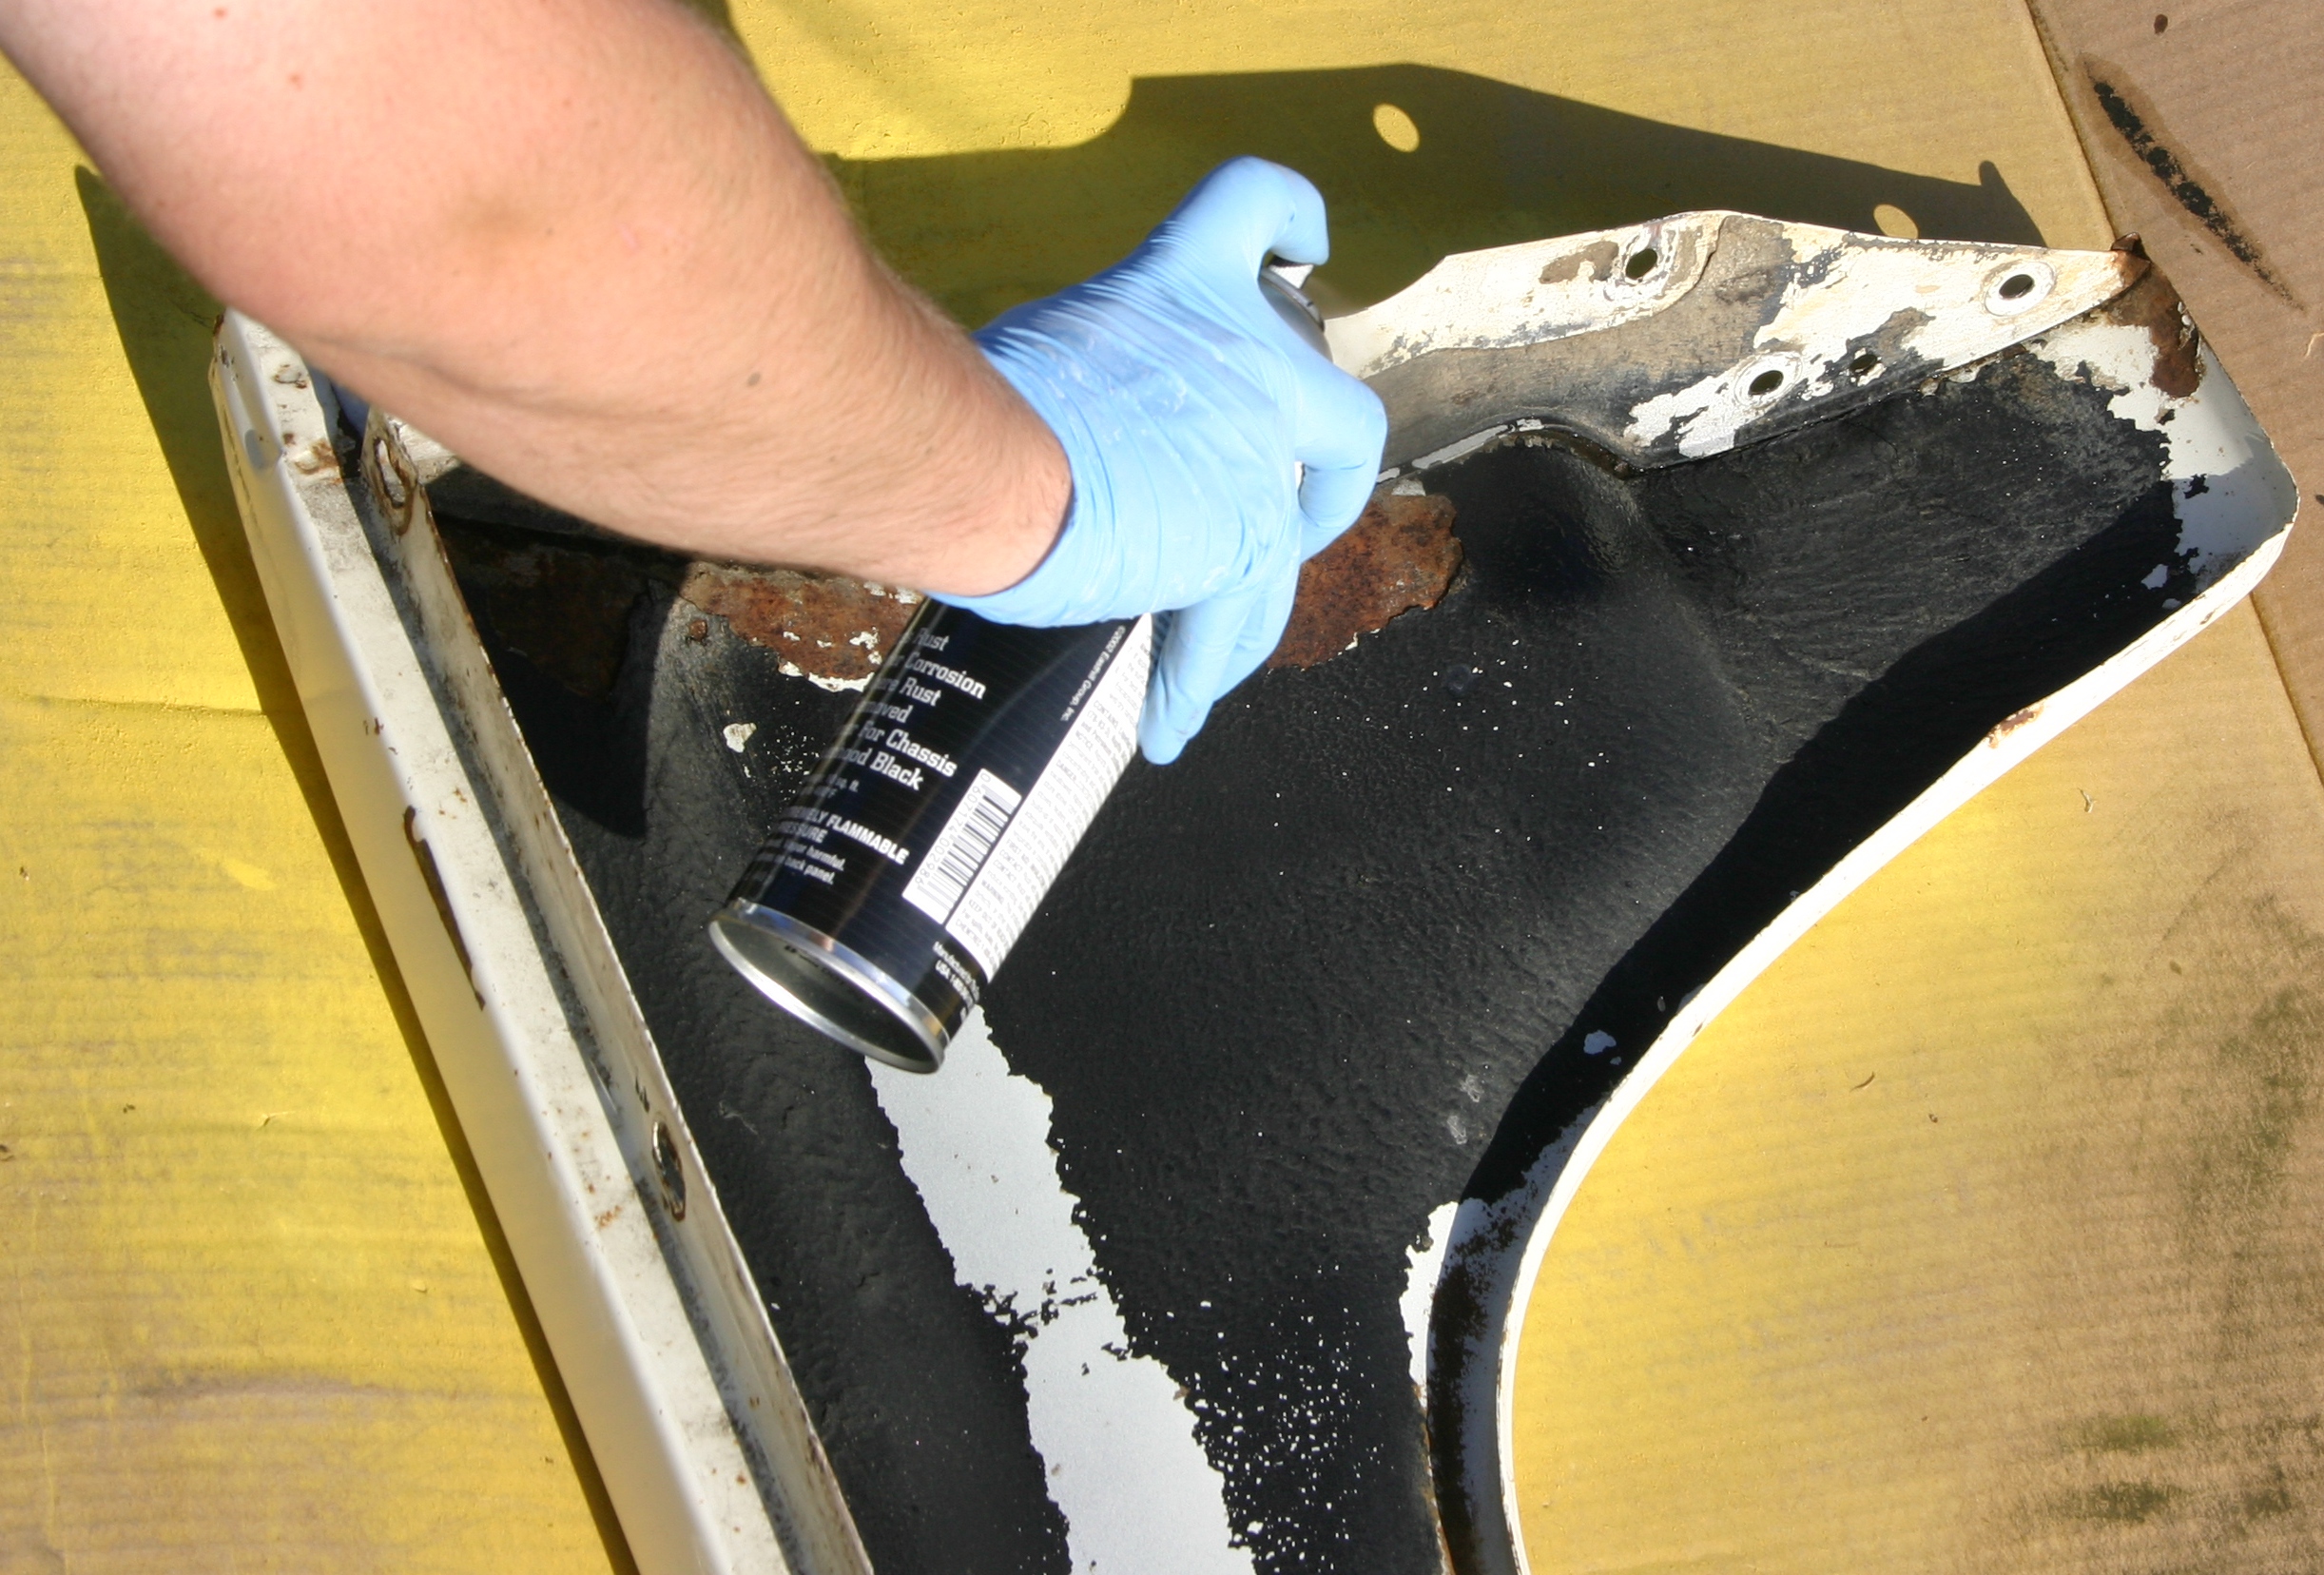
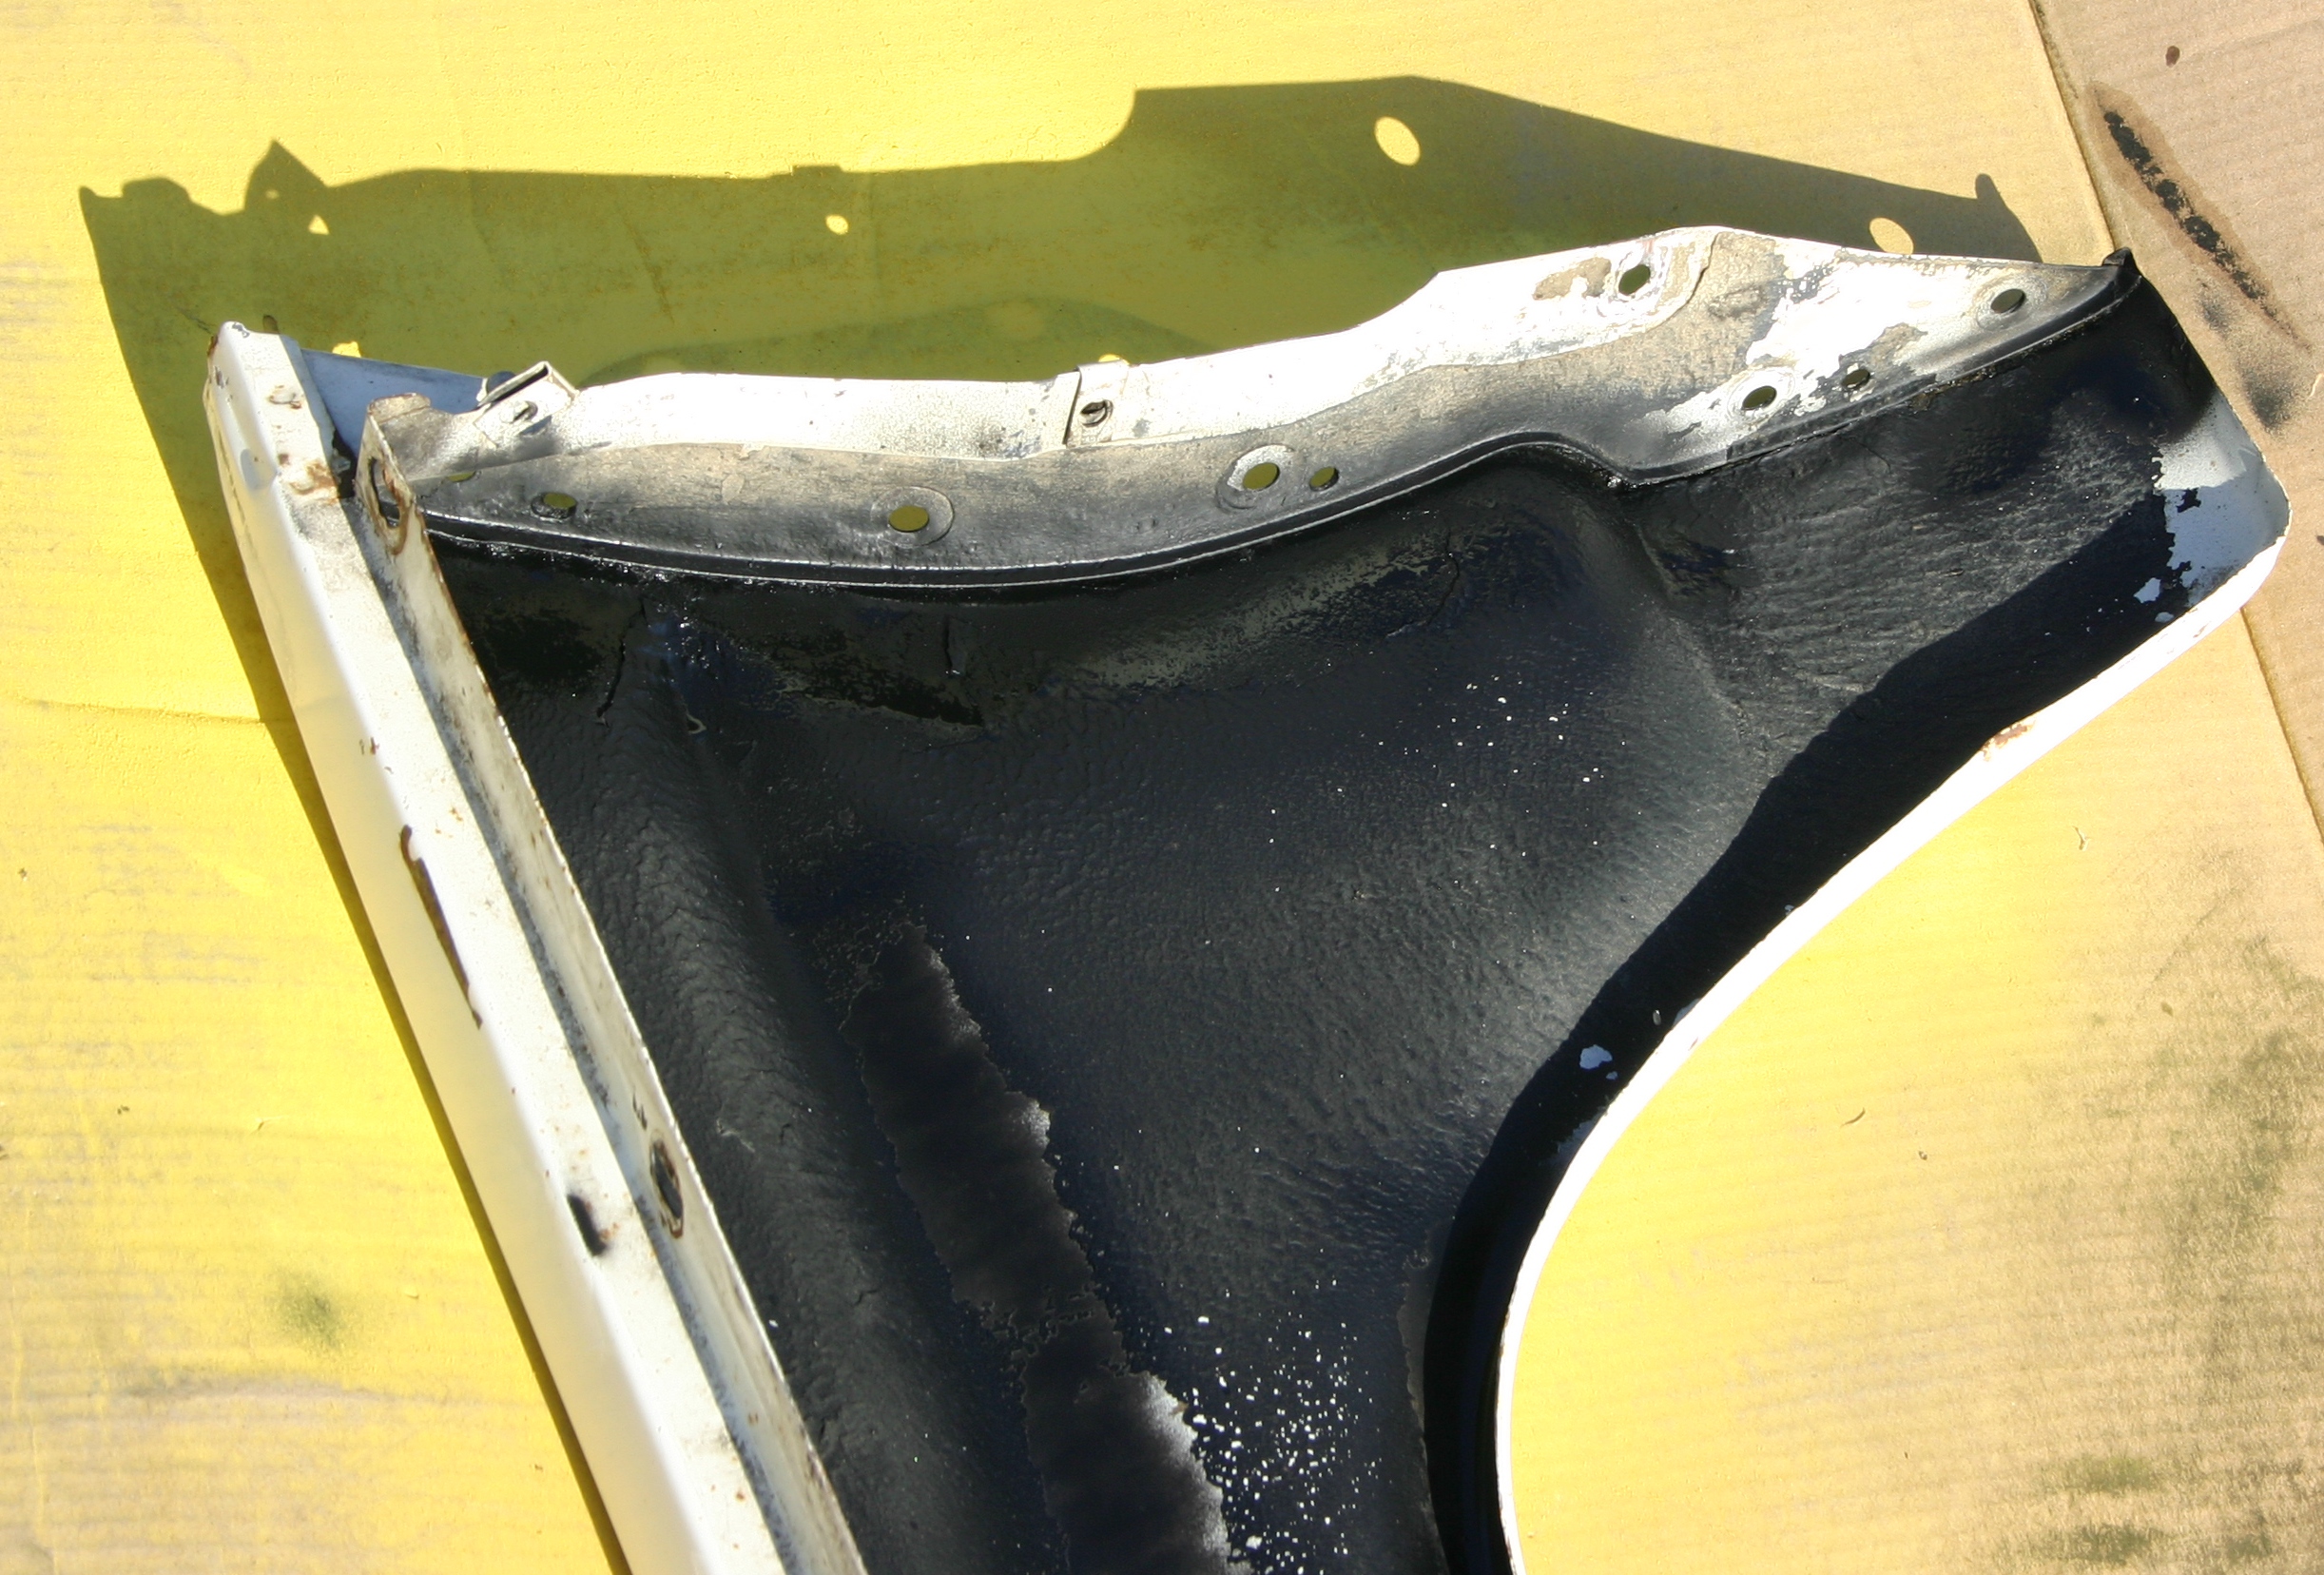
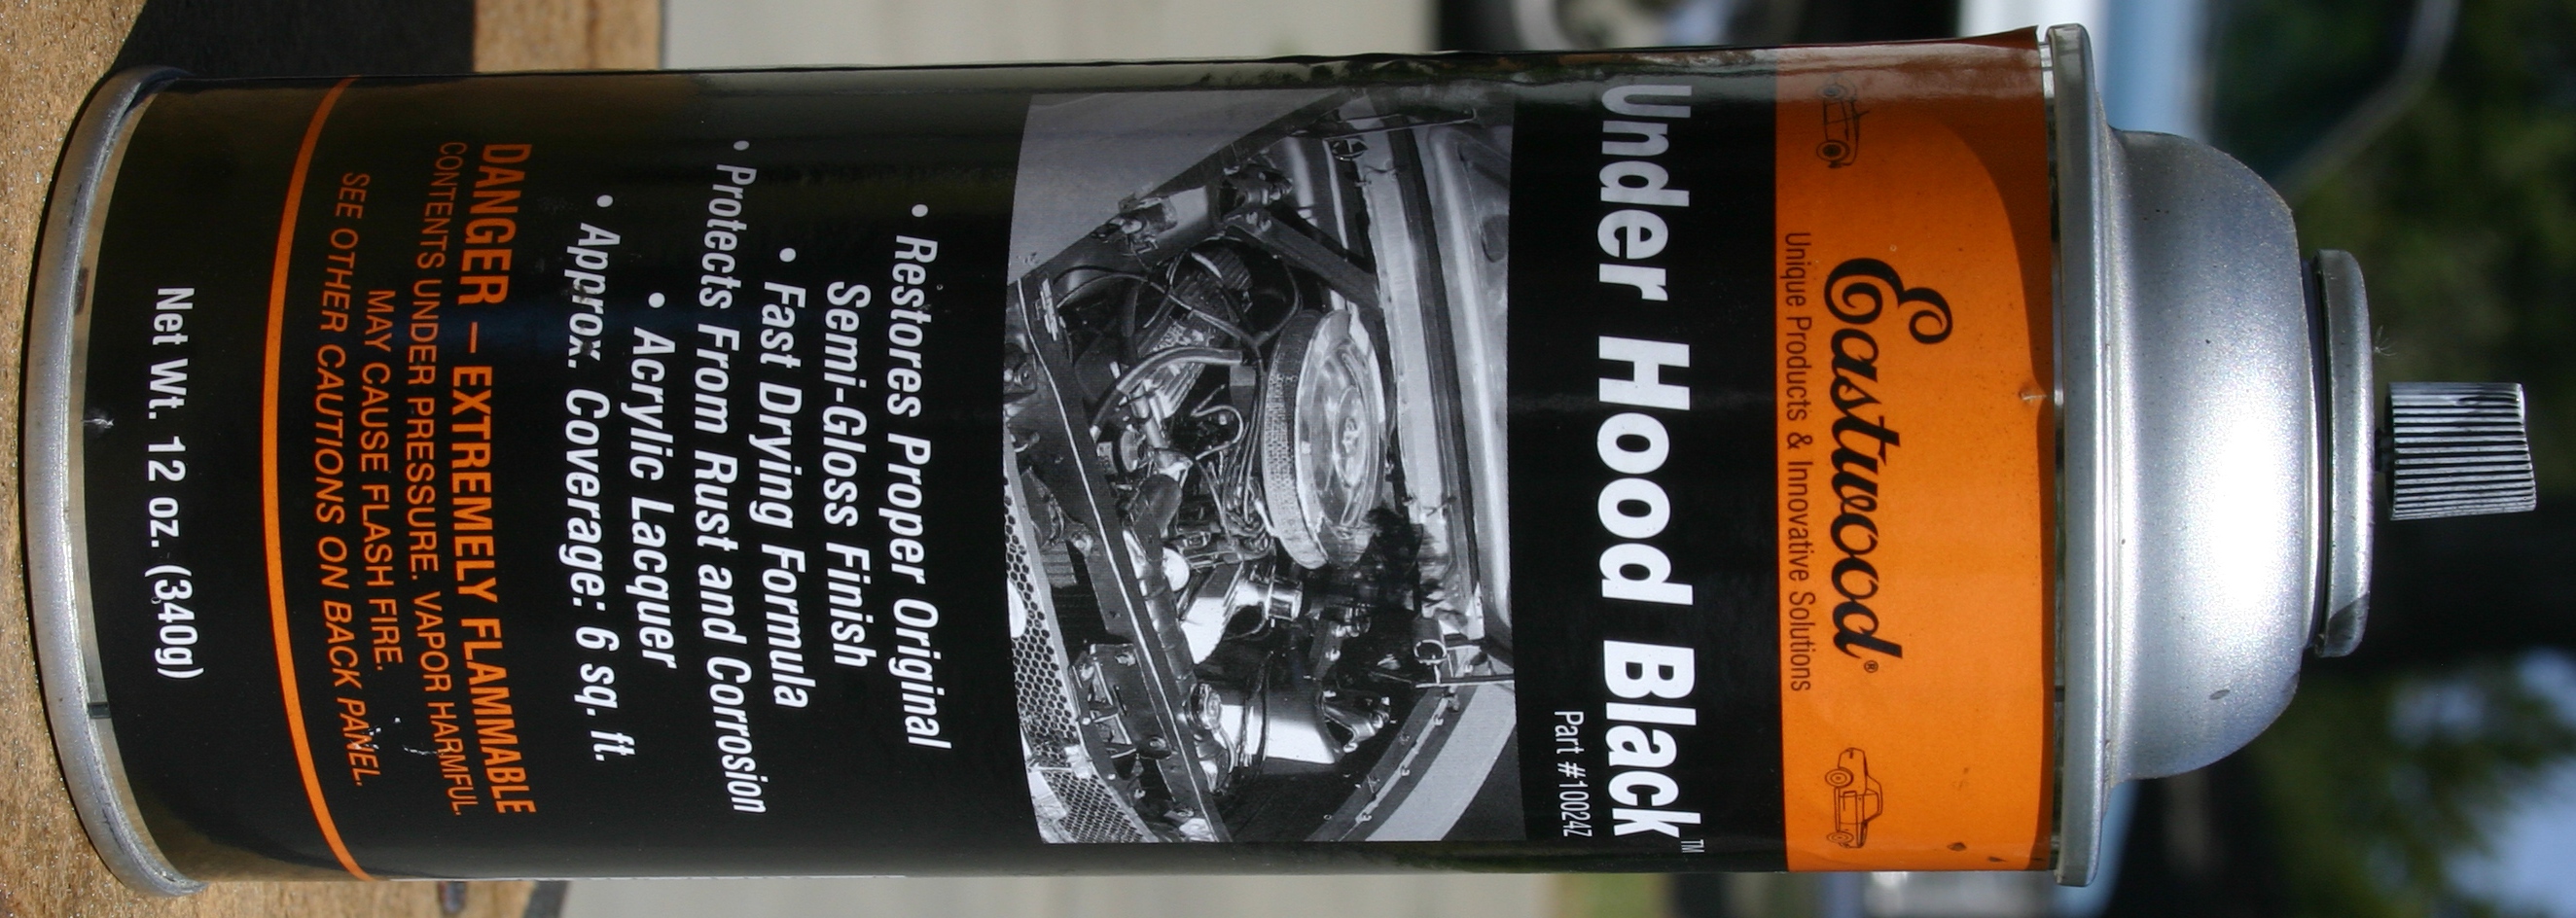
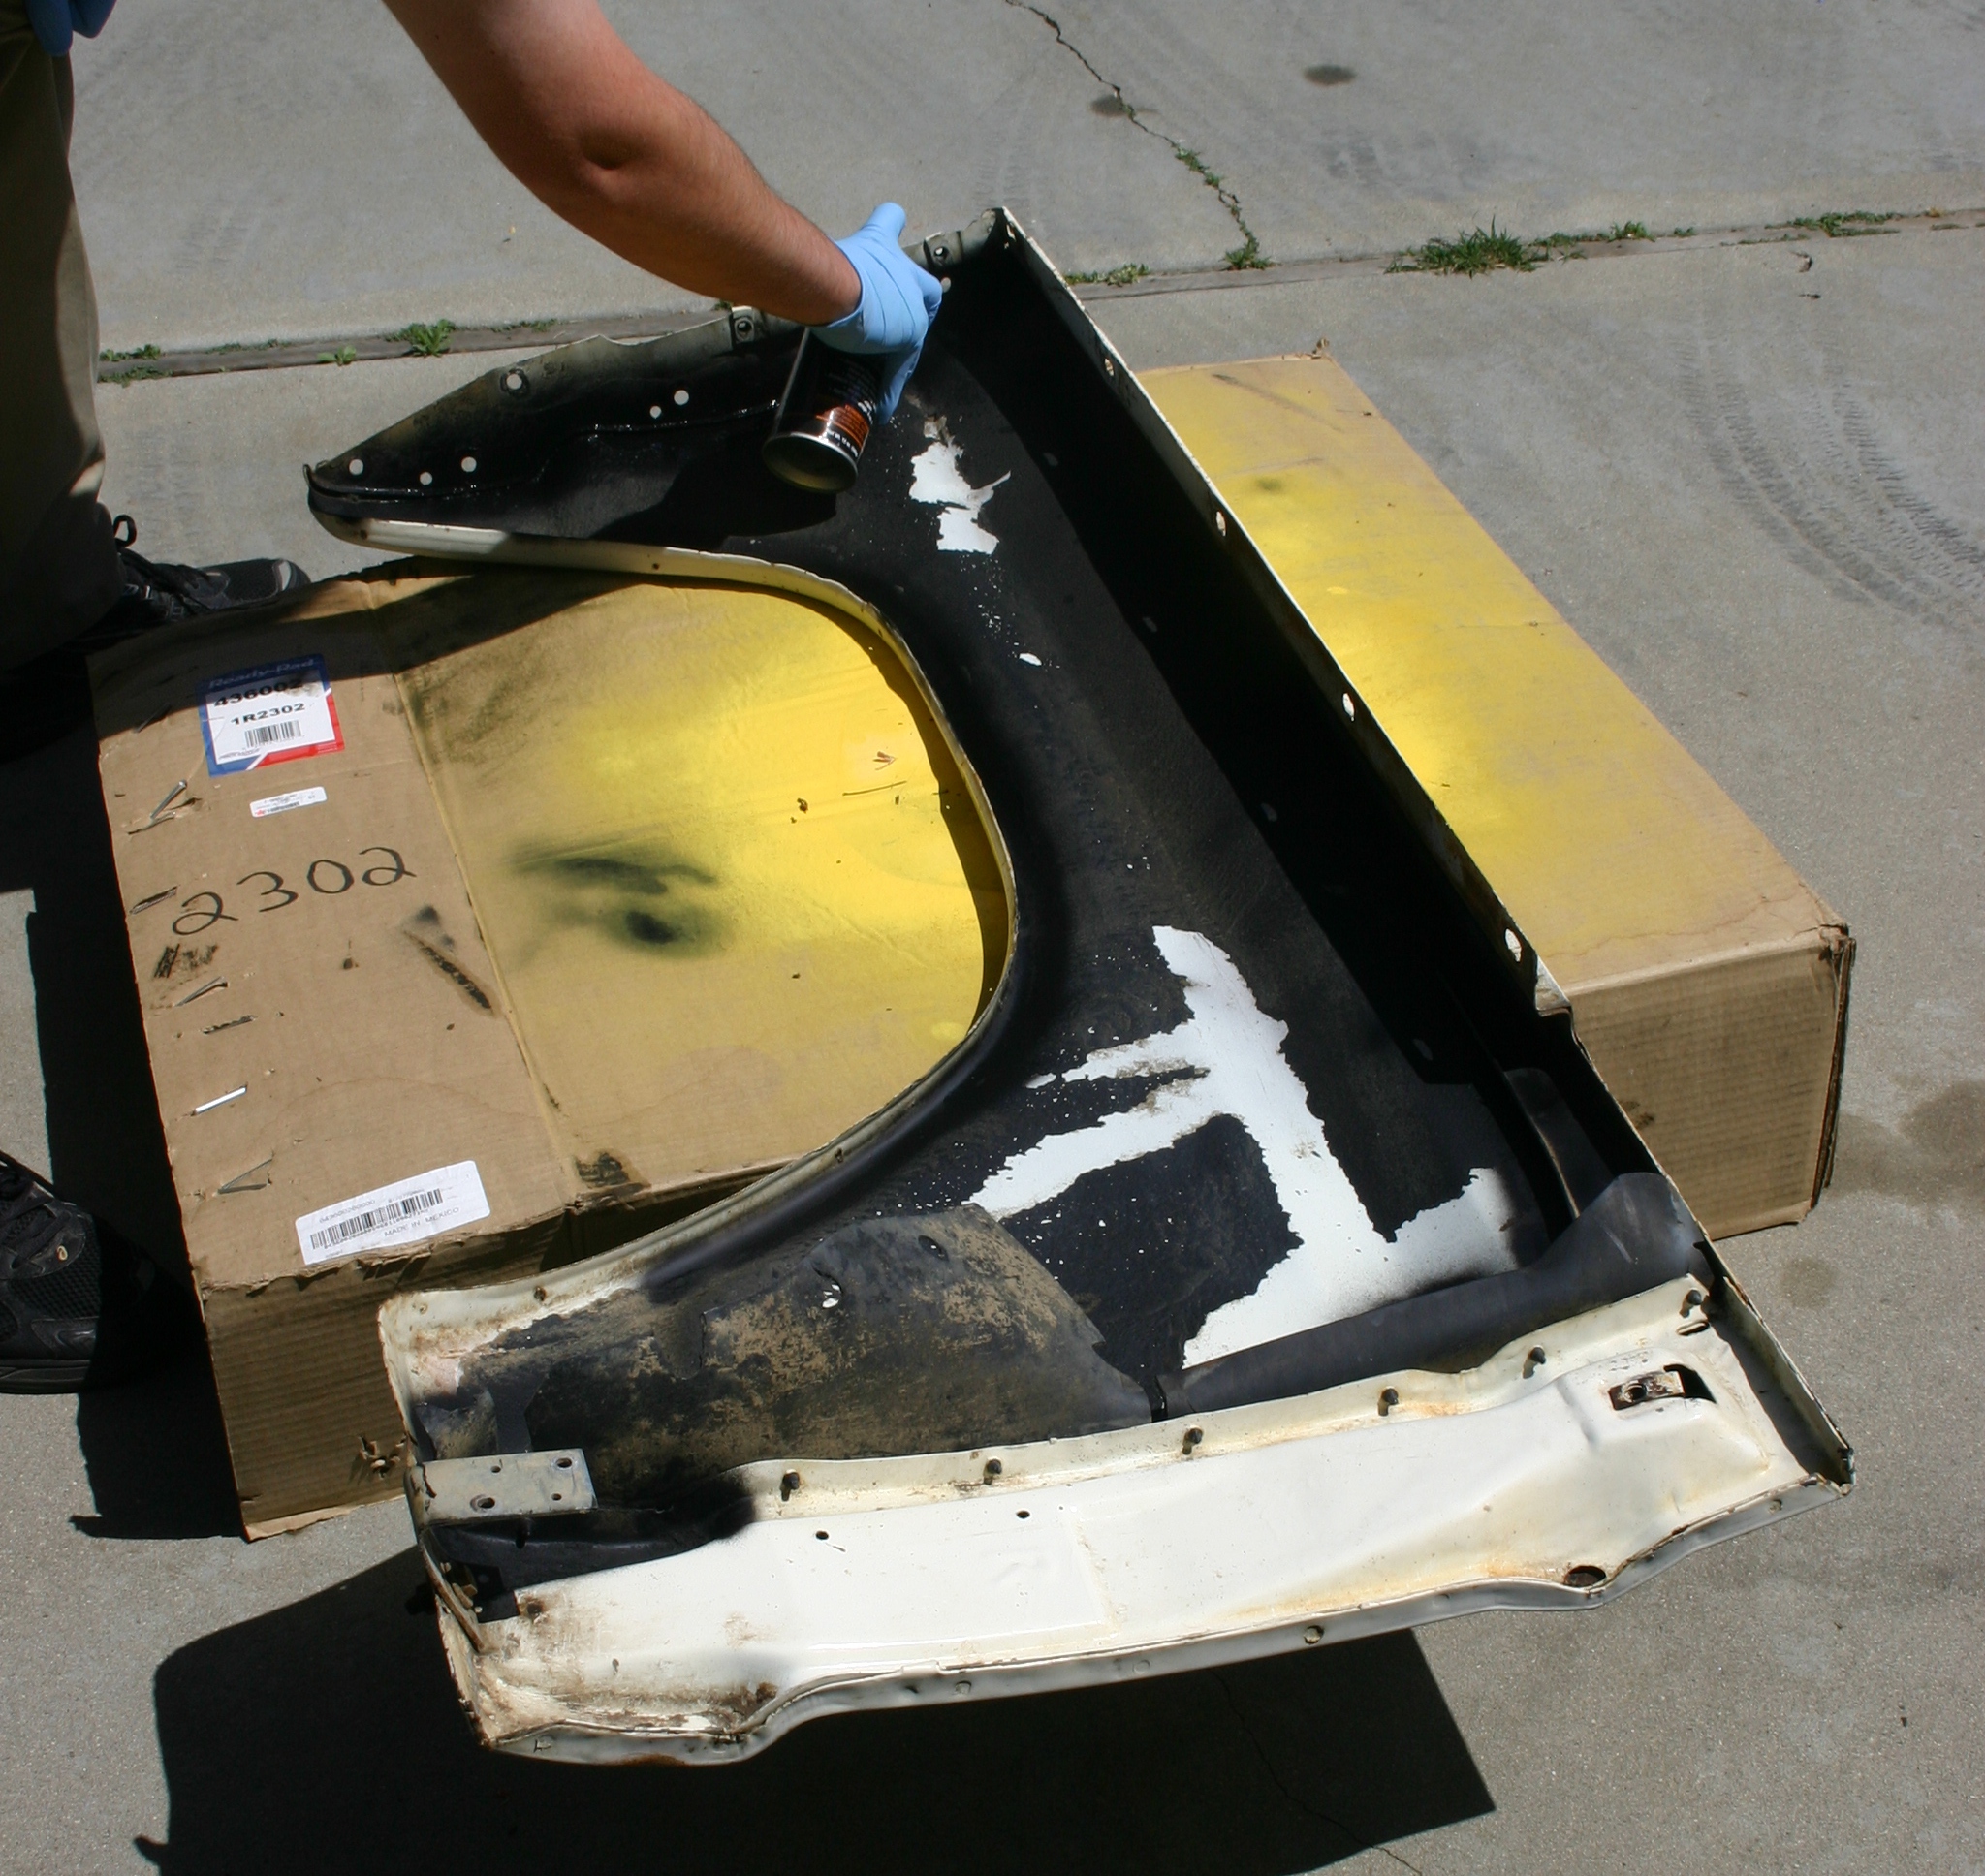
Here I'm putting a top-coat on the surface rust areas. I missed the ideal top-coat time (24 hours after Rust Encapsulator), but I figured a top-coat would still be a good idea. I sprayed with an Eastwood Under Hood Black rattle-can. This stuff dries
quickly!


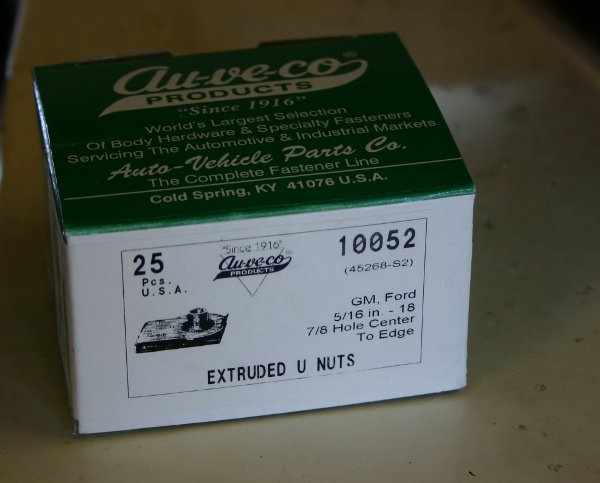
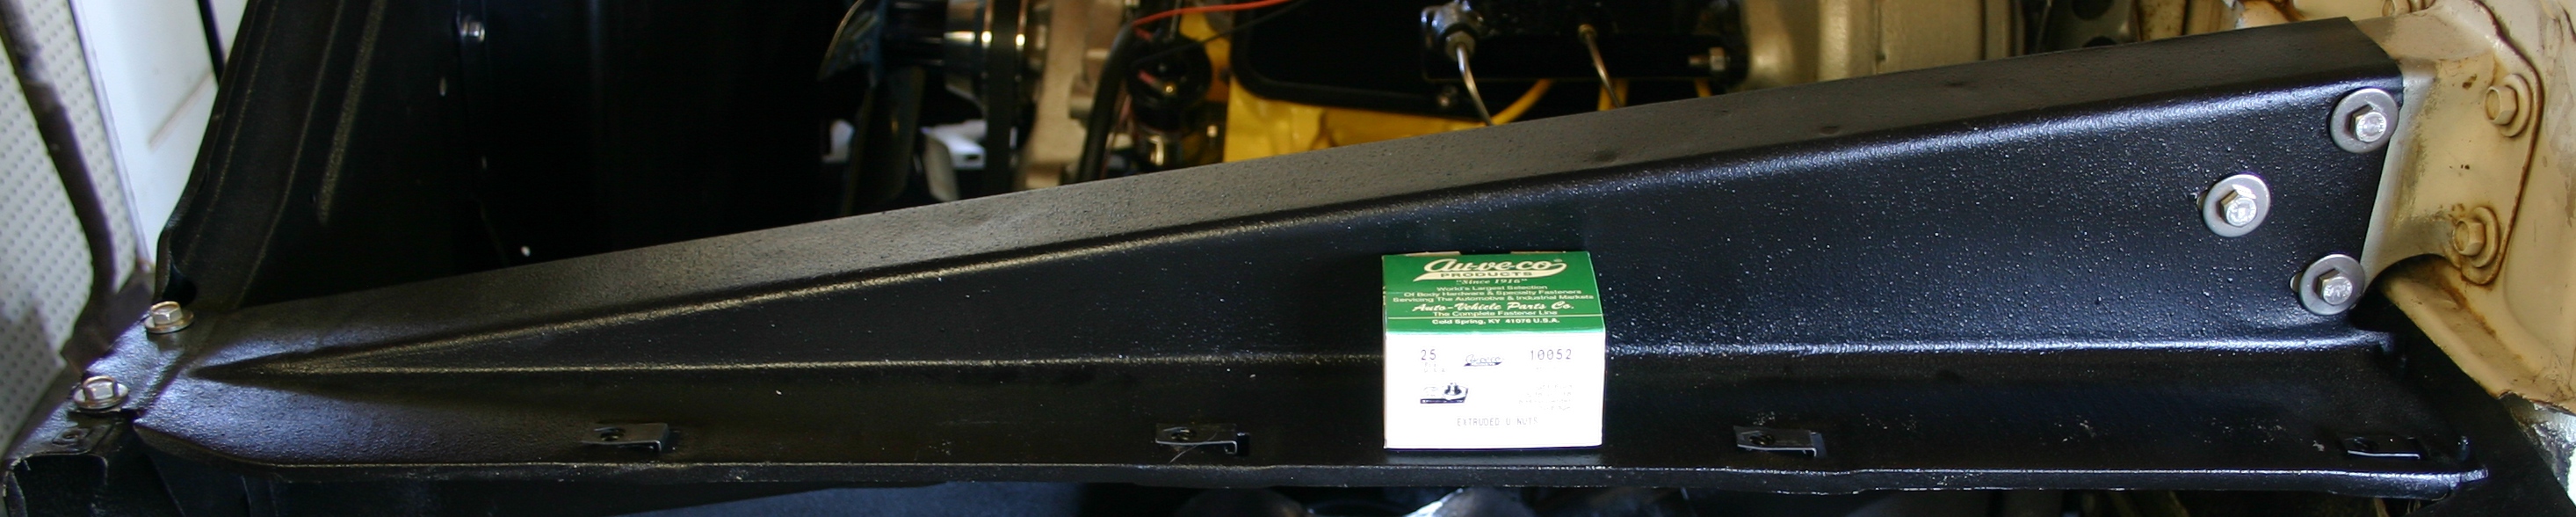
Next the LH inner fender was fitted with new Auveco 10052 Extruded U-Nuts; their fit is identical to the factory U-Nuts, only they're a little more snug since they're new. I also fitted the top, rear fender fastener location with this same nut.
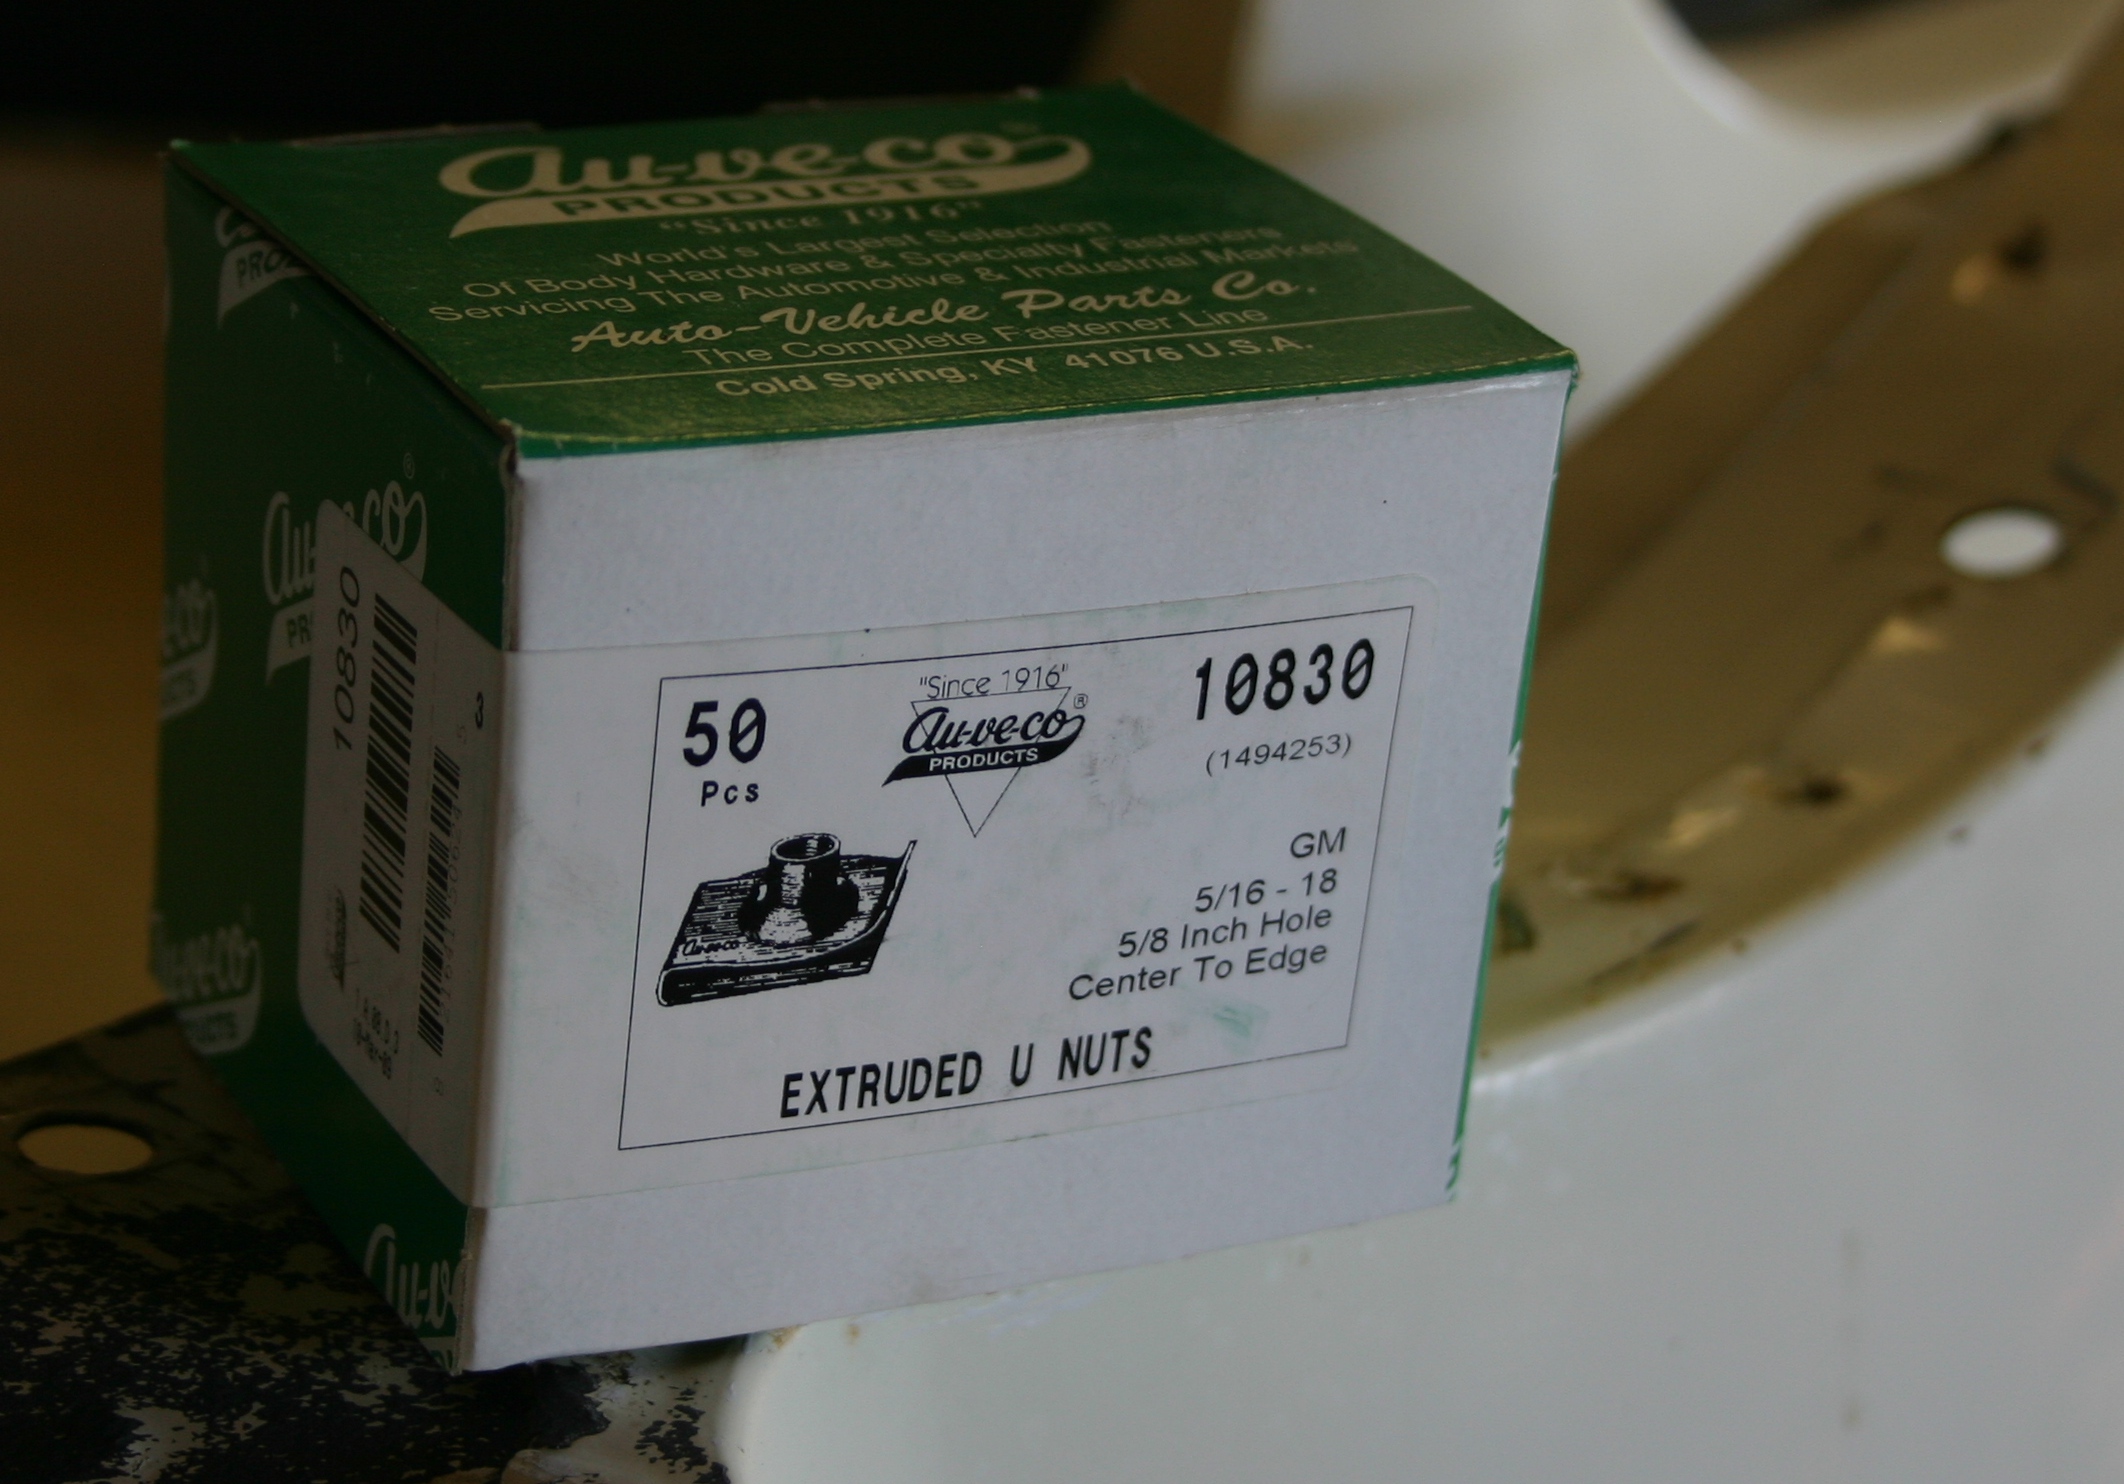
The front edge of the fenders (left) were fitted with the shorter Auveco 10830 Extruded U-Nuts (right). Like the 10052 nuts, the fit of these nuts is basically identical to the ones Ford installed. They're perfect replacements.

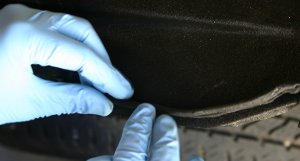
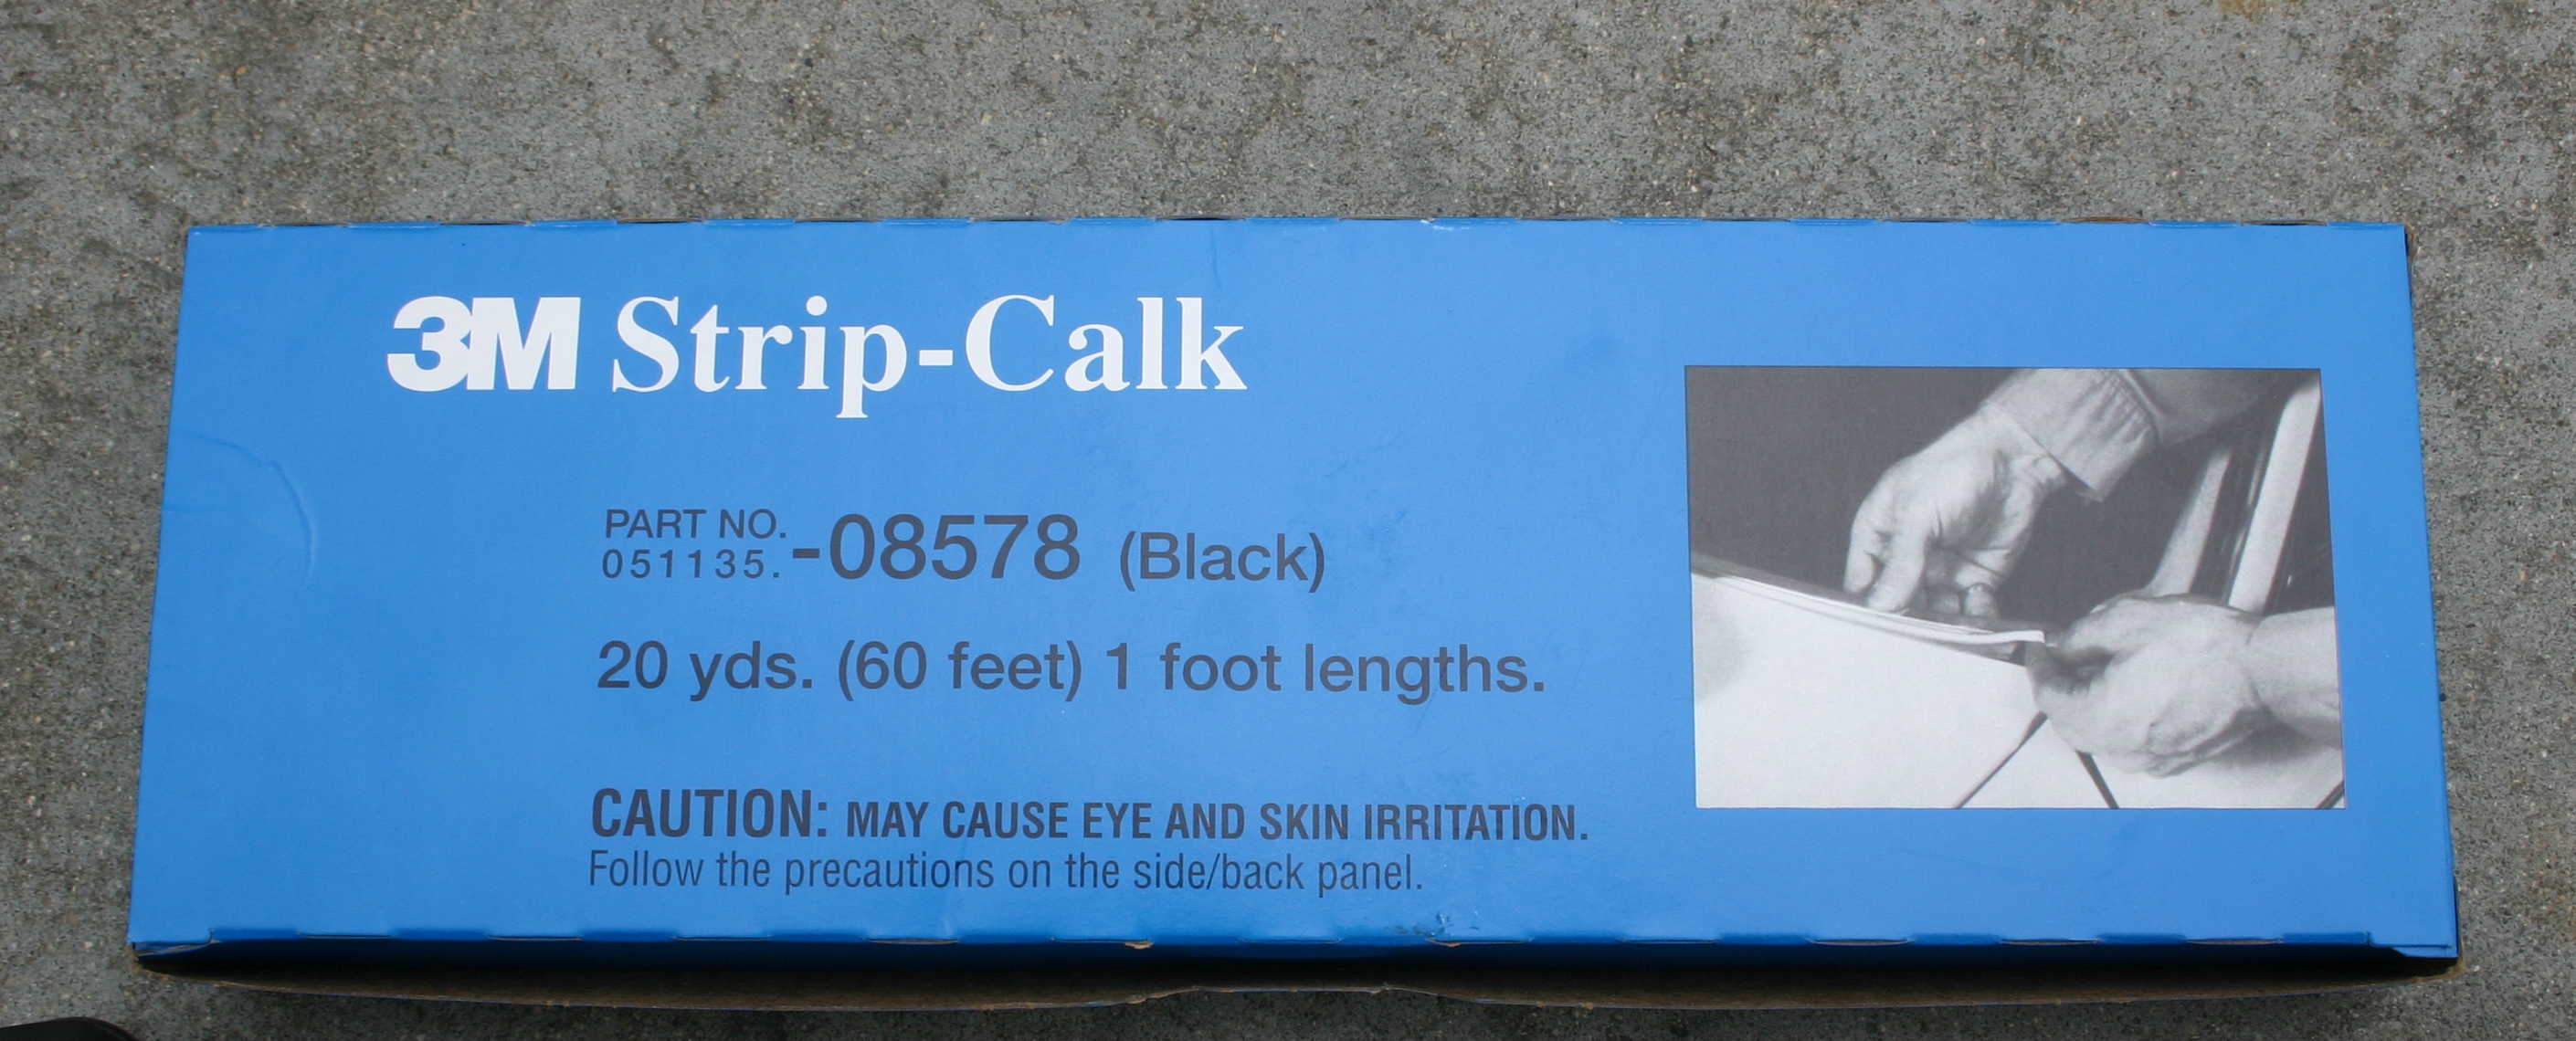
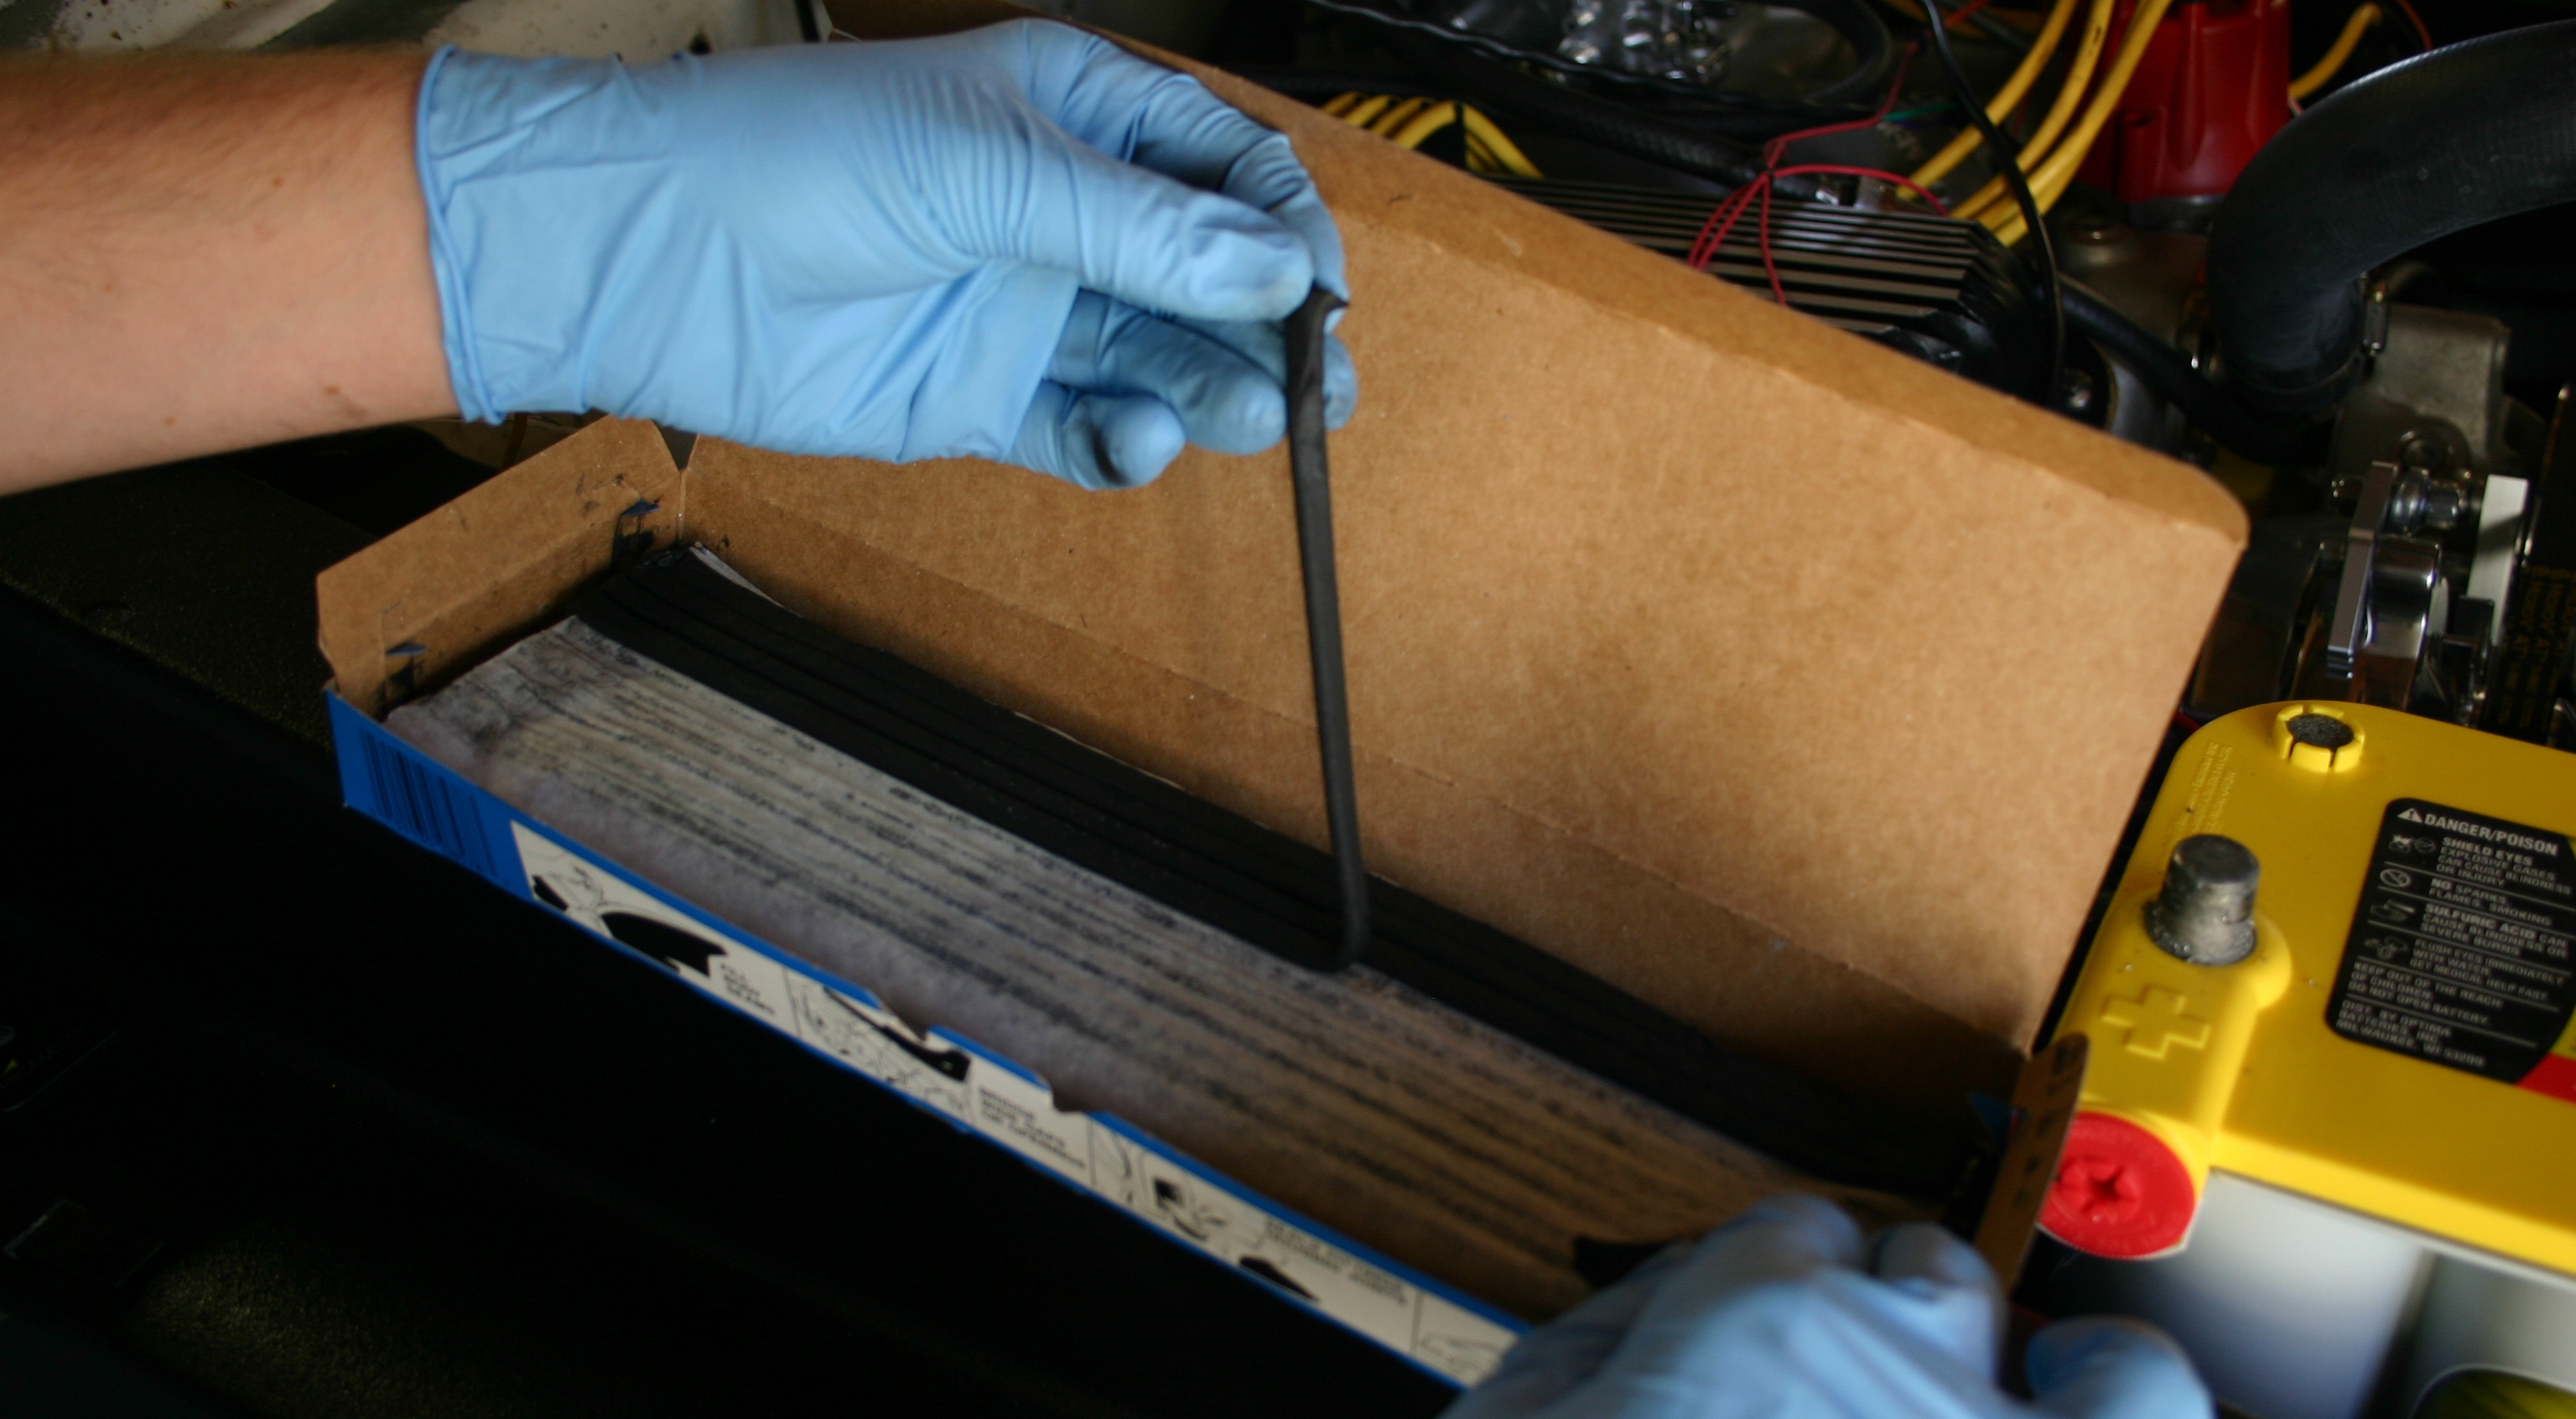
Next I began laying down some 3M Strip-Calk! At first I tried a single bead instead of stacking multiple beads. I cut off short sections to fit in between the u-nuts (left and center photos). Then I set the fender on #50 to determine whether one bead was a sufficient quantity of Strip-Calk (right).


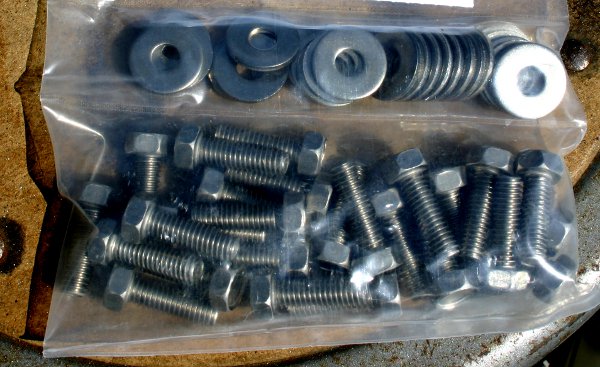
In order to hold the fender on, I used these stainless bolts from Totally Stainless. I ordered a kit made for Bumpsides back in 2008.
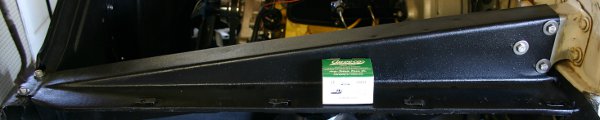
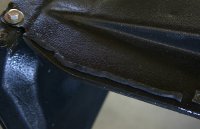
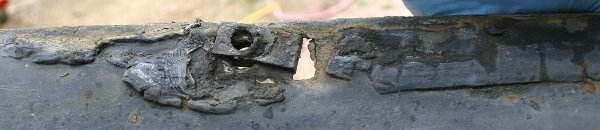
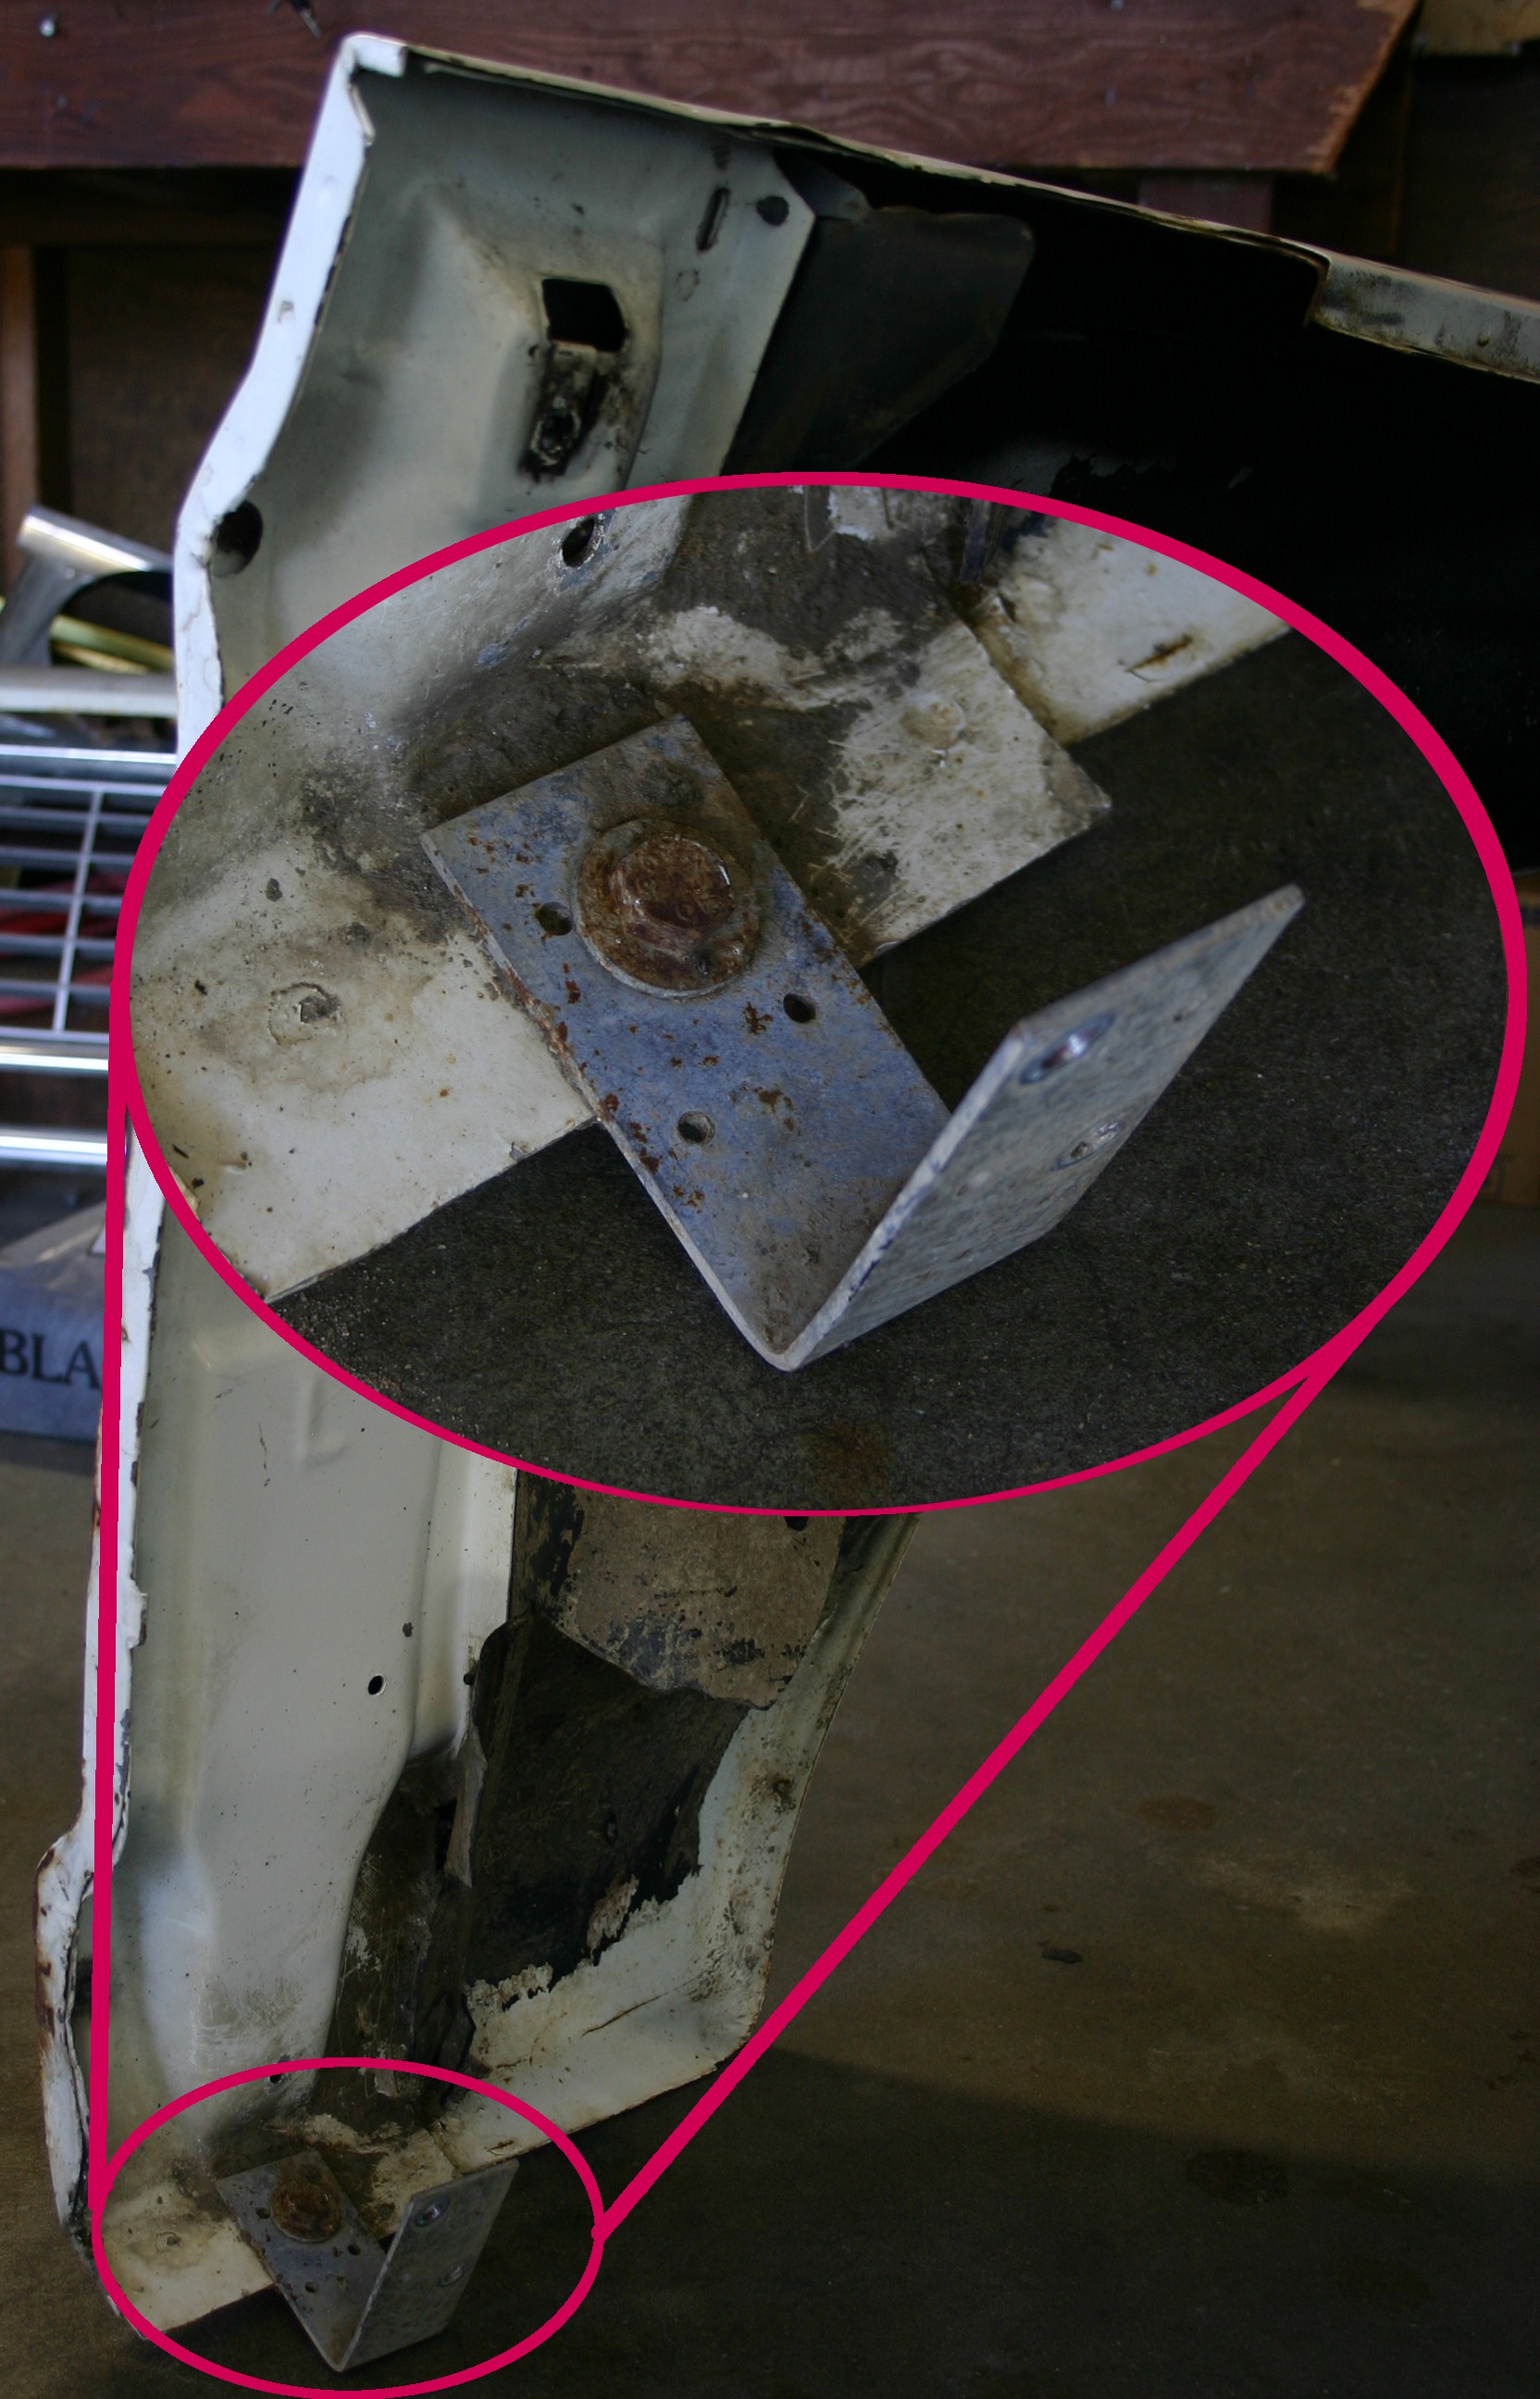
Since the lower, rear fender fastening position had failed in typical Bumpside fashion, crude brackets were installed long ago to hold the fenders on. I might re-architect this makeshift solution. Here's a large photo of one of the brackets:
IMG_9722x.JPG.
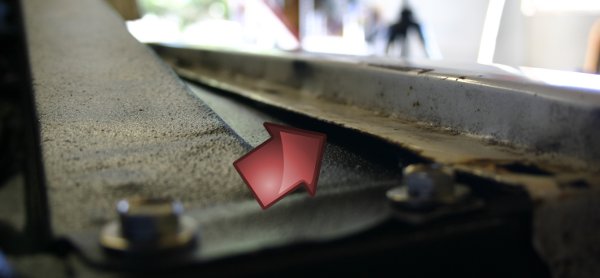
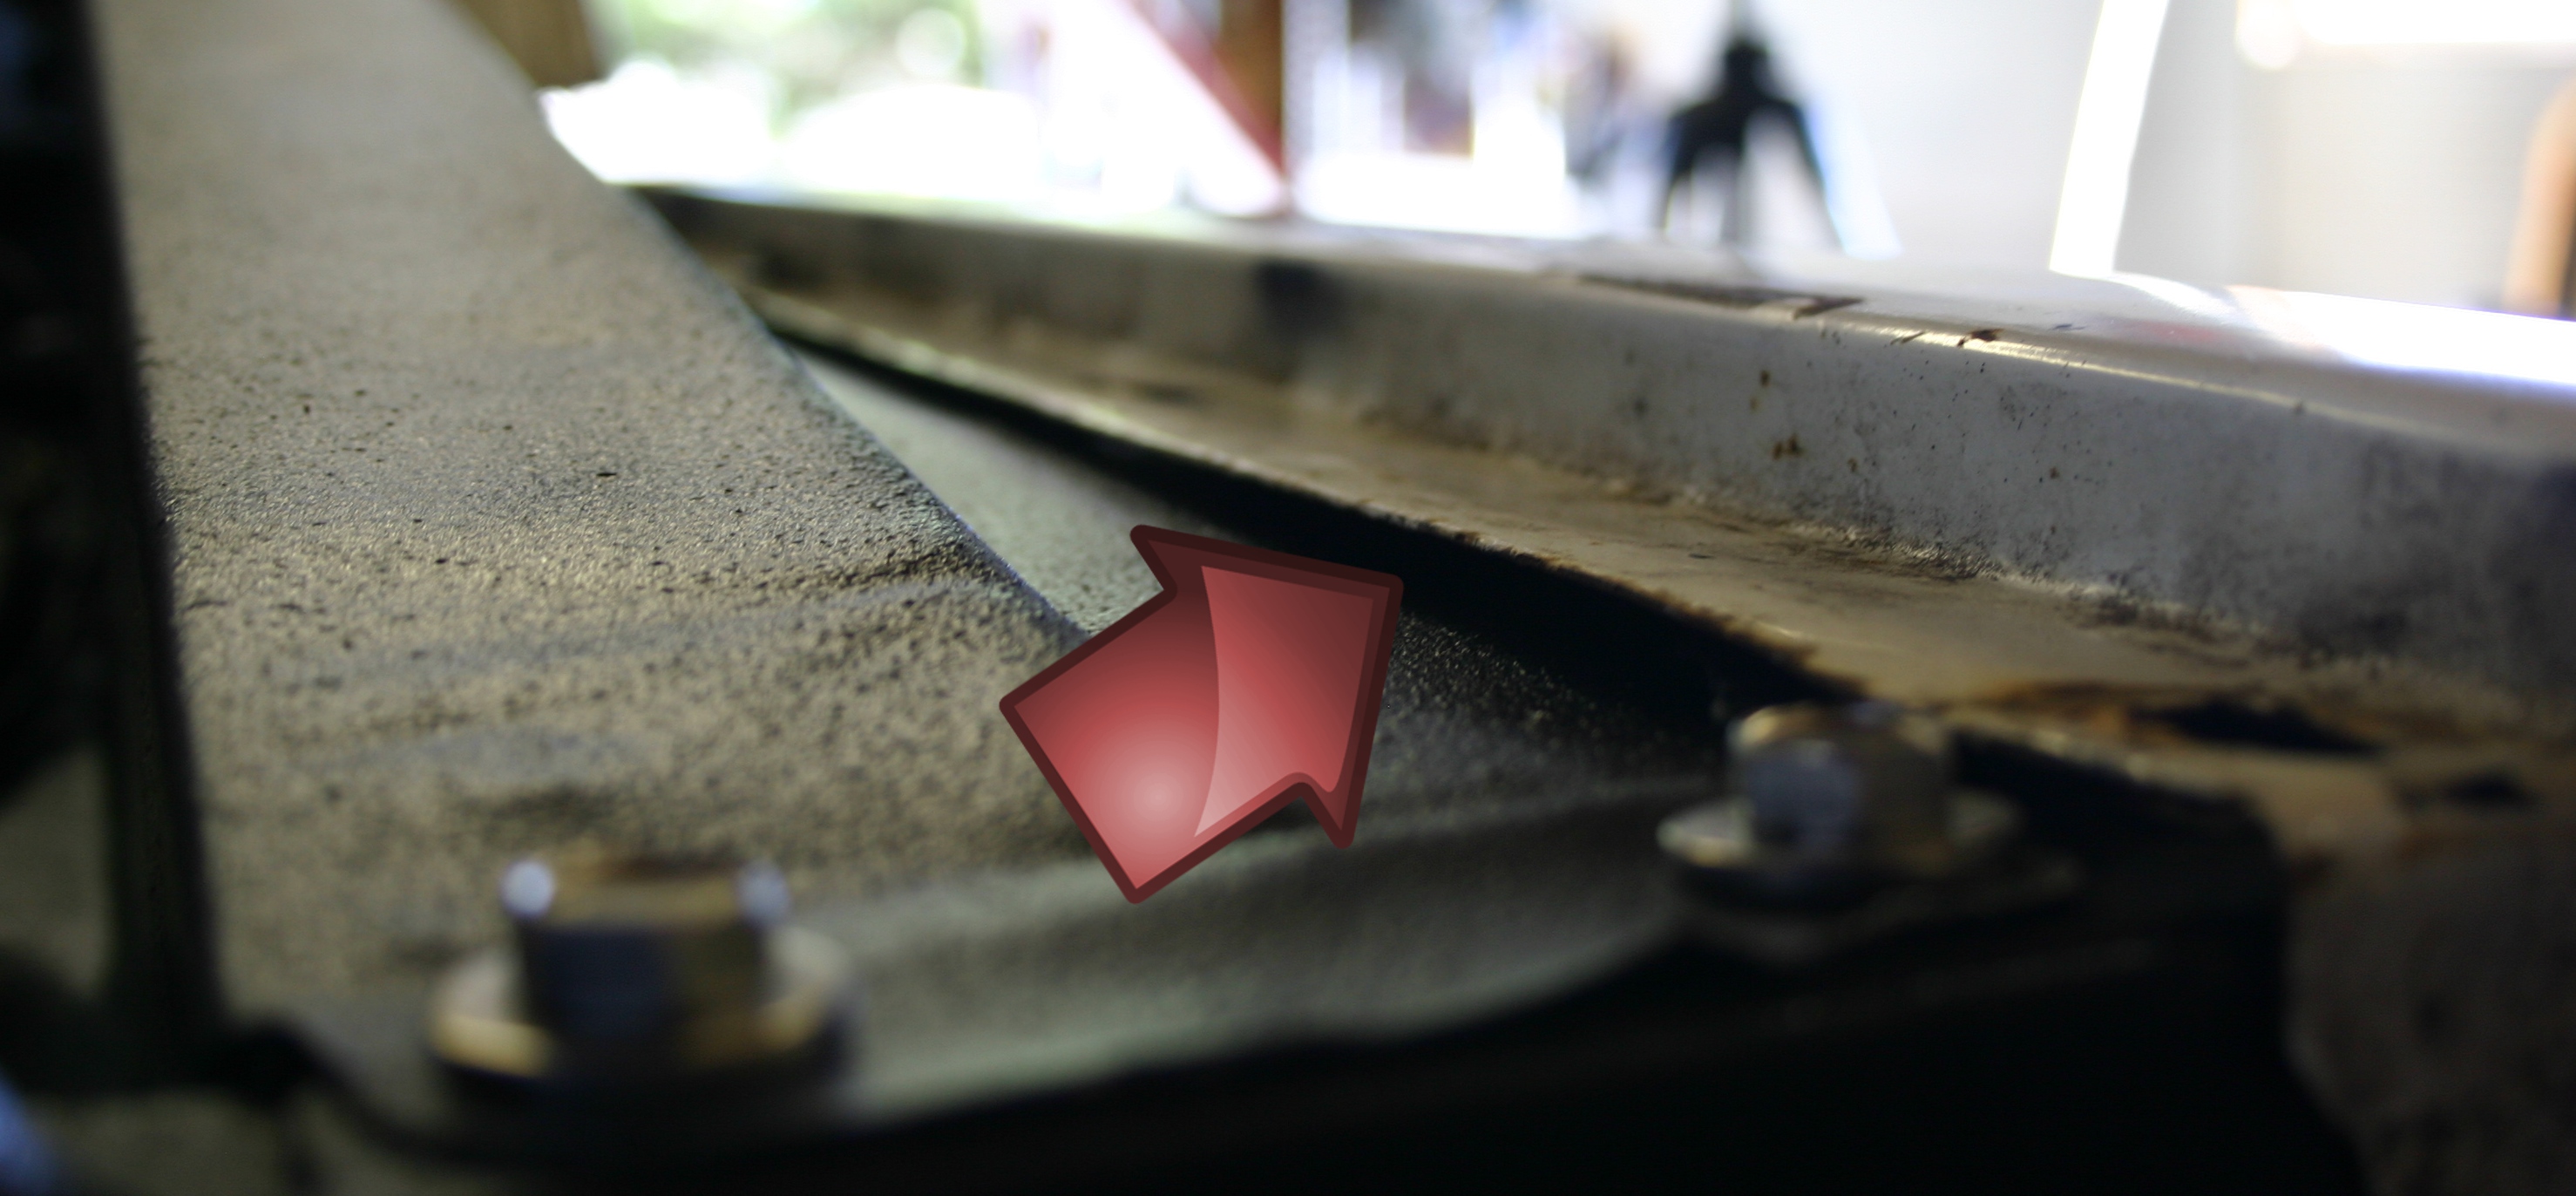
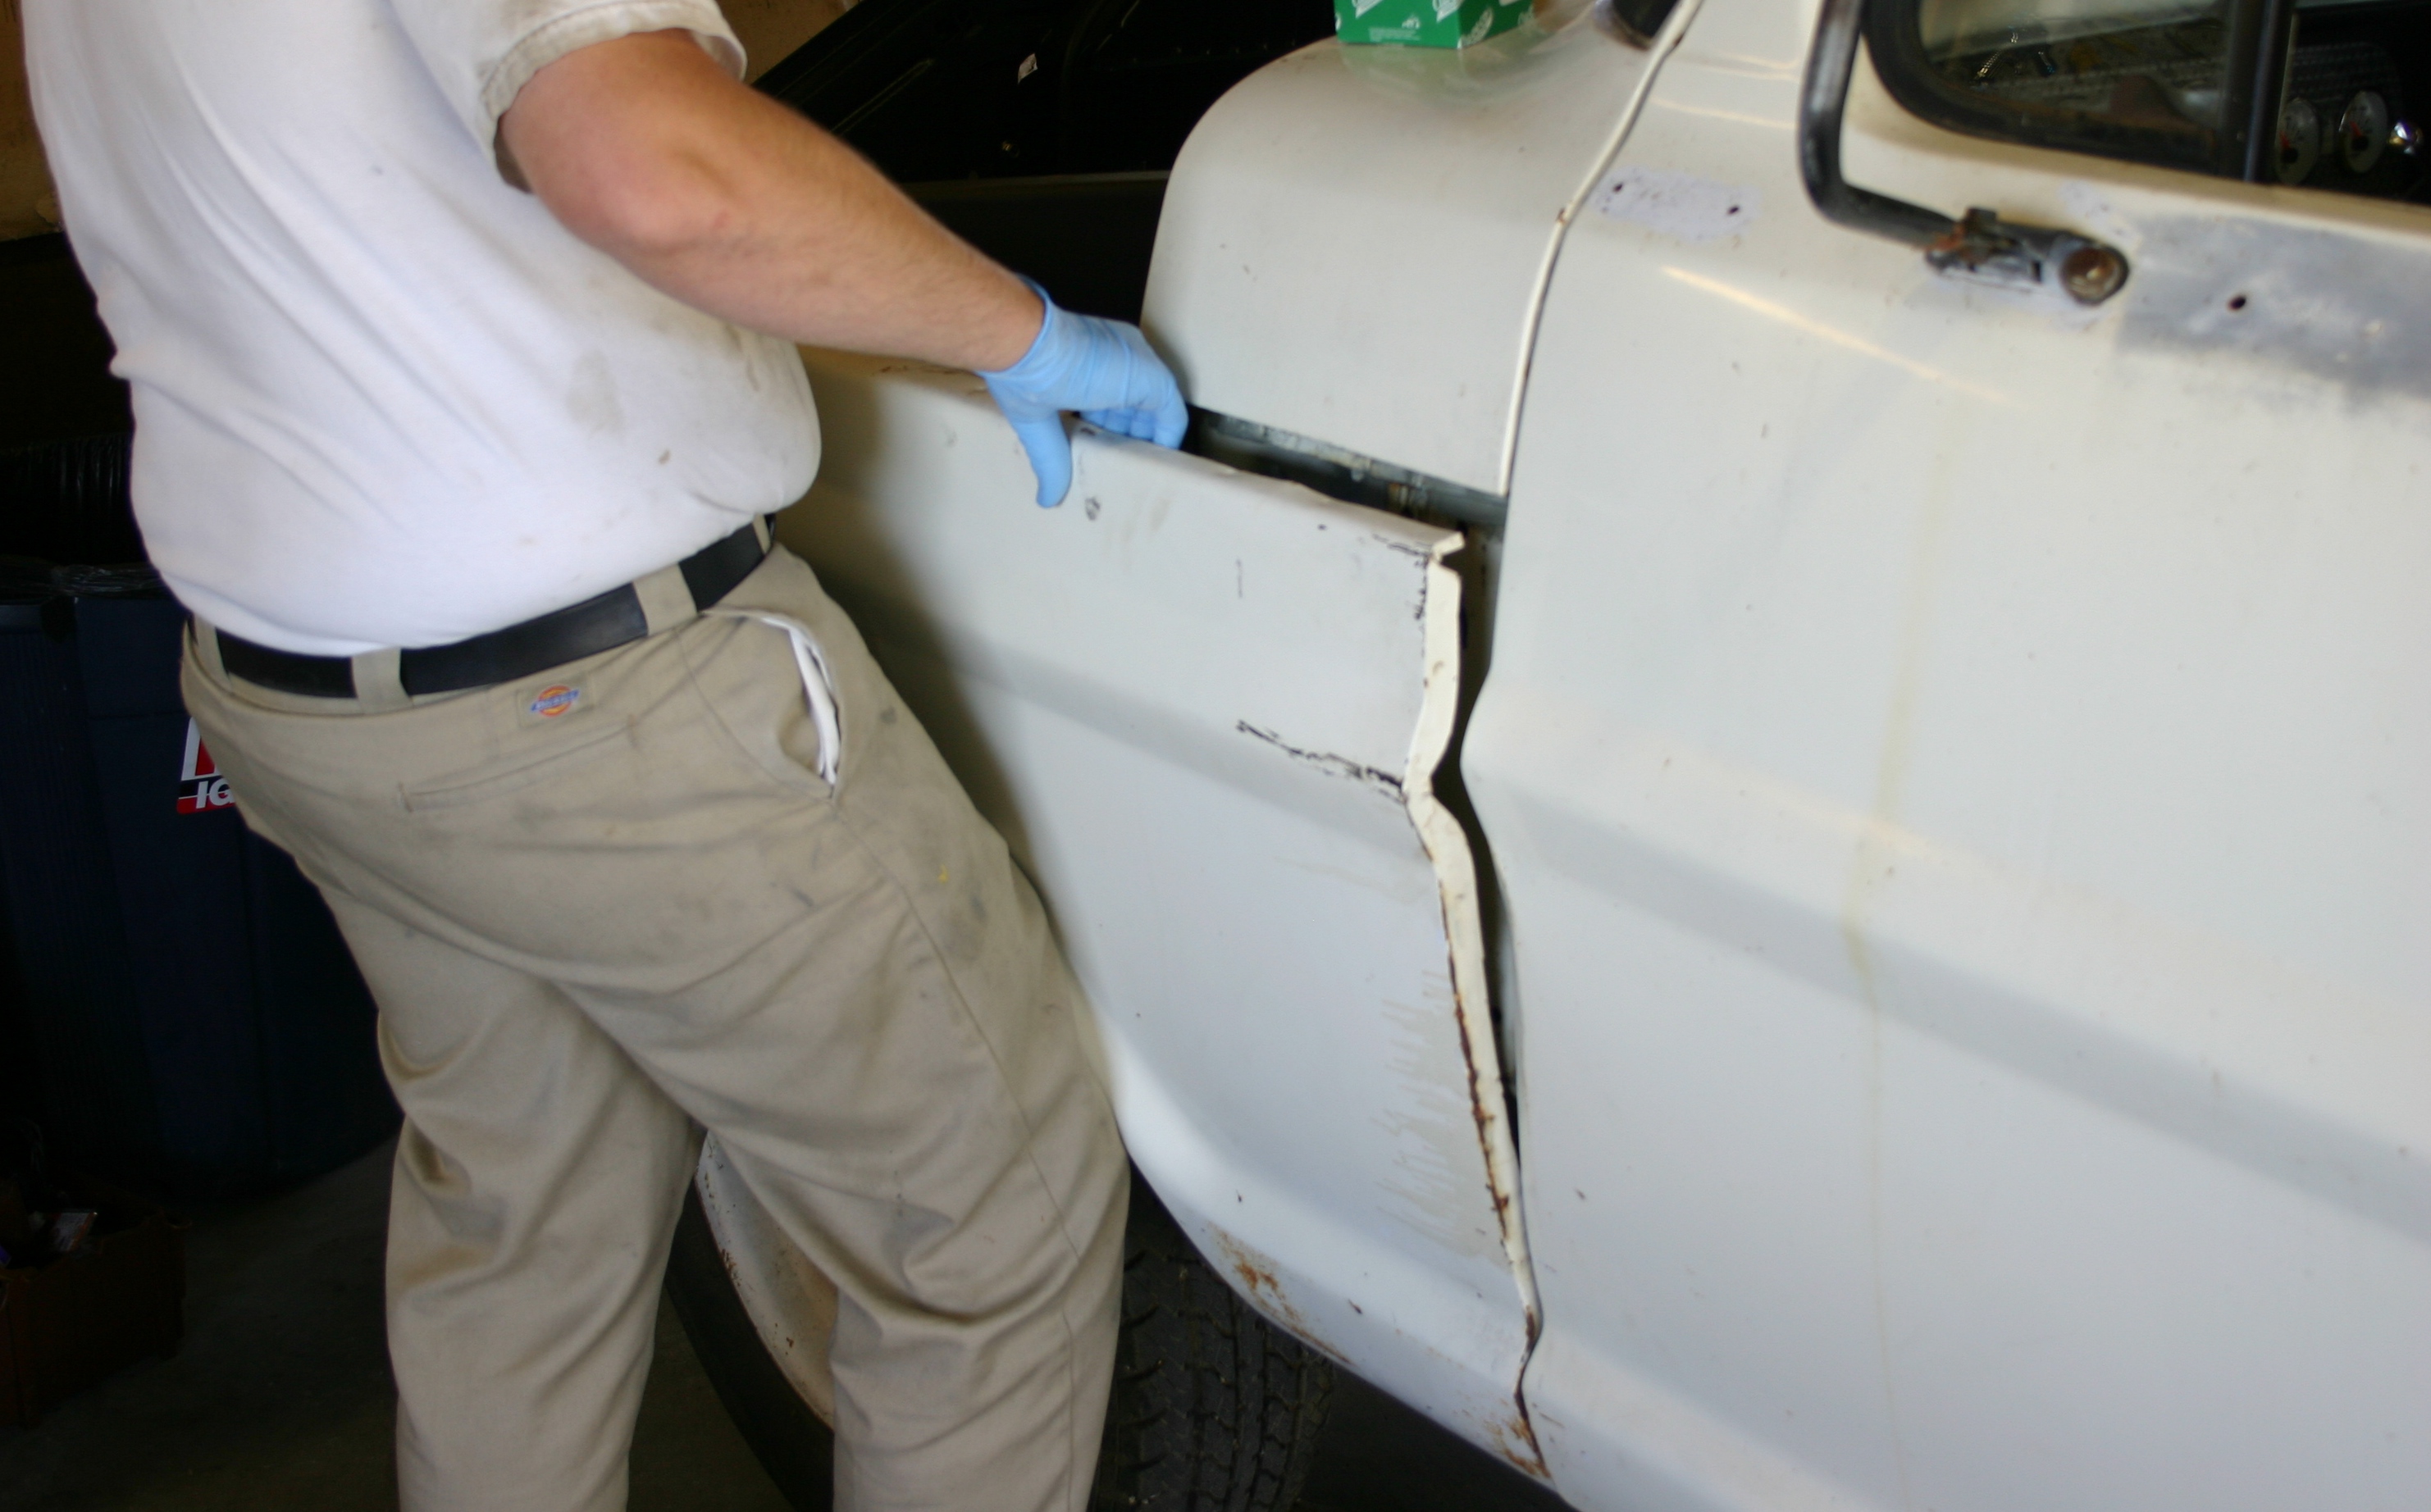
As described by Eric, I found that some portions of the crack between the inner and outer fender were wider than others--it wasn't totally even. This photo shows one of the wide areas. It's visually exaggerated since the bolts weren't in place, yet you get the idea.
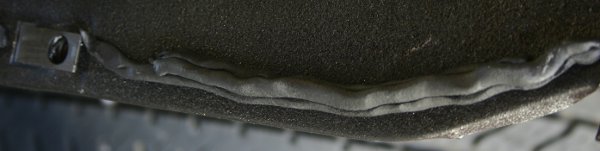
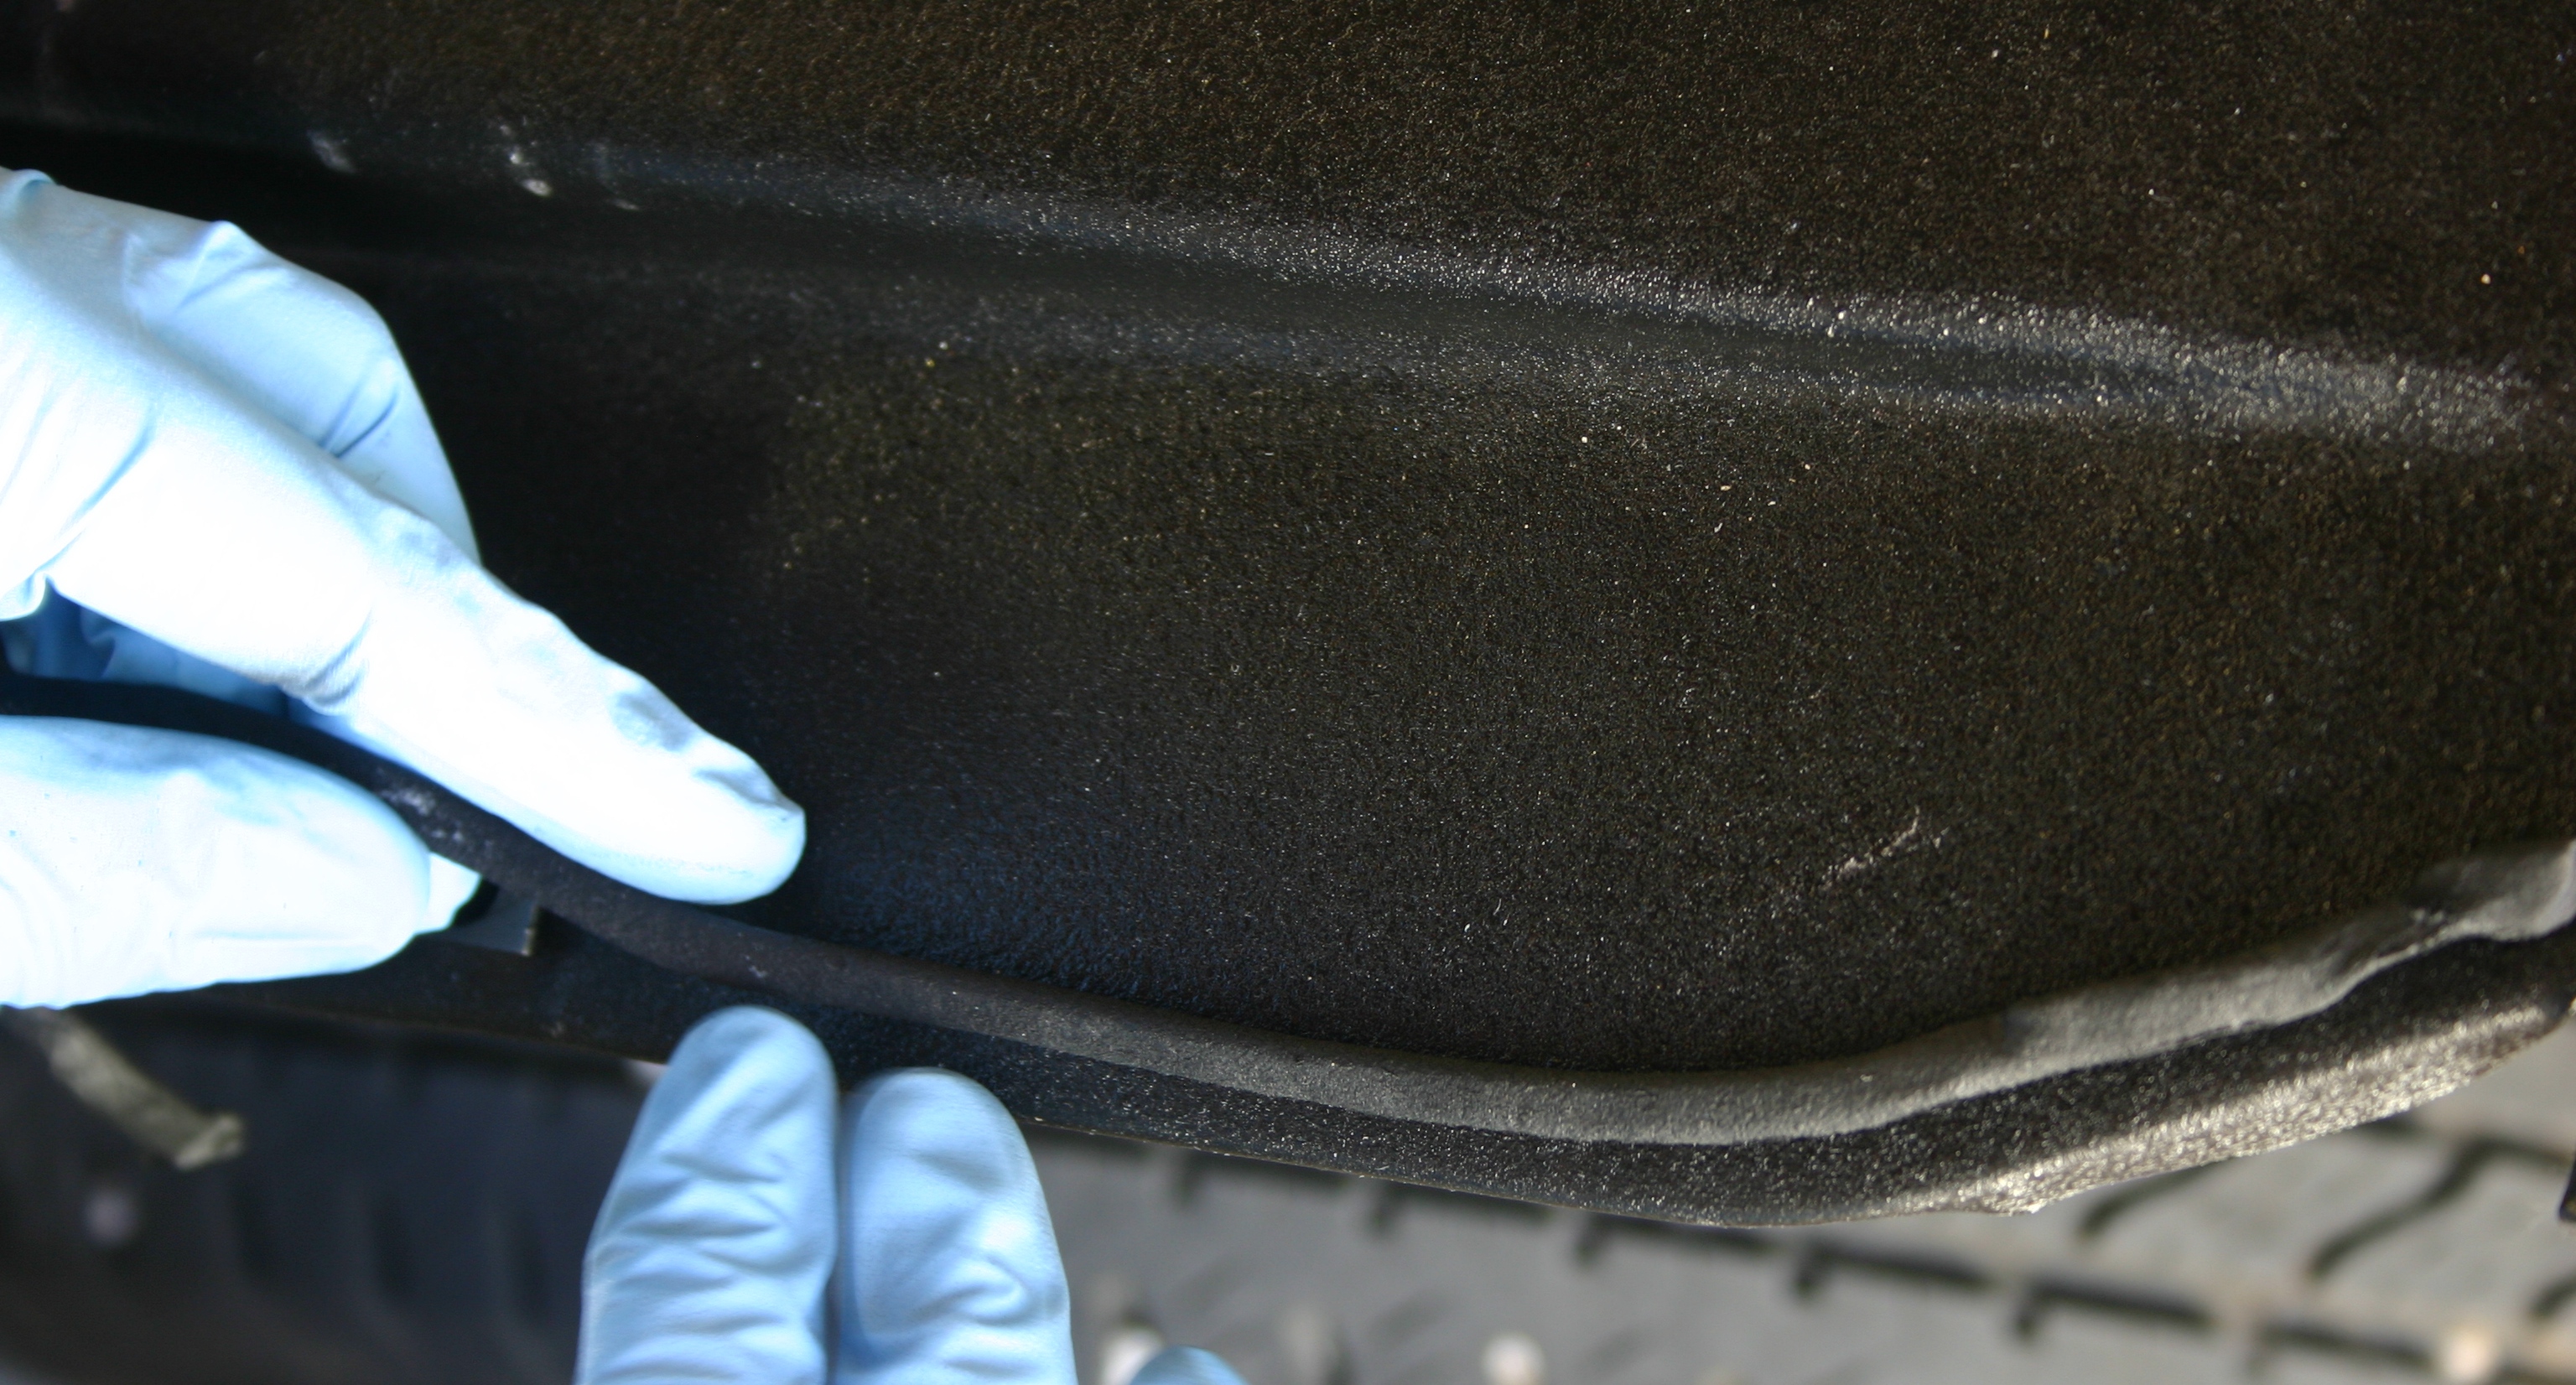
I decided to pull the fender back off and lay down one or more additional layers of 3M Strip-Calk. With the fender removed, the condition of the initial Strip-Calk was telling; it was easy to see the areas that were tight enough to compress it, and those that weren't! The area closet to the cab was the only one in which a single layer of Strip-Calk seemed sufficient. Here's a photo of that Strip-Calk section all smashed down.

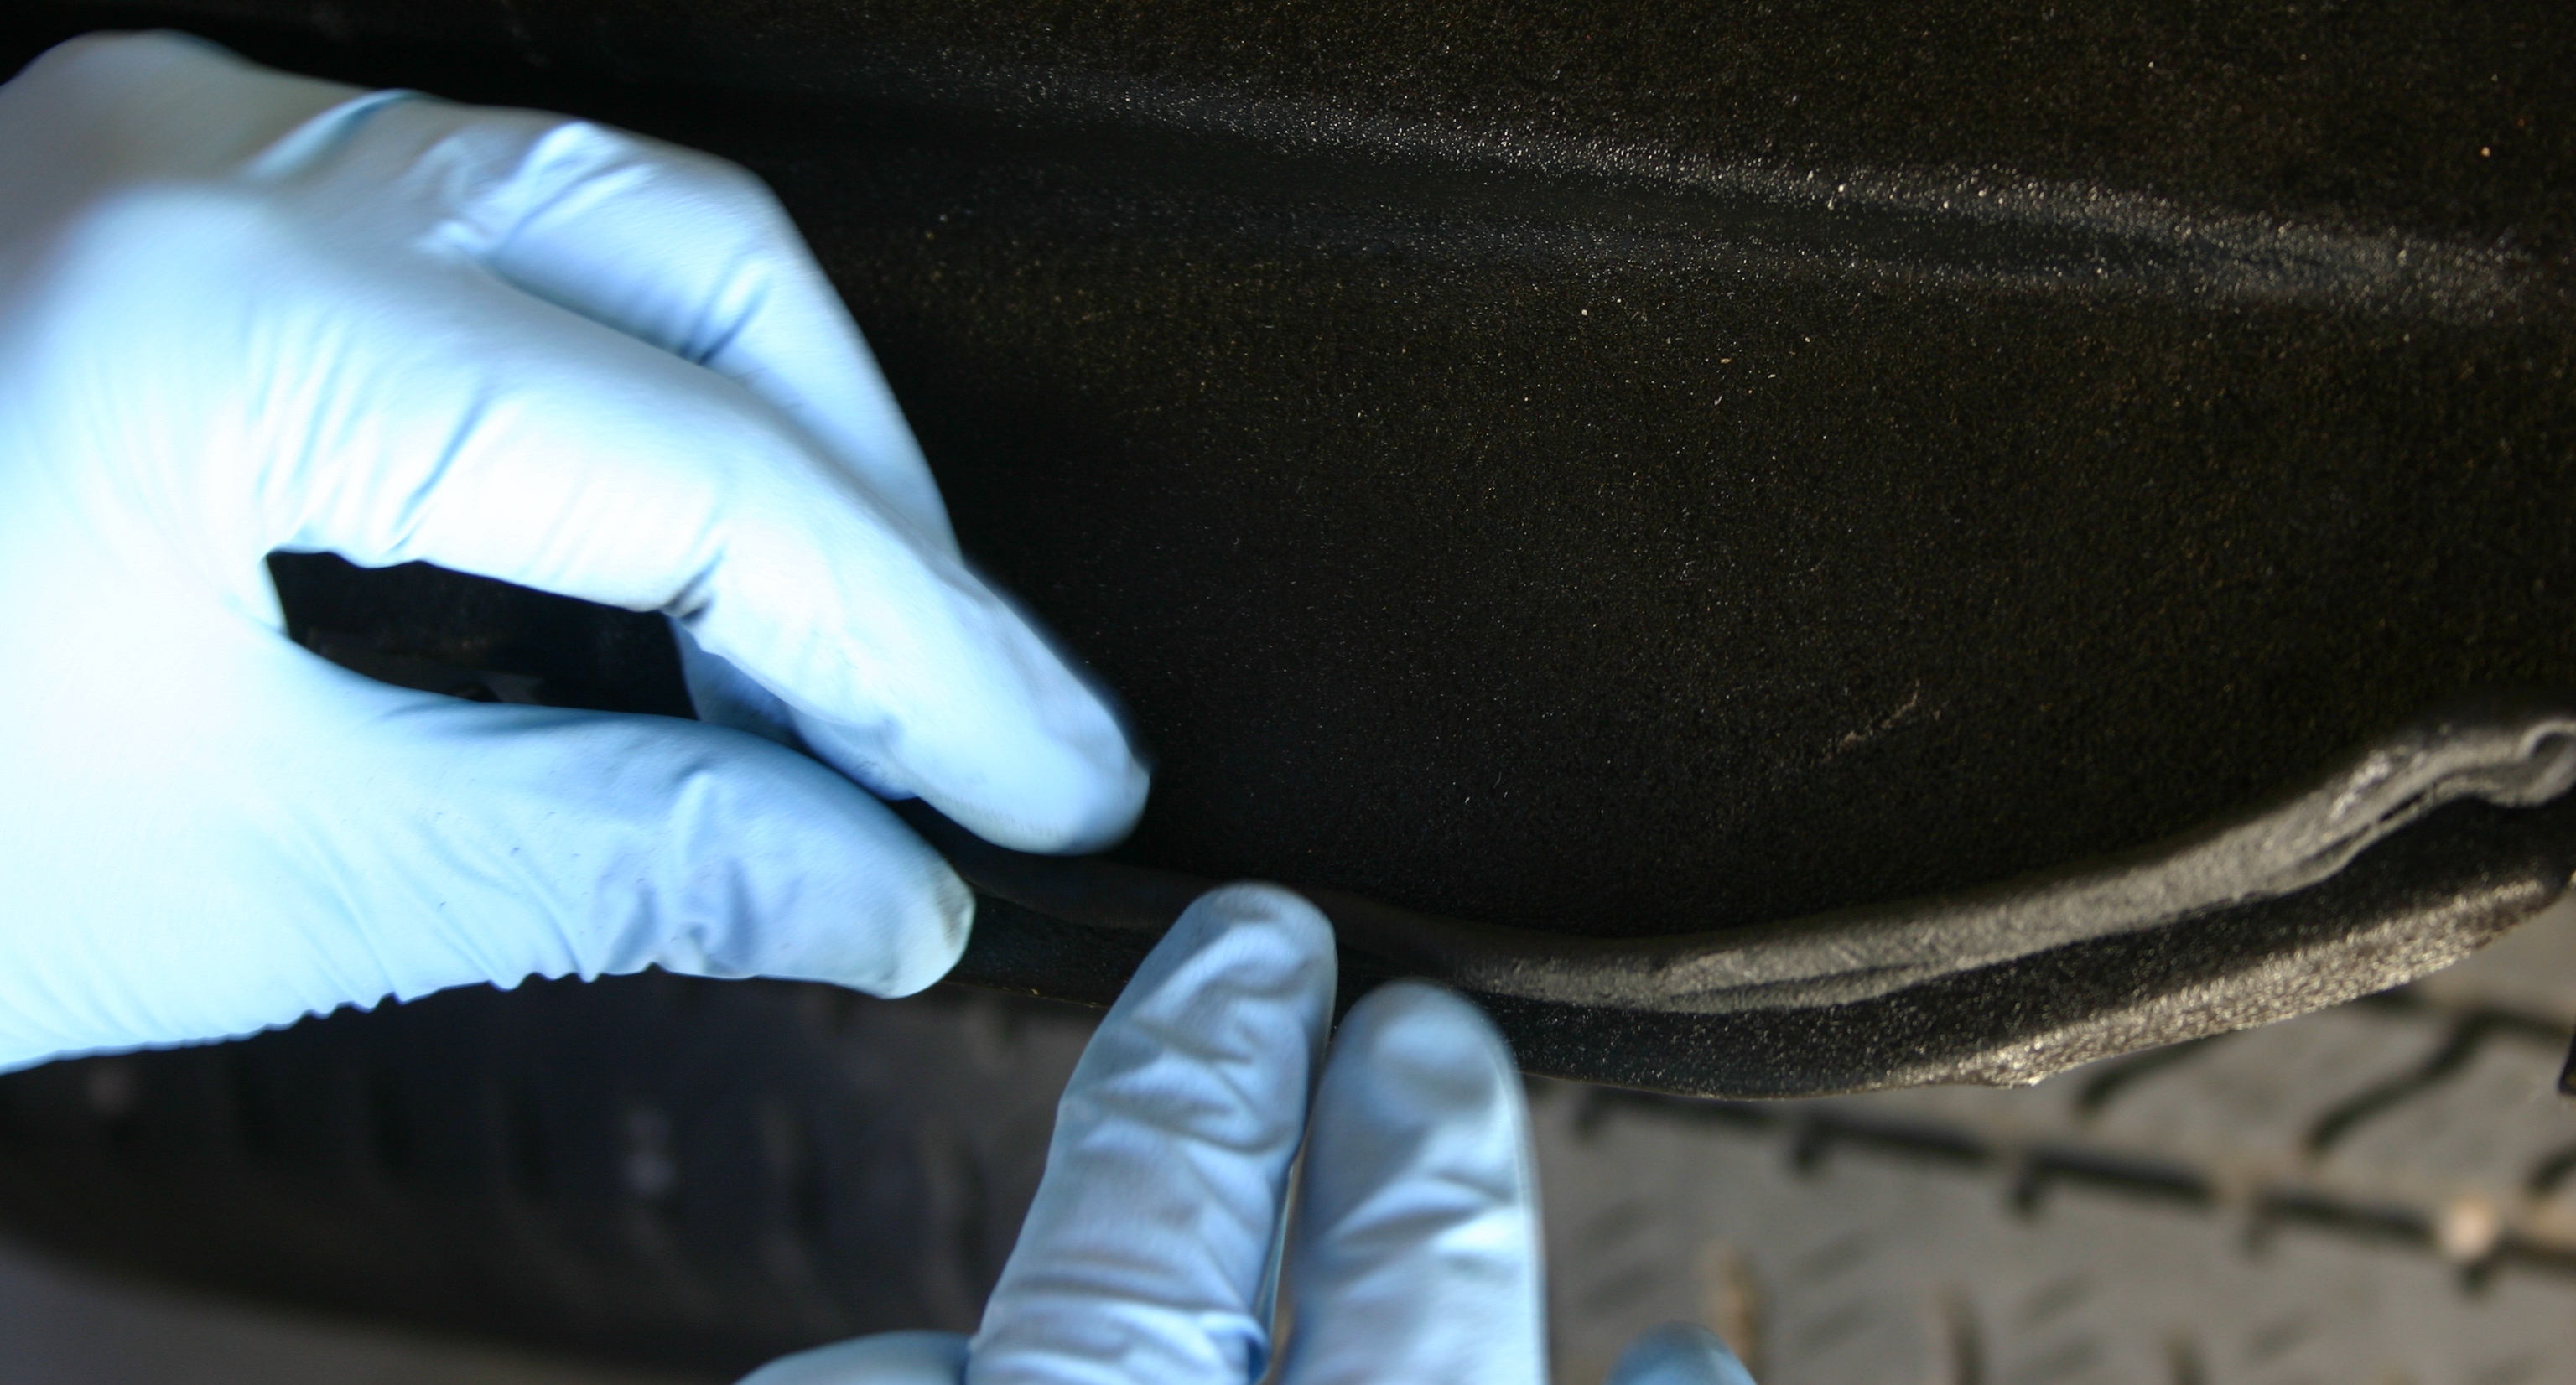
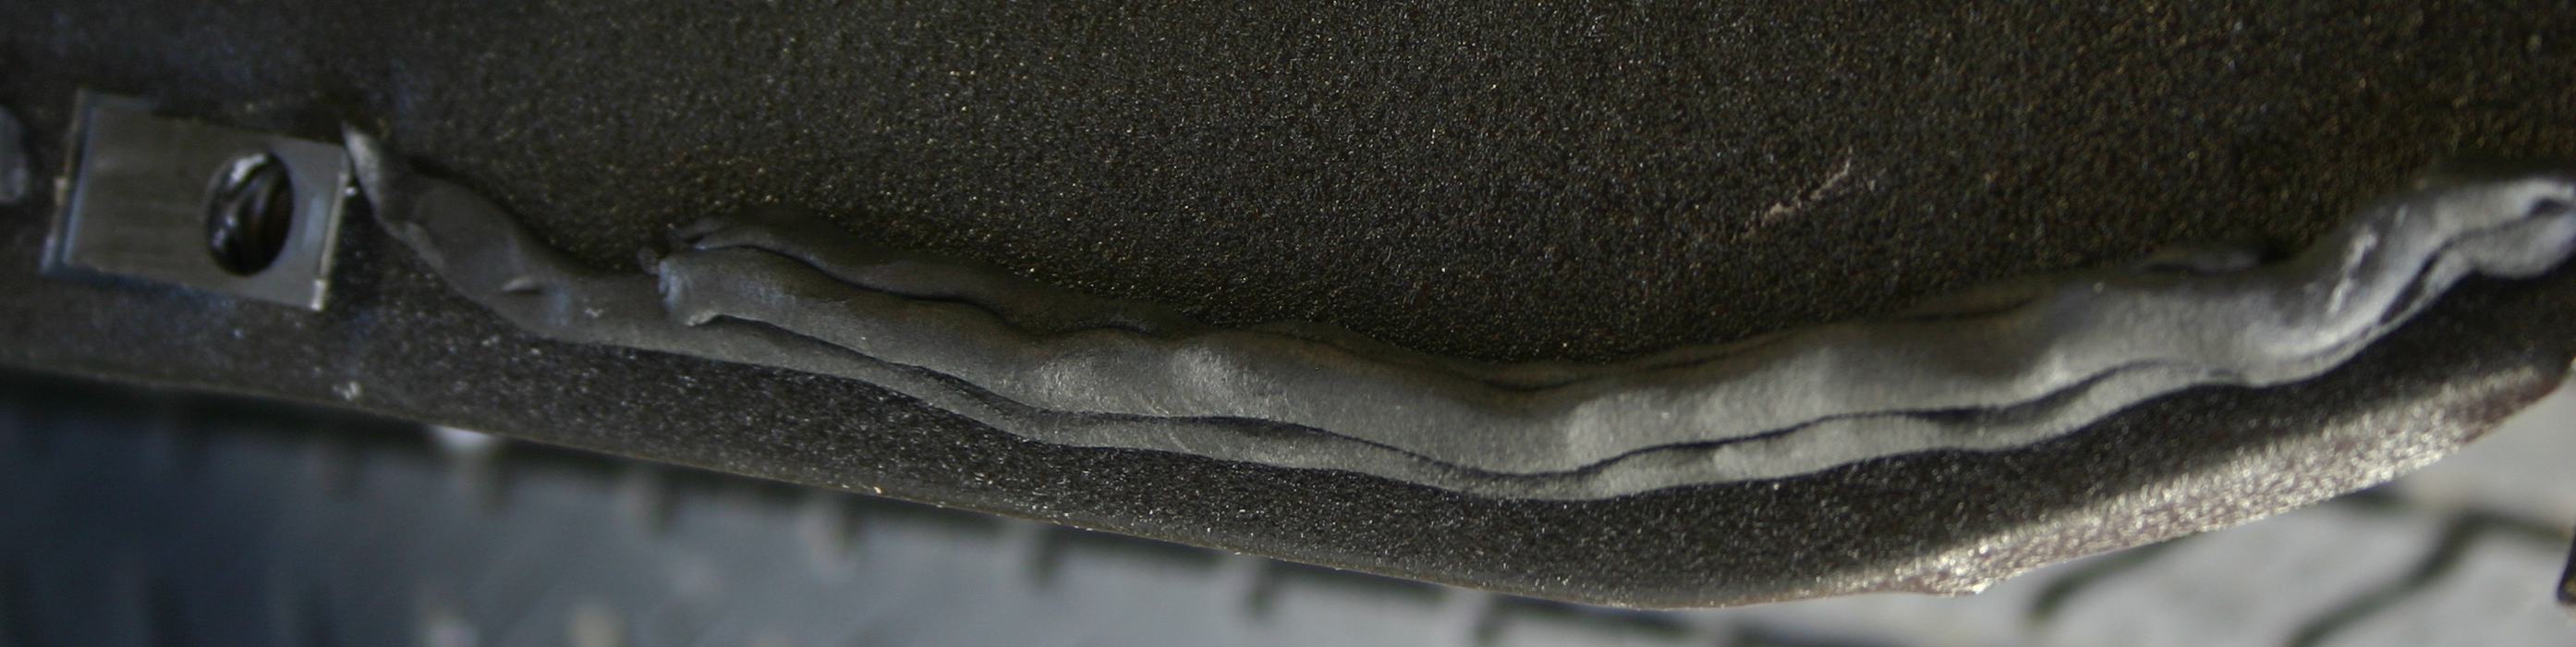
You can see in these photos that the two middle Strip-Calk segments hadn't been compressed much. These two photos accidentally look like a single, long photo. Perhaps clicking on them to see them individually will make them more clear.


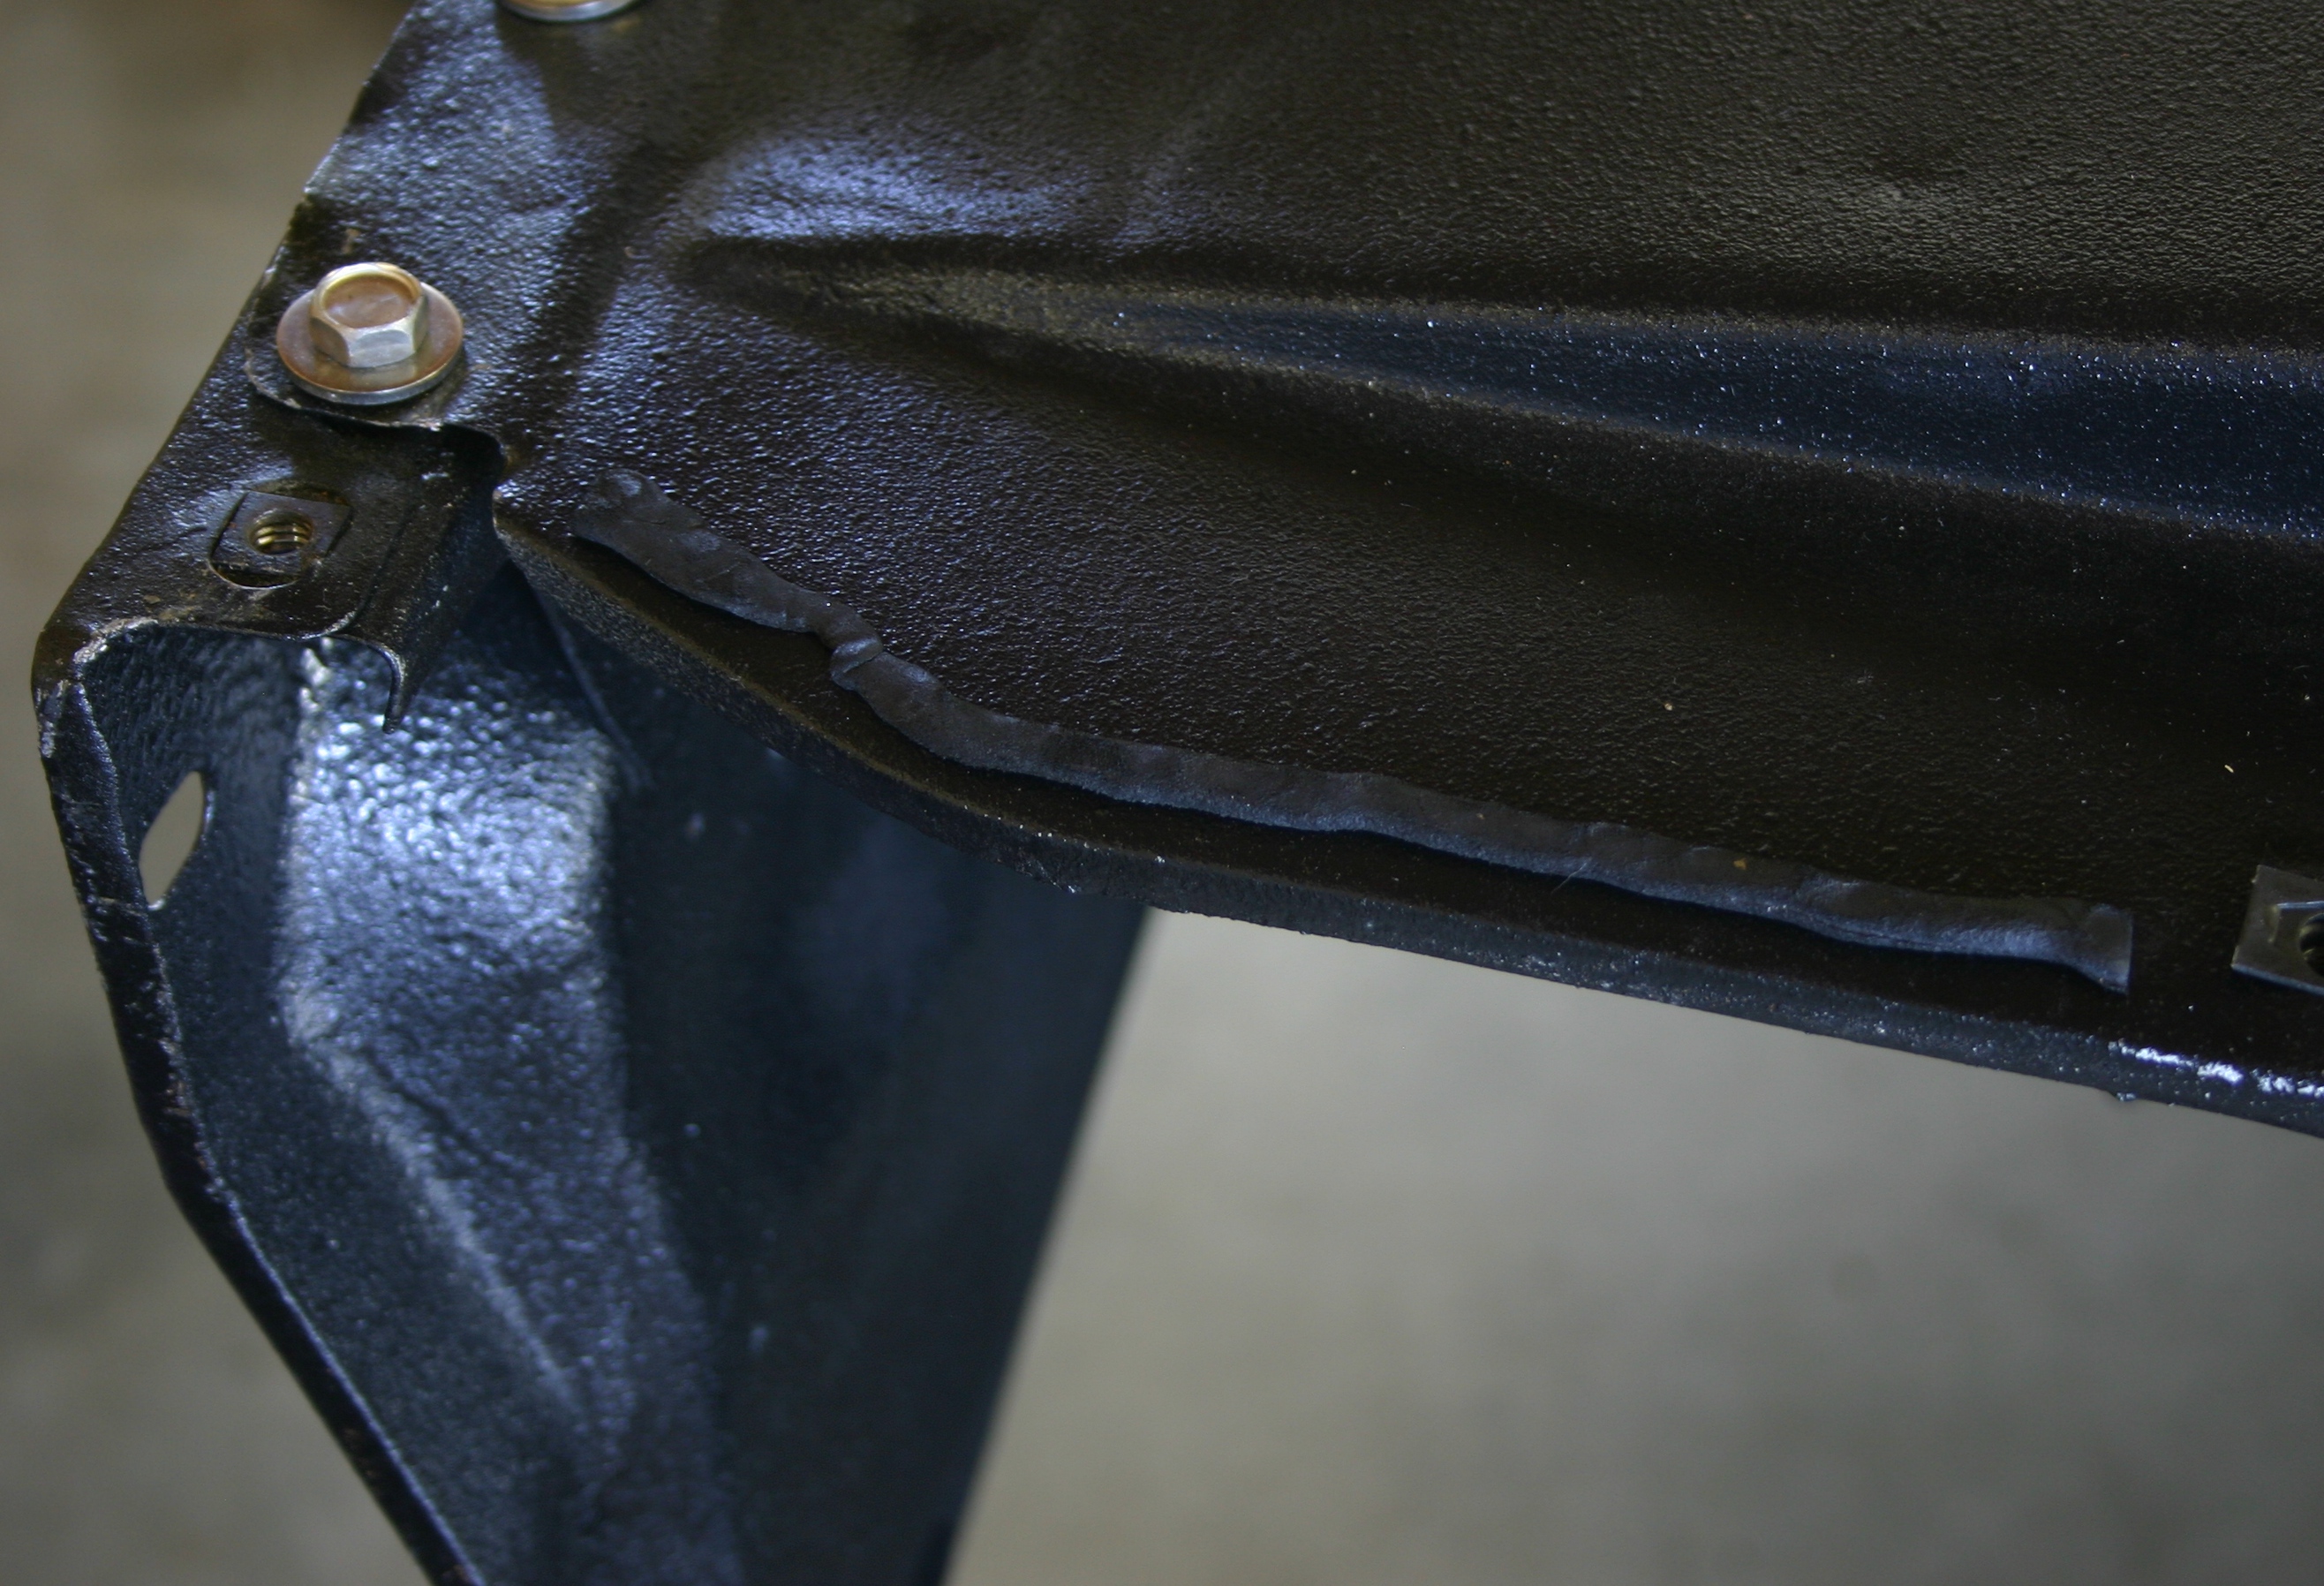
And the front-most segment was basically untouched; that's where the biggest gap was. Here you can see it in its untouched state (left) and after one or two additional lengths of Strip-Calk were added (right).


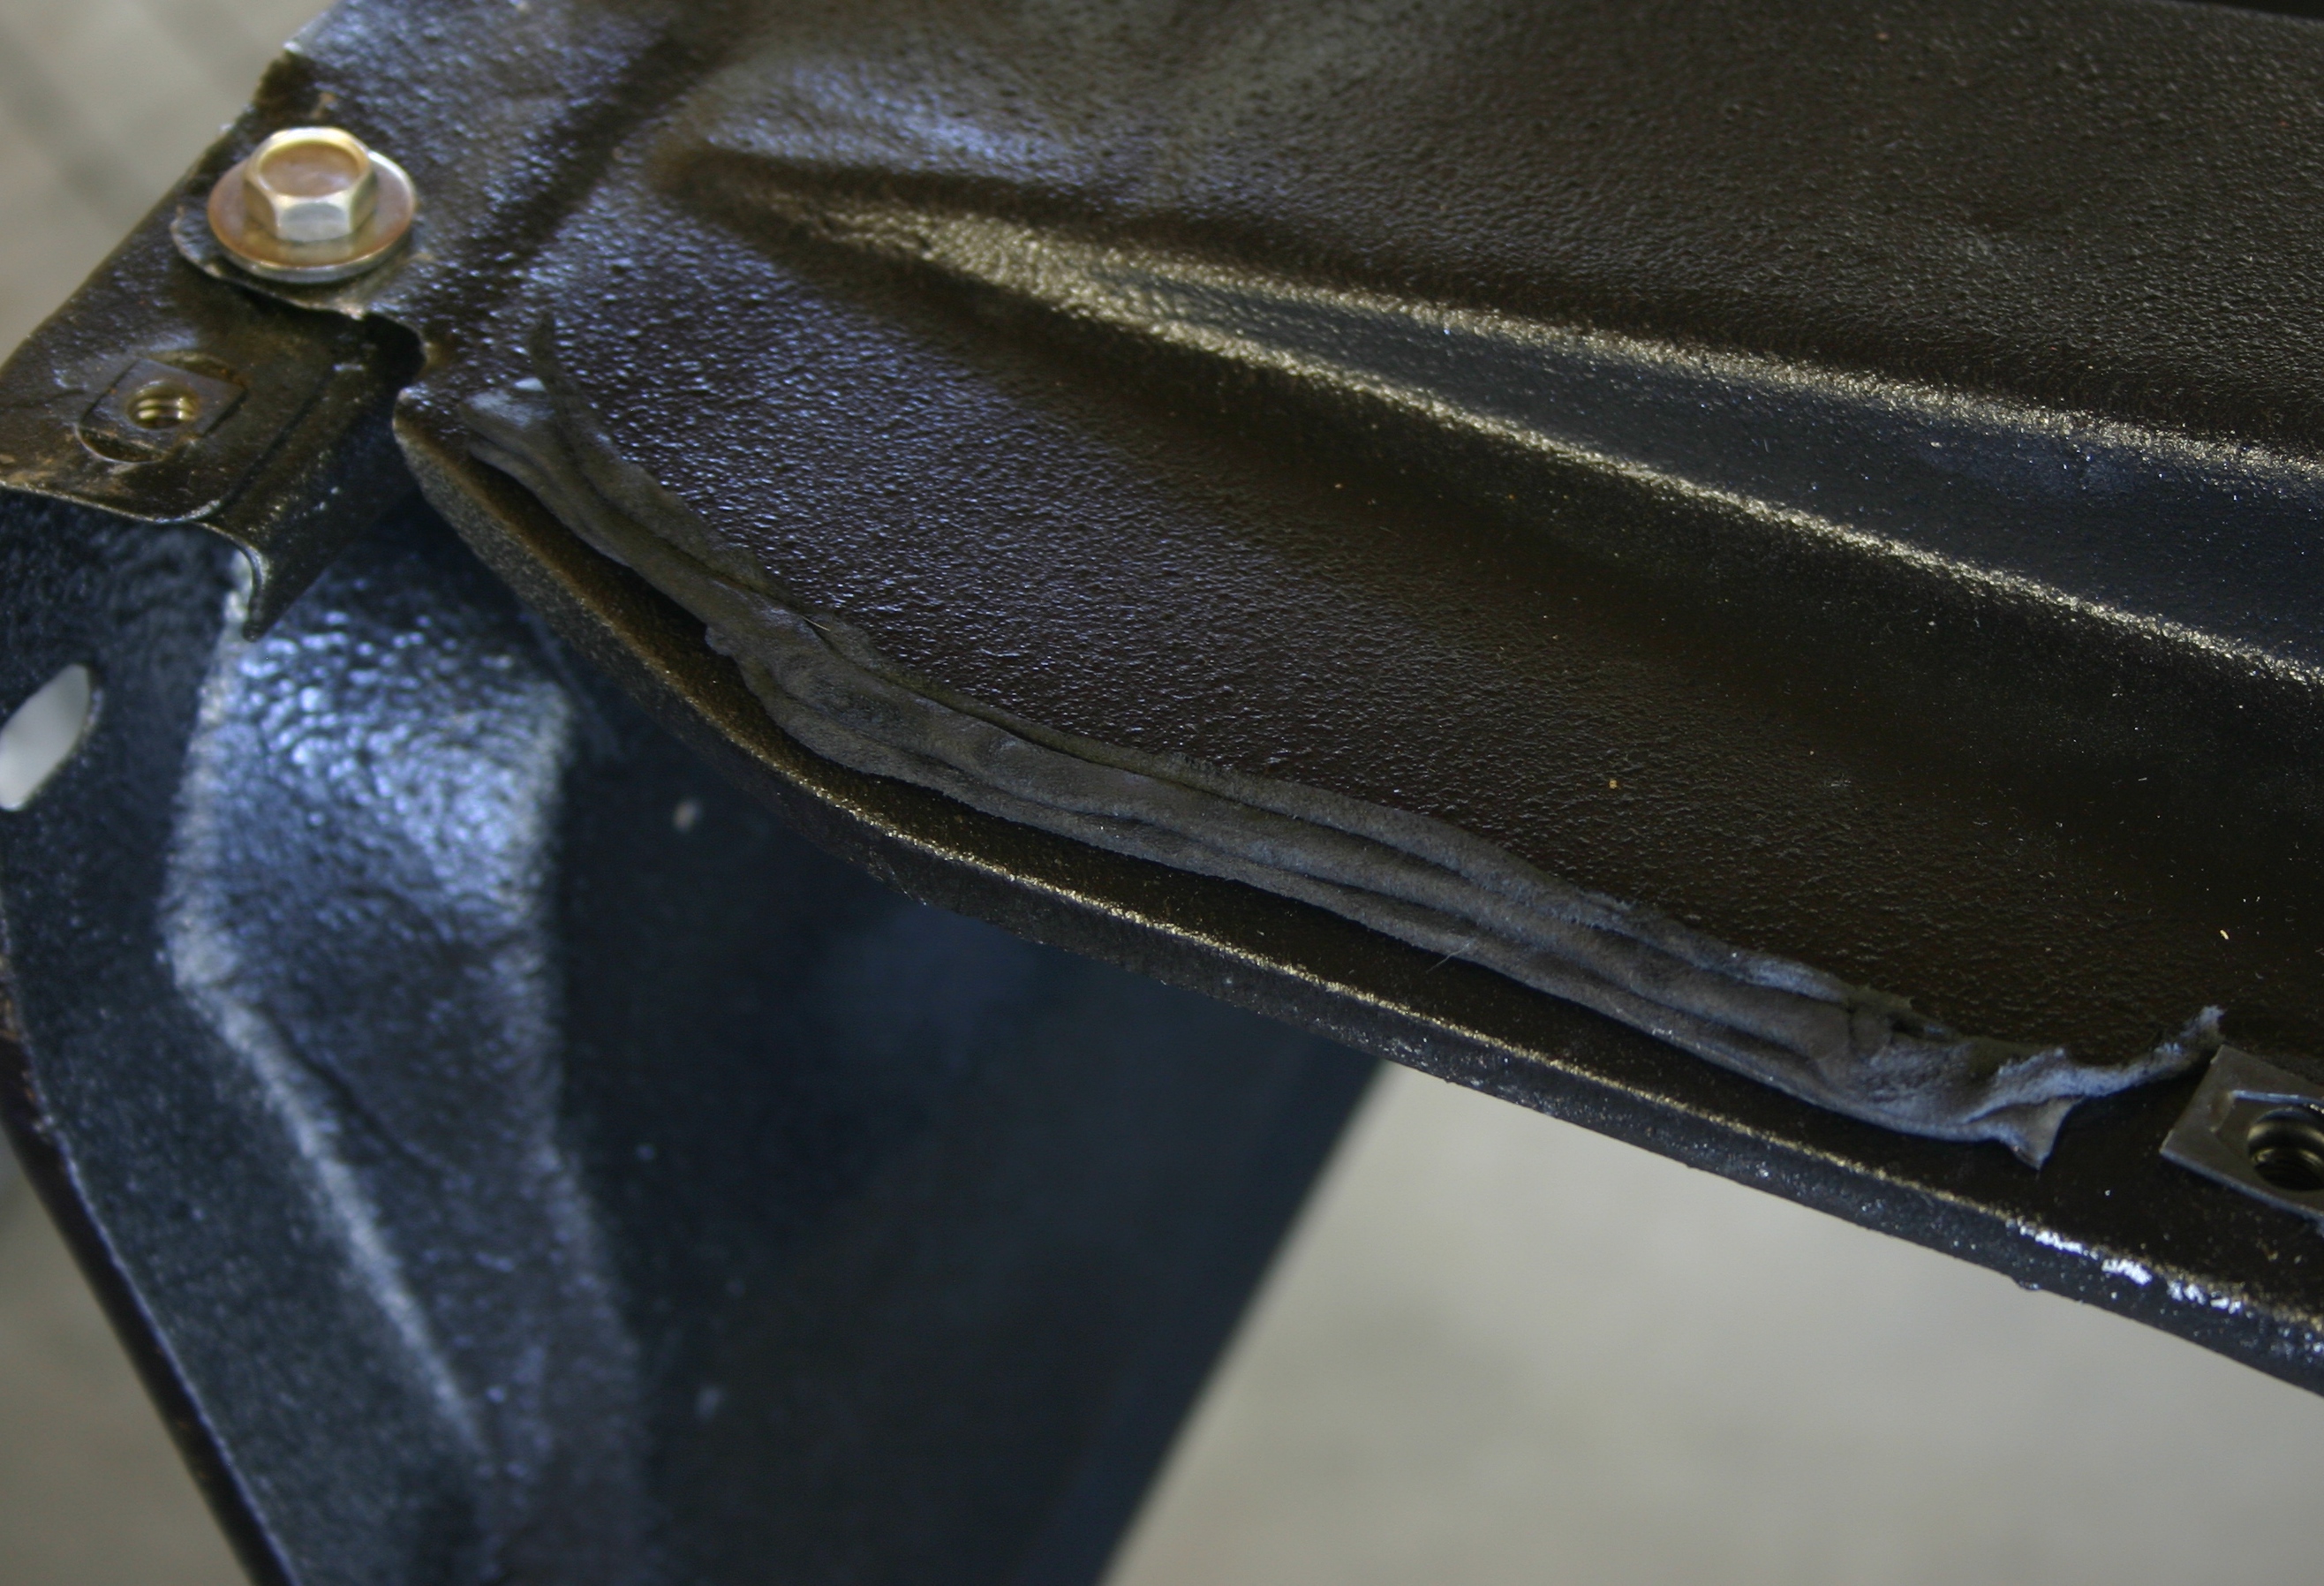
Here's one of the middle segments with additional layers of Strip-Calk added on. By the time I'd arrived at the RH fender, I'd improved my technique by stacking the layers in a cleaner, more purely vertical fashion.

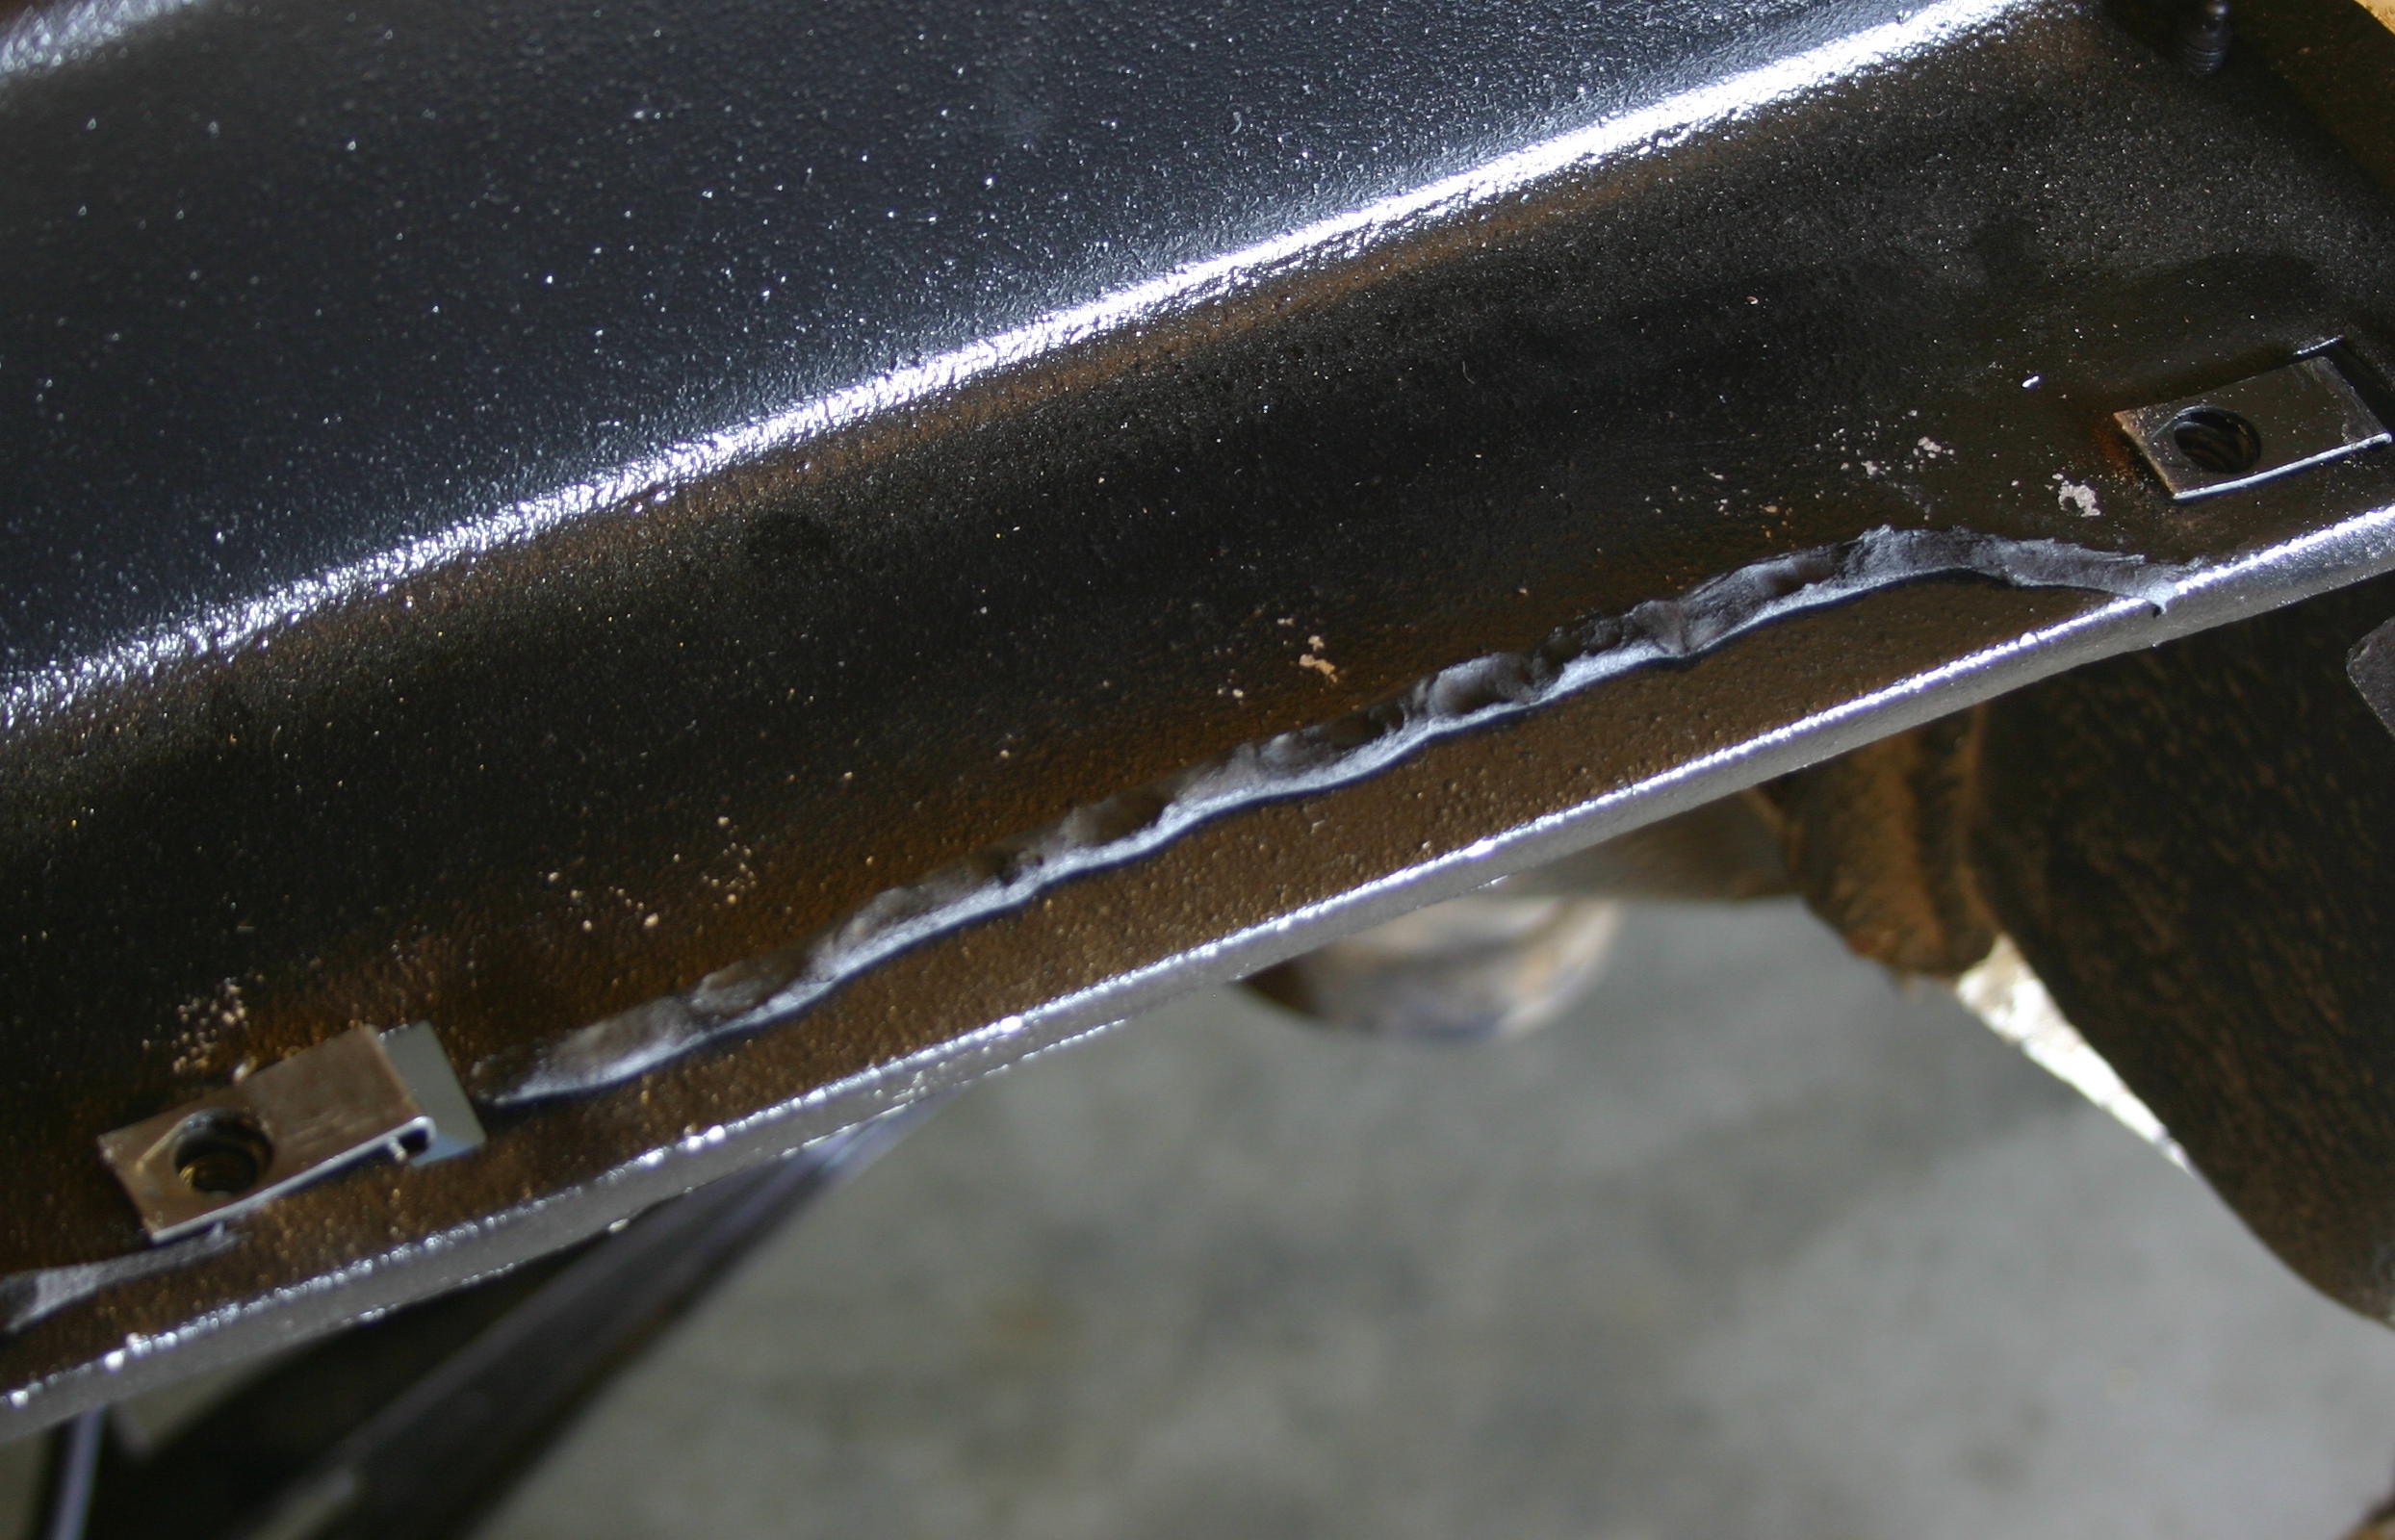
With a total of two to three layers of Strip-Calk applied between each pair of u-nuts, I set the fender back on. The crack looked
much better with the extra Strip-Calk in there, and just like Eric mentioned, any excess Strip-Calk can just be cut away with a putty knife. It's easy and fun to work with, and smells terrific! The smell's about half way between a fat permanent marker and fresh black-top pavement.

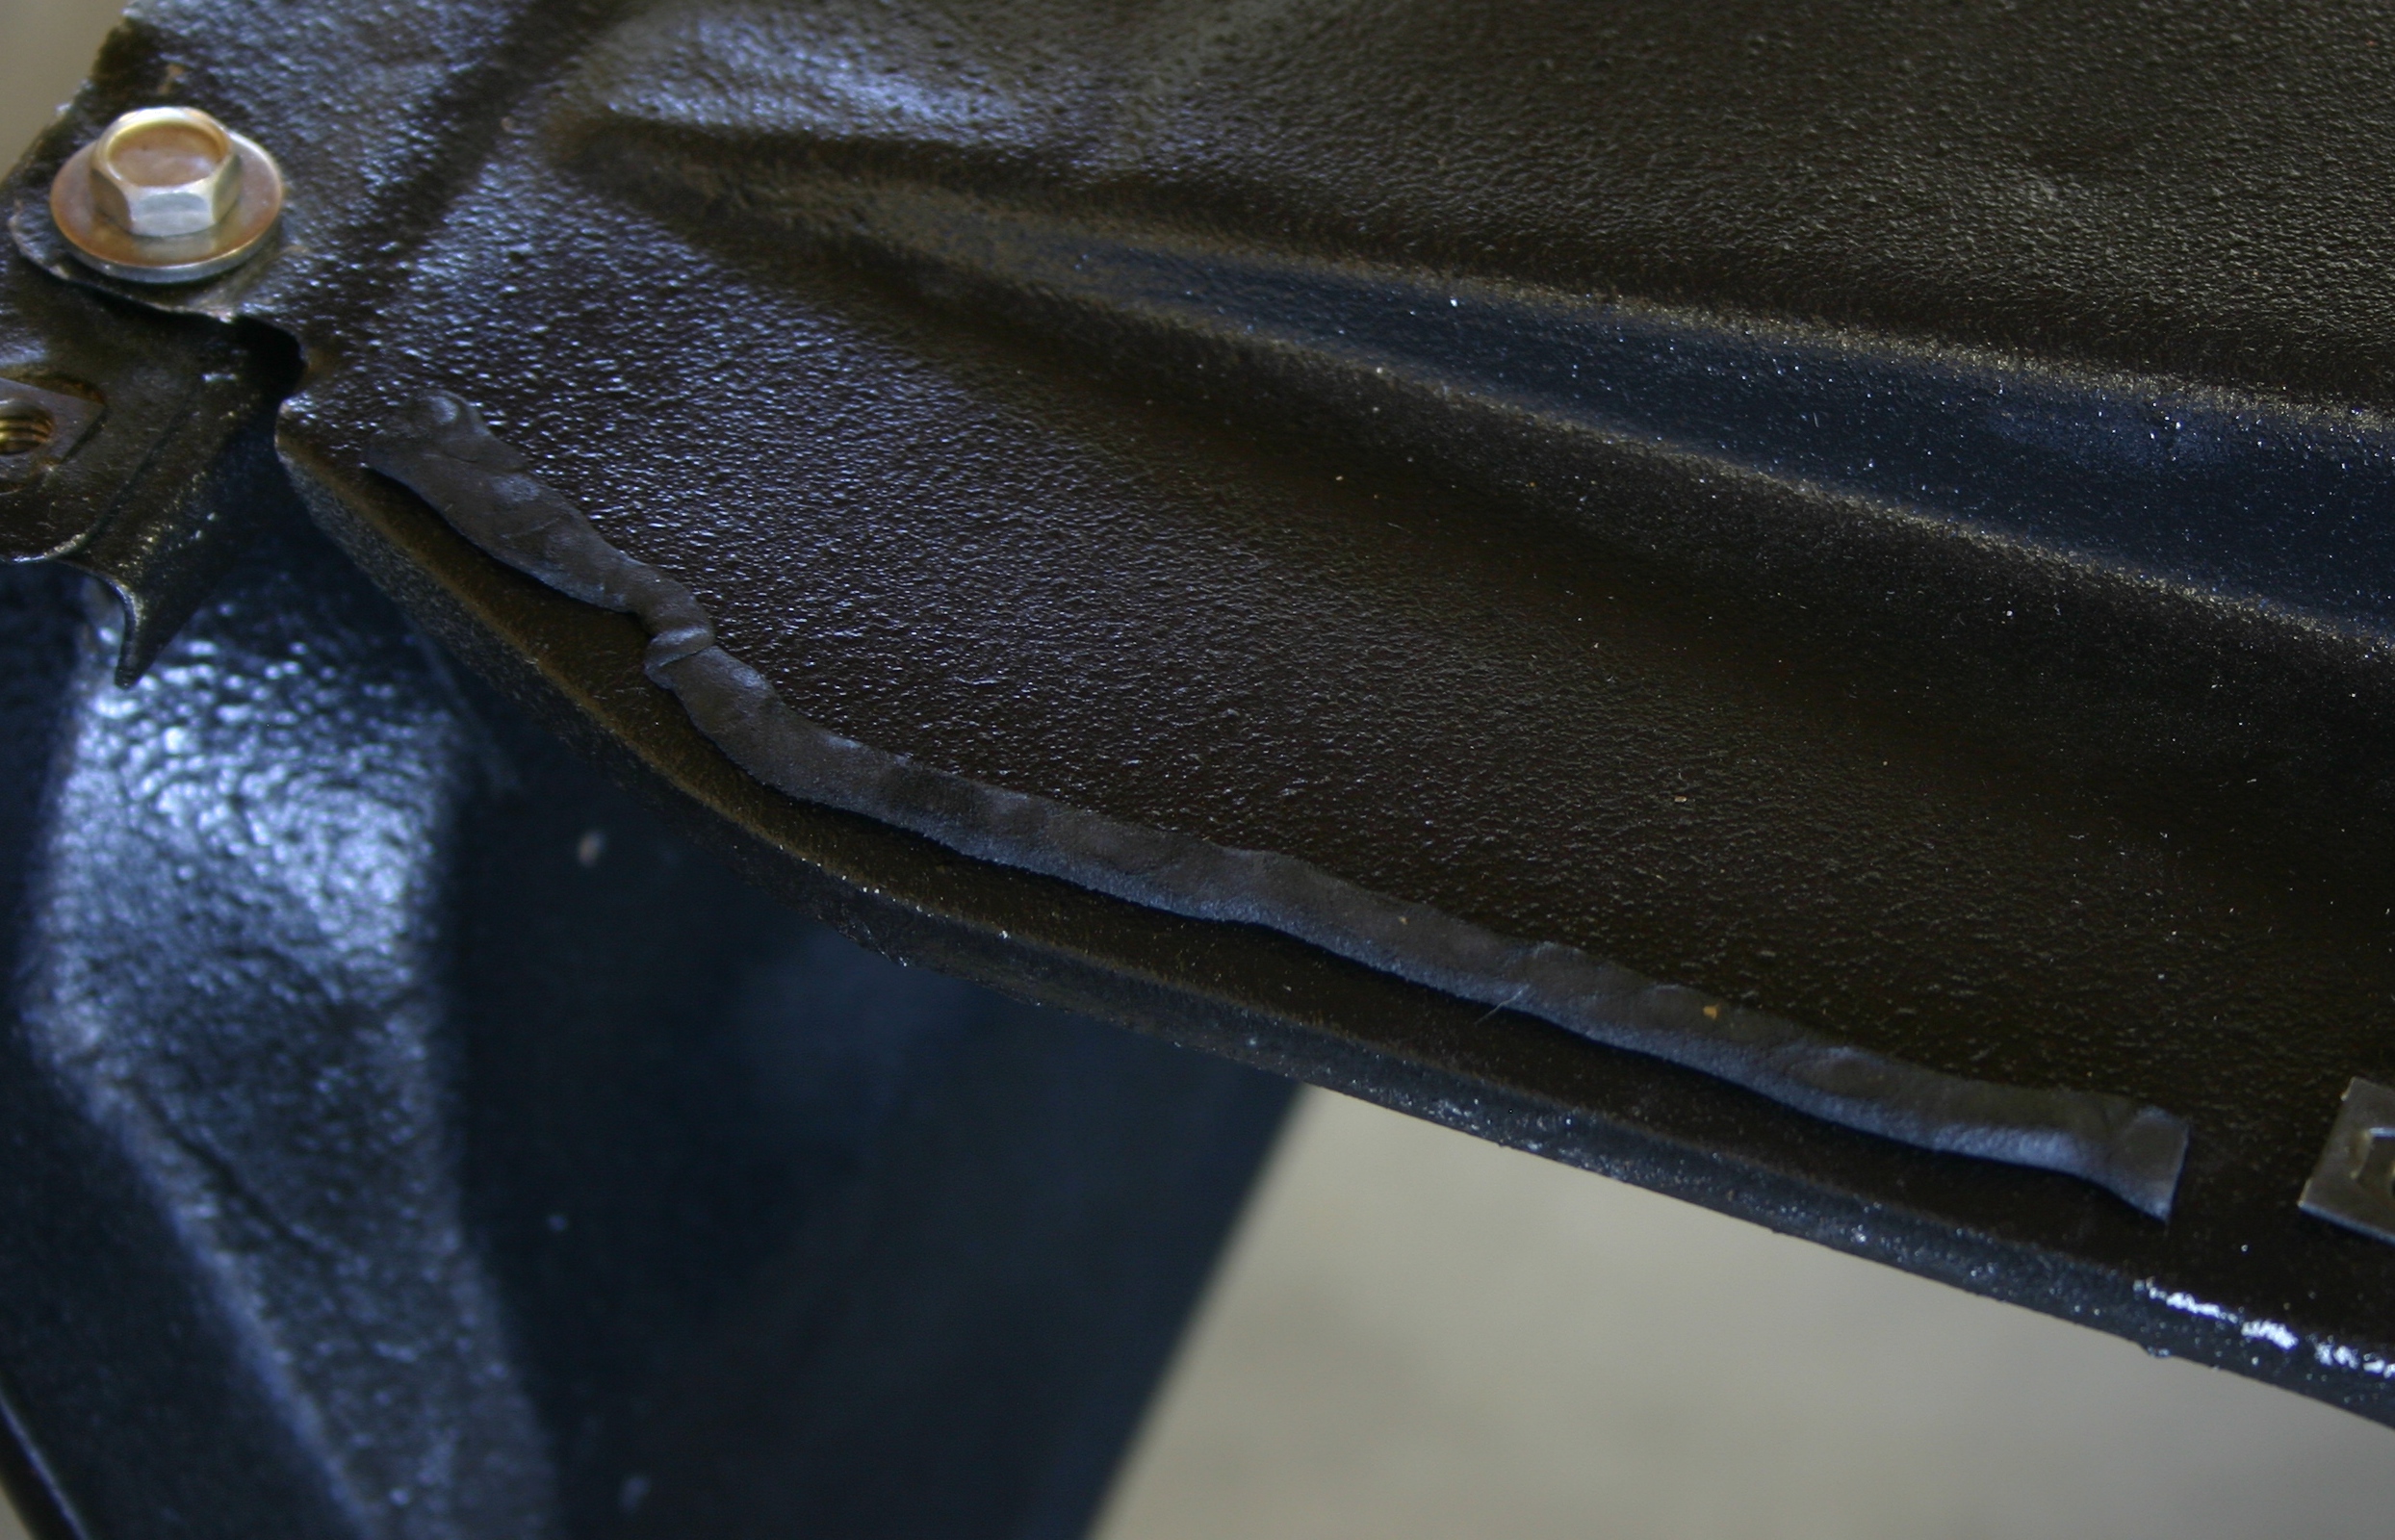
By the time I got to the RH side, I was ready to really lay this Strip-Calk down! I stacked three layers on the front-most segment and two layers for the others. I probably could have used even more.

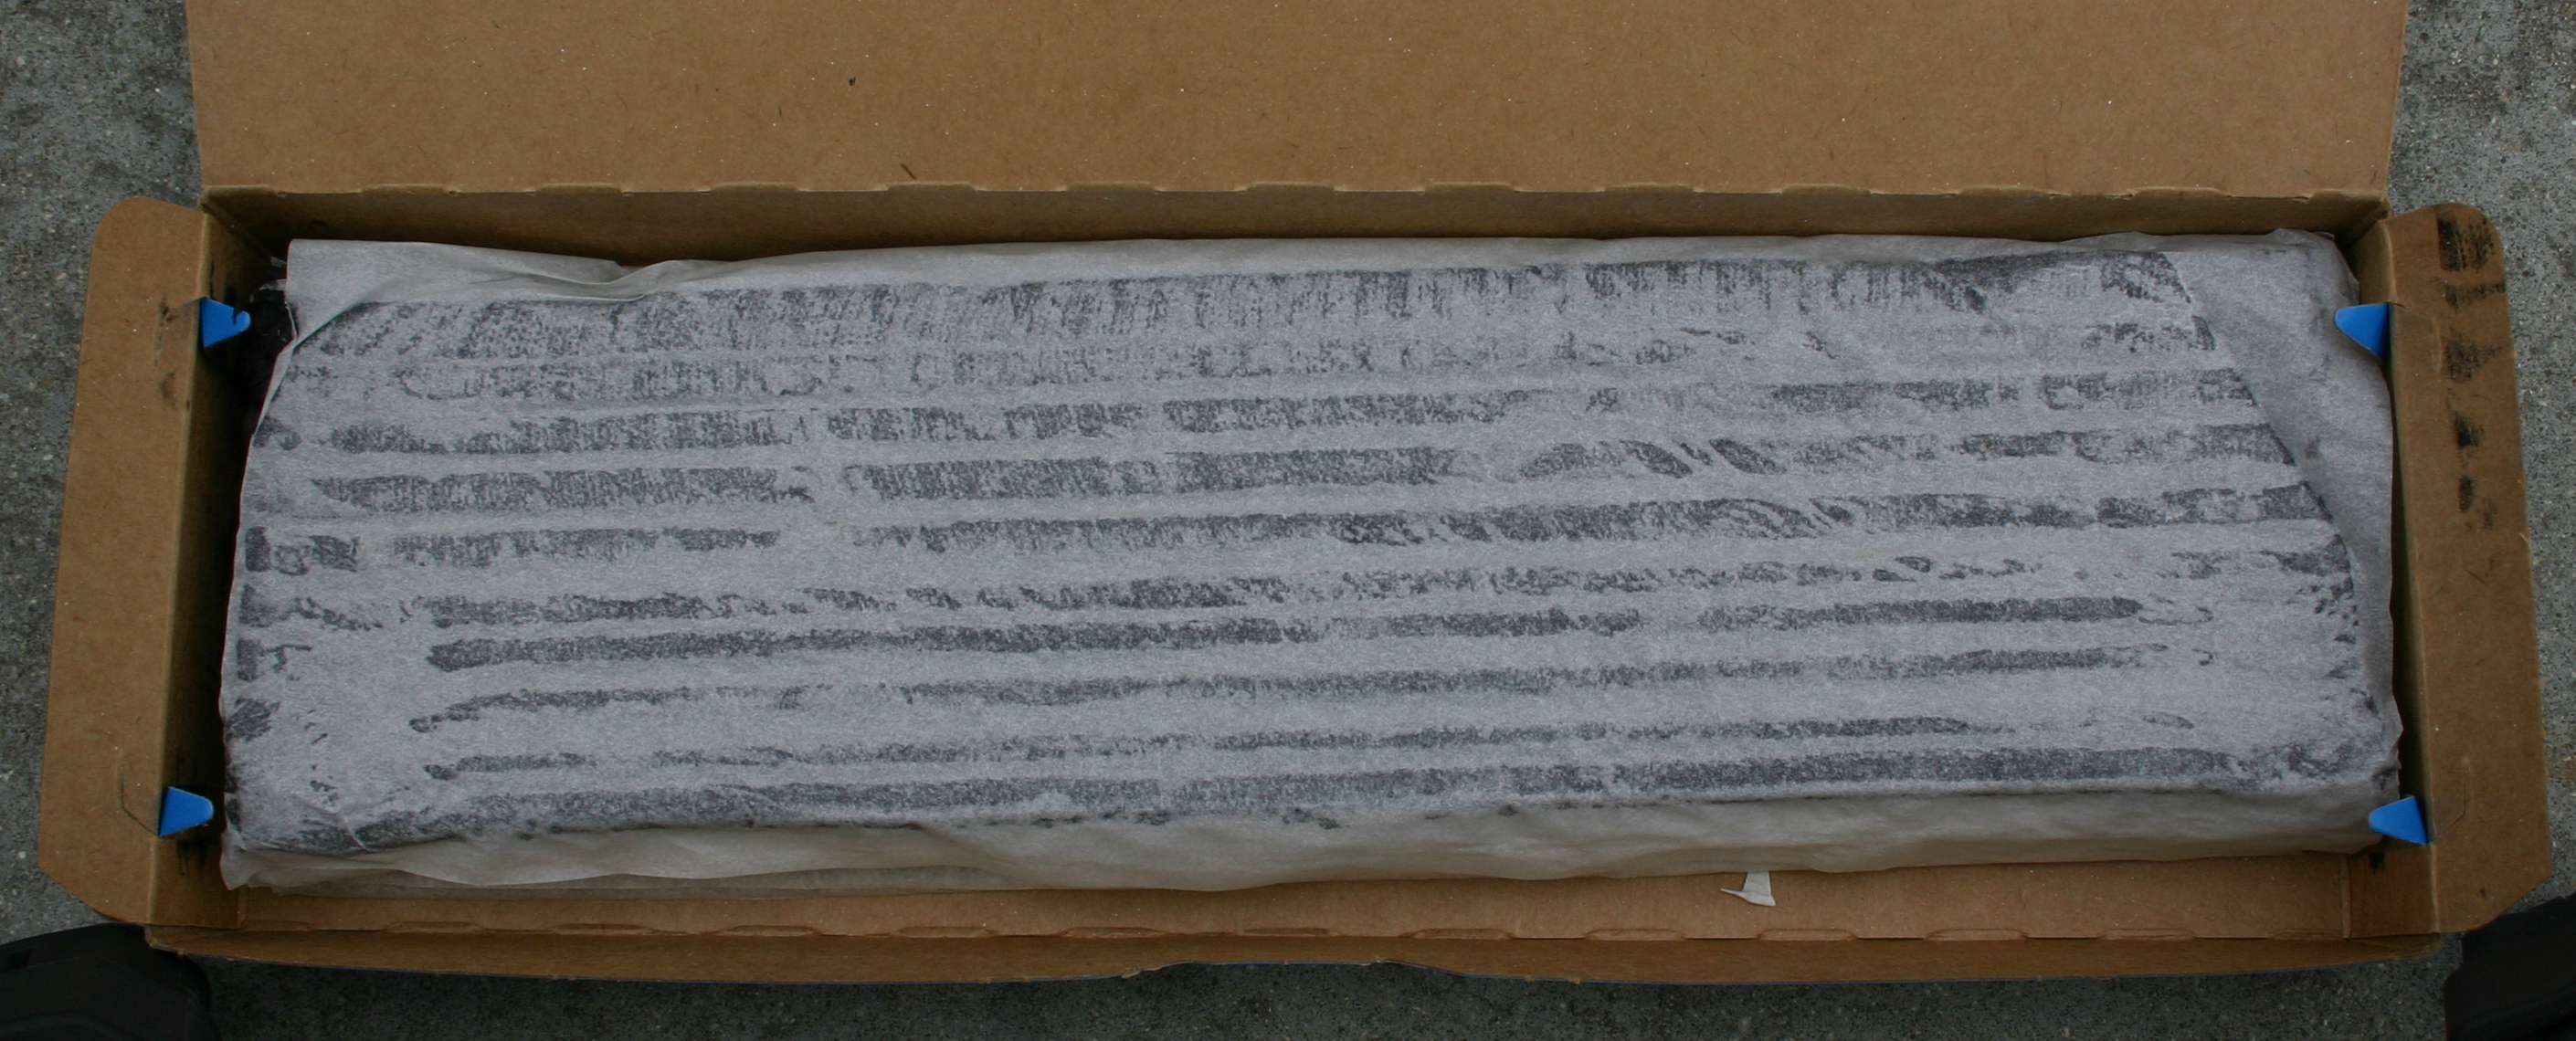
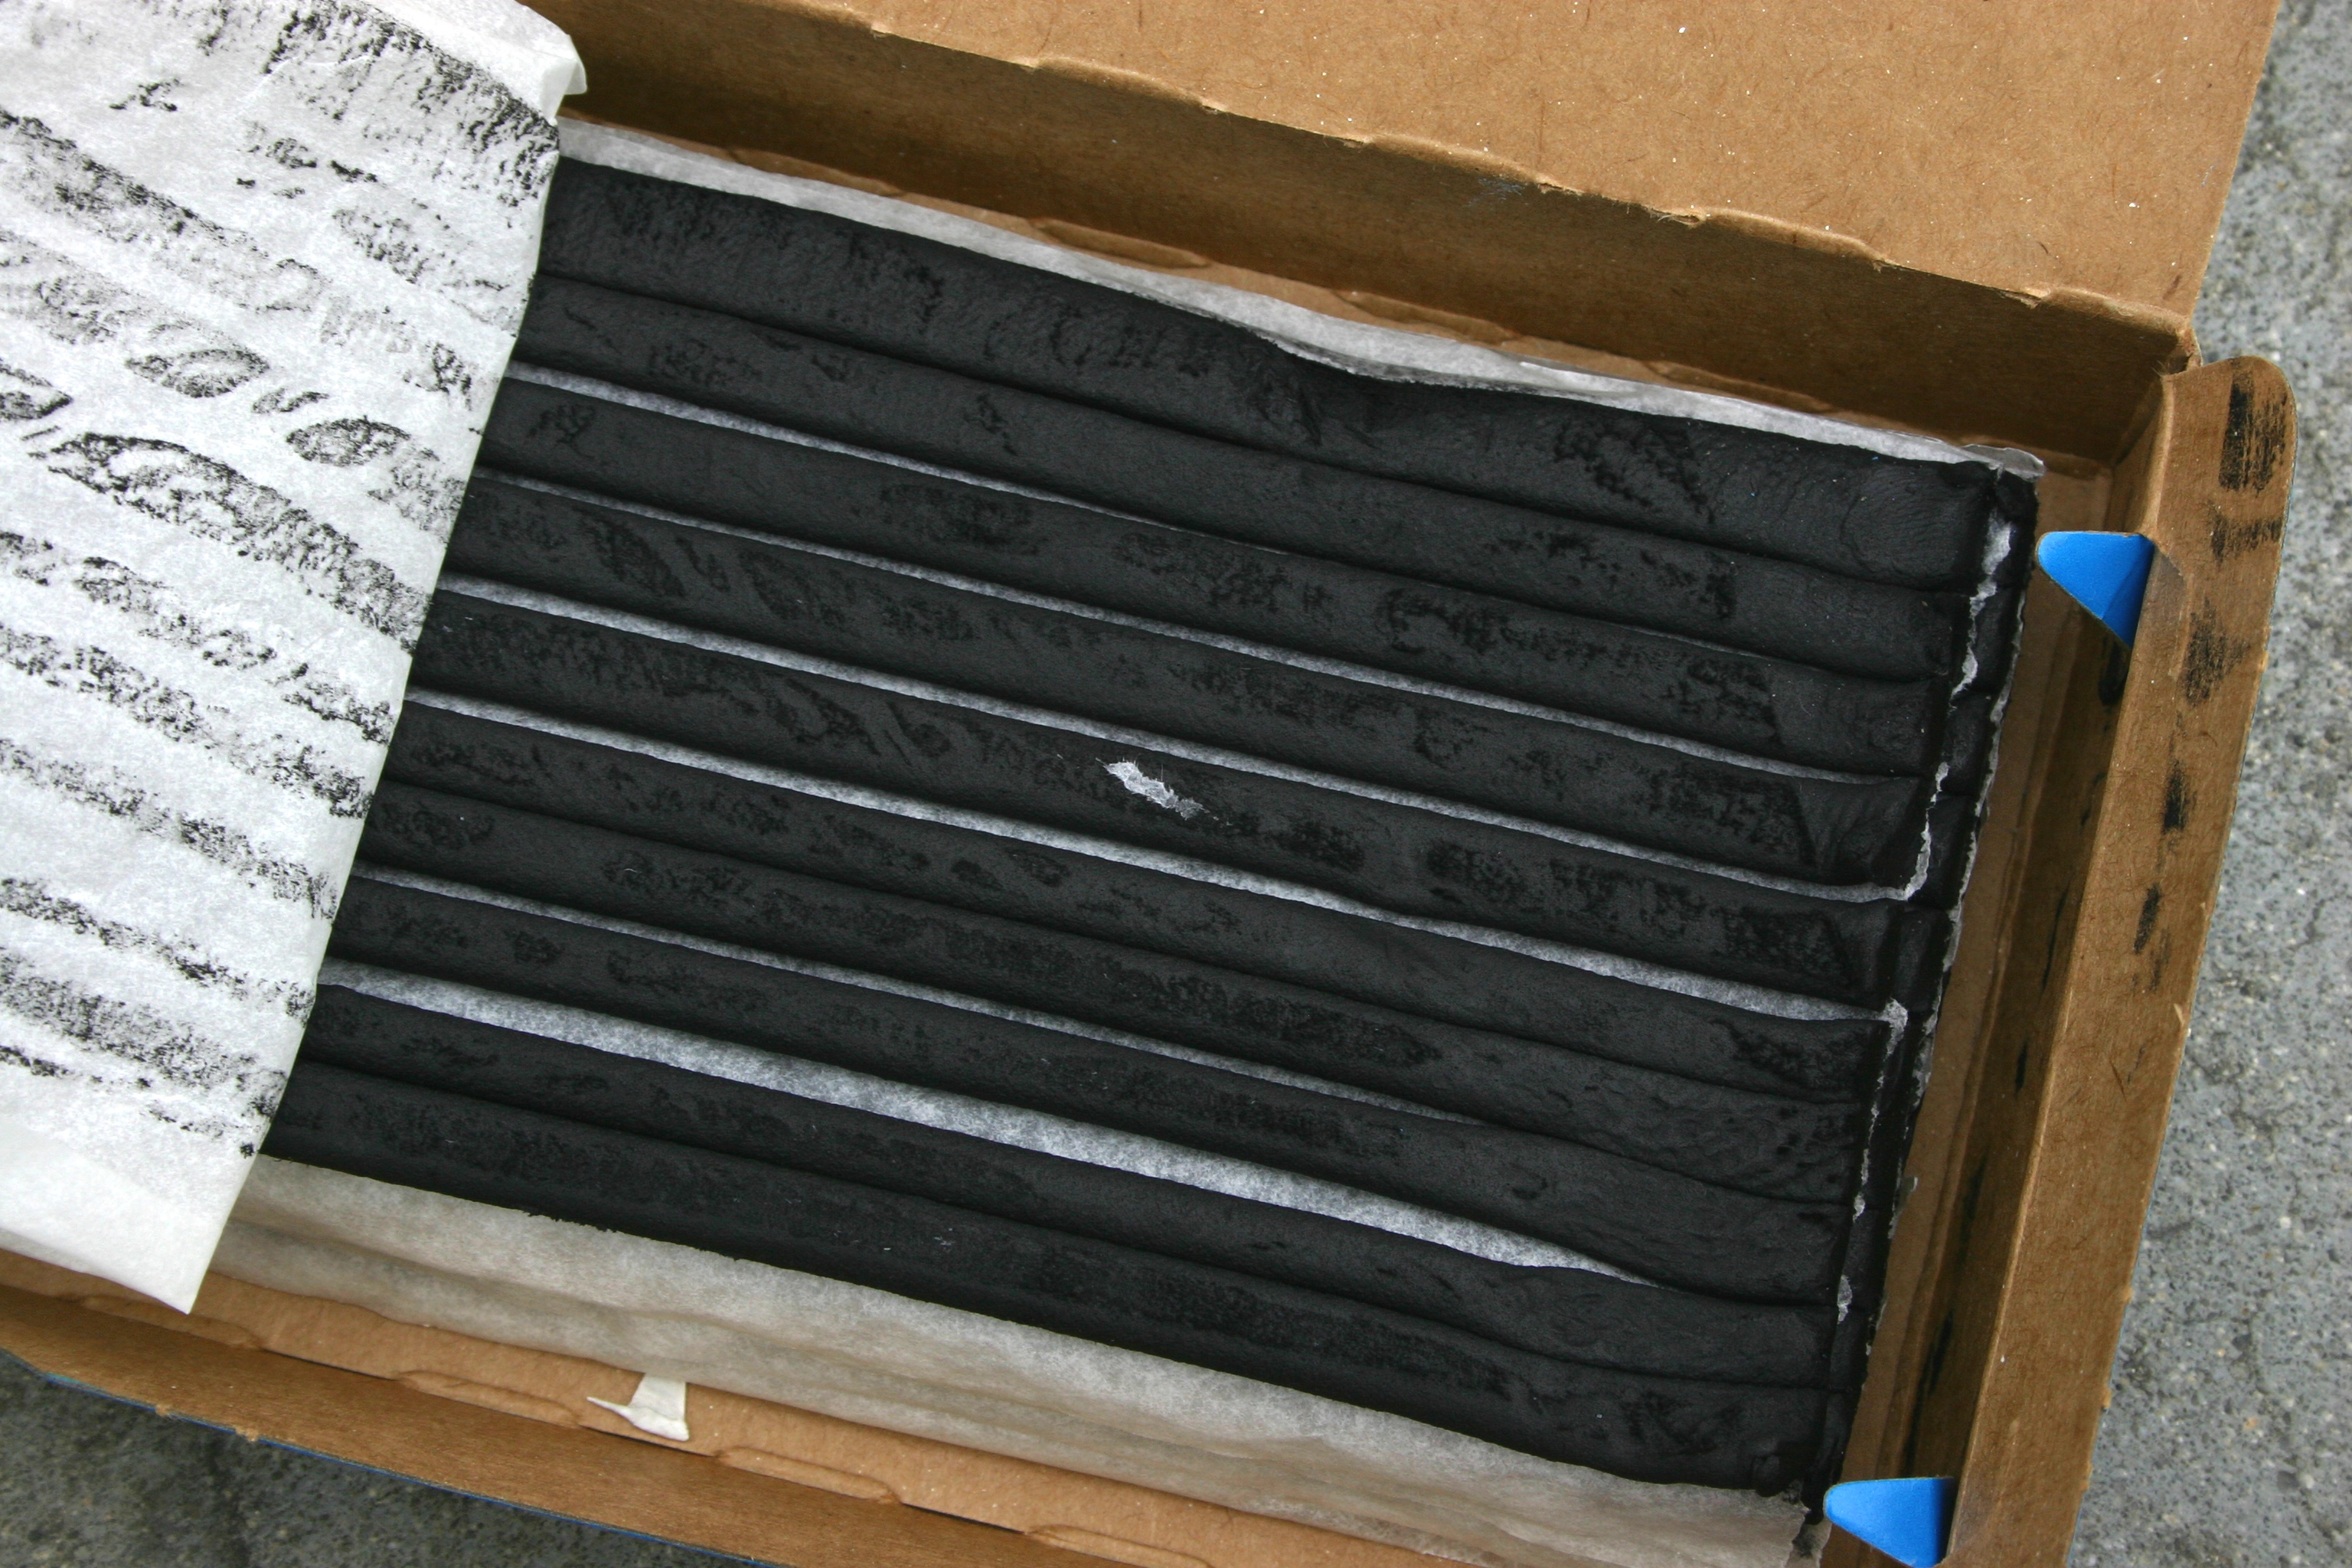
This photo illustrates the peculiar characteristics of Strip-Calk. If candy were made from tar, which I believe it once was (I've heard of antique, tar-based chewing gum), it would behave just like Strip-Calk. This stuff would do wonders at holding dentures in! And you can see how much of the package I used up on the front fenders! I'd better re-order quickly; I now only have enough for thirty-seven more vehicles.

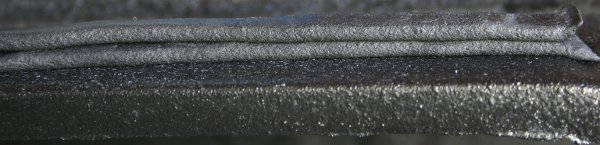
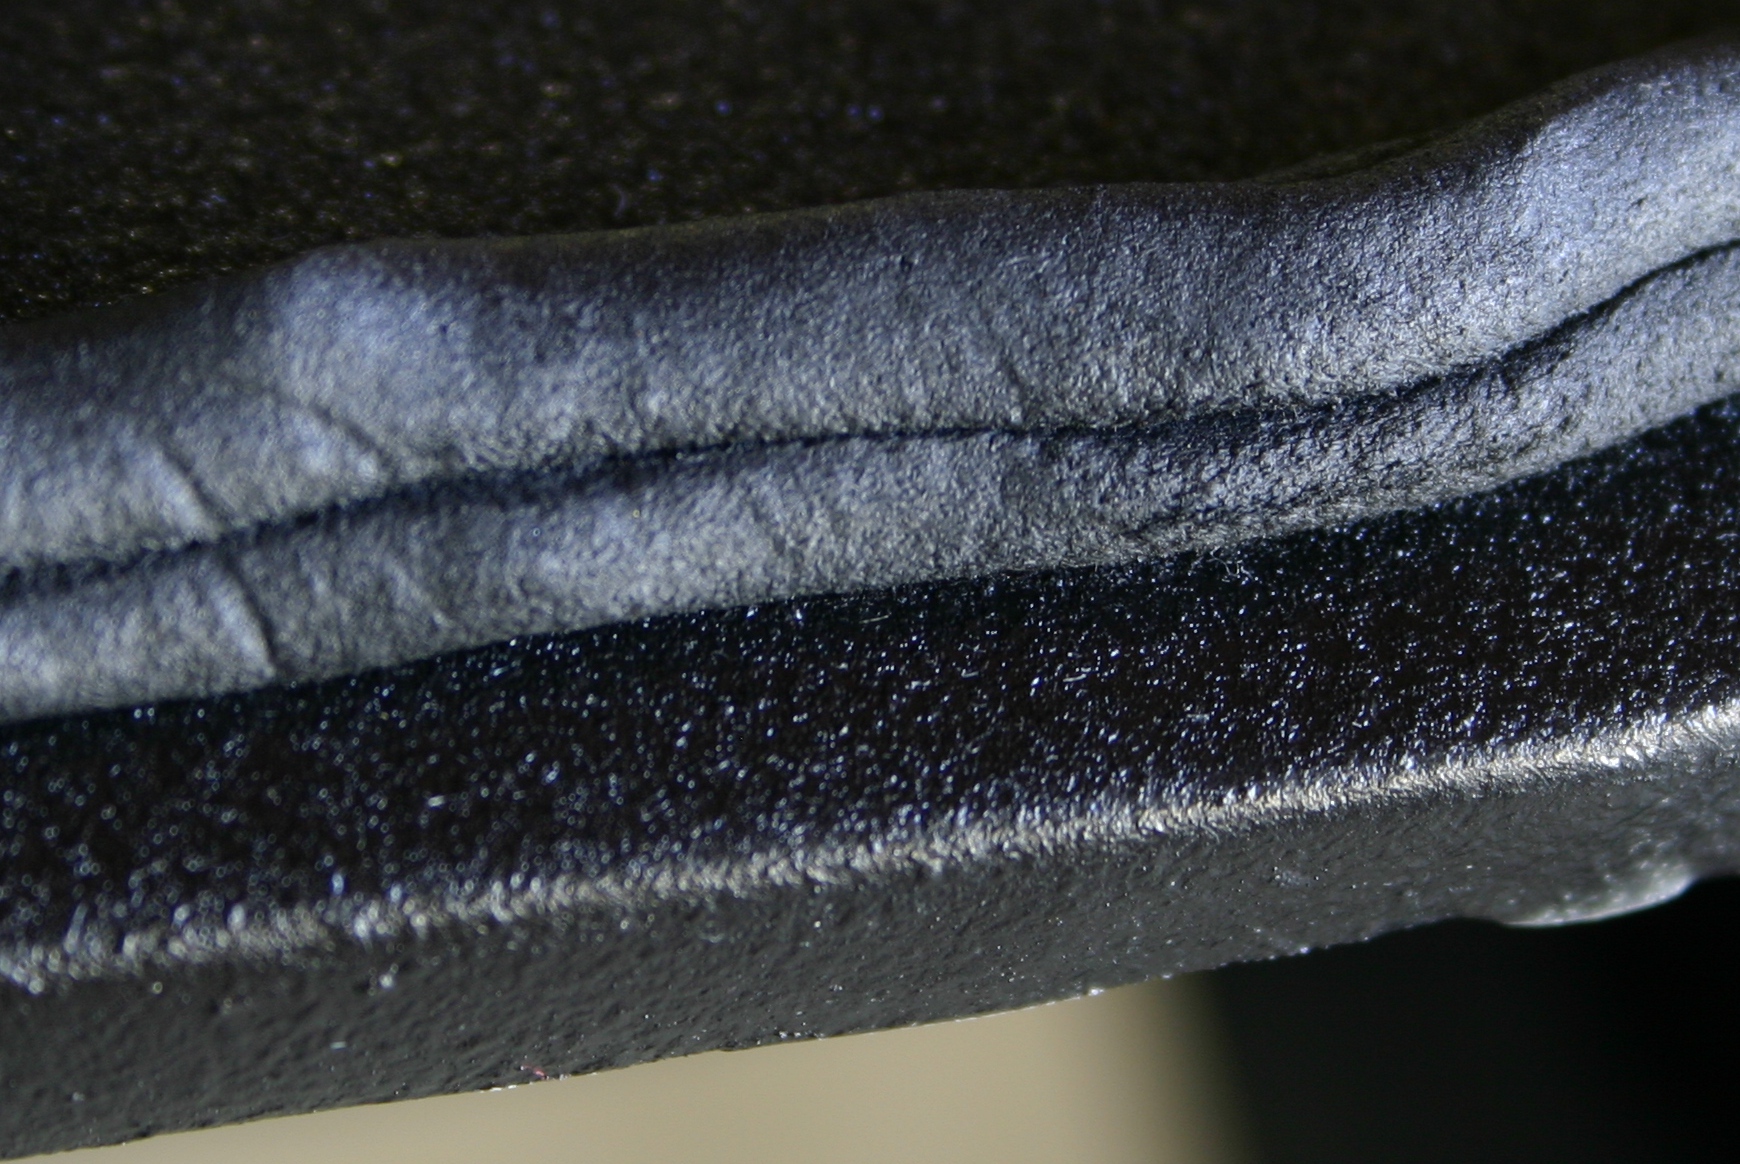
Here's a detailed photo of two pieces of Strip-Calk.

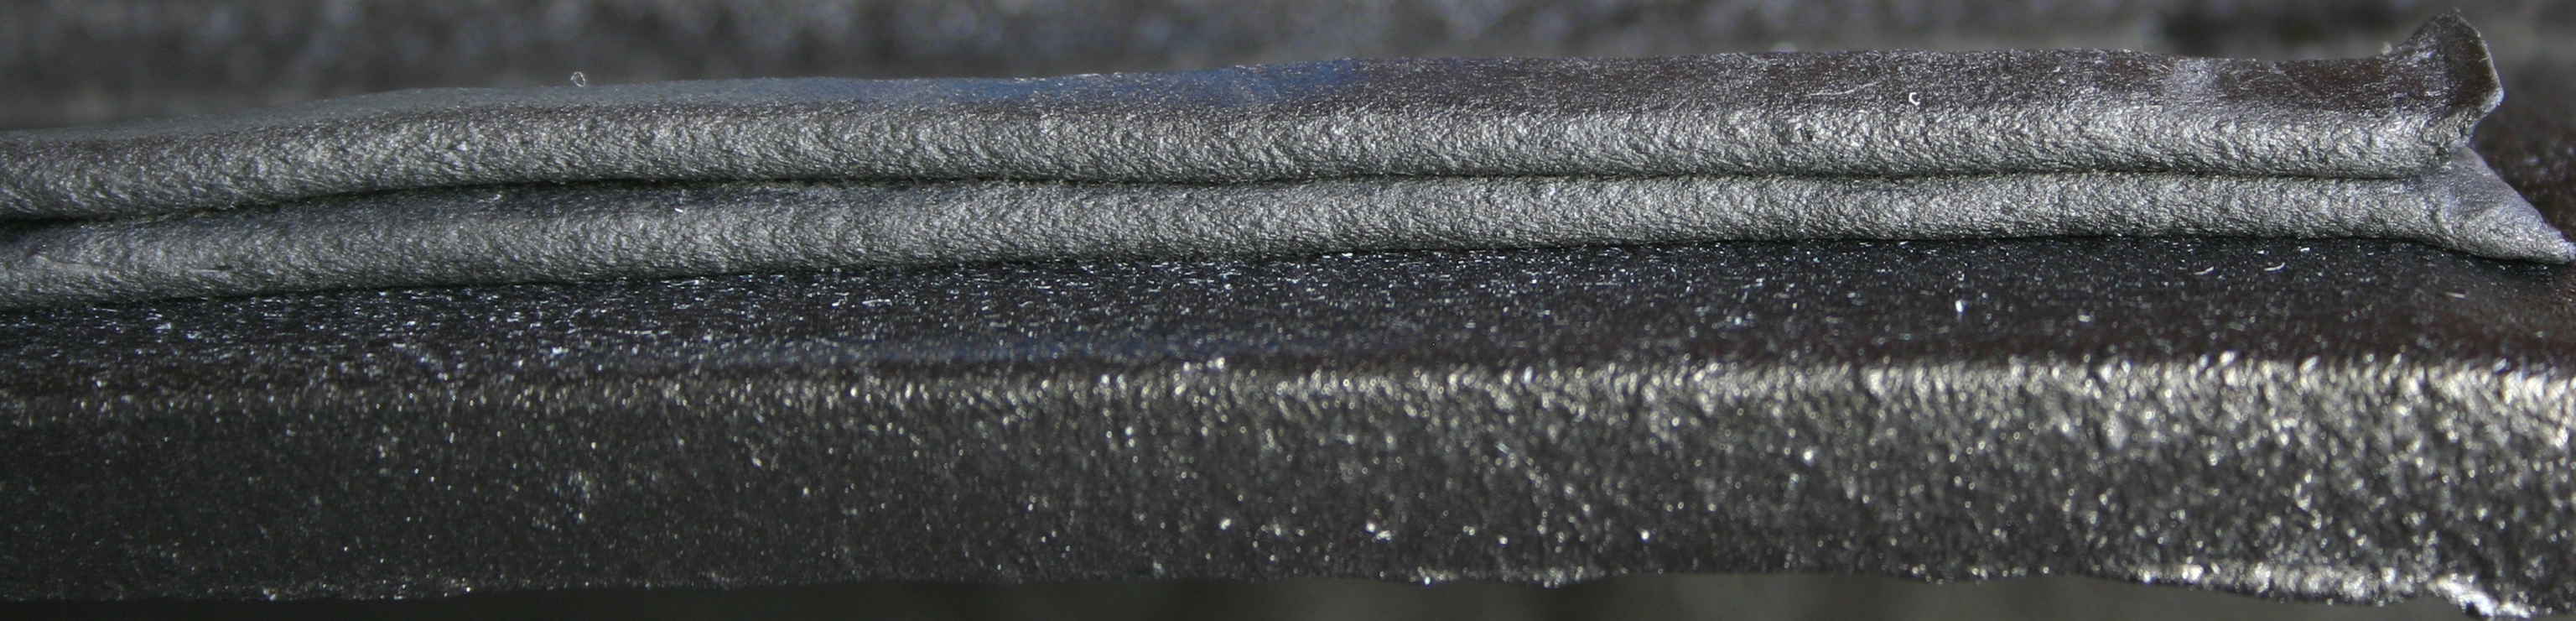
And one more detailed Strip-Calk photo. Y'all will probably want to click on this one to see the heinous details.
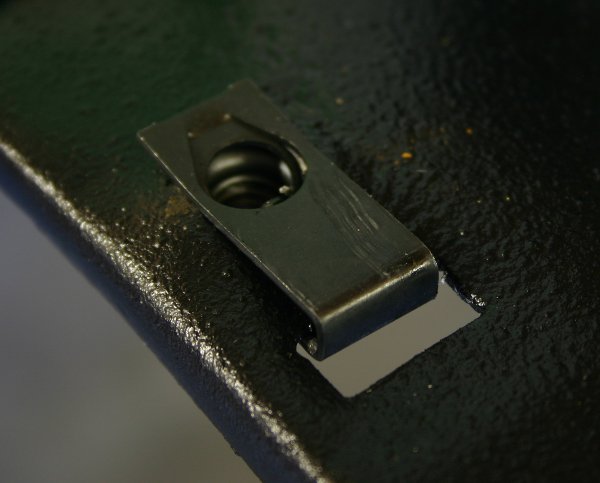
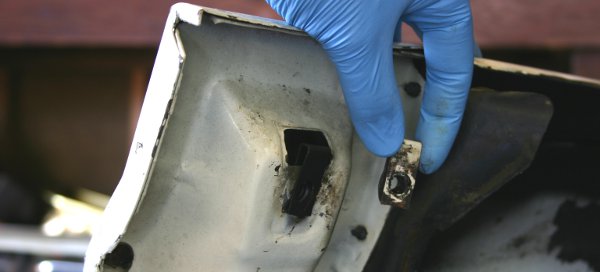
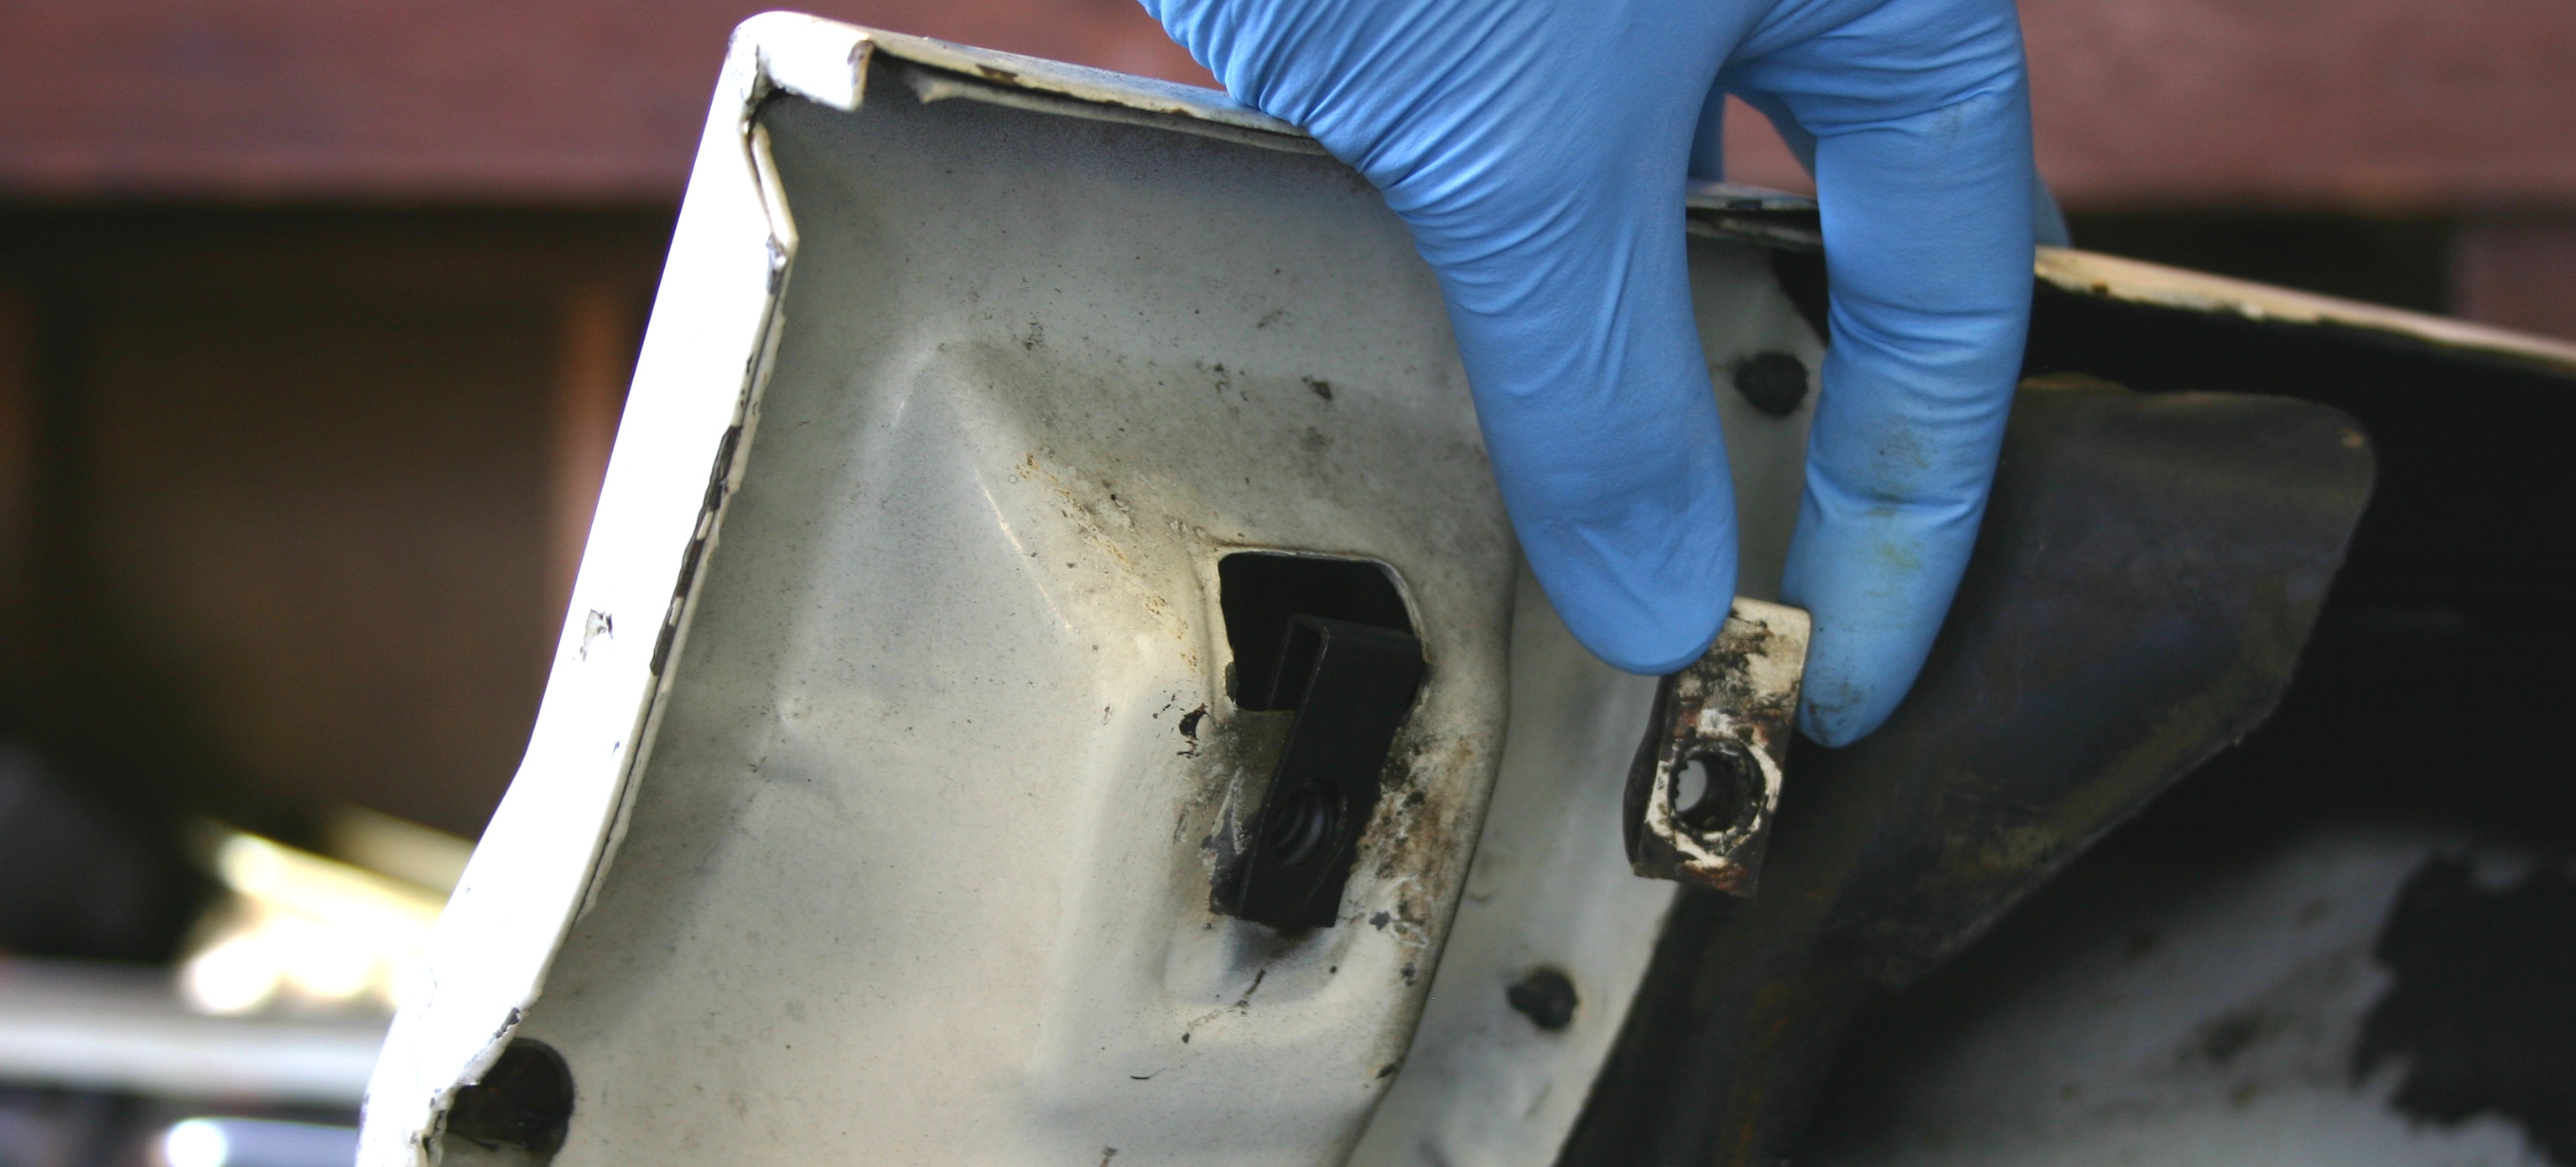
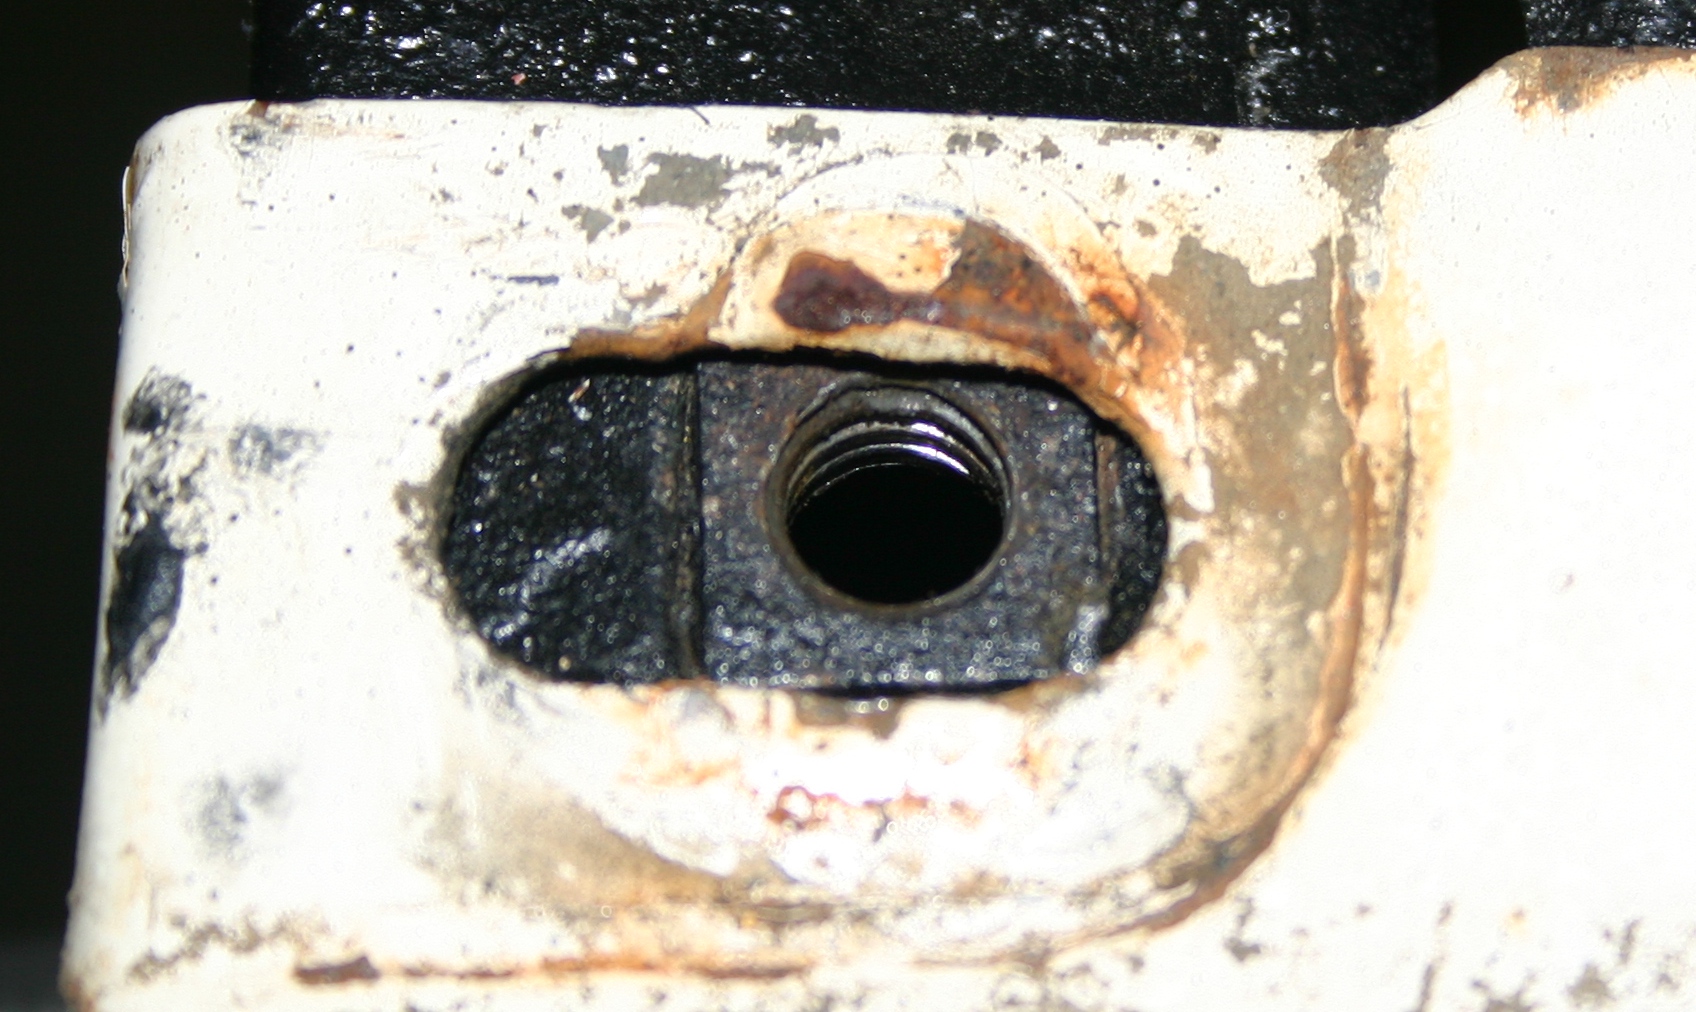
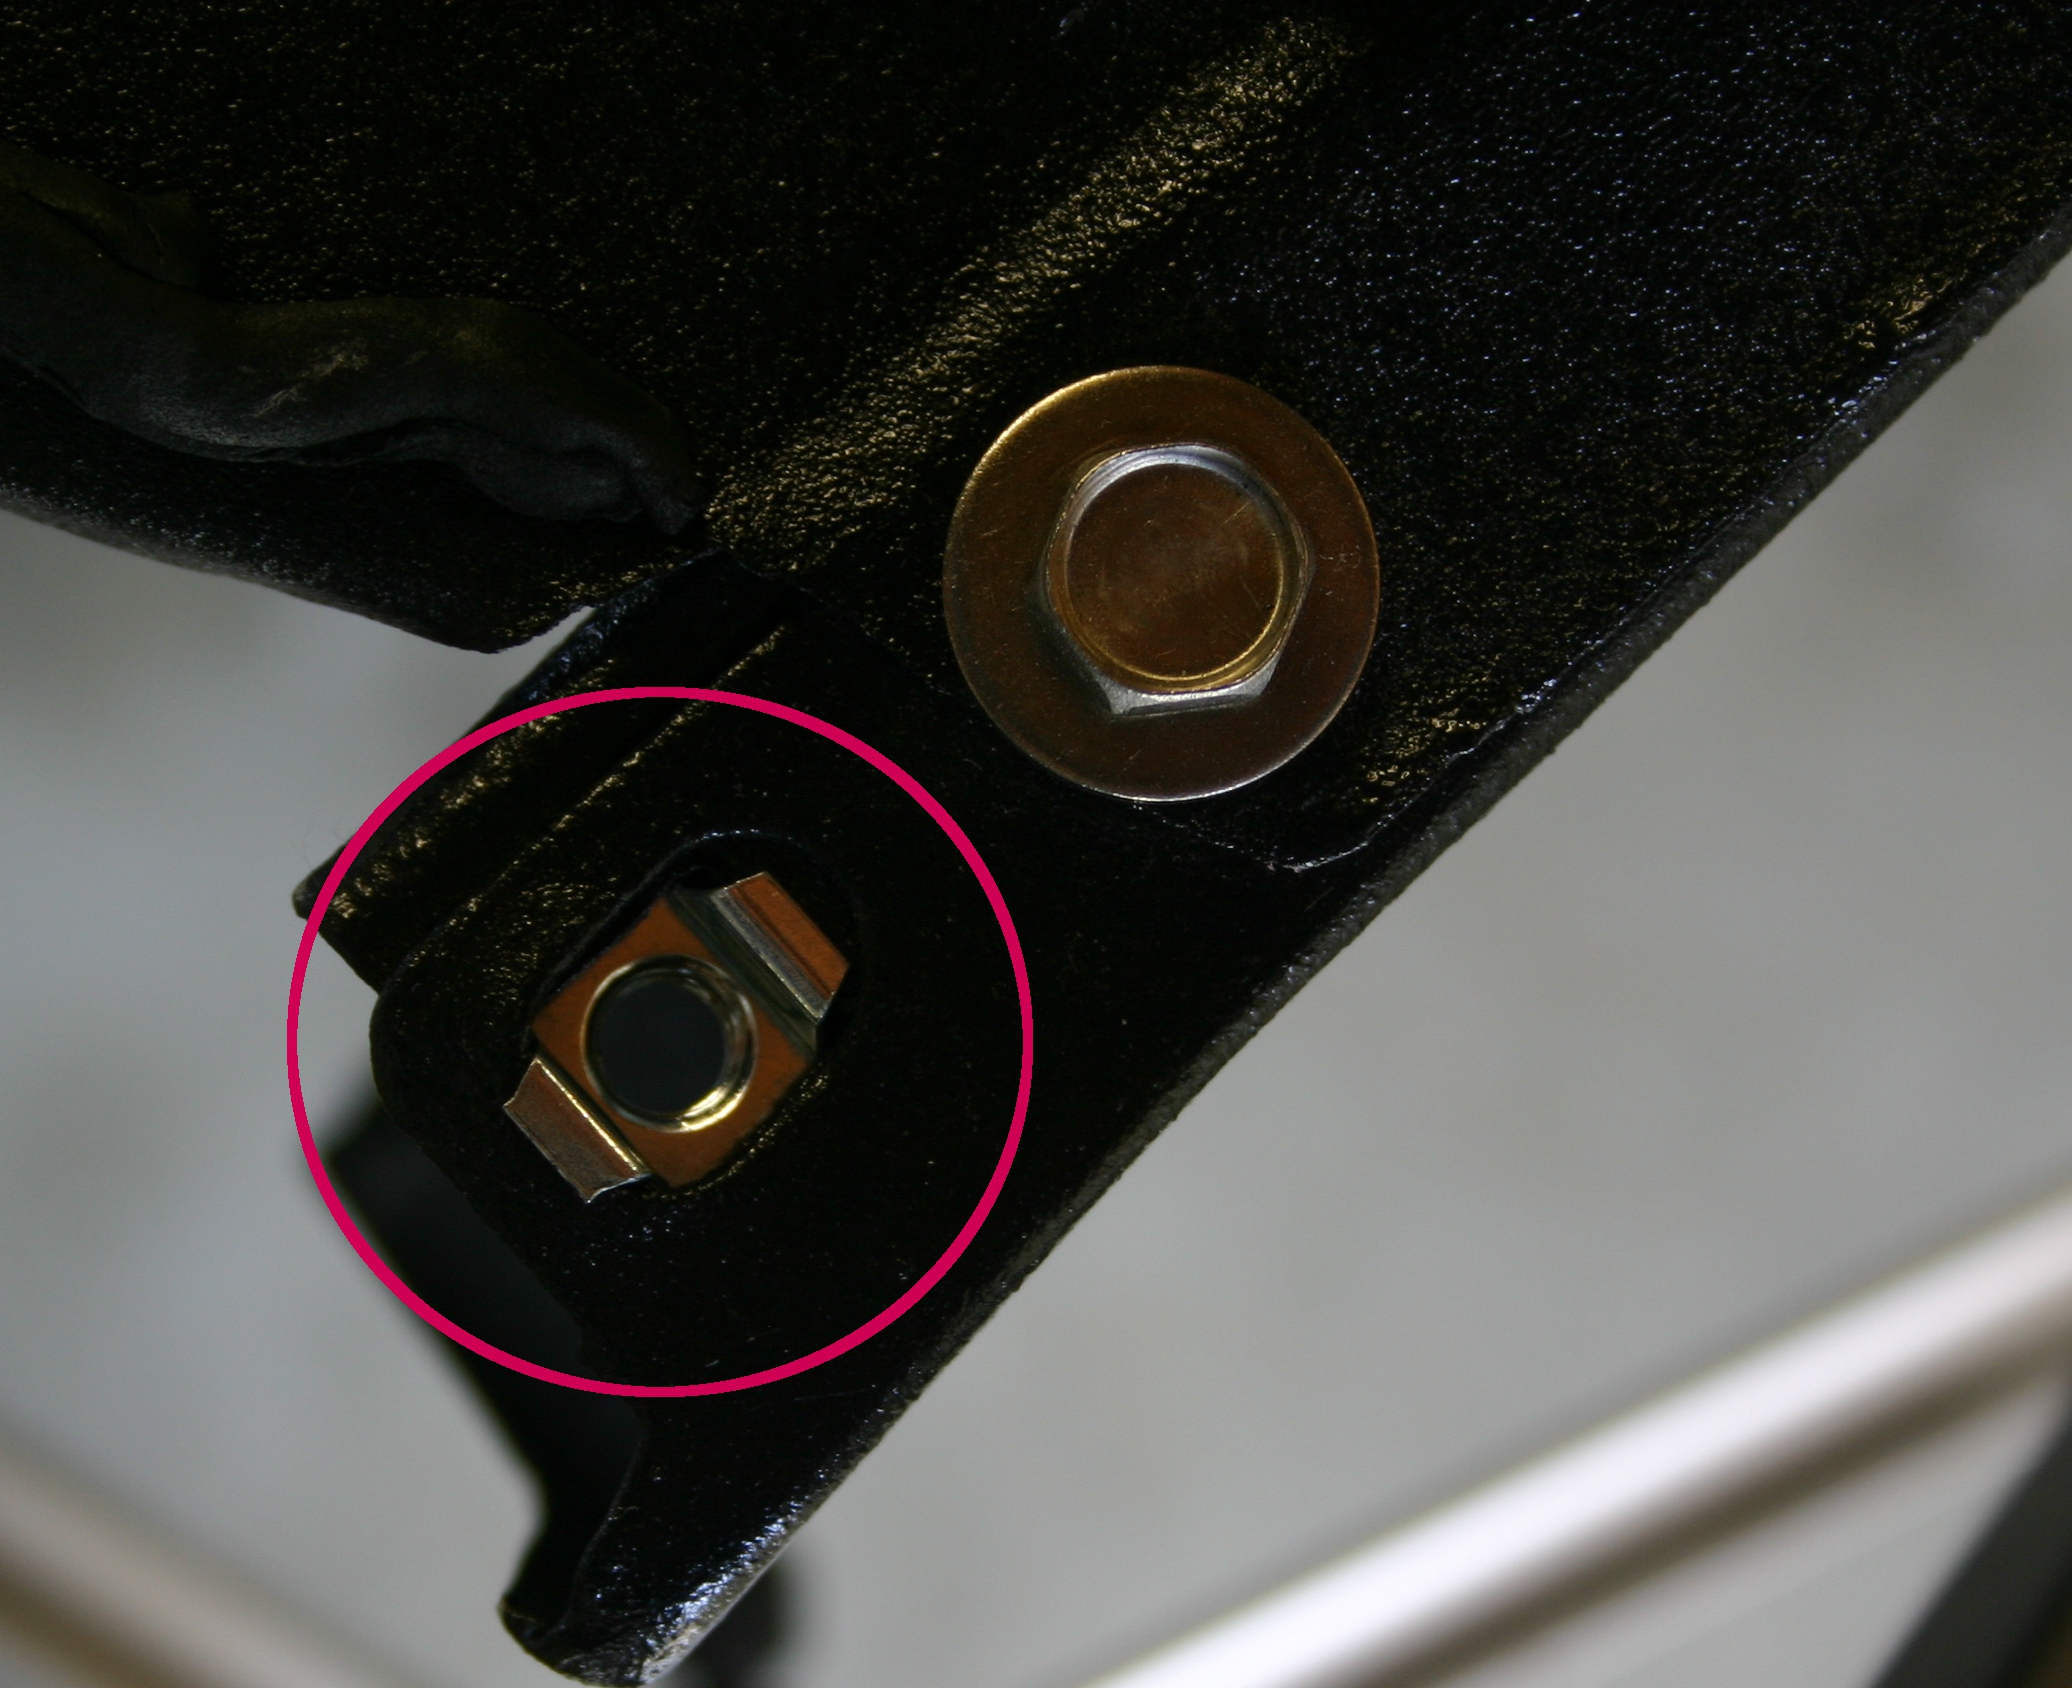
On the LH side I found this captive nut. It's part of the radiator support and sits right under the front tip of the fender. This nut was missing on the RH side; it must have been vaporized by a telekinetic crawdad.

Long ago I ordered these special nuts from McMaster-Carr, yet they didn't seem to be a sufficiently close match to the original captive nuts, so I shelved them and forgot about it (until today). If anybody would like a part number, I could dig it up.

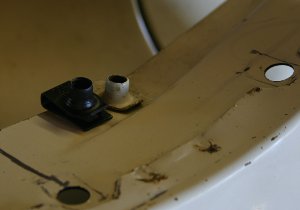
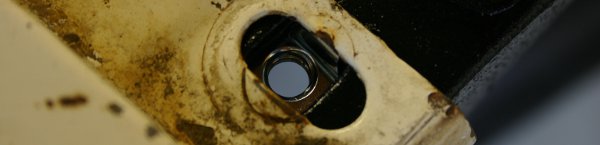
Here's the new captive nut snapped in to place. It actually looks pretty tidy, and although it's clearly not a faithful reproduction of the original part, I think it'll work! It was really easy to install and feels like it won't come loose. The only functional issue I can see is that it's slightly recessed in to the radiator support sheet metal, while the factory captive nut was perfectly flush. I'm guessing that this isn't a big deal.

Here's how the new captive nut looked with the fender sitting on top.
I had to unfasten the dome lamp switch to squeeze my hand in the notorious rear fender bolt zone. I can get my hand to fit in there, but getting the bolt started is like saving the Tin Woodman from choking to death on a carrot.

Thanks for all the superb advice!
Robroy


